


DIY mirror frame upgrades can feel like one of those projects that sounds simple, until you start pricing frames or staring at a bare mirror edge. I used to think you had to buy a custom frame or live with the plain look.
The truth is, you can build something solid with basic boards, a few tools, and a little planning.
The biggest headaches usually come from wrong measurements, corners that do not meet, or a finish that does not hold up in a bathroom. I am going to keep this simple and practical so you can get it done without wasting wood or time.
Stick with me, and you will have a DIY mirror frame that fits right and looks finished.
Quick Checklist Before You Start
Before you buy wood or trim, take one minute to check three things. It saves you from bad cuts and loose frames.
- Mirror glued or clipped: Look at the edges. If you see metal clips, you may need to work around them. If the mirror looks flat against the wall with no clips, it is likely glued on.
- Bathroom moisture: If this is in a bathroom, plan to seal the frame. Steam and splashes can damage raw wood and some paints.
- Clearance over backsplash: Measure the gap between the mirror and backsplash or faucet. Make sure your frame will not hit tile, outlets, or light fixtures.
Now you can choose the safest method.
Step By Step: How To Build A DIY Mirror Frame
Use this simple step-by-step plan to build a wood mirror frame with clean corners, a snug fit, and an easy finish. It works for many mirror sizes and styles.
Tools & Materials Needed
- (2) 1×4 boards, 8 feet long (example cost was about $7 total)
- Measuring tape and pencil
- Miter saw (for 45-degree corners)
- Table saw (to cut a notch for the mirror to sit in)
- Sander or sandpaper
- Wood glue
- Brad nailer + 18 gauge brad nails (about 1 1/4 inch)
- Paint or stain (optional)
- Scrap boards for the back (to hold the mirror in place)
Step 1: Measure the Mirror and Plan the Reveal
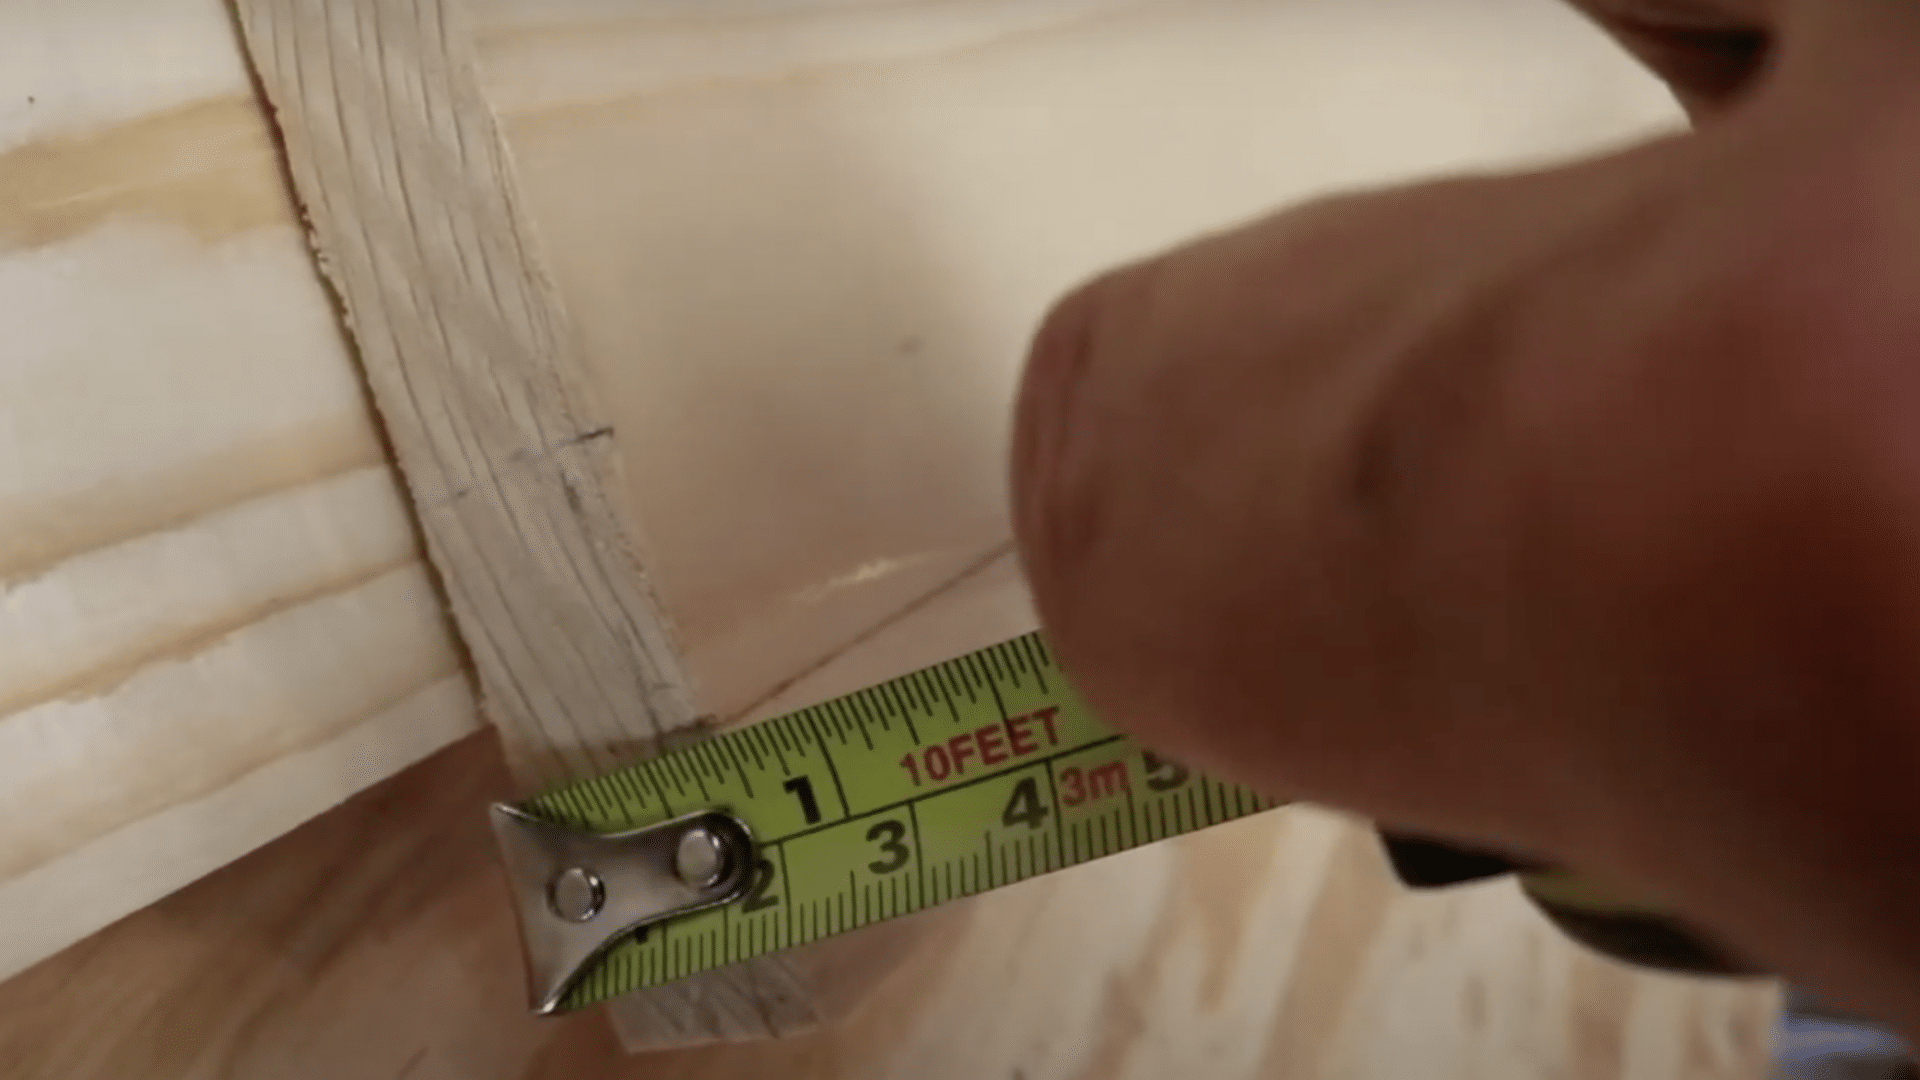
First, decide how you want the frame to sit on the mirror. A flush fit means the frame lines up right at the mirror edge. An overlap fit means the frame covers a small strip of the mirror edge. Overlap hides mirror edges better and looks cleaner.
Measure the mirror width and height. Your basic rule is simple: your frame opening must match your mirror size if the mirror sits inside a notch. If you plan to overlap, subtract that overlap from the opening size.
Step 2: Cut Your Frame Pieces
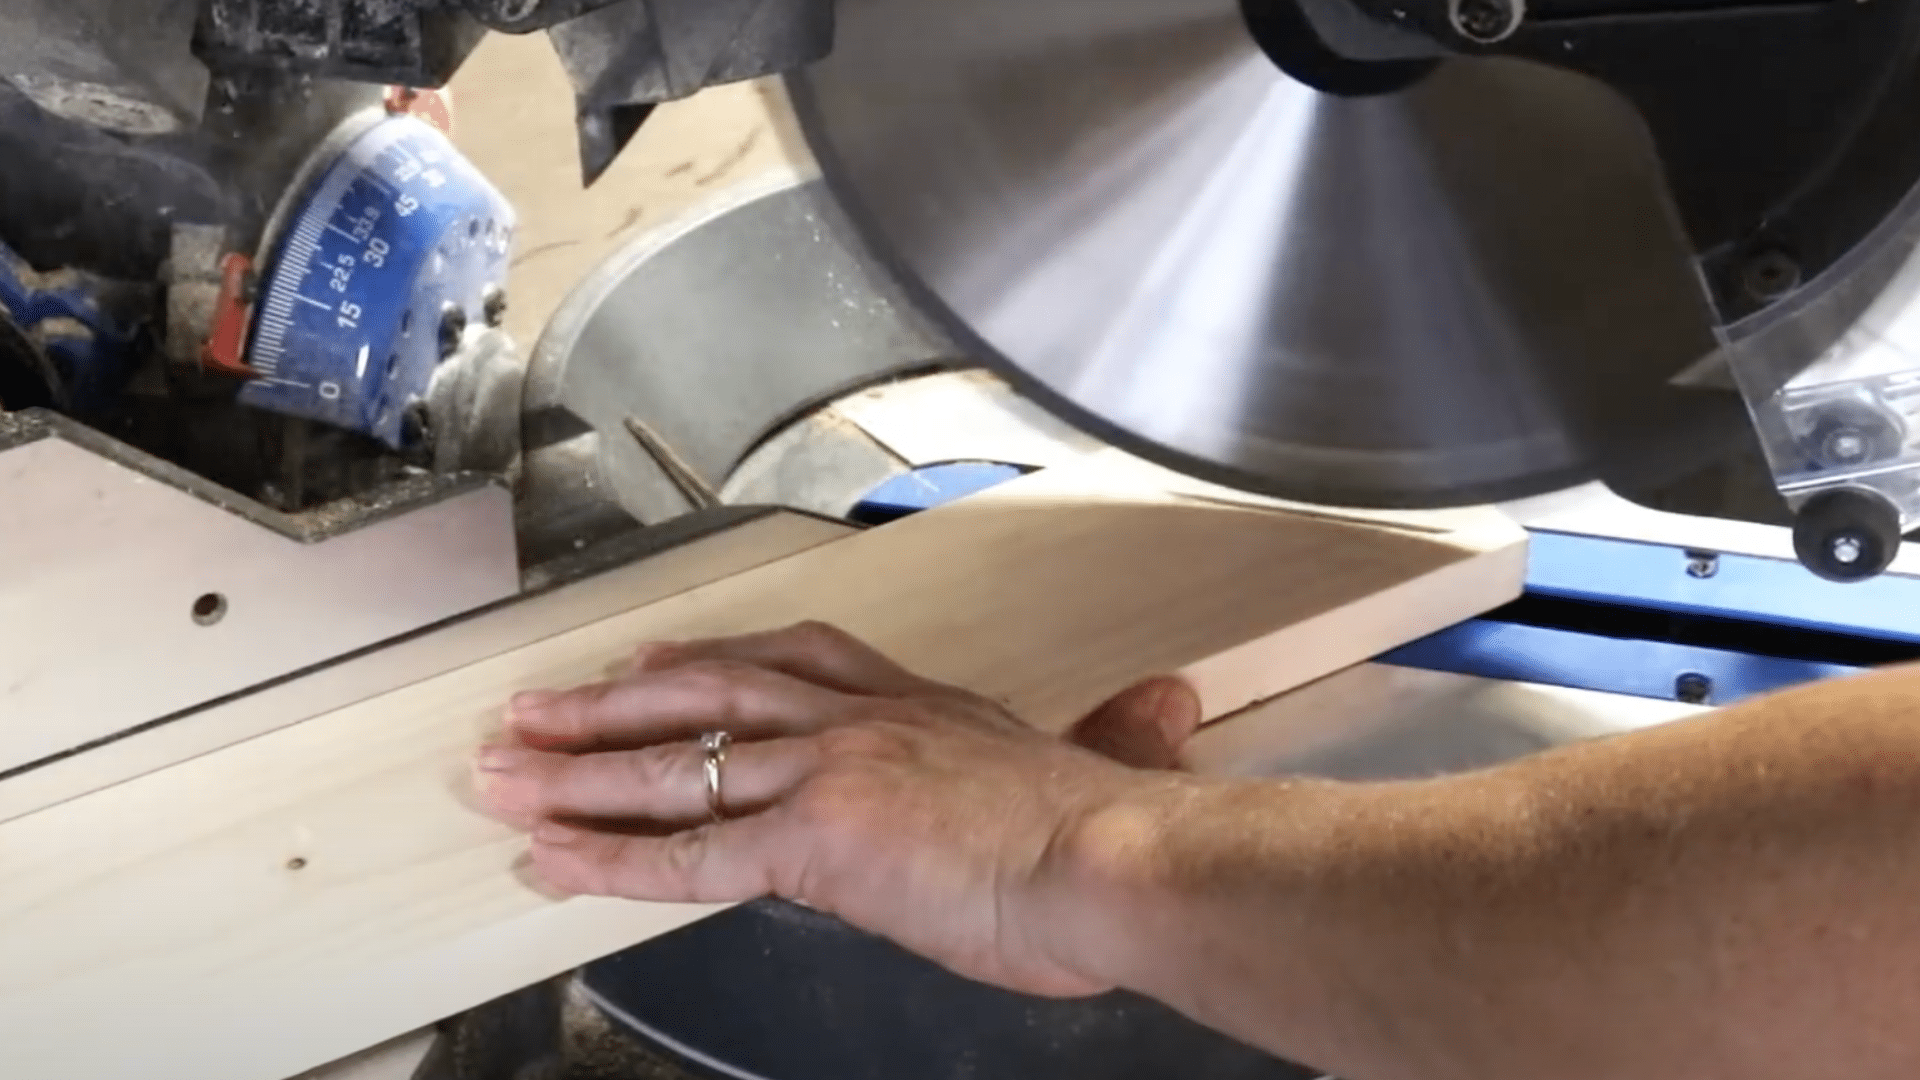
Cut your boards into four pieces: top, bottom, and two sides. If you want clean corners, cut 45-degree miters on each end. If you want a simpler build, use straight cuts and join with butt joints, but miters look more finished.
Label each piece as you cut it so you do not mix up the top, bottom, and sides. For example, the top and bottom pieces were 36 inches, and the side pieces were 28 inches, but your sizes should match your mirror.
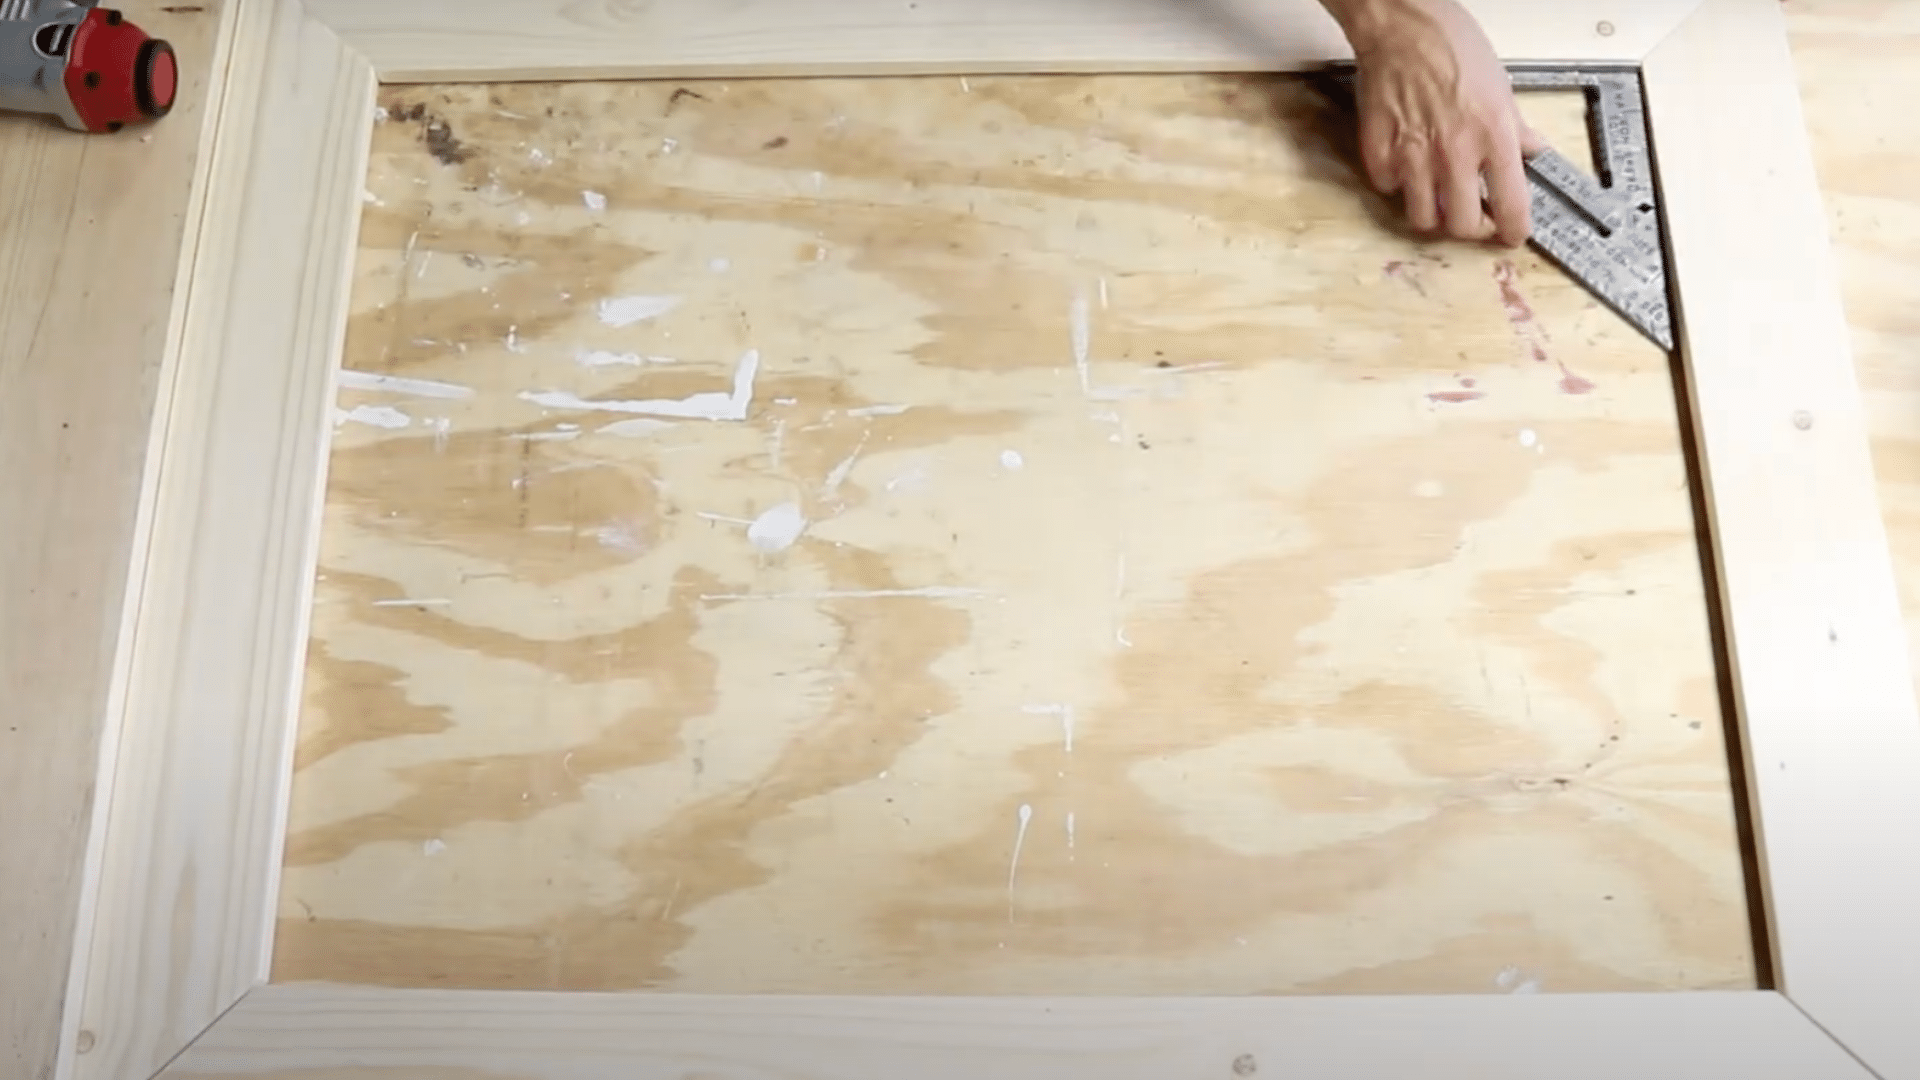
Step 3: Dry Fit Everything
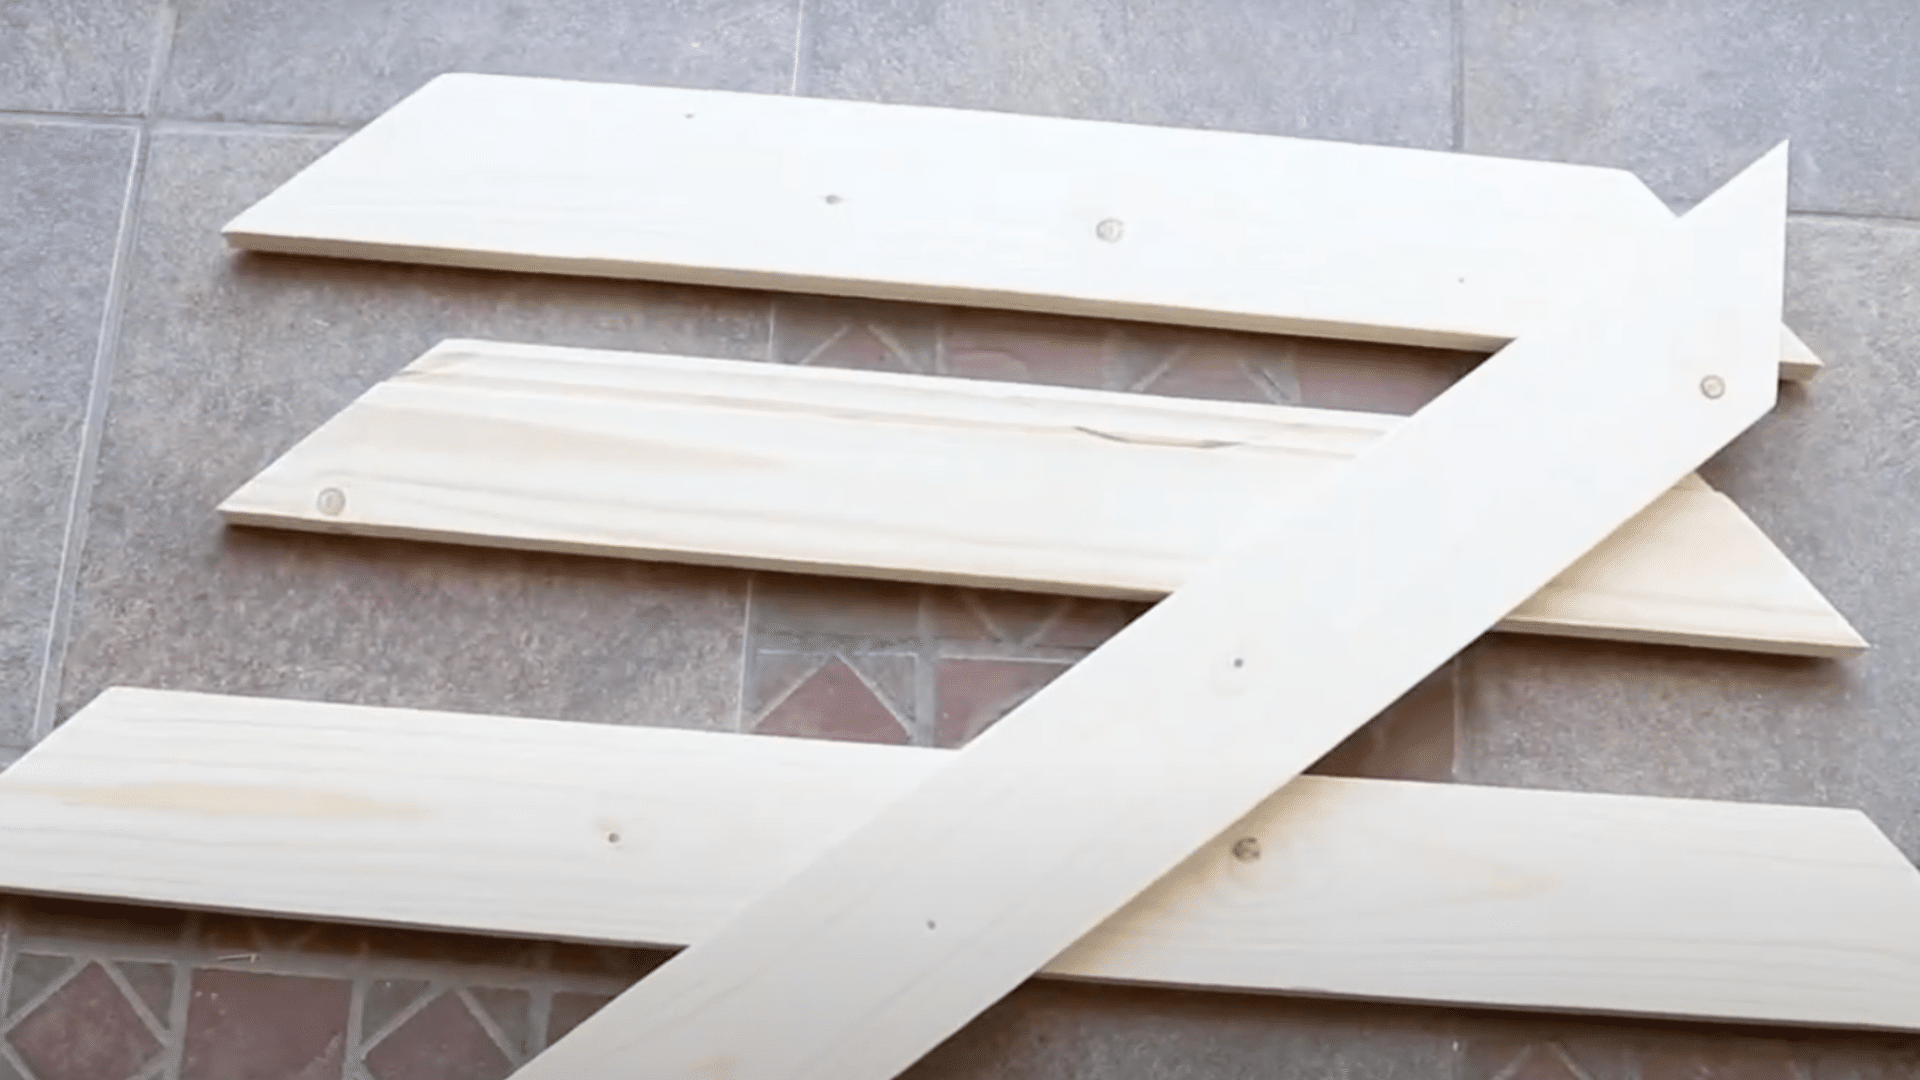
Lay the four pieces on a flat surface and test the fit before gluing. Push the corners together and check for gaps. If you see gaps, recheck your cuts and make sure your miters match.
Also, check the frame shape by measuring corner to corner both ways. If both diagonal measurements match, your frame is square. This helps your mirror sit right in the frame and keeps it from rocking later when you install it.
Step 4: Assemble the Frame
Once the dry fit looks good, glue the corners and assemble the frame. For a light frame, glue alone can work, but glue plus fasteners is stronger. Wood glue was added to the miter corners, then brad nails were used to lock the corners in place.
Make sure the grooves or notches line up on all pieces before you nail. Wipe off excess glue so it does not harden on the wood surface and mess up your finish.
Step 5: Install the Frame
Prep the mirror and wall area first. Clean off dust so your frame sits flat and holds better.
If your mirror will sit inside the frame notch, place the mirror into the groove once the front frame is built. Then add support boards on the back to keep the mirror from moving. In the example, backing boards were cut and attached to hold the mirror in place.
If you are attaching a frame to a wall mirror, place the frame carefully, use tape to hold it in place, and support it until everything is set fully.
Step 6: Finish (Paint Or Stain)

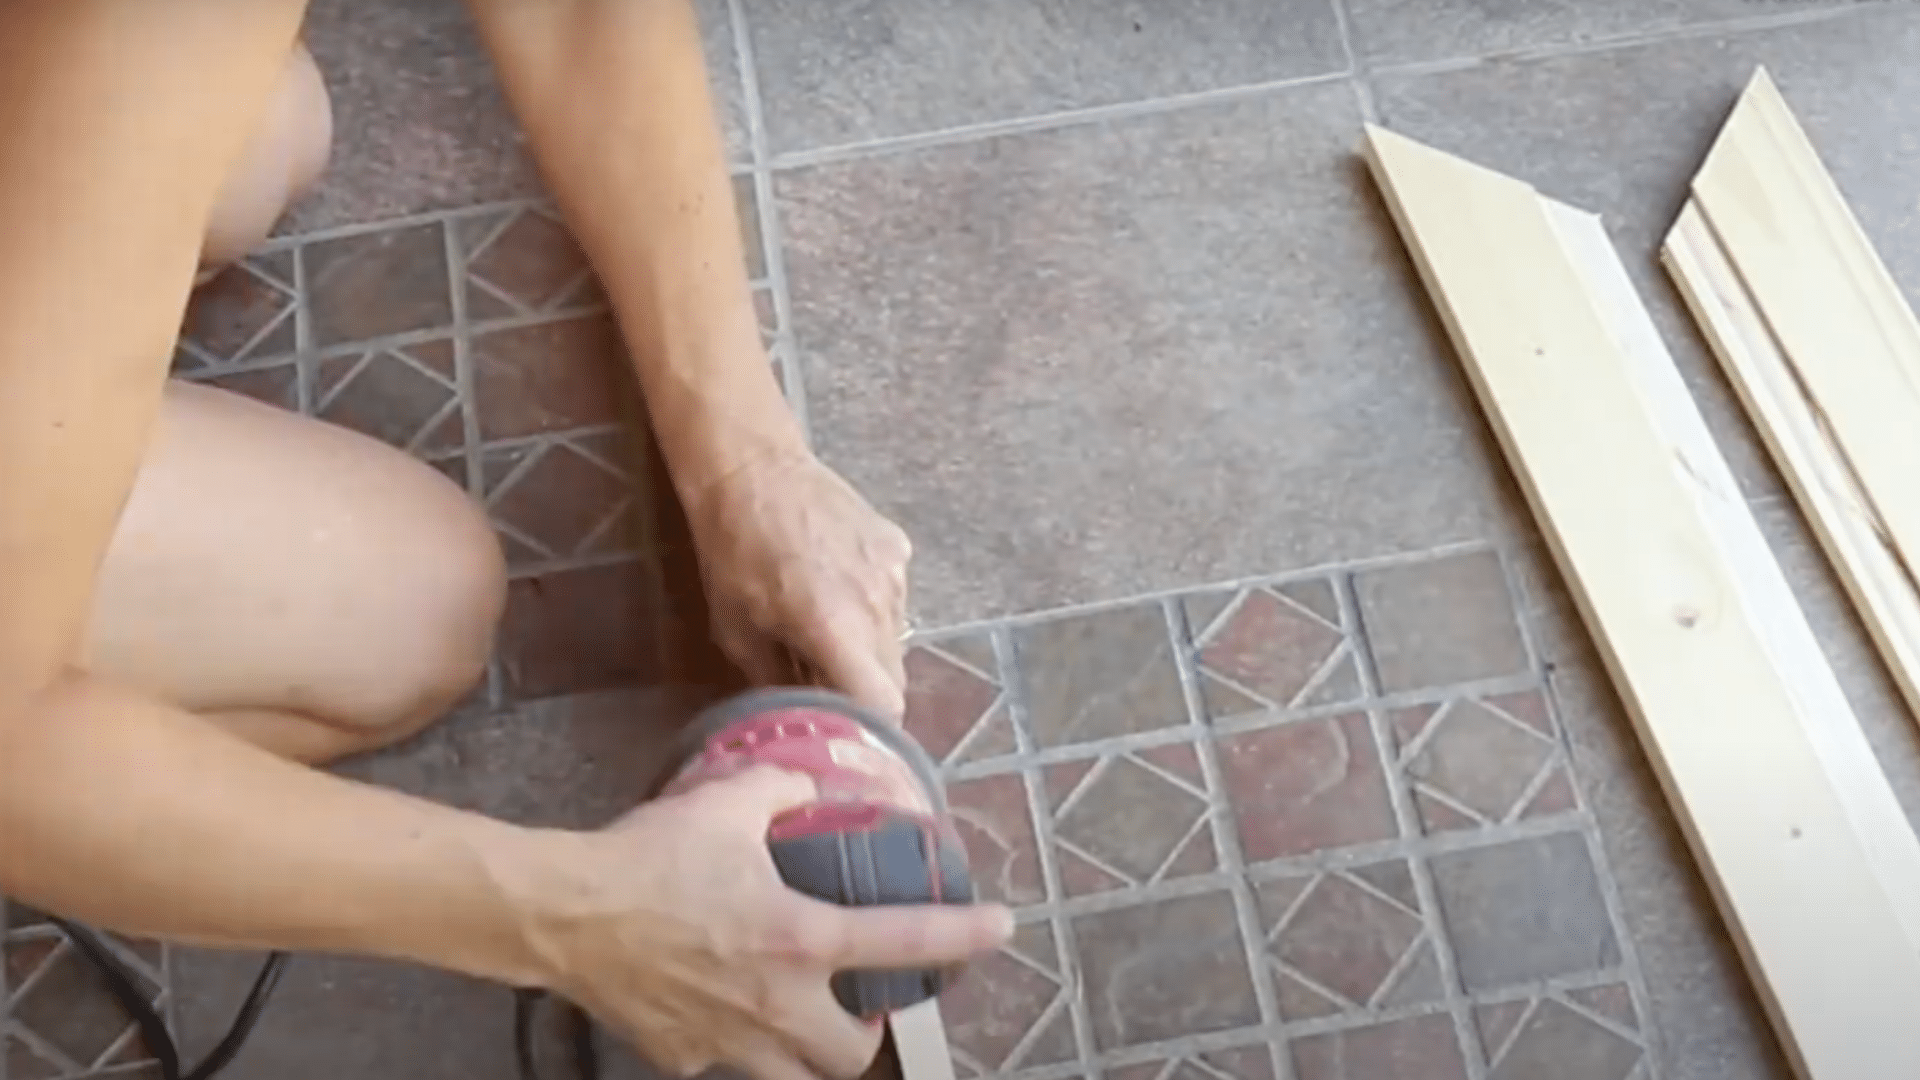
Sand the whole frame, especially corners and edges, so it feels smooth. Then finish it before final attachment if your build needs backing boards added later. A thin coat of white paint was brushed onto to make a light wash look, like a pale stain.
You can also use a regular stain and seal it. For bathrooms, add a clear sealer on top so steam and splashes do not damage the finish. Let it dry fully before you hang or install it near daily moisture.
DIY Mirror Frame Ideas (Pick a Look)
After you build the base frame, use these ideas to match your space. Each option tells you what to use, how it looks, and one tip to help it last.
1. Modern Box Frame
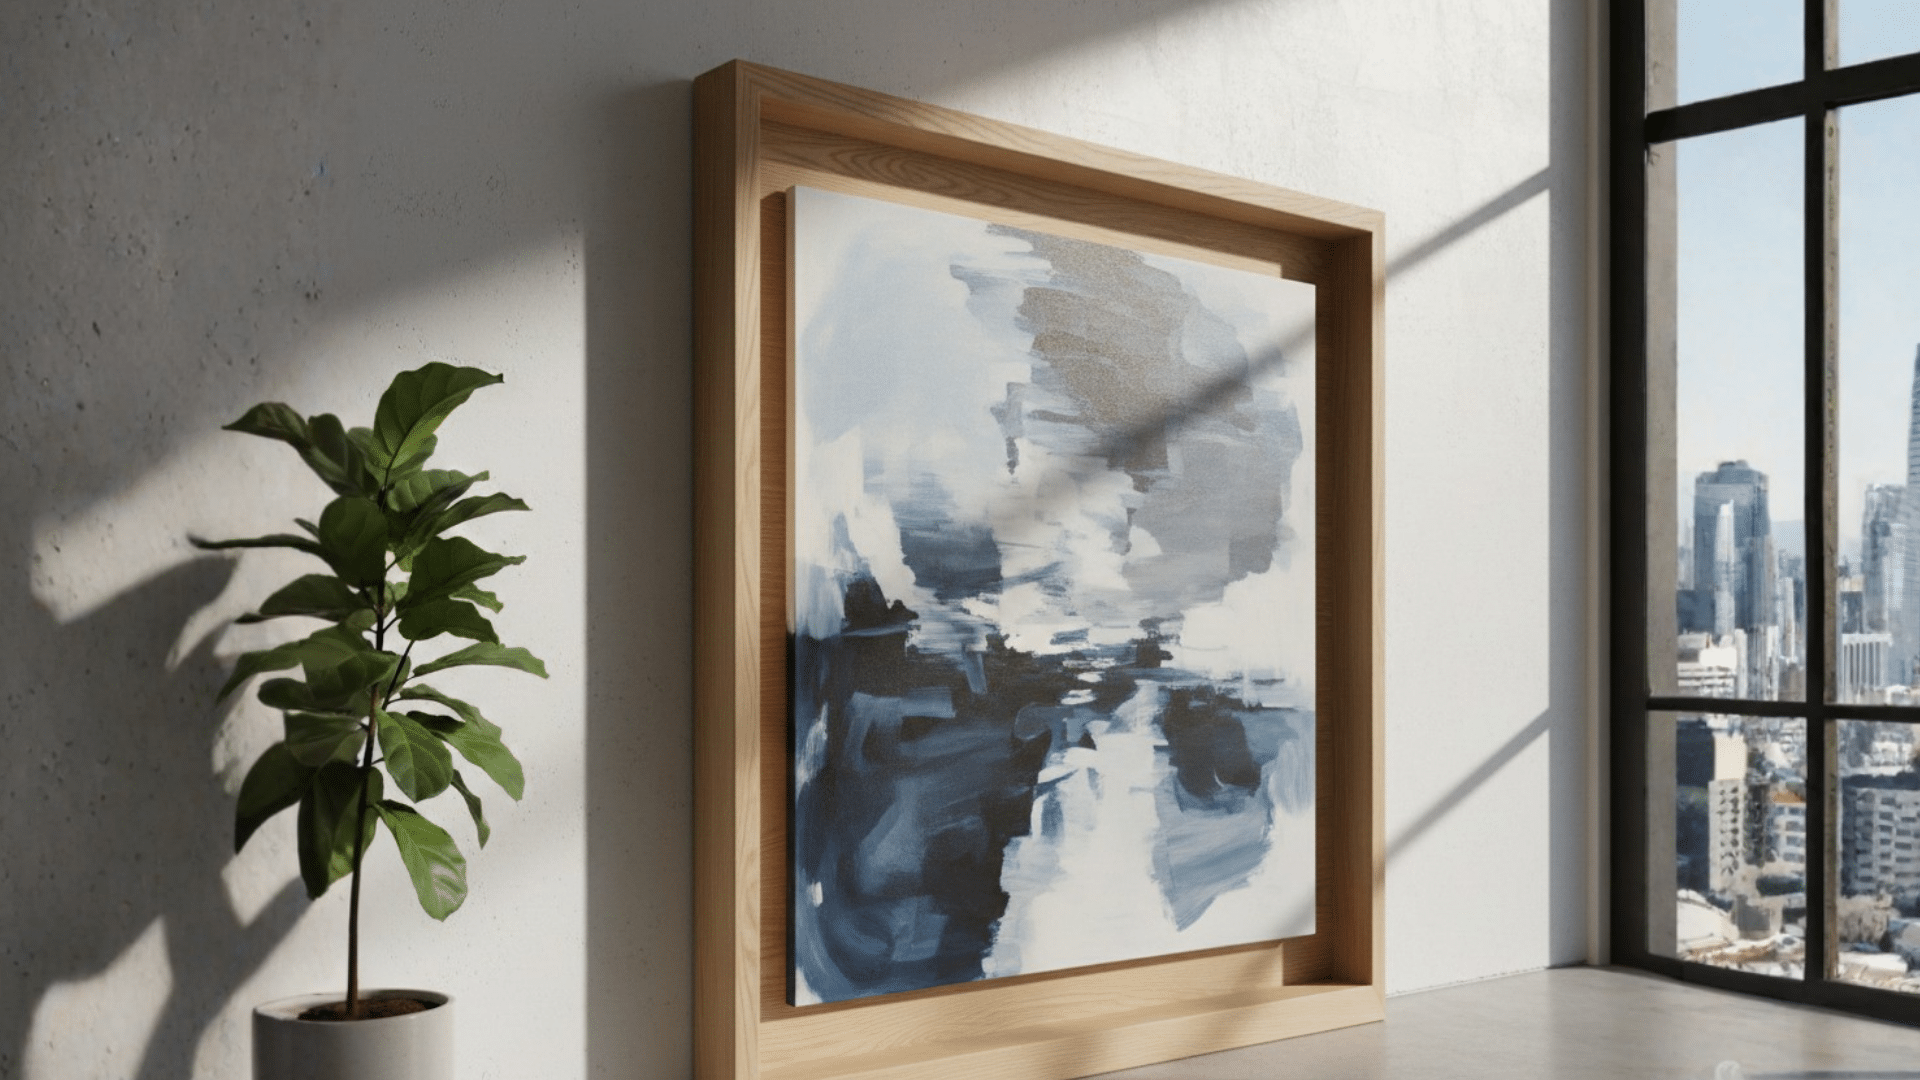
A modern box frame uses flat boards and straight lines, so it feels clean and simple. Use 1×3 or 1×4 boards and keep the edges crisp with sanding. This style works well if you want the frame to look bold without extra detail.
Paint it black for contrast, or white for a lighter look. If this is in a bathroom, add a clear topcoat so steam and splashes do not dull the paint. This style is also forgiving if your walls are not perfect.
Best Materials: 1×3 or 1×4 pine, MDF, or poplar.
Best Finish: Paint plus a moisture-safe clear topcoat.
2. Simple Trim and Molding Frame
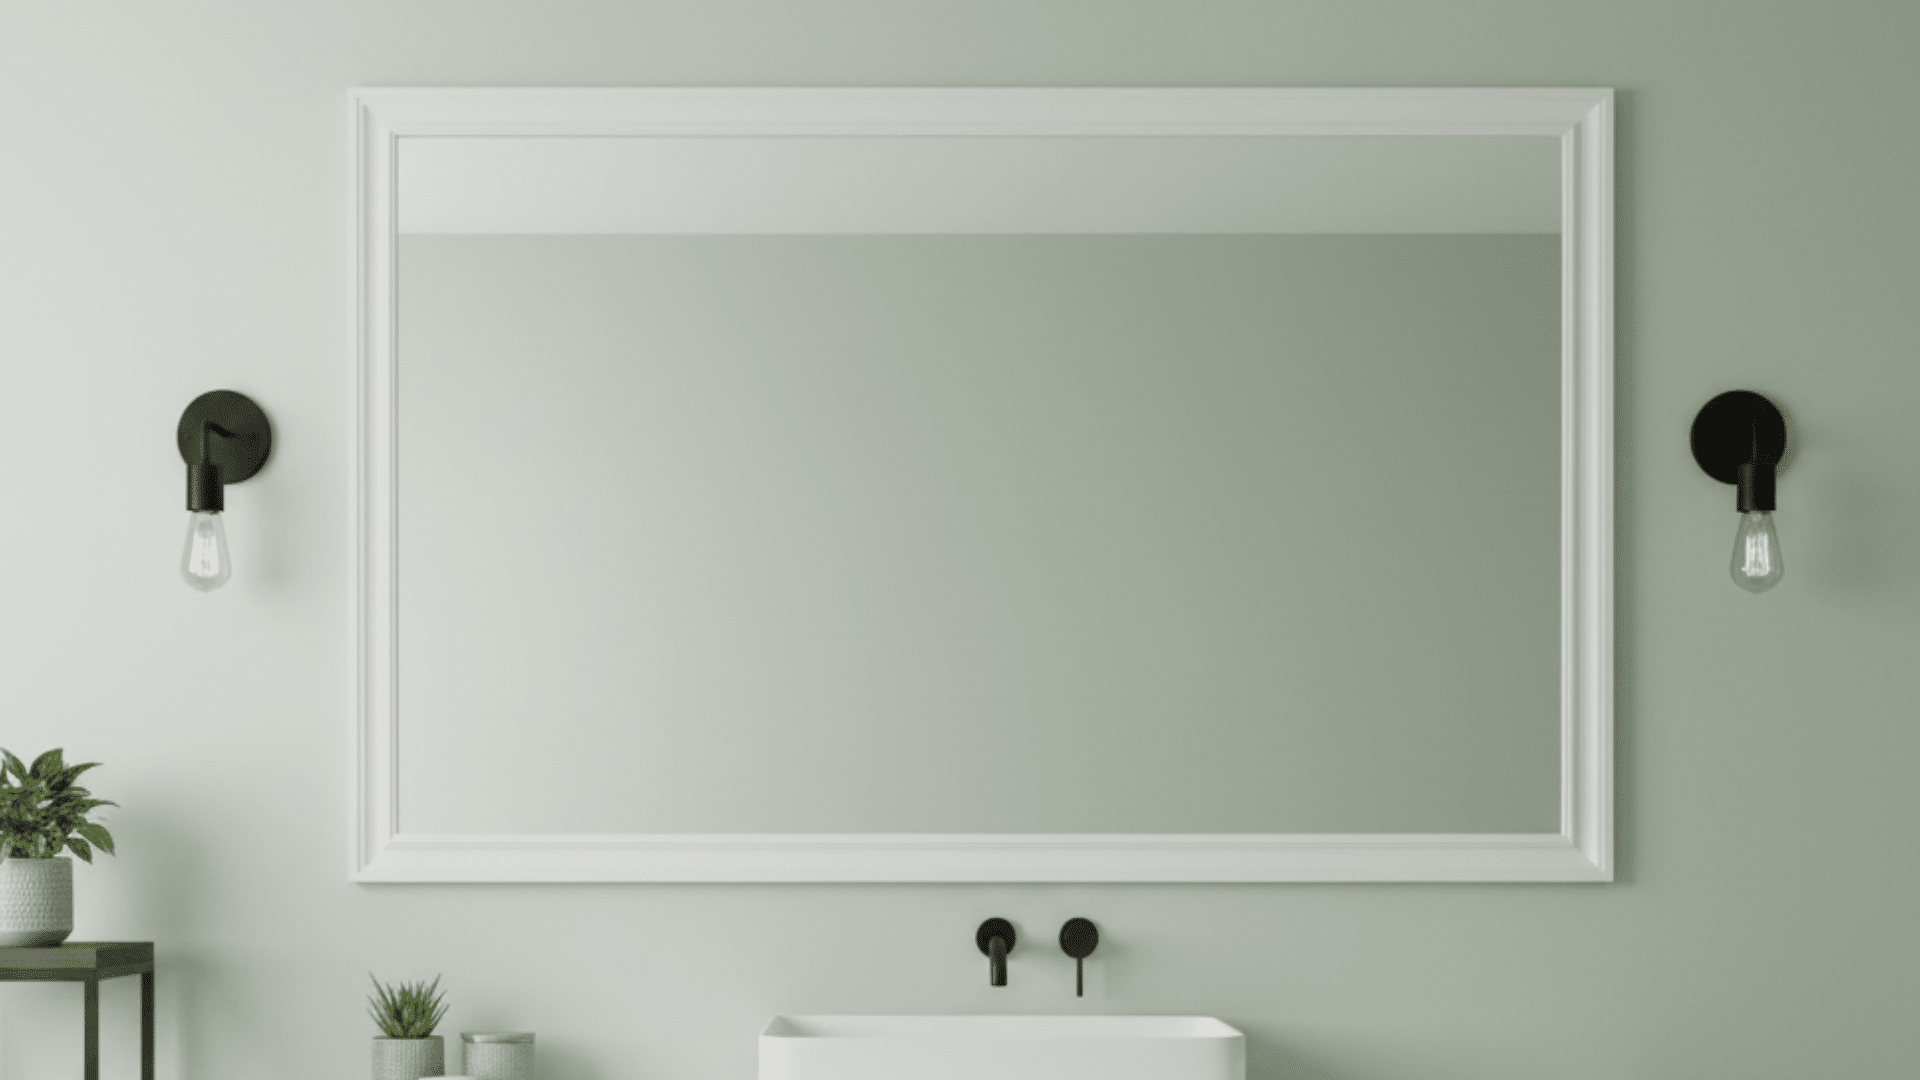
This is the fast upgrade many people use for builder mirrors. You attach trim that looks like doorway casing or base cap, so the mirror feels finished. It works well when you want a classic look without building a thick frame.
Use a trim that is light enough to hold well, especially if you plan to attach it to the mirror surface. Paint it to match your vanity, wall trim, or cabinets so it blends in. This idea also helps hide rough mirror edges and small wall gaps.
Best Materials: Base cap molding or door casing.
Best Finish: Paint to match your vanity or wall color.
3. Layered Molding Frame
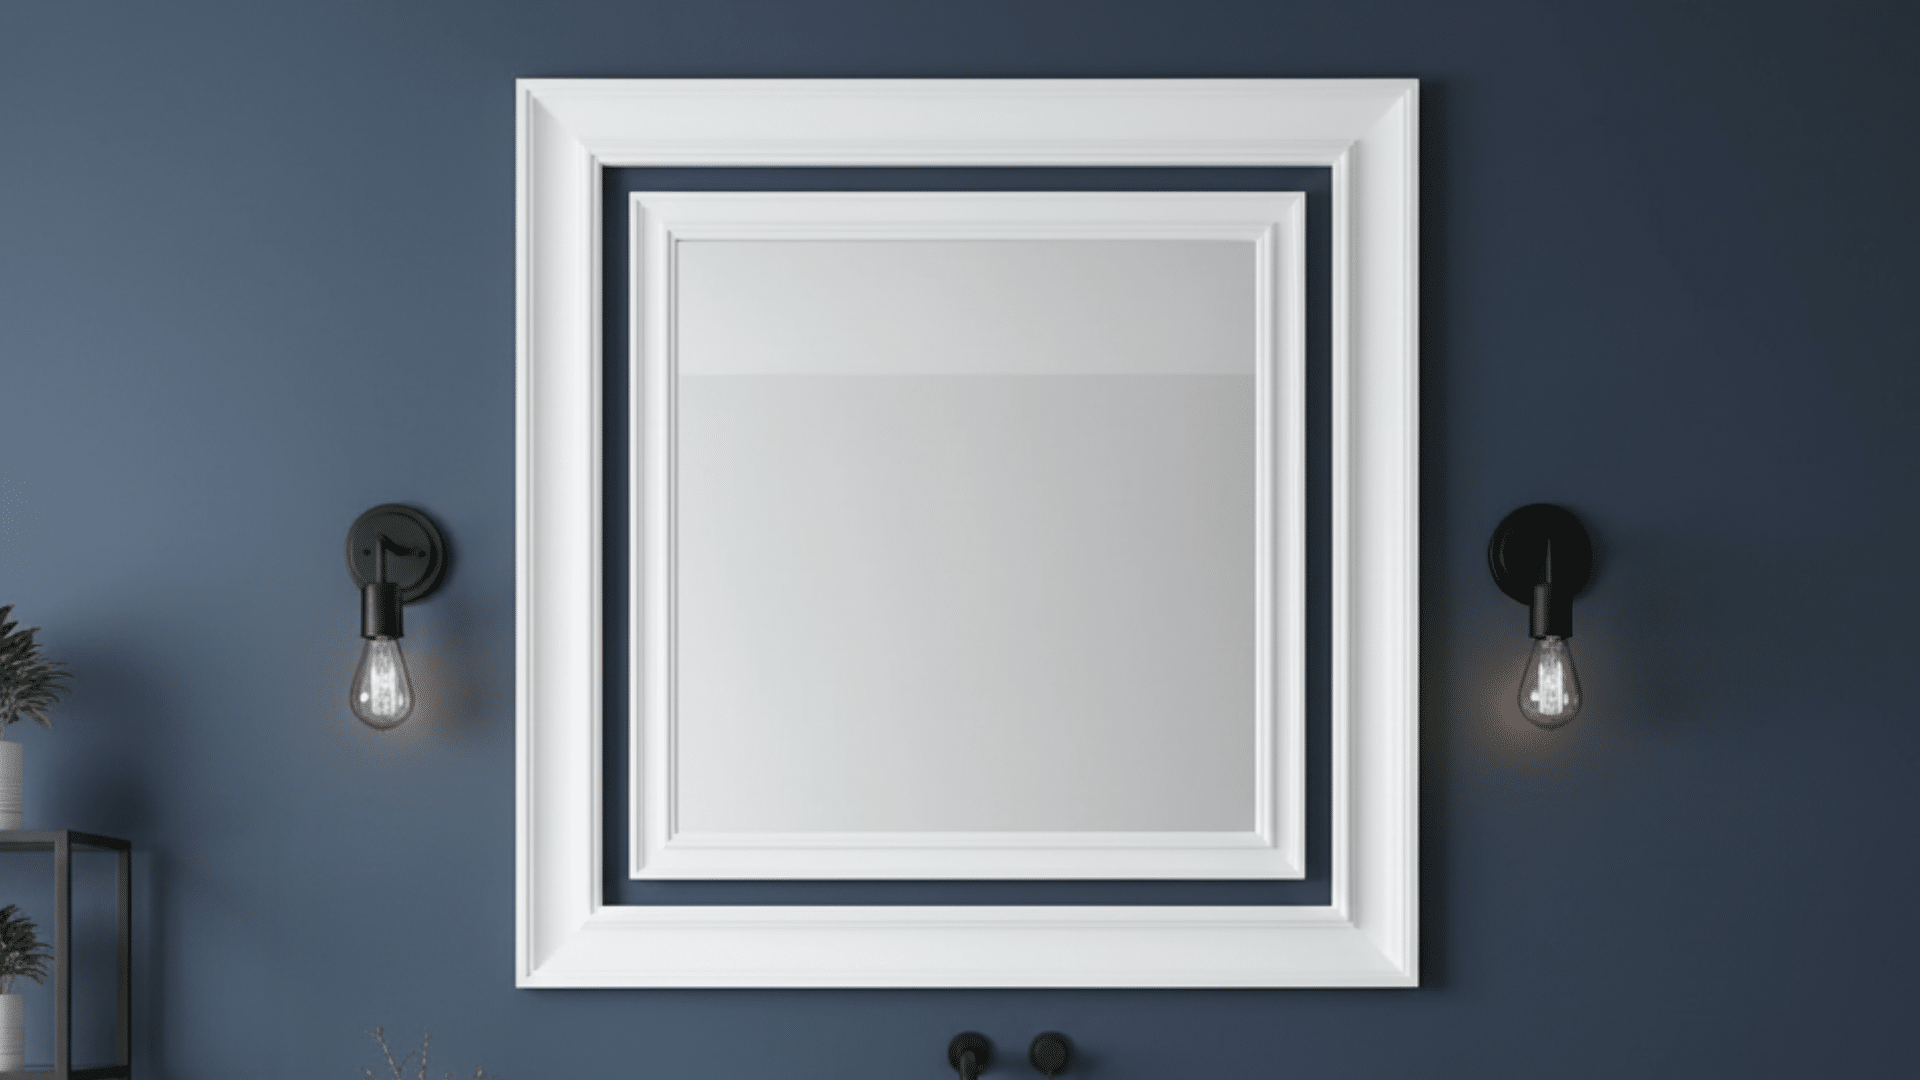
Layered molding adds depth by stacking two trim styles. Start with a wider outer piece, then add a thinner inner piece to create a stepped look. This method gives more detail without needing fancy cuts.
Keep both layers the same color so it stays neat and not busy. If you want the layers to feel tighter, fill small seams with paintable caulk before painting. This style works well in bathrooms because the extra trim detail makes a plain mirror look more finished.
Best Materials: One wider trim plus a thinner inner trim.
Best Finish: Same color paint on both layers.
4. Reclaimed Wood Frame

Reclaimed wood gives a rough, aged look that feels warm and natural. Use straight boards only, because warped wood will not sit flat. Sand the edges so you do not get splinters, but do not sand away all the texture if you want that worn look.
This style hides small wall flaws well because the wood grain and texture break up lines. In bathrooms, sealing matters most, since raw reclaimed wood can soak up moisture.
Best Materials: Old fence boards or straight pallet-style planks.
Best Finish: Light sand, then seal well.
5. White Painted Farmhouse Frame
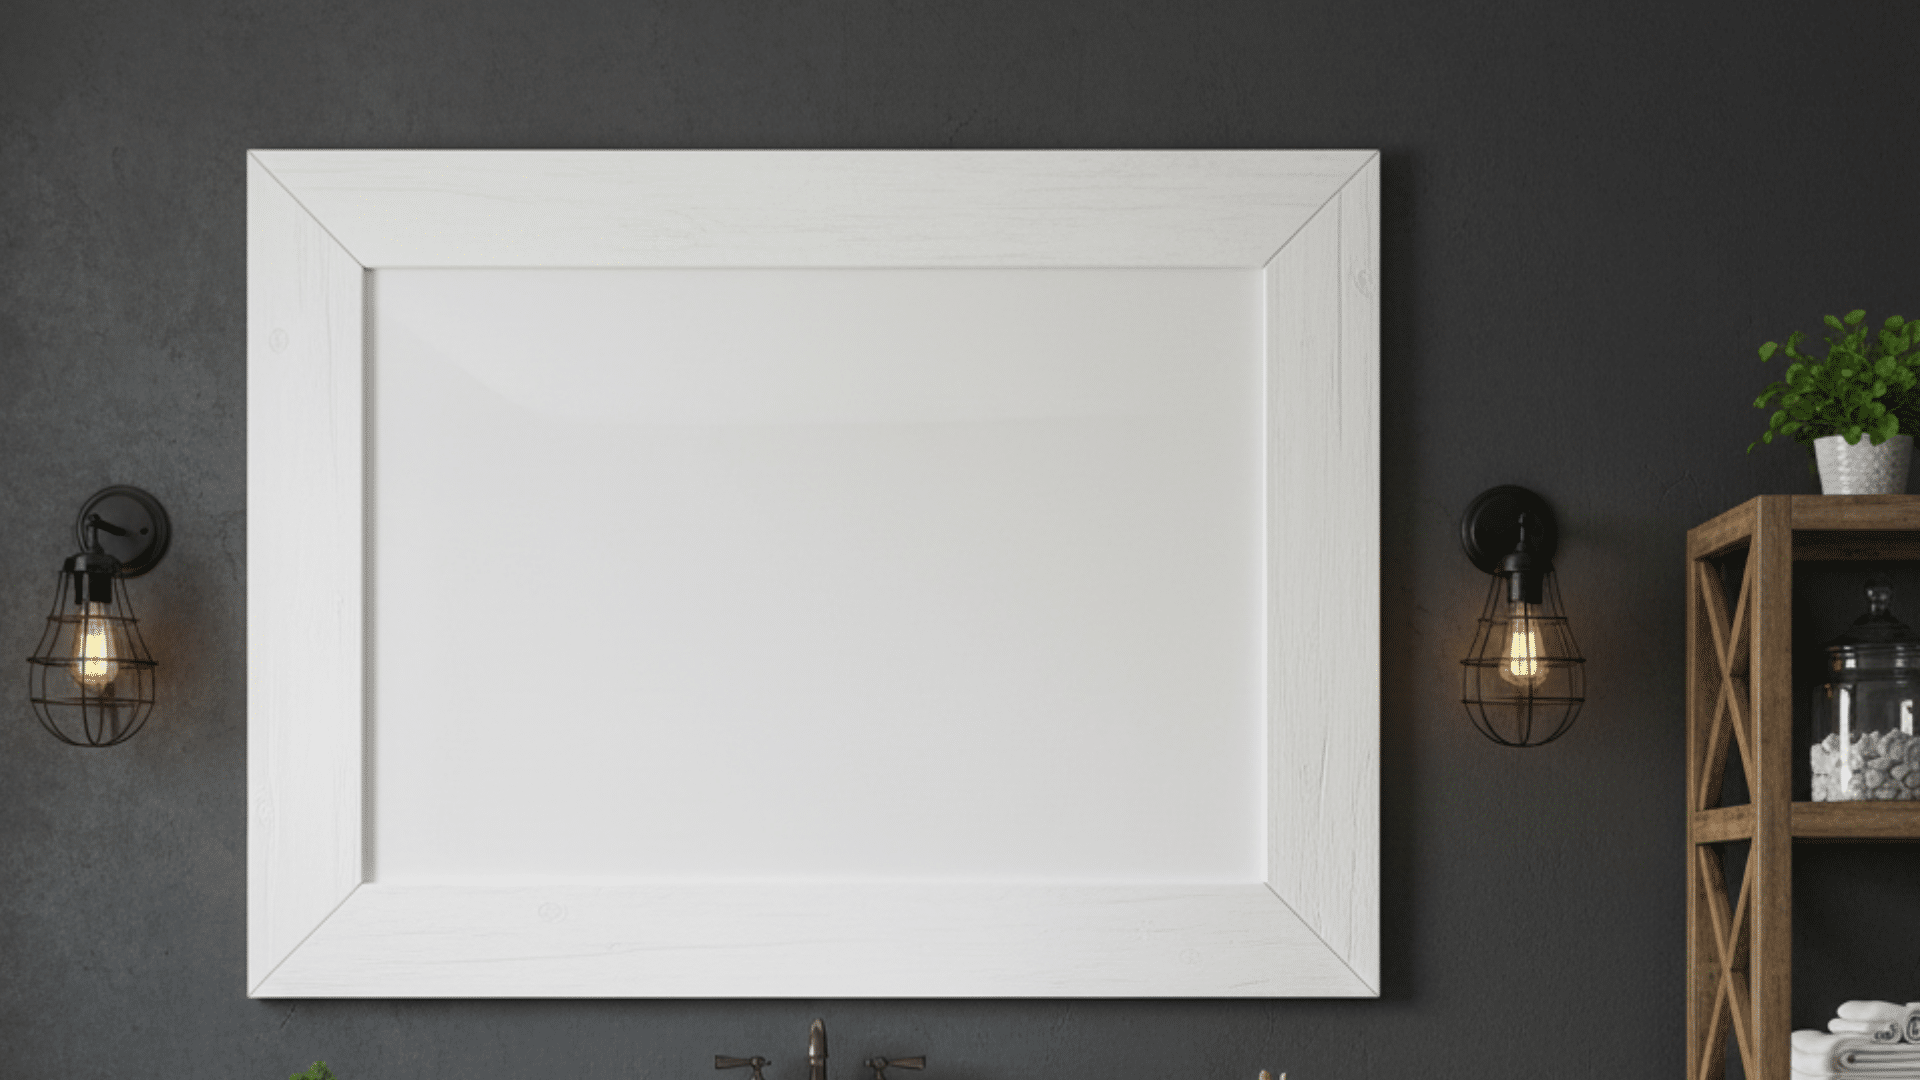
This uses thicker boards painted white for a strong, simple frame. It works best when you want the mirror to stand out against darker walls or wood vanities. Use 1×4 or 1×6 boards and sand the corners so they feel smooth and even.
Semi-gloss paint can make cleaning easier, especially in a bathroom. If you like a softer look, you can do a thin white coat so some wood grain shows through, then seal it so it holds up.
Best Materials: 1×4 or 1×6 boards.
Best Finish: Semi-gloss paint with a clear topcoat.
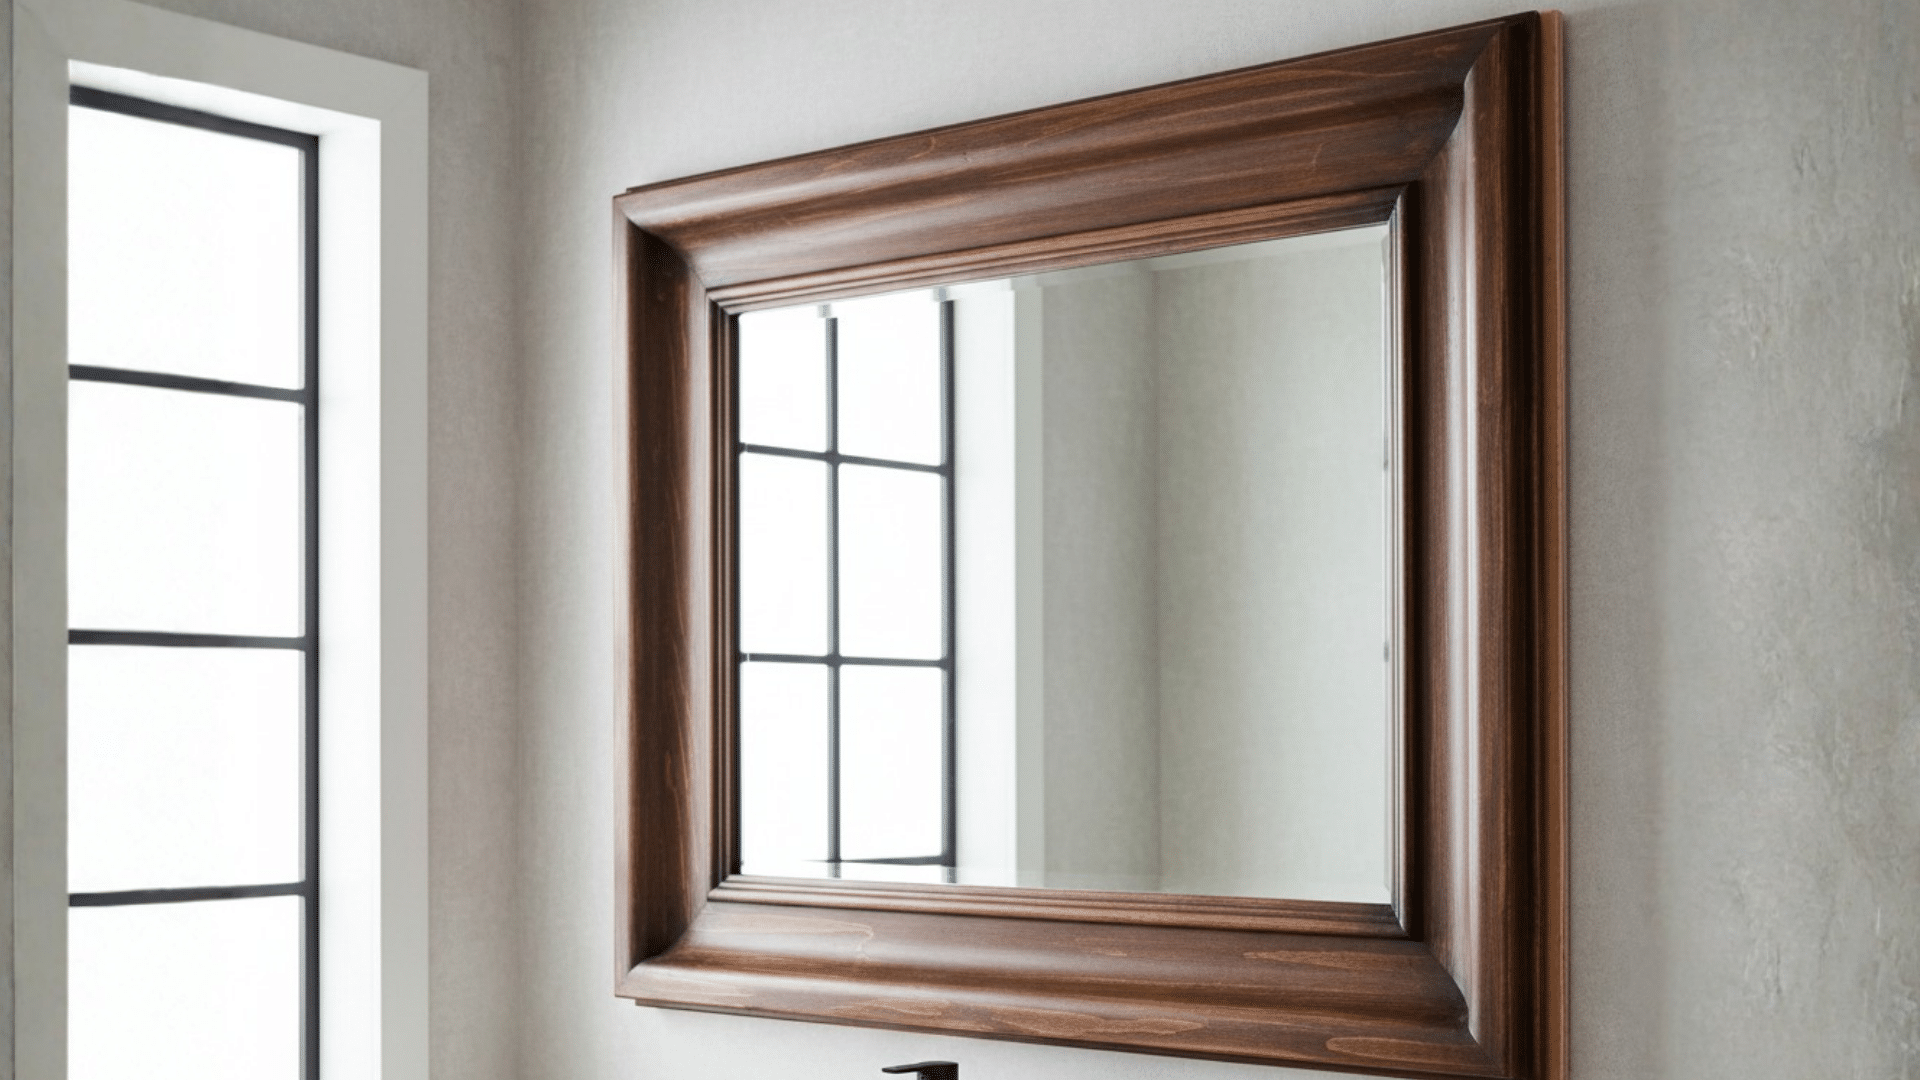
6. Dark Stained Wood Frame
A dark-stained frame adds contrast and pairs well with warm lighting and bronze or black hardware. Wood choice matters because pine can stain blotchy without prep. Use a wood conditioner if you pick pine, or use a hardwood like oak for a more even stain.
After staining, add a clear coat so water does not leave marks. If you want a more even look, test stain on a scrap piece first. This style looks best with clean corners and a smooth sanded surface.
Best Materials: Poplar, oak, or pine plus conditioner.
Best Finish: Stain plus clear coat.
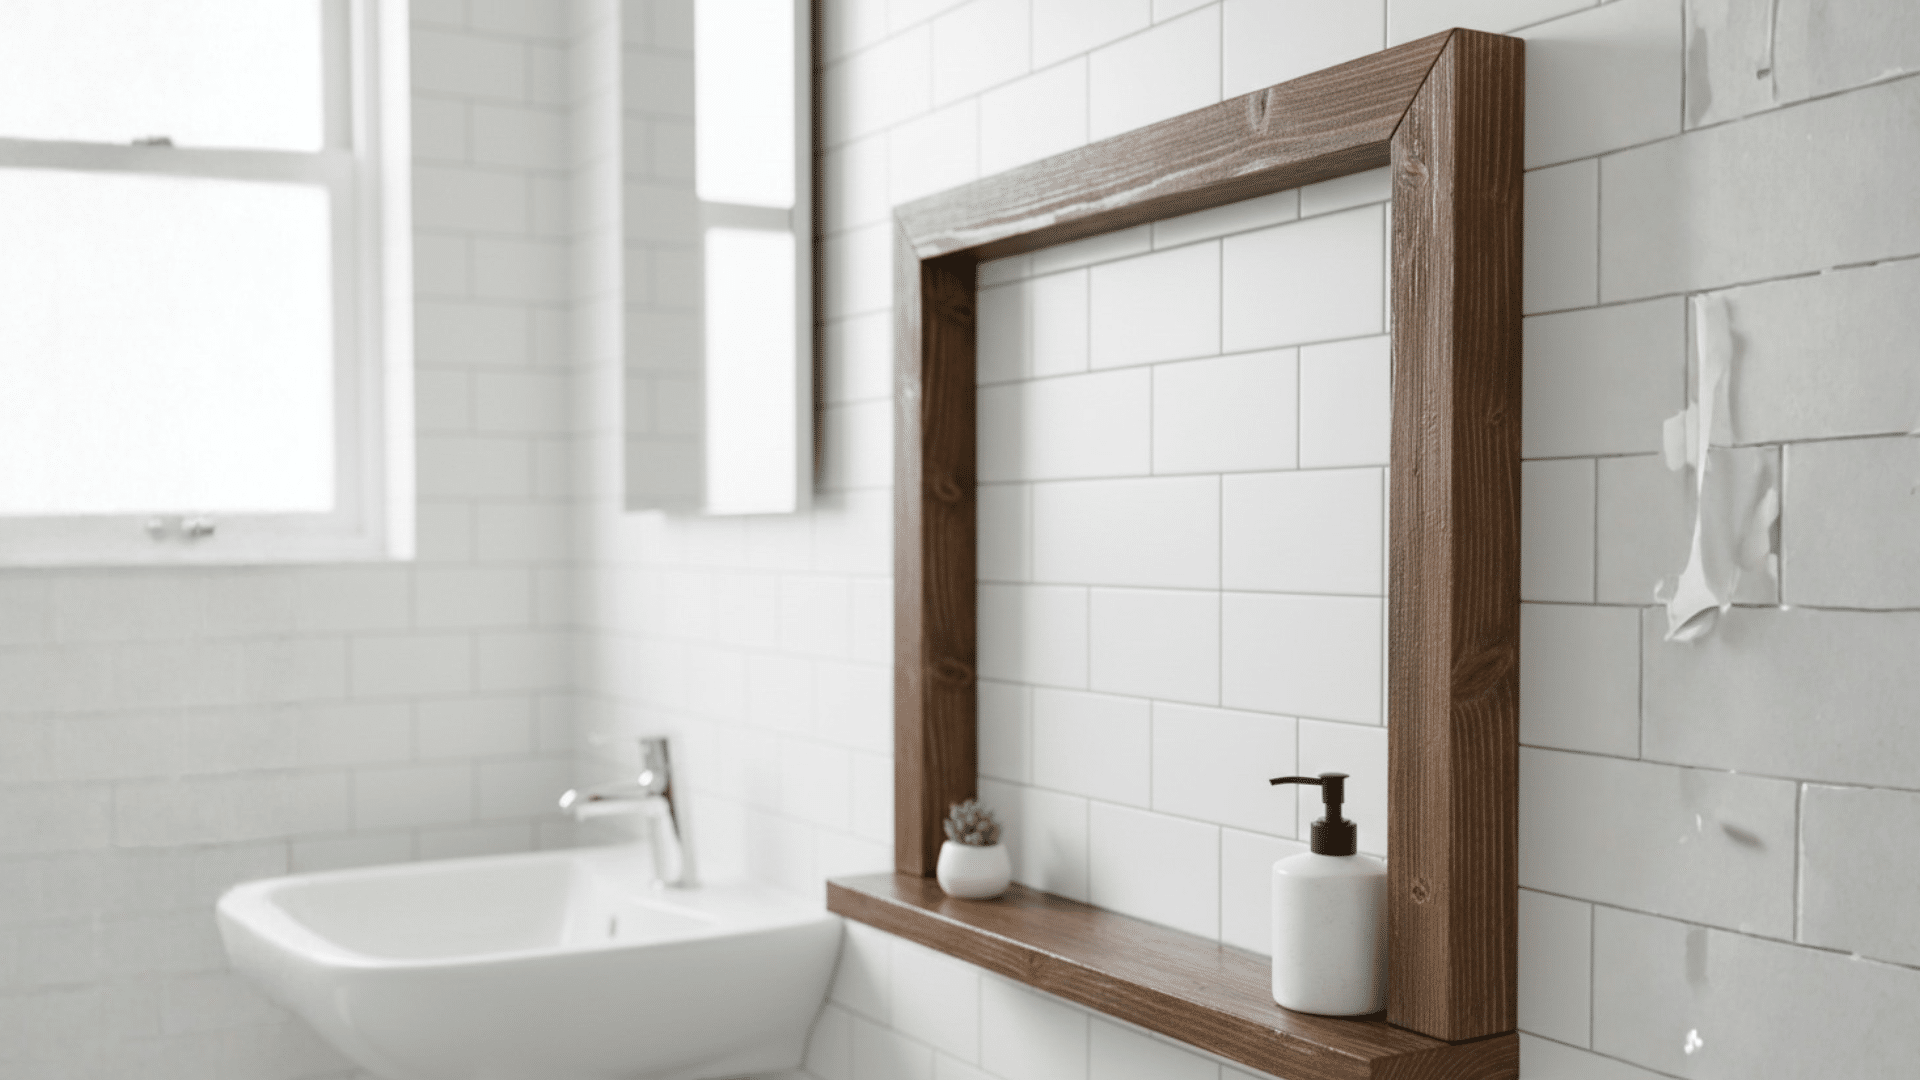
7. Picture Frame Style With Backing
This style looks like a real wall frame because it uses a backing strip behind the front trim. The backing helps if the mirror edge is rough or uneven, and it gives you more support. It also helps keep the mirror snug if you are setting it into the frame.
Use thin plywood as a backer, then attach trim on the front. Seal the edges well, because plywood edges can soak up moisture. This style is a good choice if your mirror is heavy or wide.
Best Materials: Thin plywood backing strip plus trim.
Best Finish: Paint or stain, then seal edges.
8. Shiplap Frame Border

This idea frames the whole mirror zone, not just the mirror edge. Add shiplap boards around the mirror area, then finish it with simple trim on top. It works well if you want the mirror wall to feel like a feature.
Use MDF shiplap panels for smoother paint, or wood planks for more texture. Keep the paint color the same as your wall trim so it does not fight for attention. Seal it well if it sits near a sink.
Best Materials: Shiplap planks or MDF shiplap panels.
Best Finish: Paint the same color as your trim.
9. Tile Border Frame
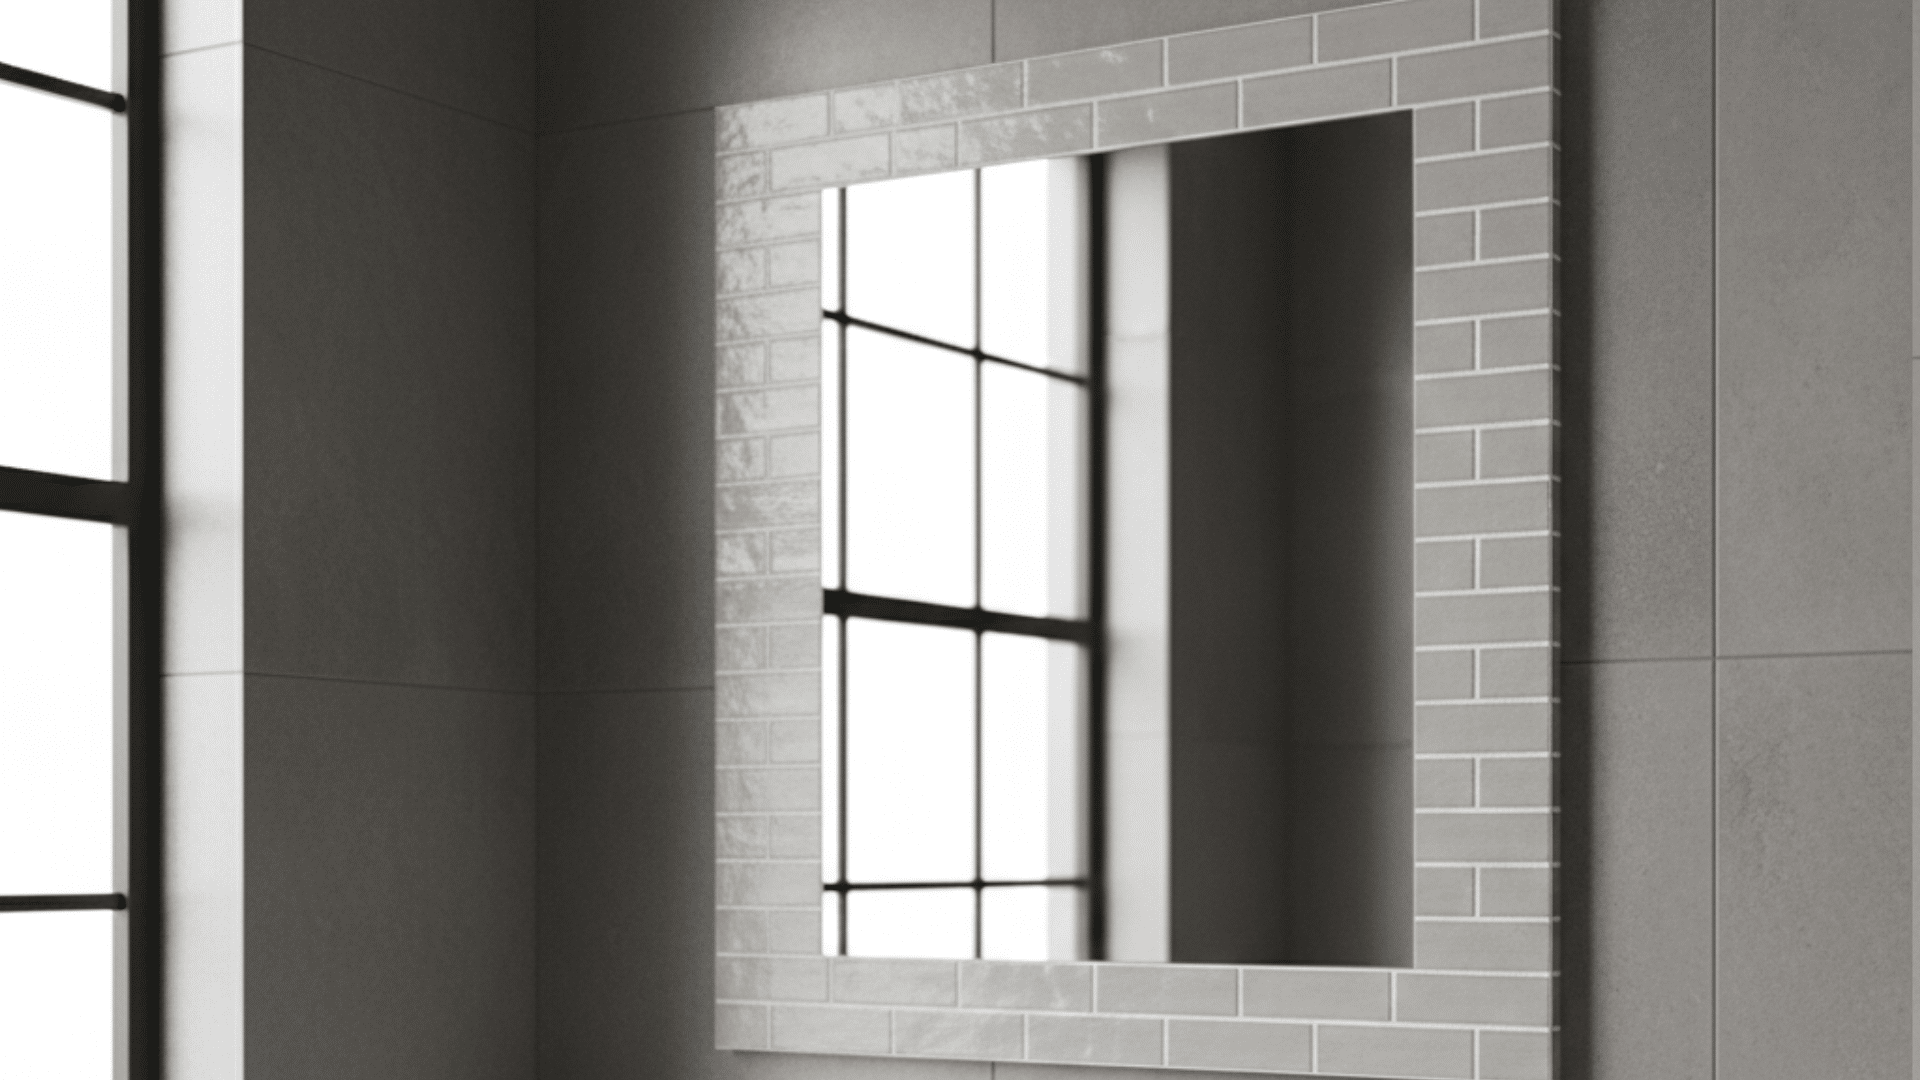
A tile border is a smart pick near sinks because it handles water better than bare wood. Use mosaic tile for detail or thin subway tile for a clean look. Plan your tile layout so cuts land in less visible spots.
Grout lines need sealing, or stains can set in over time. This option also helps match a backsplash, so the mirror feels tied into the whole wall. Keep the border width balanced, so it does not overpower the mirror.
Best Materials: Mosaic tiles or thin subway tile.
Best Finish: Sealed grout and clean edges.
10. Dowel Accent Frame
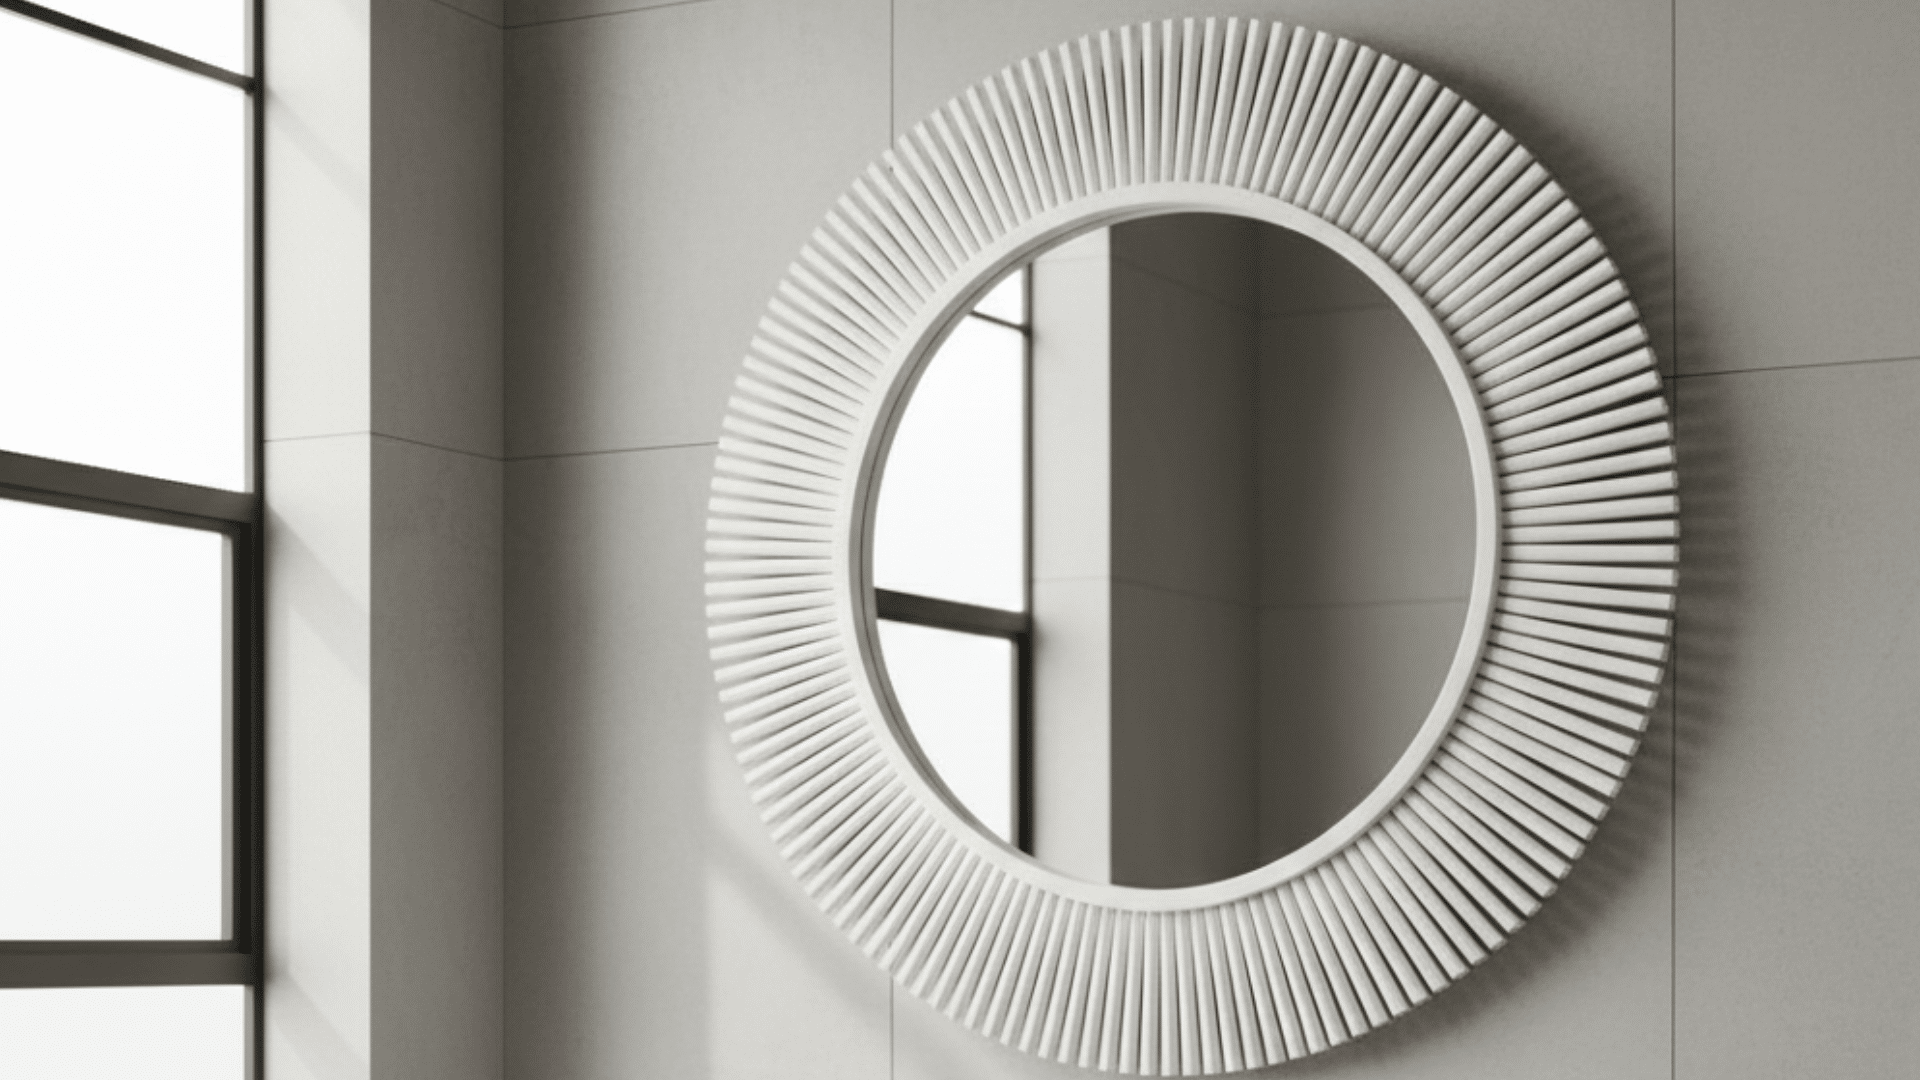
This adds texture by attaching dowels to a simple base frame. Build the base first, then cut dowels to the same length and glue them evenly around the edge. A spacing guide helps keep gaps consistent.
Paint the whole piece one color so it looks neat and unified. This style is lighter than it looks if you use smaller dowels, which can help with mounting. In bathrooms, seal it so paint does not chip from moisture and cleaning.
Best Materials: Wood dowel rods plus a thin base frame.
Best Finish: One color paint plus clear coat.
11. Rope Wrapped Frame
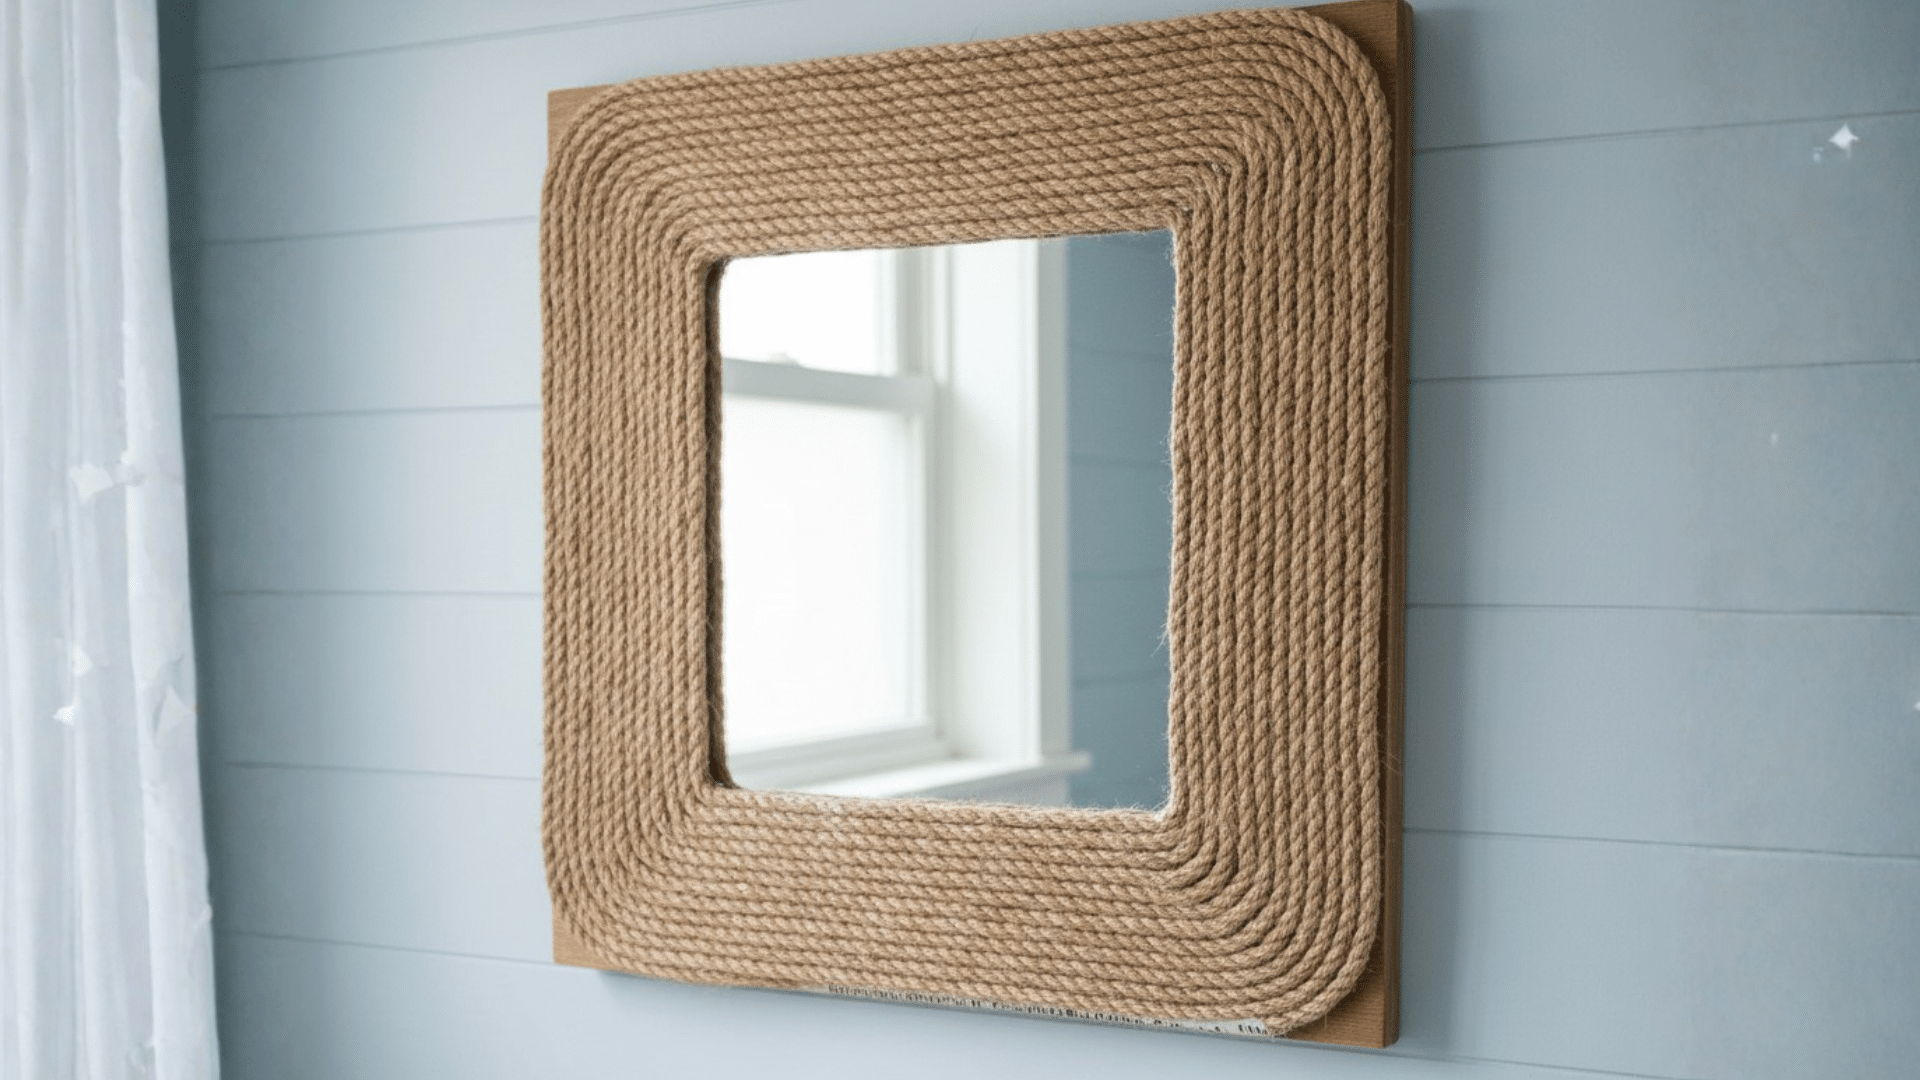
A rope-wrapped frame brings a casual look and works well in guest baths. Start with a simple wood frame, then wrap rope tightly and glue as you go. Jute rope works well, but it can shed dust if left raw.
A light sealer coat can help reduce shedding and make it easier to wipe clean. Keep rope joins at the bottom edge so they are less visible. This frame can get bulky, so check clearance near lights and outlets first.
Best Materials: Jute rope plus strong glue.
Best Finish: Light sealer coat to reduce dust.
12. Metal Look Painted Frame
This gives an industrial feel without metal tools. Build a flat wood frame, then paint it in a dark tone. Add soft highlights with a dry brush so it looks like worn metal. Keep the edges sharp and smooth, because bumps show more with this finish.
Seal it so cleaning does not dull the surface. This style pairs well with black faucets and simple lighting. It also works in a hallway mirror, not just bathrooms.
Best Materials: Flat boards with smooth edges.
Best Finish: Dark paint plus subtle dry brush highlights.
13. Oversized Frame with a Mini Shelf
This idea adds a ledge at the bottom of the frame. It can hold a small item, but keep it simple so it stays easy to clean. Use a sturdy base frame and attach a shelf board along the bottom edge.
Seal the shelf extra well because it will catch splashes and drips. Keep the shelf shallow so it does not block the sink or faucet. This style works well for half baths where you want more function without adding a cabinet.
Best Materials: 1×4 frame plus a 1×3 ledge piece.
Best Finish: Seal well to protect the shelf.
Conclusion
You just built the foundation for a clean mirror upgrade, and now you know what makes it work.
You checked your mirror setup first, measured the right way, cut your pieces, and locked the corners so the frame stays tight.
You also saw how sanding and sealing can help the finish hold up, especially in a bathroom. My biggest tip is to dry fit everything before gluing, because that step prevents most mistakes.
If you try one of the style options, keep the materials simple and seal well near water. Want to take it a step further? Check out my other DIY posts for more low-cost upgrades, then tell me which DIY mirror frame style you plan to try.


