


Last summer, I wanted a pool in my backyard, but I didn’t want to spend thousands of dollars. That’s when I came acrossthe diy stock tank pool idea.
It’s affordable, simple, and perfect for small spaces. I was surprised at how easy it was to build with the right tools and clear steps.
Here, I’ll walk you through everything you need to know. I’ll cover the full materials list, step-by-step setup, pump installation, water maintenance, common mistakes to avoid, helpful installation tips, and a realistic cost breakdown.
If you’ve been thinking about adding a small backyard plunge pool without hiring contractors, this will help you build it yourself with confidence.
Overview of Stock Tank Pool
A DIY stock tank pool is basically a big metal tank that you turn into a small backyard pool. It’s super popular in the USA because it’s cheap, easy to set up, and perfect for small spaces.
Unlike traditional above-ground pools, you don’t need a lot of tools, time, or a big budget, and it looks really cute in your yard.
Most people use round tanks that are 6, 8, or 10 feet wide, which is big enough for a few friends or kids to splash around.
These pools are great for renters, families with small yards, or anyone who wants a quick, fun way to cool off in the summer without spending thousands of dollars on a full-size pool.
How to Build a DIY Stock Tank Pool: Step-by-Step Guide
Before you start building your DIY stock tank pool, it’s a good idea to gather all the materials you’ll need. I’ve found that having everything ready makes the process easier and faster, and you won’t have to stop mid-project to run to the store.
Tools and Materials Needed
- Pool Pump
- Pool Plunger Valve Assembly
- Replacement Part Kit
- 2¾-Inch Hole Saw
- Chlorine Dispenser
- Chlorine Tablets
- Clear Balance Tablets
- Pool Test Strips
- Rechargeable Pool Vacuum
- Replacement Pool Filters
- Pool Filter Cartridge Cleaning Tool
Total Estimated Cost: $400–$650, depending on what materials you already have and whether you use mulch or stone for landscaping.
Step 1: Level the Ground
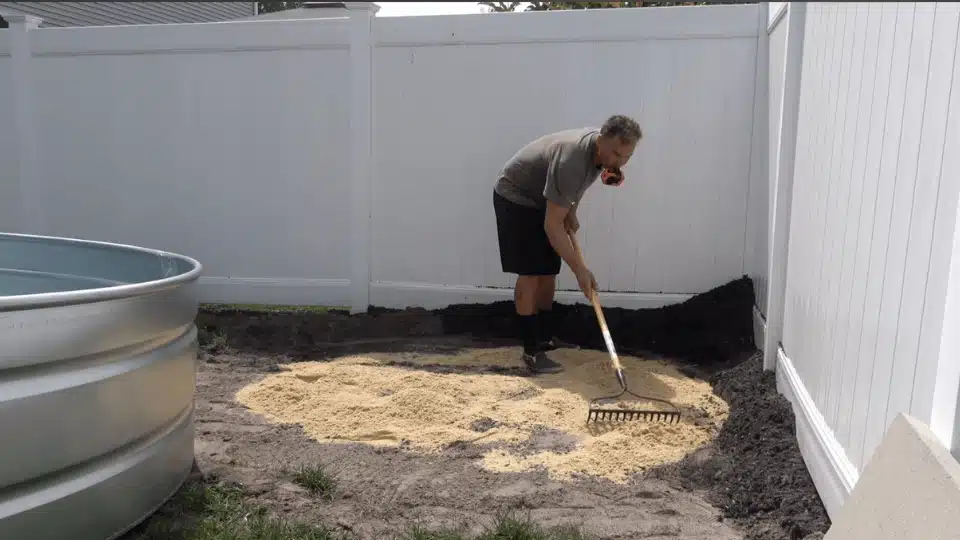
Place the tank on a level surface. Use 4 bags of leveling sand under an 8-foot tank; smaller tanks require less.
Leveling ensures the tank is stable and prevents stress on the metal and pump. Take time to level properly, as an uneven base can lead to leaks, tilting, or other problems during use.
Step 2: Finish Landscaping Around the Tank

Add landscaping around the tank for a clean, safe setup. Mulch works as a temporary solution, while stone is better for drainage and staying clean.
Stone also helps prevent dirt and debris from entering the pool. Landscaping creates a neat area around the tank and protects the surrounding ground from water splashes.
Step 3: Build the Inlet Nozzle and Outlet Strainer
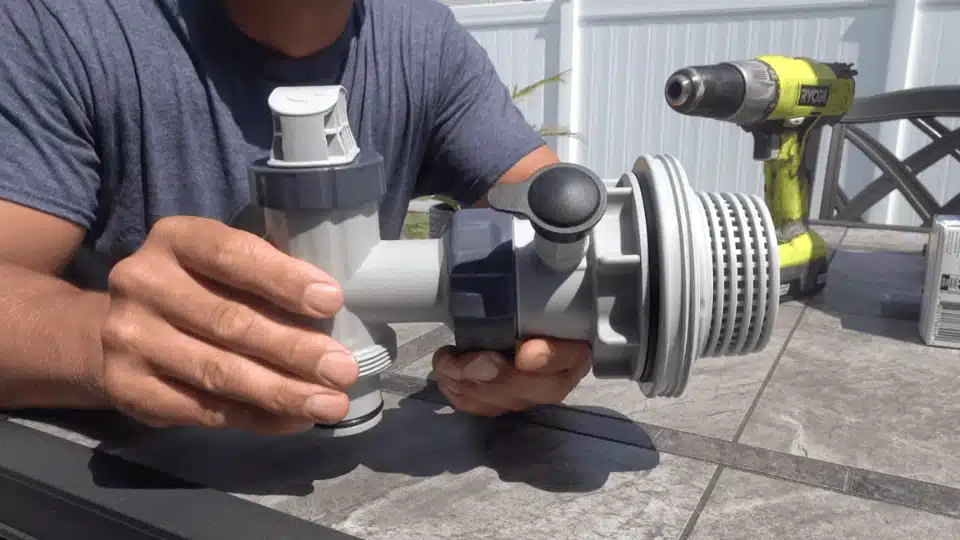
The outlet strainer pulls water into the pump, and the inlet nozzle pushes filtered water back into the tank.
The outlet strainer is not included with the pump and must be assembled using parts from the Intex replacement kit. Proper assembly ensures efficient water circulation and prevents damage to the pump or tank.
Step 4: Drill the Holes
Use a 2¾-inch hole saw to drill two holes, approximately 1 foot from either side of the tank seam and centered vertically. Avoid drilling too low, or the plunger valves won’t fit.
After drilling, file the edges smooth to prevent scratches on the fittings. The side placement of the inlet and outlet doesn’t affect performance.
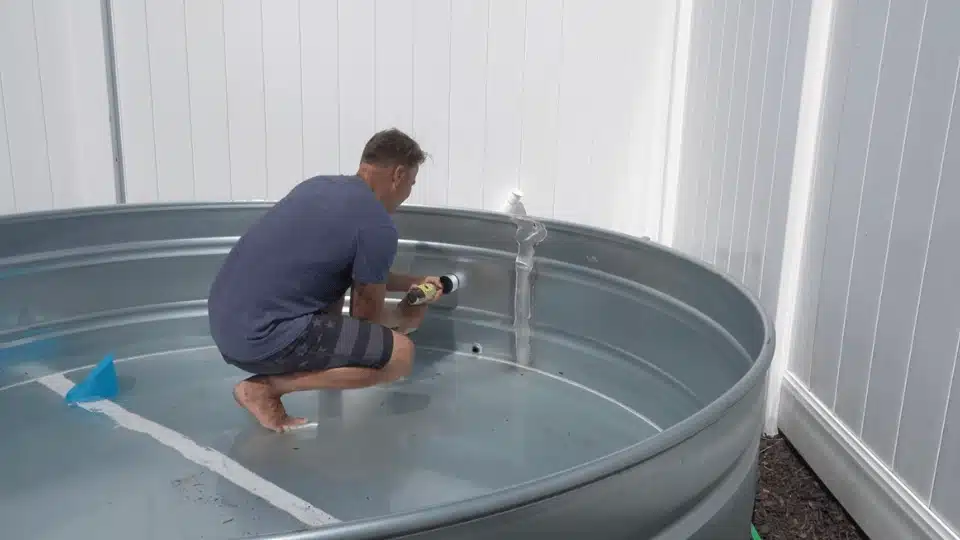
Step 5: Install the Fittings

Install the inlet nozzle and outlet strainer, placing the rubber gasket on the inside of the tank. Tighten both fittings securely. Silicone or caulk is not required.
Checking for leaks after installation ensures the pool is watertight and ready for pump connection.
Step 6: Connect the Pump
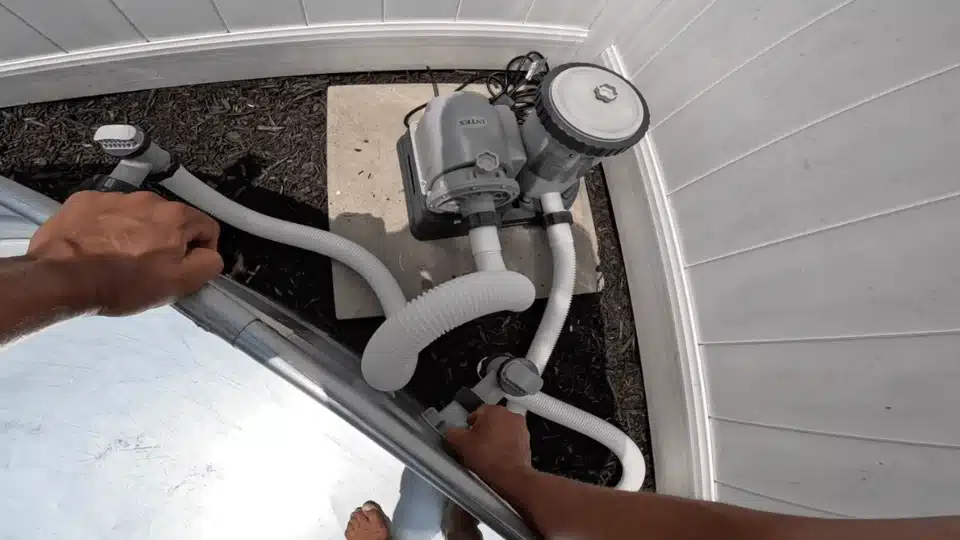
Attach hoses to the plunger valves. Place the black cap only on the outlet strainer, leaving the inlet nozzle open. The black cap controls airflow during startup.
Proper connection of hoses and valves ensures the pump circulates water efficiently and prevents air from getting trapped.
Step 7: Fill the Pool and Prime the Pump
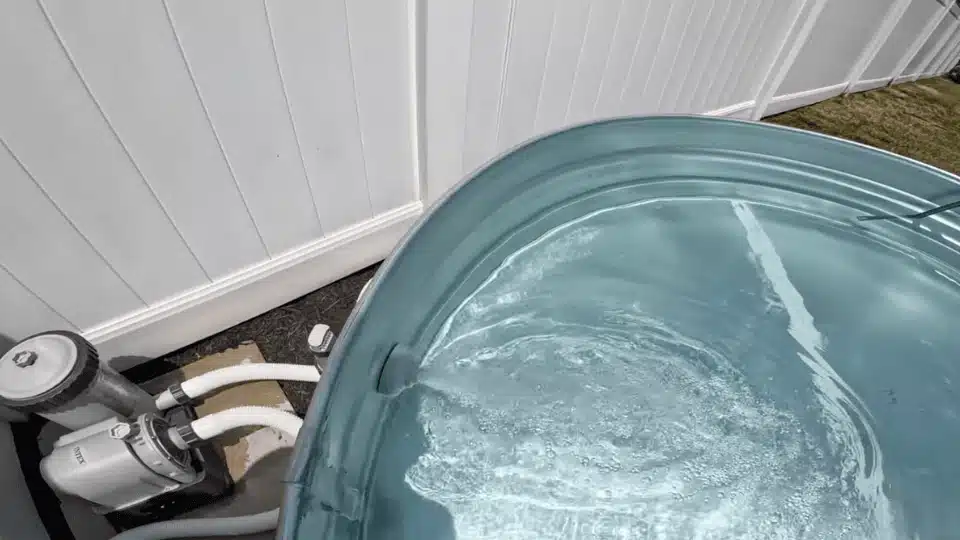
Fill the tank until water is above the inlet and outlet openings. Unlock the plunger valves and open all pump valves. Turn on the pump and bleed trapped air from the hoses and filter.
Once water flows smoothly, tighten all connections and fill the tank completely. This primes the pump and prepares the pool for chemical treatment.
Step 8: Balance Pool Chemicals
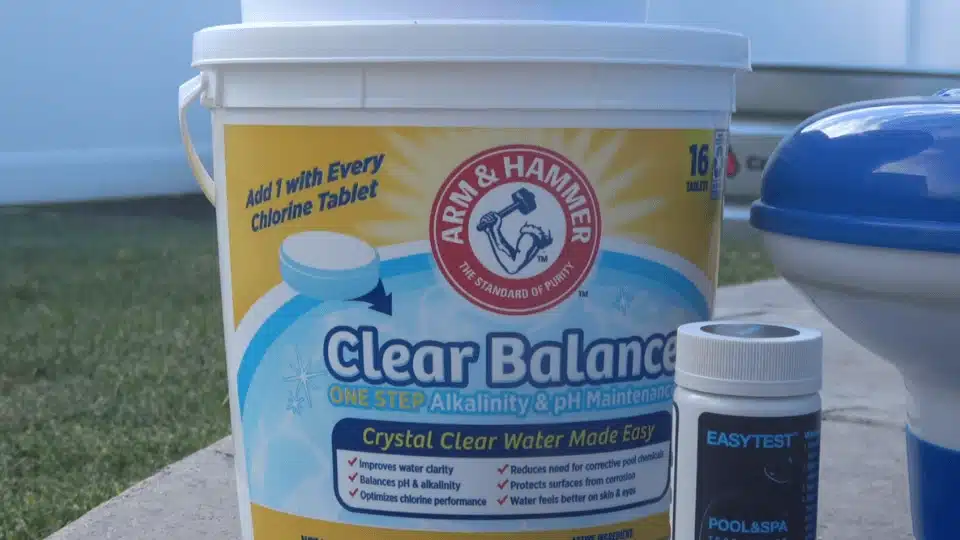
Add a 3-inch chlorine tablet and set the dispenser to four tabs to shock the pool. Run the pump for 24 hours. Reduce to one tab after the first day and run the pump 2–4 hours daily.
Test water daily with test strips, adjust pH or alkalinity as needed, and replace chlorine tablets when they are depleted to maintain clean, safe water.
For a detailed breakdown, refer to the YouTube video below.
How to Keep Your DIY Stock Tank Pool Clean
Maintaining a stock tank pool is simple when a few key steps are followed. First, run the pump daily to keep the water moving and prevent algae from forming.
Use a floating chlorine dispenser to slowly release chlorine, keeping the water safe for swimming. Test the water at least once a week with pool test strips to check pH and alkalinity, and adjust using a pH or alkalinity balancer if needed.
Keep the tank edges dry and inspect fittings regularly to prevent rust or leaks. Remove leaves and debris from the water as they appear.
During winter or long periods of non-use, it’s best to drain the tank, clean it, and cover it to protect the metal and prevent water buildup. Following these steps ensures the pool stays clean, safe, and ready for use all season.
Common Problems and Howto Avoid Them
Even though a stock tank pool is simple to set up, a few common problems can pop up if not addressed early. Being aware of these issues can save time, money, and frustration.
- Leaks: Allow the sealant or fittings to fully set, then check connections daily before filling the pool.
- Rust at the Bottom: Place the tank on stone or leveling sand instead of bare ground, and keep the edges dry to prevent corrosion.
- Unlevel Base: Make sure the ground is completely level to avoid stress on the tank and pump.
- Green Water Issues: Run the pump regularly, use chlorine, and test pH/alkalinity to keep water clear.
By following these simple tips, the pool will stay safe, clean, and enjoyable throughout the season.
Final Thoughts
Building my own diy stock tank pool was one of the most satisfying backyard projects I’ve done. It didn’t require special skills, just patience and careful setup.
Once everything was installed and the pump was running smoothly, it felt amazing to relax in a pool I built myself. The key is taking your time with leveling, sealing, and choosing the right pump.
When you do it right, maintenance becomes simple and stress-free. If you’ve been waiting for the perfect time to upgrade your backyard, this might be it.
Start gathering your materials, plan your space, and begin your DIY stock tank pool project this week. And let me know how it turned out in the comments below.


