


Growing ginger at home is easier than you might think. I love how it adds fresh flavor to meals and feels good knowing it came from my own space.
You don’t need a big garden to make it happen. A pot, a sunny spot, and a little care are enough to get started. Over time, your ginger will grow into a steady supply you can pull from whenever you need it.
In this post, I’ll walk you through everything you need to know, from picking the right rhizome to caring for it through the seasons.
You’ll see how simple it is to keep fresh, flavorful ginger right at your fingertips year-round.
Growing Ginger: Timing & Placement
Getting the right setup makes growing ginger much easier. Check off these items before you plant your first rhizome:
Timing: Plant ginger in late winter or early spring for best results. In zones 8-10, you can grow outdoors year-round. Cooler areas work better with indoor pots or containers that you can move inside.
Placement: Find a spot with bright, indirect light or partial shade. Keep temperatures above 70°F (21°C) when possible. Protect plants from strong winds and harsh afternoon sun.
Expectations: Ginger sprouts appear in 2-6 weeks under good conditions. Growth stays steady through warm months. Full harvest comes in 8-10 months, but you can dig partial harvests earlier.
How to Grow a Ginger Plant at Home
Growing your own ginger doesn’t have to be complicated. With the right starting piece, proper soil, and a little patience, you can enjoy a steady supply of fresh, flavorful rhizomes.
Follow these five simple steps to get your plant off to the best start:
Tools & Materials
- Wide, shallow pot (12–16 inches across)
- Drainage holes to prevent water buildup
- Loose, fertile potting soil mixed with compost
- Mulch for moisture retention
- Watering can for easy, even watering
- Balanced fertilizer for healthy growth
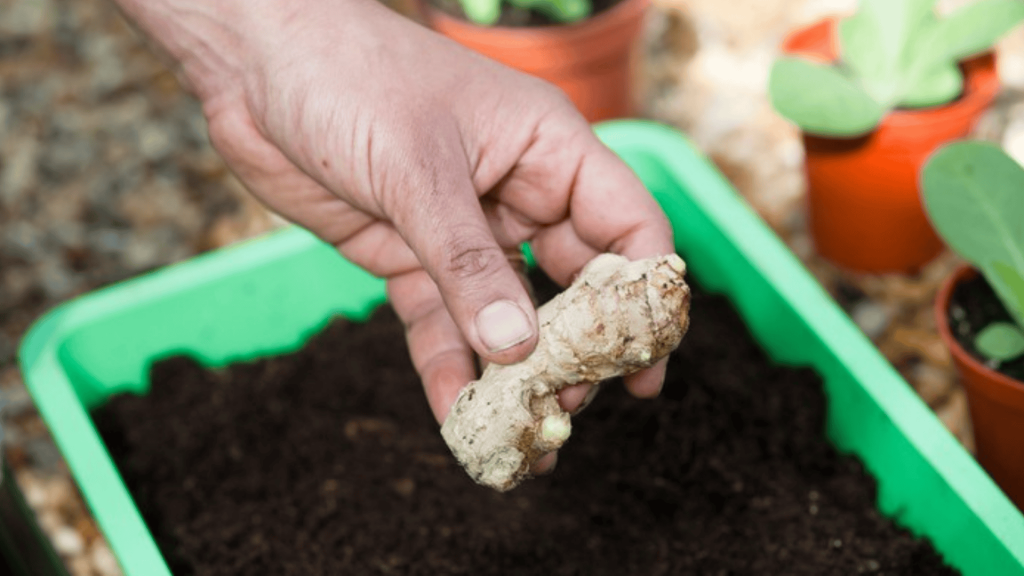
Step 1: Select & Prepare Your Rhizome

Choose fresh, firm ginger rhizomes with smooth, plump skin and several visible “eyes” or buds. These buds are where new shoots will emerge. Avoid shriveled, wrinkled, or moldy pieces, as they are less likely to sprout.
For a head start, soak the rhizomes in warm water for 2–3 hours to soften the skin and activate growth hormones. This step can reduce sprouting time by several days.
After soaking, place them on a clean towel and pat dry completely. If you cut large rhizomes into smaller pieces, let them sit for 1–2 days to form a protective callus before planting.
This reduces the risk of rotting in the soil.
Step 2: Plant in Quality Soil

Use a wide, shallow container (12–16 inches across) with good drainage holes to prevent water buildup. Fill it with a loose, nutrient-rich potting mix blended with compost for added fertility.
Ginger grows horizontally, so depth isn’t as important as giving the rhizomes room to spread.
Place each rhizome piece 2 inches deep with the eyes facing upward. Space them 4–6 inches apart in larger pots to avoid overcrowding, which can stunt growth.
Lightly press the soil over the rhizomes without compacting it. After planting, give a gentle, even watering to settle the soil around the roots.
Step 3: Create Perfect Conditions

Position your pot in a warm, sheltered spot that receives bright, indirect light or filtered sunlight. Ginger prefers temperatures between 70–85°F (21–29°C).
If your climate is cooler, grow it indoors near a sunny window or use a heat mat to keep the soil warm. Keep the soil consistently moist, but avoid overwatering as soggy conditions lead to rhizome rot.
In hot or dry climates, mist the leaves every few days to increase humidity and prevent them from drying out. Outdoors, partial shade works best, especially in regions with intense midday sun.
Step 4: Care Through the Growing Season

Check soil moisture frequently, especially during warm weather. Water when the top inch of soil feels dry, making sure excess water drains freely.
Feed your ginger once a month with a balanced liquid fertilizer or organic options like fish emulsion to encourage strong rhizome development.
Mulching is a big help; spread a 1–2 inch layer of straw, shredded leaves, or coconut coir around the base to conserve moisture, regulate soil temperature, and keep weeds from competing for nutrients.
In cooler regions, move container-grown ginger indoors before temperatures drop below 55°F (13°C).
Step 5: Harvest & Store Your Ginger

For young, tender “baby” ginger, start harvesting after 3–4 months by carefully lifting part of the rhizome and leaving the rest to grow.
For mature roots with a stronger flavor, wait 8–10 months until the foliage begins to turn yellow and die back.
Use a garden fork or your hands to gently loosen the soil before lifting the rhizomes to avoid damage. Shake off loose soil and trim away stems.
Store fresh ginger in a cool, dry, well-ventilated place for a few weeks, refrigerate for up to a month, or freeze whole pieces for up to a year.
Check out the video below for a detailed overview:
Things You Can Do Using Your Homegrown Ginger
Homegrown ginger is a versatile ingredient that can bring flavor and freshness to many dishes. Fresh ginger adds a warm, zesty note to stir-fries, soups, and marinades.
You can grate it into hot tea for a soothing drink that supports digestion. For a sweet treat, turn part of your harvest into candied ginger as it’s perfect for snacking or baking.
Preserve your ginger for year-round use by freezing whole pieces in small portions, ready to grab for cooking. You can also dehydrate thin slices for long-term storage, which often lasts longer than store-bought varieties.
For something different, pickle young, tender shoots for a mild and slightly tangy flavor. Even the green tops shouldn’t go to waste; they add a fresh touch to salads and make attractive garnishes.
With a bit of creativity, your homegrown ginger can be enjoyed in countless ways, making your harvest both practical and delicious.
Troubleshooting Common Problems When Growing Ginger at Home
Once you’ve started growing ginger at home, it’s important to be aware of a few common issues that can come up along the way. Here are some problems to watch for and address quickly to keep your plants healthy:
- Early Yellowing: Usually means too much water or poor drainage. Check soil moisture and improve drainage if needed. Let the soil dry between waterings.
- Root Rot: Dark, soft spots on rhizomes indicate overwatering. Remove affected pieces immediately. Replant healthy sections in fresh, dry soil.
- Slow Sprouting: Cold temperatures slow growth significantly. Move containers to warmer locations. Patience helps since ginger takes time to establish.
- Small Pests: Aphids and spider mites sometimes appear on leaves. Spray with mild soapy water or rinse with gentle water pressure. Check plants weekly during the growing season.
By spotting and solving these problems early, you’ll give your ginger the best chance to thrive, producing a strong, flavorful harvest you can enjoy in your kitchen.
Conclusion
Growing ginger is a simple way to bring fresh flavor into your kitchen and connect with what you grow. I’ve shared the basics so you can feel confident starting with just a pot, some soil, and a healthy rhizome.
You can keep it small on a windowsill or expand into bigger containers once you see how well it grows. Each season will teach you something new about caring for this plant and enjoying its harvest.
If you’ve been thinking about adding ginger to your home garden, now’s a great time to try. And if you want more tips and ideas for growing other plants, check out other blogs on the website for fresh, practical inspiration!


