


I remember the first time I saw bare wood cabinets and wondered if painting them would really hold up. You might be staring at unfinished cabinets right now, thinking the same thing.
The good news is that how to paint unfinished cabinets is much more straightforward than dealing with old, greasy finishes.
Raw wood gives you a clean starting point, but it also comes with its own set of concerns, like sanding, sealing, and drying time.
Getting those parts wrong can lead to rough surfaces or easy damage later.
I want to walk you through what actually works, what causes trouble, and how to avoid common slip-ups when tackling how to paint unfinished cabinets from start to finish.
Can You Paint Unfinished Cabinets Successfully
Yes, you can paint unfinished cabinets and get strong, long-lasting results with the right process. Unfinished cabinets are raw wood, which means there is no old finish to strip or remove first.
That alone makes the job simpler than repainting existing cabinets. Paint and primer bond better to bare wood, so adhesion issues are less common when prep is done correctly.
For beginners, unfinished cabinets are often a better starting point. You are not fighting grease buildup, glossy coatings, or unknown products used by the manufacturer.
You start with a clean surface and build from there. As long as you sand properly, use a solid primer, and apply paint in thin coats, results can look clean and even. Mistakes are also easier to fix on raw wood, which helps reduce stress during the project.
Step-By-Step Guide To Painting Unfinished Cabinets
Follow a clear process that covers setup, sealing, sanding, painting, and protection so unfinished cabinets dry smooth, resist damage, and look consistent from door fronts to cabinet boxes after installation.
Gather Your Materials
- Unfinished cabinet doors and cabinet boxes
- Sanding sealer
- Paint sprayer (critter-style or similar)
- Air compressor
- Cup hooks
- Drill or driver
- Steel wool pad
- Extra-fine sanding block
- 220-grit sandpaper
- Clean cloth or rag
- Wood filler
- Polycrylic clear finish
- Respirator or mask
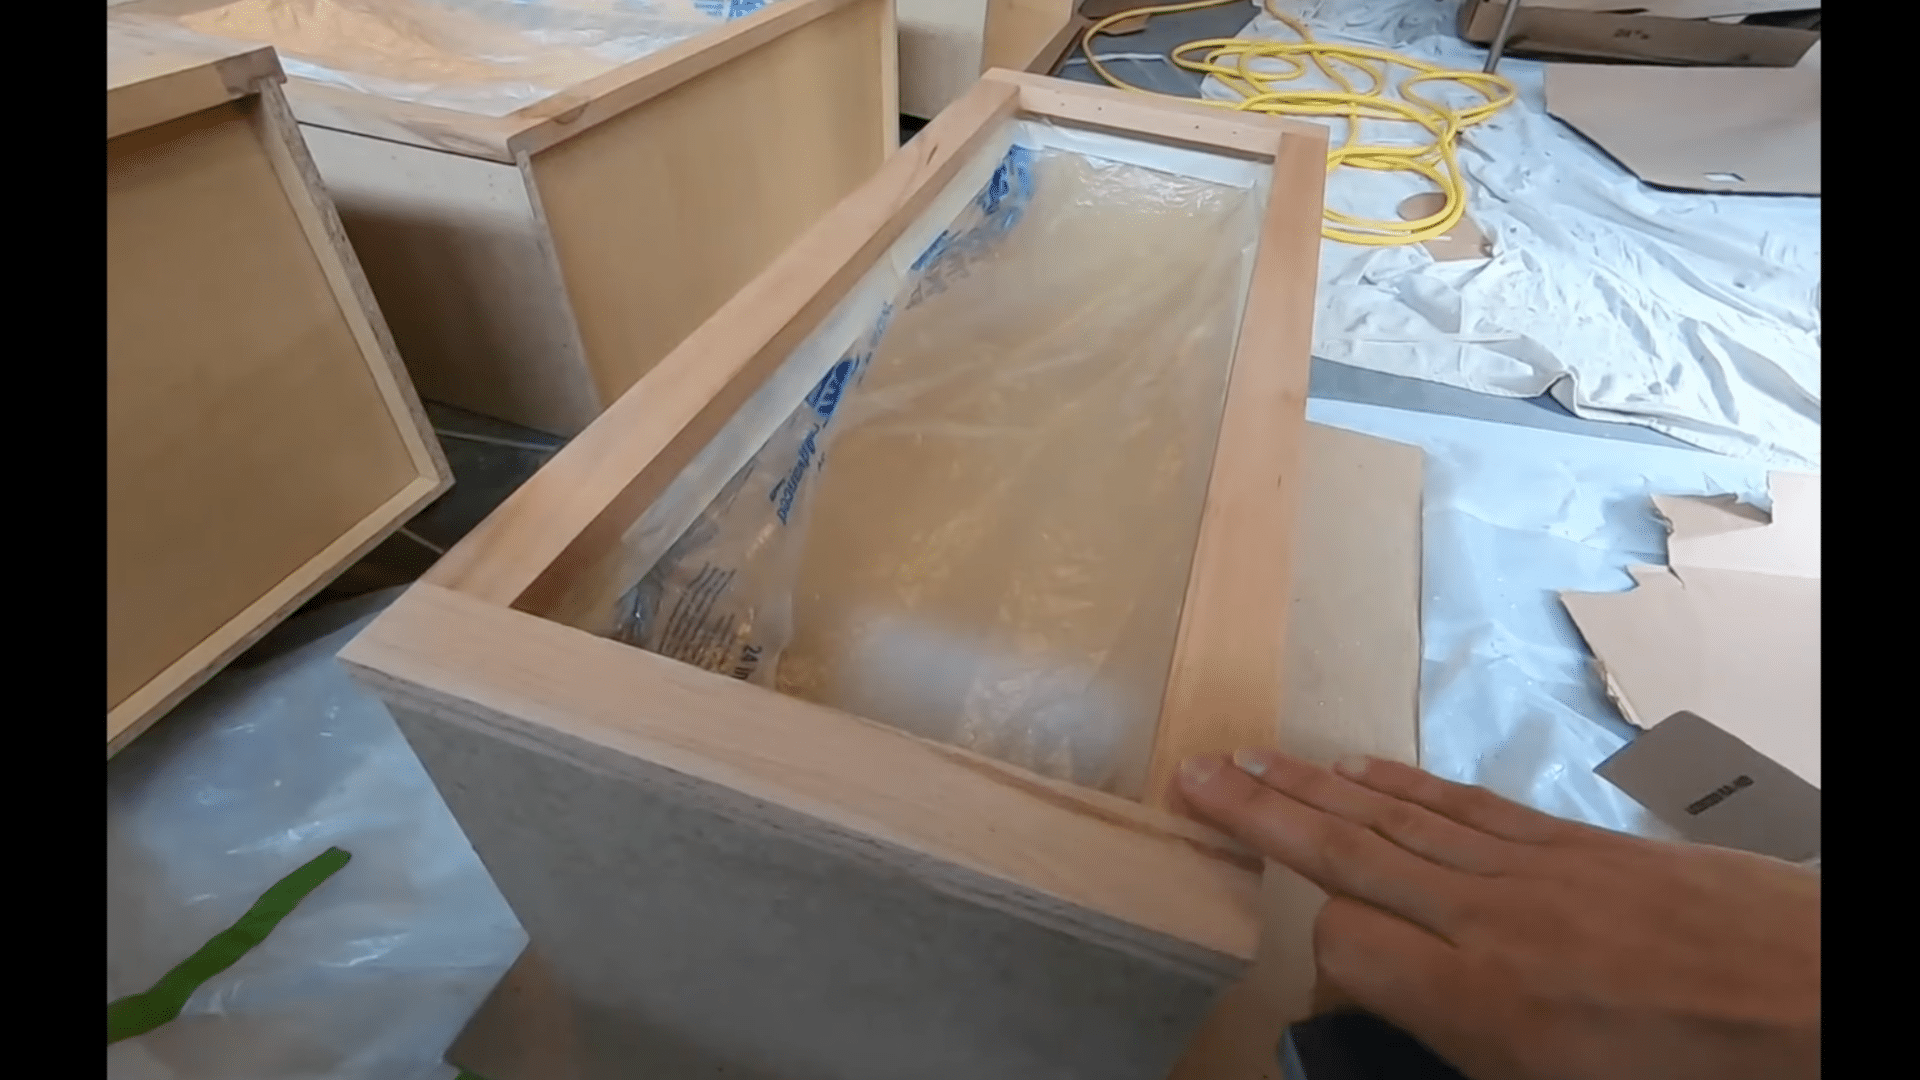
Step 1: Set up Cabinet Doors for Spraying

Start by preparing the cabinet doors so they can be sprayed evenly on all sides. Screw cup hooks into hidden edges of each door. Place them at the top for wall cabinets and at the bottom for base cabinets so holes are never visible later.
Hang the doors on a rack or temporary frame with enough spacing to avoid contact. This setup keeps doors off flat surfaces, prevents sticking, and allows paint to flow smoothly around edges, corners, and details without missed spots.
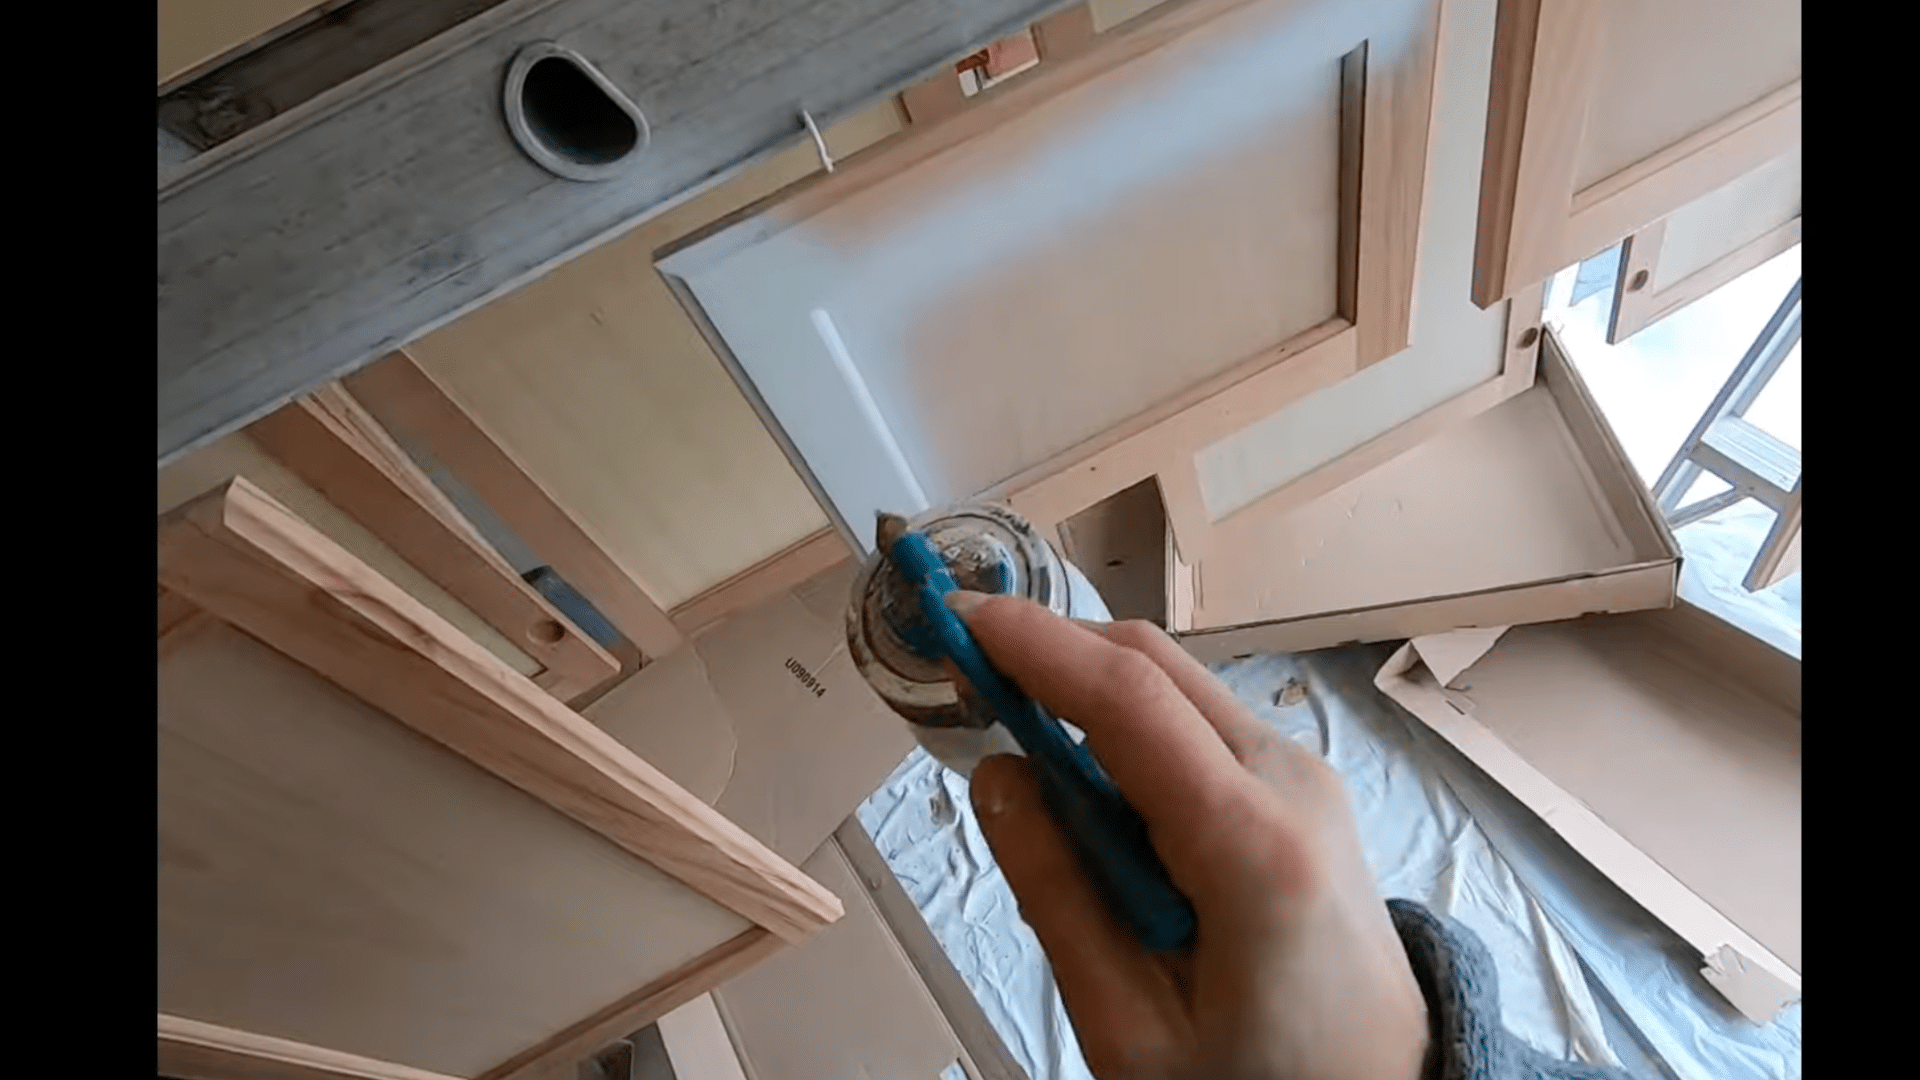
Step 2: Apply Sanding Sealer
Load sanding sealer into the sprayer and set air pressure just under 30 PSI. Spray an even coat across the door faces, moving slowly and keeping the sprayer steady. Focus on grooves, corners, and edges where raw wood absorbs more product.
The sealer fills open pores and creates a smoother base for paint. Take time during this step since uneven sealing can show later. Let the sealer dry fully before touching or sanding the surface.
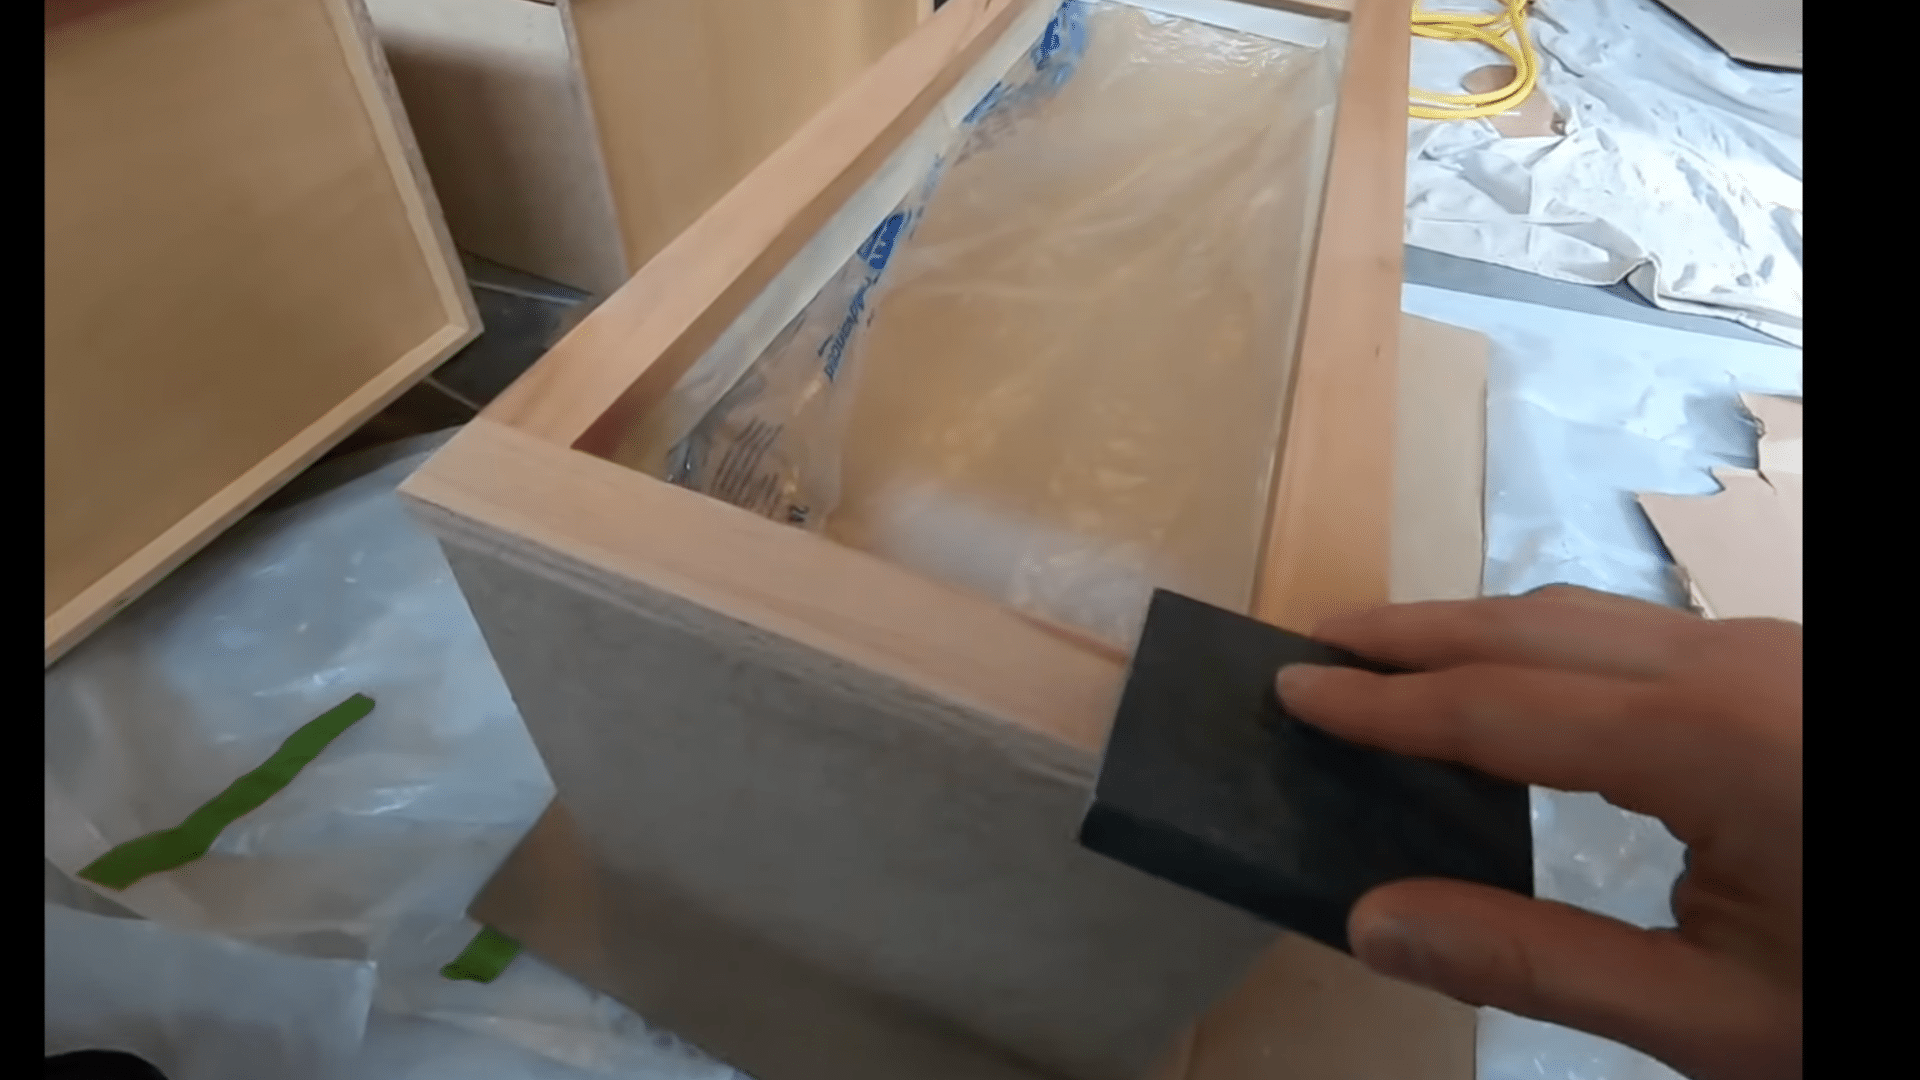
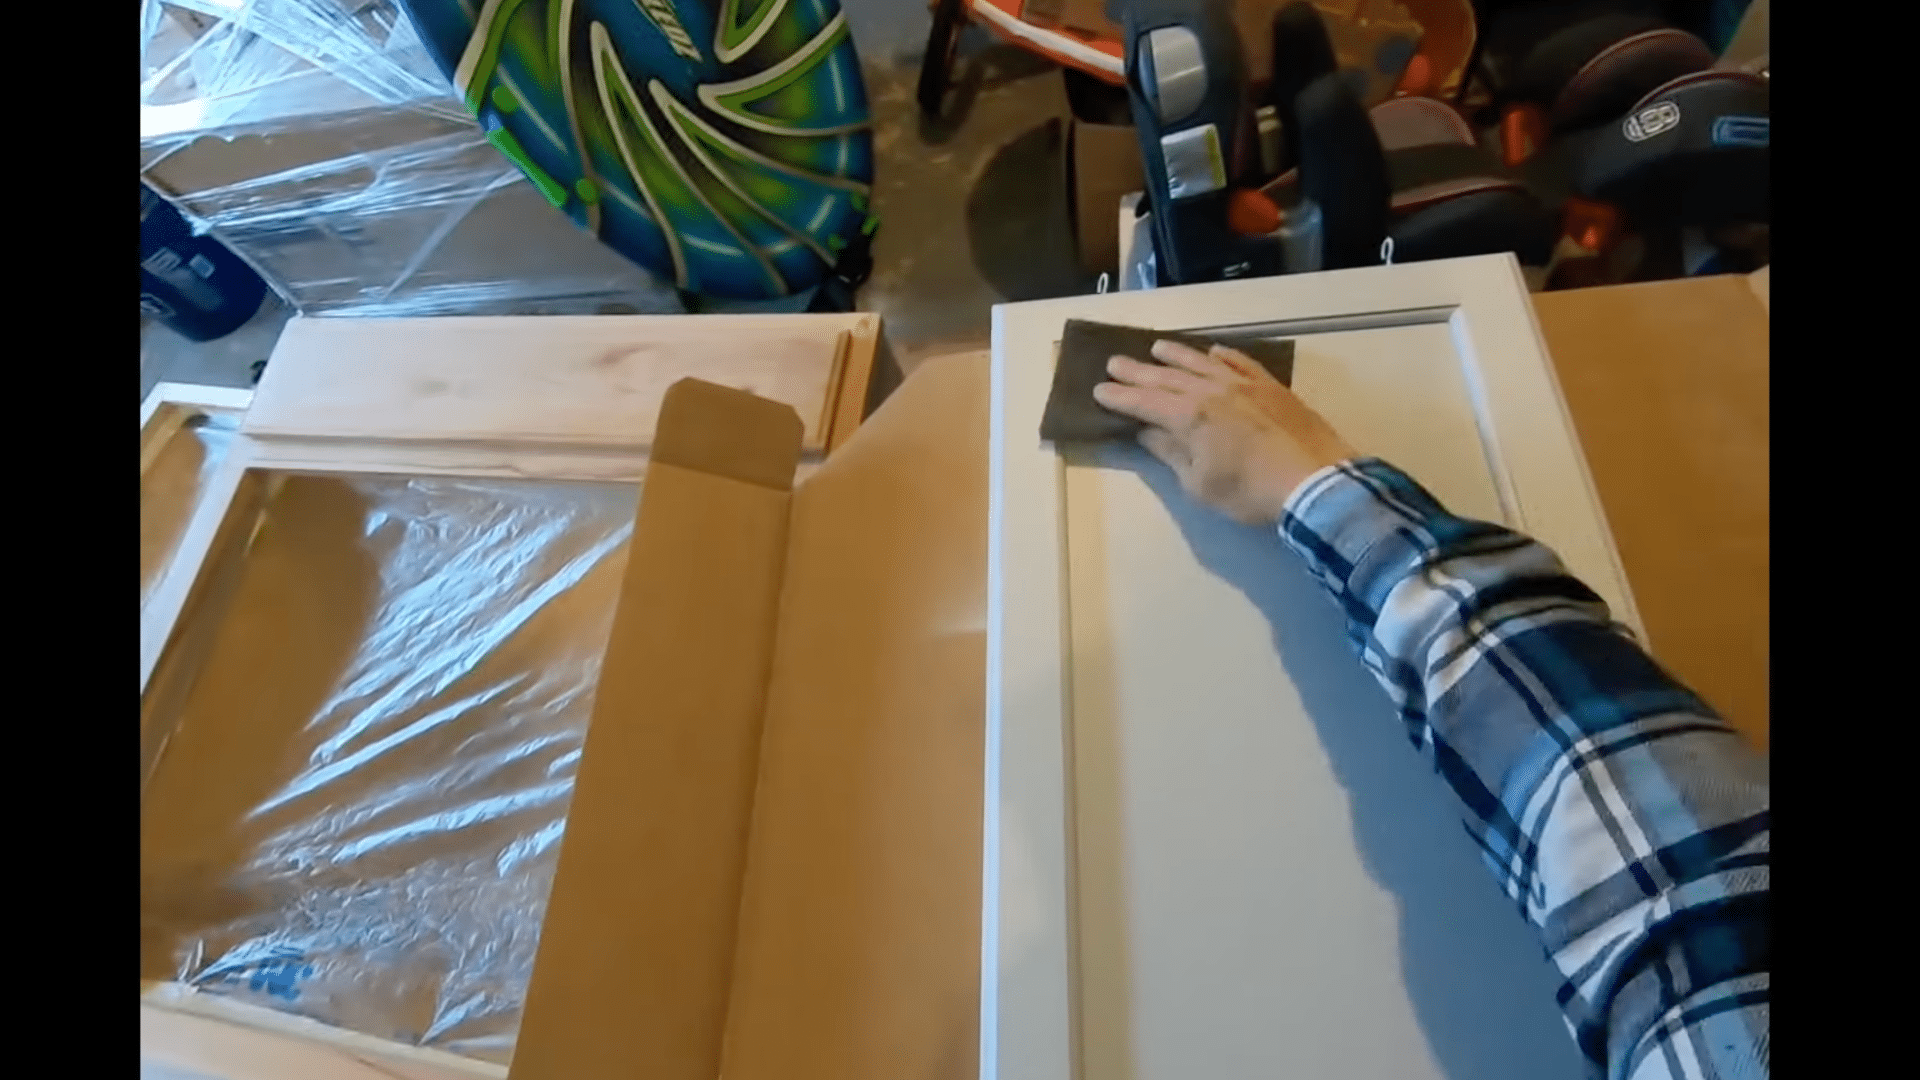
Step 3: Smooth the Surface After Sealing
After the sealer dries, the wood surface will feel rough. This happens because moisture causes wood fibers to rise. Lightly smooth the surface using a steel wool pad with gentle pressure.
If certain areas still feel uneven, switch to an extra-fine sanding block or 220-grit sandpaper. Use only one or two light passes to avoid removing too much sealer. Once smooth, wipe everything with a clean cloth to remove dust before painting.
Step 4: Apply the First Paint Coats
Before spraying, test the sprayer pattern and pressure on scrap material. Apply the first paint coat using slow, even passes. Keep a steady distance and overlap slightly to avoid streaks. Let the first coat dry fully, then apply a second coat the same way.
At this stage, sanding is not needed yet. These first coats build coverage and start leveling the surface. Allow proper drying time before moving on to inspection or extra prep steps.
Step 5: Inspect and Re-Seal if Needed
Once two paint coats are dry, inspect the surface closely under good lighting. If the surface looks uneven or needs more smoothness, apply another coat of sanding sealer. This extra layer helps paint level better and improves surface consistency.
After drying, lightly smooth the surface again using a pad or fine sandpaper. Keep pressure light and focus on feel, not appearance. Clean all dust thoroughly before moving forward to prevent texture issues.
Step 6: Sand Before the Final Paint Coat
Before applying the last paint coat, lightly sand the surface using an extra-fine sanding block or 220-grit sandpaper. This step removes minor texture and helps the final coat lay flat.
Sand just enough to smooth the surface without cutting through paint layers. Flip the doors and repeat on the back side, which is often rougher due to the panel material. Wipe everything clean so no dust remains before spraying the final coat.
Step 7: Apply Protective Clear Finish
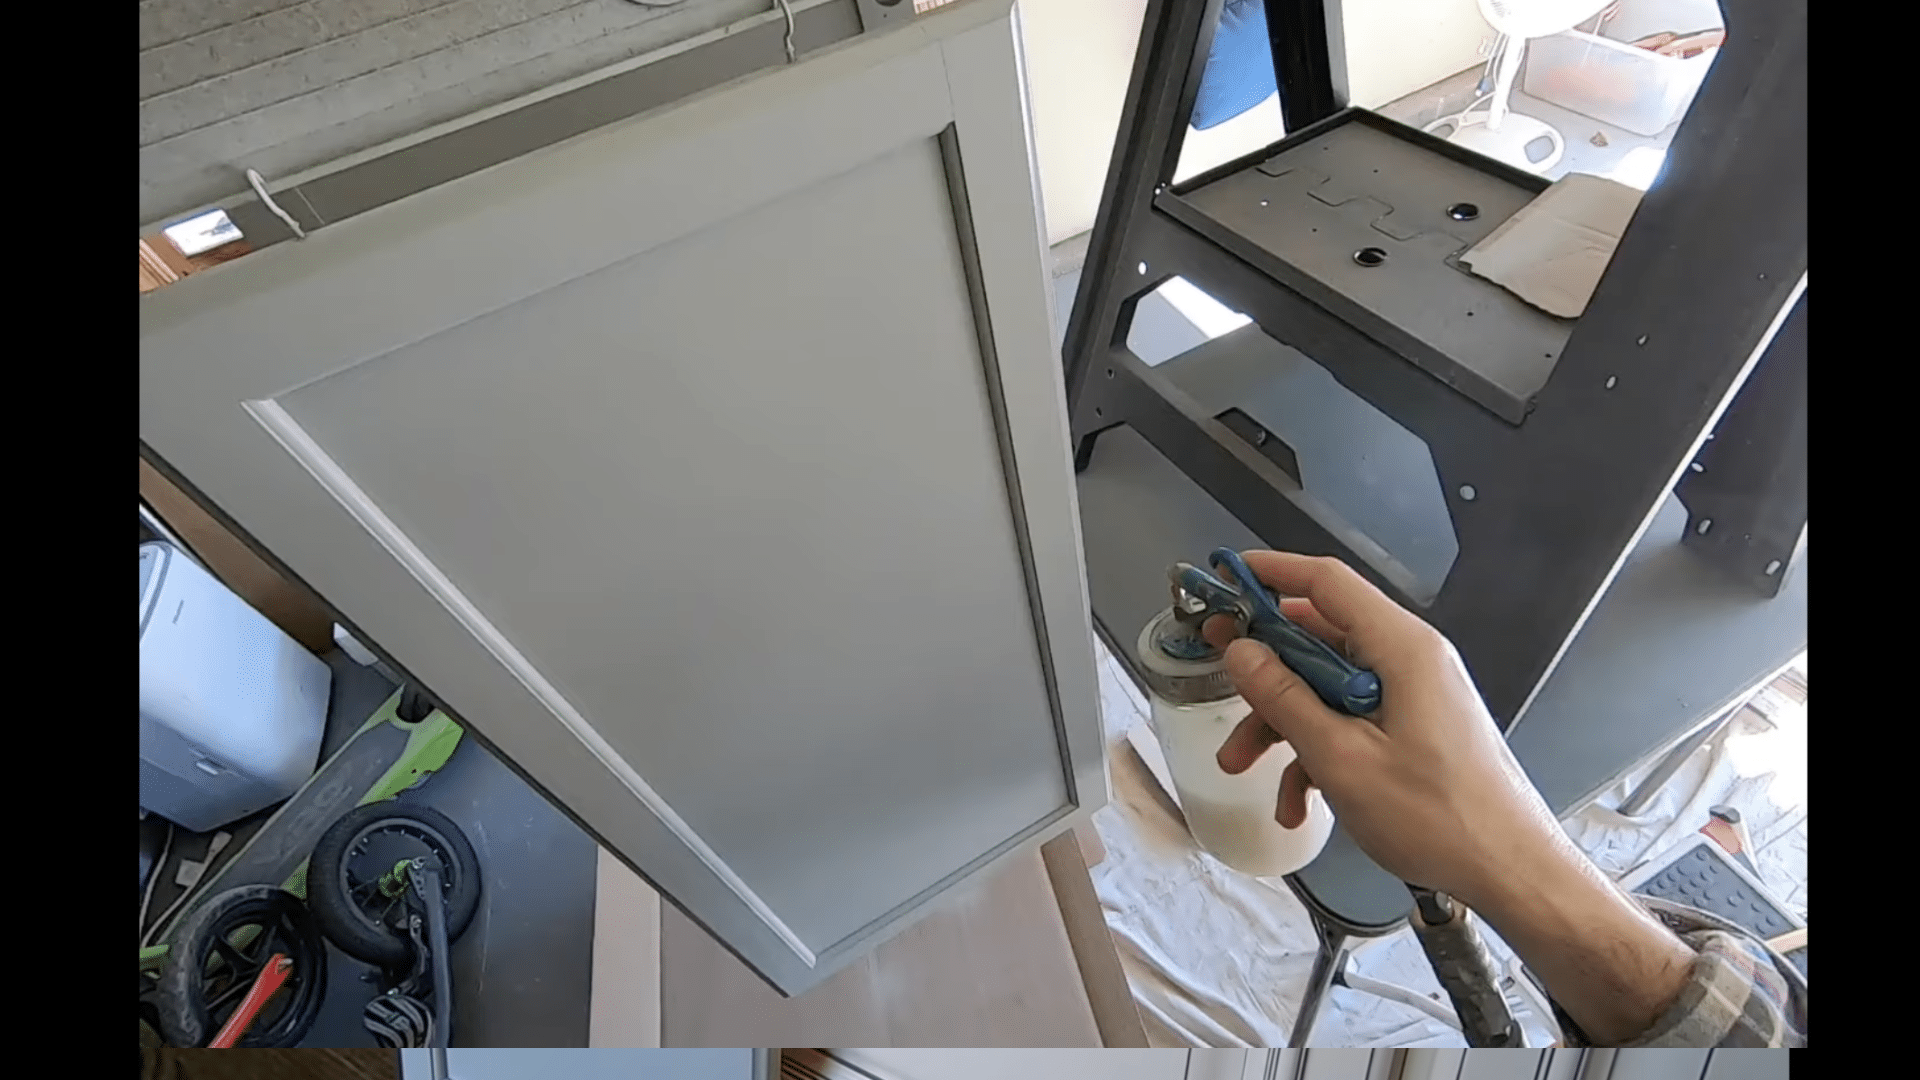
Load polycrylic into the sprayer and lower the air pressure slightly since the product is thinner than paint. Spray an even coat across all painted surfaces. This layer protects the paint from scratches and wear.
After the first coat dries, apply a second coat for added durability. Keep movement steady and avoid heavy buildup. This step is critical for long-term performance, especially in kitchens where cabinets face frequent contact and cleaning.
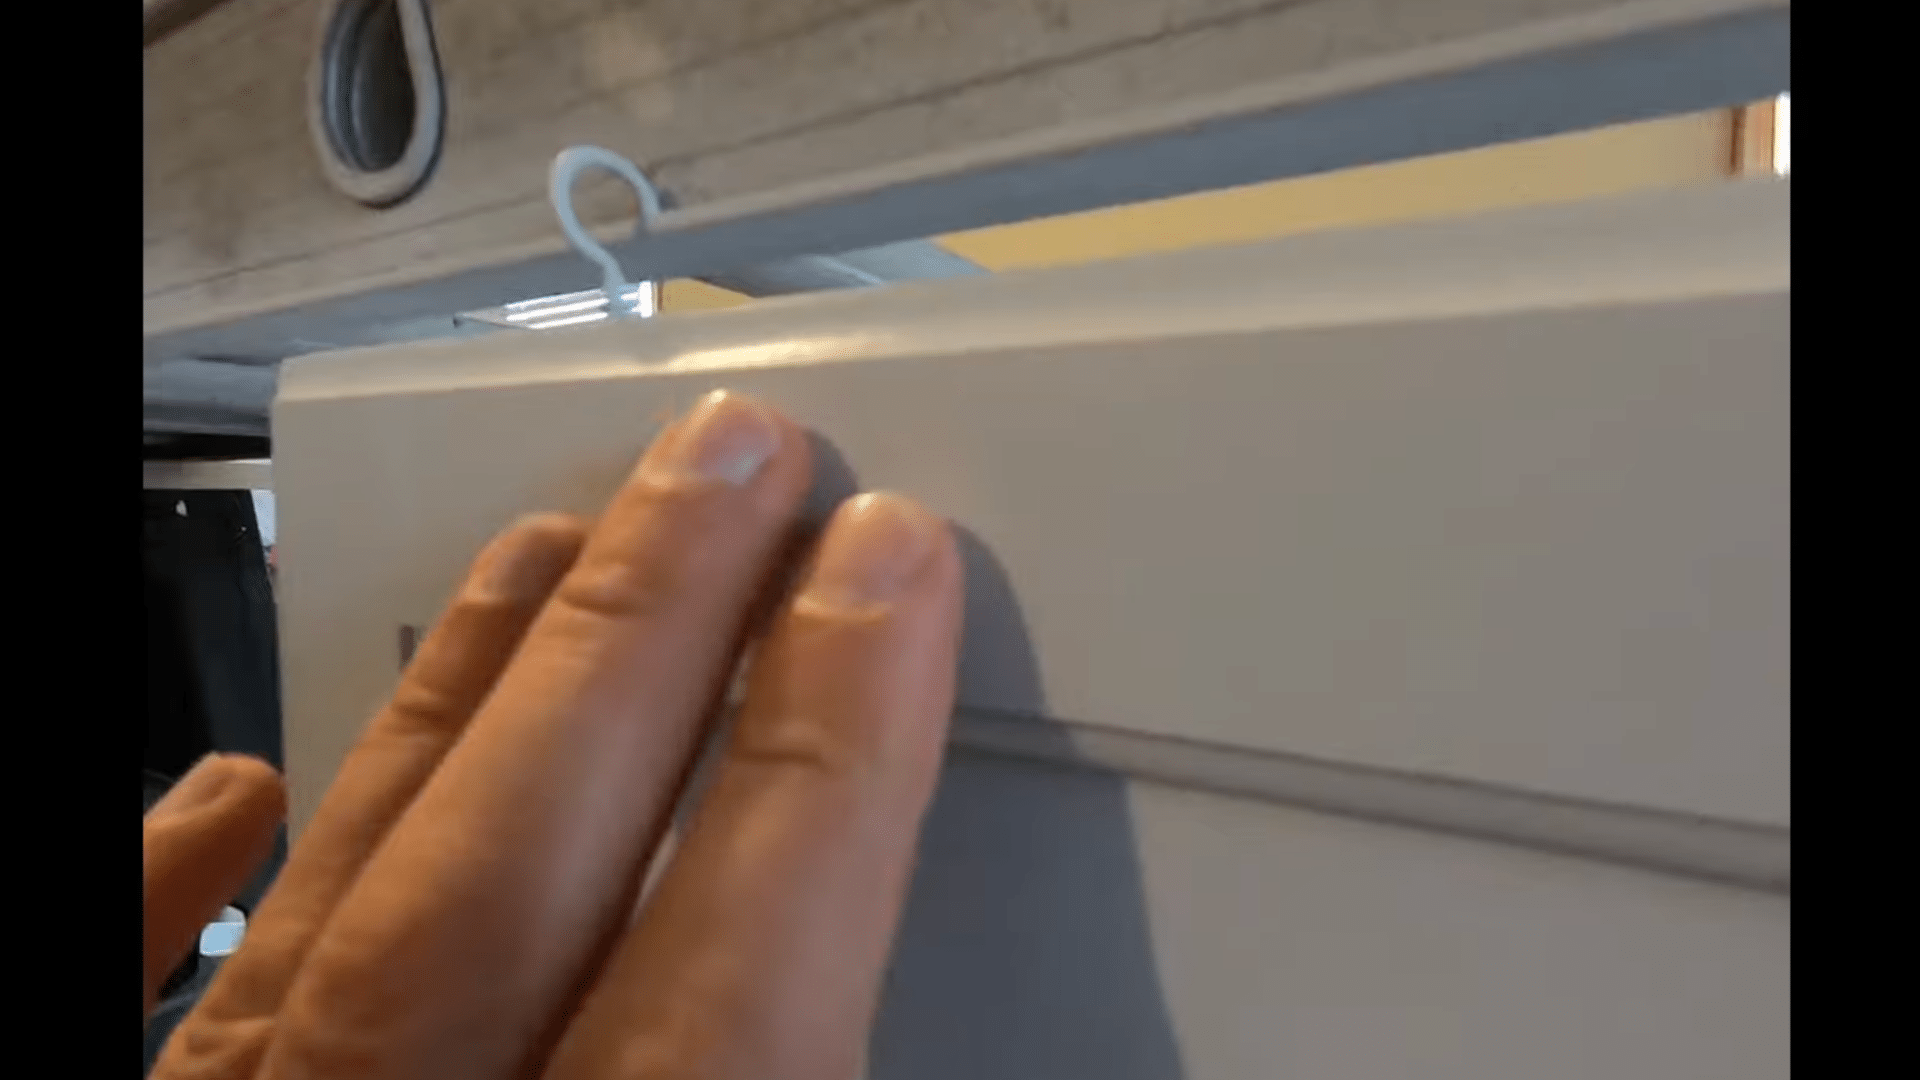
Step 8: Final Dry and Inspection

After all coats are applied, allow cabinets to dry fully in a clean, dust-free area. Once dry, inspect the surface by touch and under strong lighting. Check for smoothness, even coverage, and consistent finish across doors and trim.
Compare results from different angles to confirm uniform appearance. After proper drying time, the cabinets are ready for installation and normal use without sticking, scratching, or surface damage.
For a complete walkthrough of the whole process, check out the video tutorial below:
What Unfinished Cabinets Really Are
Unfinished cabinets are made from raw wood that has not been sealed, painted, or coated at the factory.
The surface feels dry and slightly rough because the wood pores are open. This allows primer, sealer, and paint to soak in and bond directly to the material.
Prefinished cabinets are different. They already have a factory-applied coating, which may include stain, paint, or a clear layer. That surface is smooth and sealed, so new paint does not bond as easily without extra prep.
With unfinished cabinets, there is no old coating to remove or strip first. This makes them easier to work with, especially for painting projects. The results depend heavily on proper sanding, sealing, and coating steps to control absorption and surface texture.
Best Primer and Paint by Cabinet Material
Different cabinet materials absorb coatings in unique ways, so choosing the right primer and paint helps avoid surface issues and uneven results.
Oak Cabinets
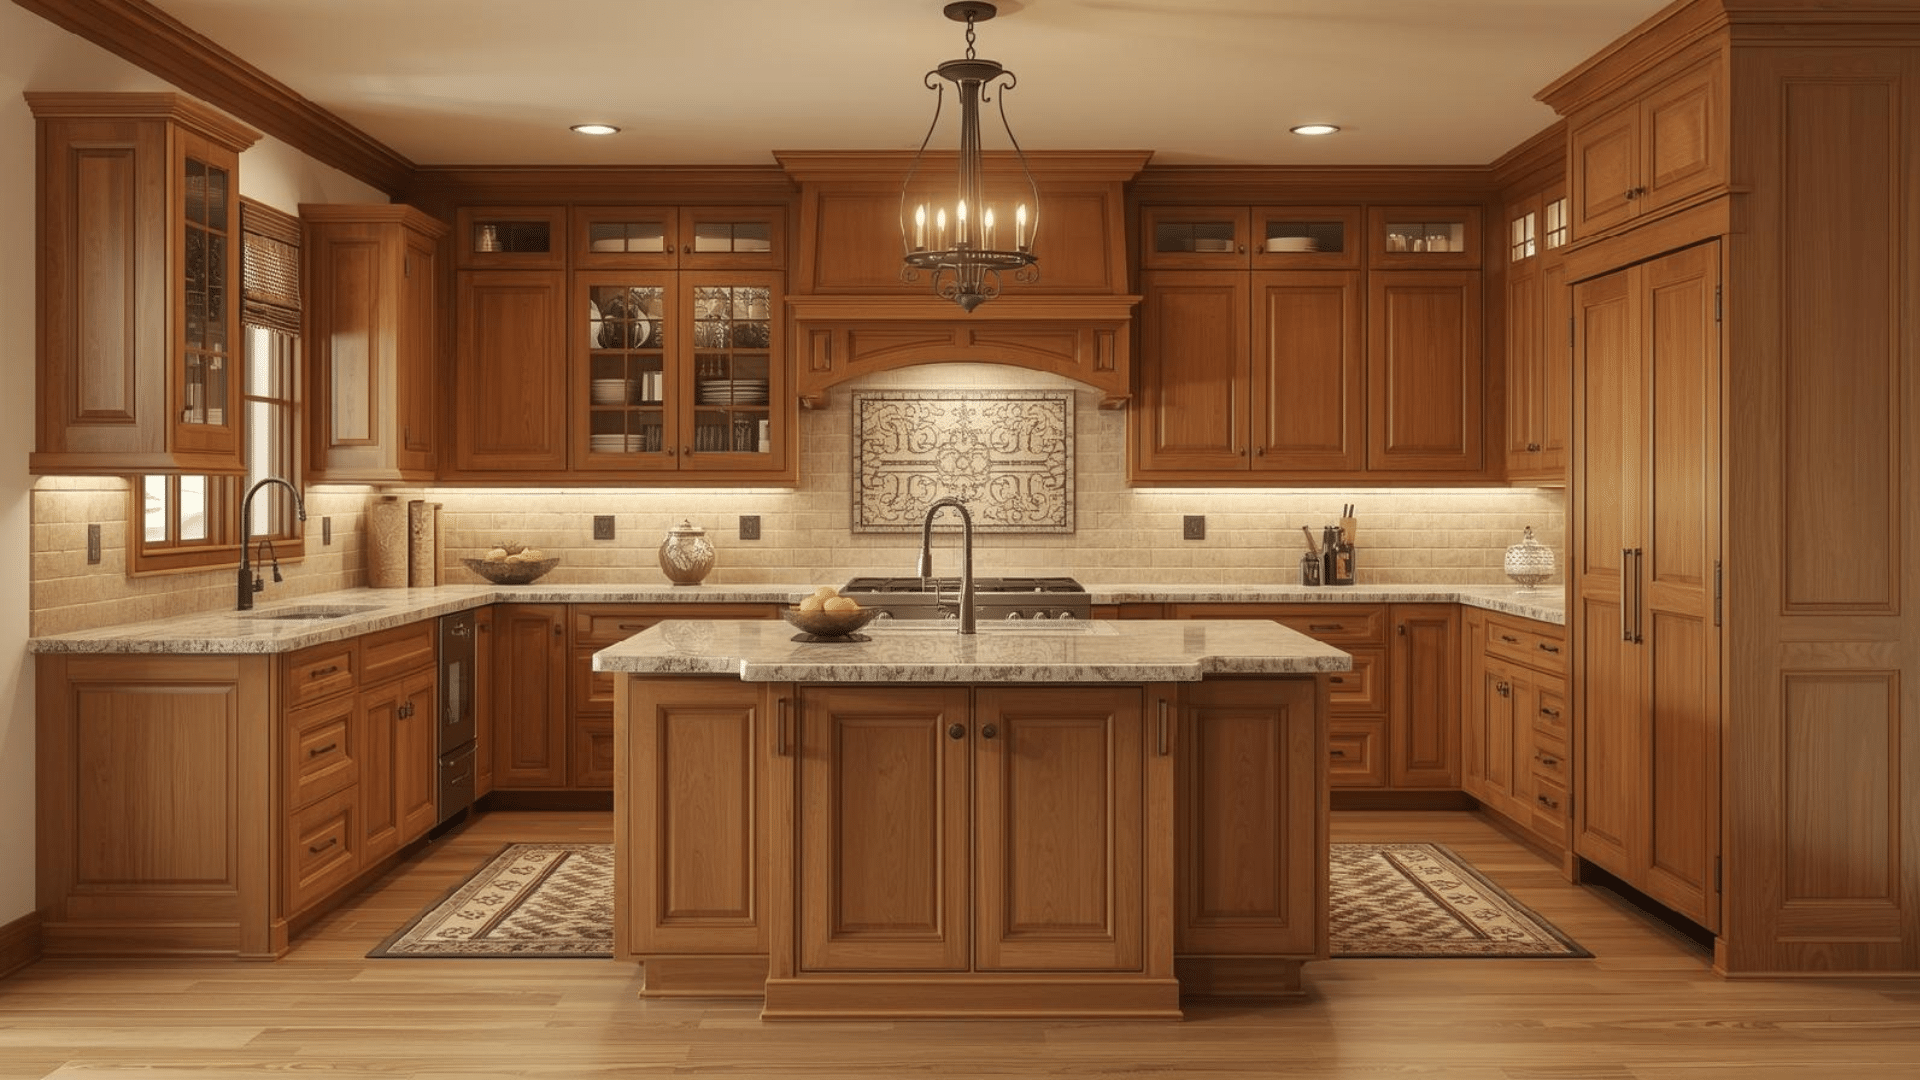
Oak has an open grain and natural tannins that can rise through paint layers if not controlled. A stain-blocking primer is critical here, especially for lighter paint colors.
Many DIY users report yellow or brown marks appearing days later when this step is skipped. Apply at least one solid primer coat and allow full drying before sanding lightly.
Some projects benefit from a second primer coat for added protection. Taking time at this stage prevents future touch-ups and helps the paint layer stay even and stable over time.
Maple And Birch Cabinets
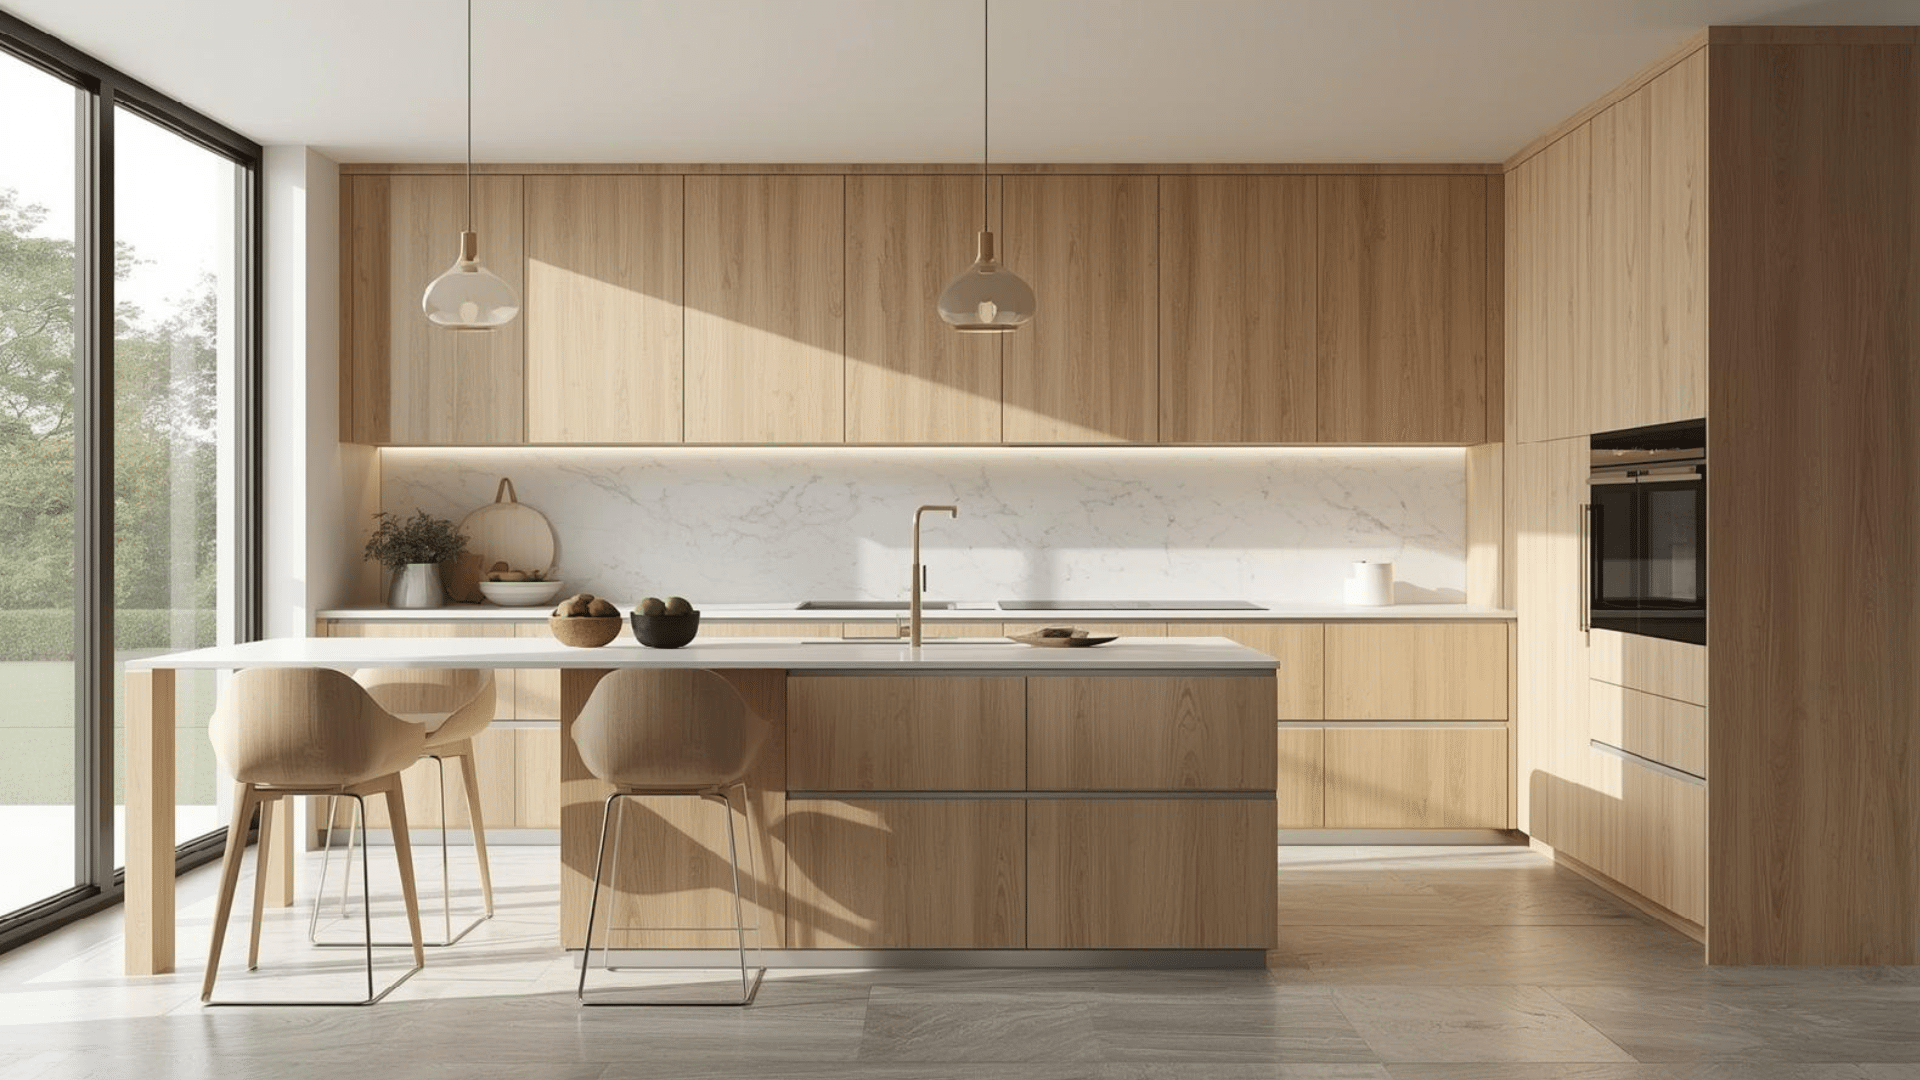
Maple and birch have tighter grain patterns, which makes them easier to coat evenly. The surface does not absorb as much product, so thin, controlled coats work best. A high-quality bonding primer helps paint grip without creating texture.
Light sanding between coats keeps the surface flat and consistent. Many users recommend avoiding heavy rollers on these woods, since excess paint can leave subtle ridges. Patience with drying time improves the final look and reduces the need for extra coats later.
MDF Cabinets
MDF cabinets are common but can cause issues along edges and cut areas. These spots absorb moisture quickly and may swell if not sealed well. A dedicated primer designed for MDF or raw fiberboard works best.
Apply extra attention to edges, corners, and routed details, sealing them before full coats. Users often report rough edges after the first coat, which can be fixed with light sanding once dry. Proper sealing early helps prevent long-term wear and surface breakdown.
Choosing the Right Tool for Cabinet Painting
The tool you choose affects how smooth the cabinets look and how long the work takes. Brushes give the most control and work well for edges, corners, and detailed areas.
Rollers cover flat surfaces faster and help keep coats even when used correctly. Sprayers create the smoothest finish but require more setup, space, and practice. Many people combine tools, using a brush for details and a roller or sprayer for larger areas.
The best option depends on skill level, workspace size, and the finish goal. Picking the right tool early helps reduce mistakes, saves time, and improves final results.
Dry Time vs. Cure Time
Cabinets often seem finished long before the paint is actually dry. The table below breaks down each stage clearly so timing mistakes are easier to avoid:
| Stage | What Is Happening | How It Feels | Typical Time Range | What To Avoid |
|---|---|---|---|---|
| Initial Dry | Surface moisture evaporates | Dry to the touch | 1–8 hours | Touching, stacking, light pressure |
| Recoat Ready | Paint can accept another coat | Slightly firm | 4–24 hours | Heavy sanding, hardware install |
| Handling Dry | Surface holds light contact | Mostly firm | 24–48 hours | Hanging doors, tightening screws |
| Early Cure | Paint begins to harden below the surface | Firm but flexible | 3–7 days | Cleaning, bumping edges |
| Full Cure | Paint reaches full strength | Hard and durable | 14–30 days | Aggressive cleaning, impact |
Paint dries from the outside in. Even when cabinets feel dry, deeper layers stay soft. Waiting through full cure time prevents dents, scratches, and sticking doors that often show up days later.
Should You Paint Before or After Installation
Many forum users suggest painting cabinet doors before installation when space allows. This method gives better access to edges and reduces the risk of drips or missed spots.
Hanging doors flat or on hooks also helps paint settle evenly. Painting after installation can make sense when cabinets are already mounted or space is limited. This option avoids extra handling and reduces the chance of dents during transport.
For beginners, painting doors first and boxes in place often works best. It keeps the process manageable while limiting touch-ups later.
The right choice depends on workspace, time, and comfort level, but careful handling and proper drying matter more than timing.
Common Mistakes and How to Fix Them
These issues come up often during cabinet painting, and most can be corrected with simple adjustments, patience, and practice.
- Skipping sanding between coats: Light sanding smooths the texture and helps the next coat settle evenly.
- Applying thick coats: Thin coats dry better and reduce runs, drag marks, and uneven buildup.
- Ignoring dust control: Cleaning surfaces between steps prevents grit from getting trapped in paint layers.
- Rushing dry time: Extra wait time helps avoid dents, scratches, and doors sticking together.
- Poor edge prep: Sealing and smoothing edges early prevents rough spots and early wear.
Addressing these problems early saves time, reduces rework, and helps cabinets hold up better during daily kitchen use and cleaning.
Conclusion
Painting cabinets from raw wood takes patience, but the process is very manageable with the right order and timing.
Proper setup, sealing, sanding, and drying all play a role in how the finish holds up over time. When each step is handled carefully, the results feel solid and consistent, not fragile or rushed.
If there is one takeaway to remember, it is that waiting between stages matters just as much as the products used. I hope this breakdown made how to paint unfinished cabinets feel clearer and less stressful.
If you want more home improvement help, take a look at other blogs on the site and keep building confidence with your next project.


