

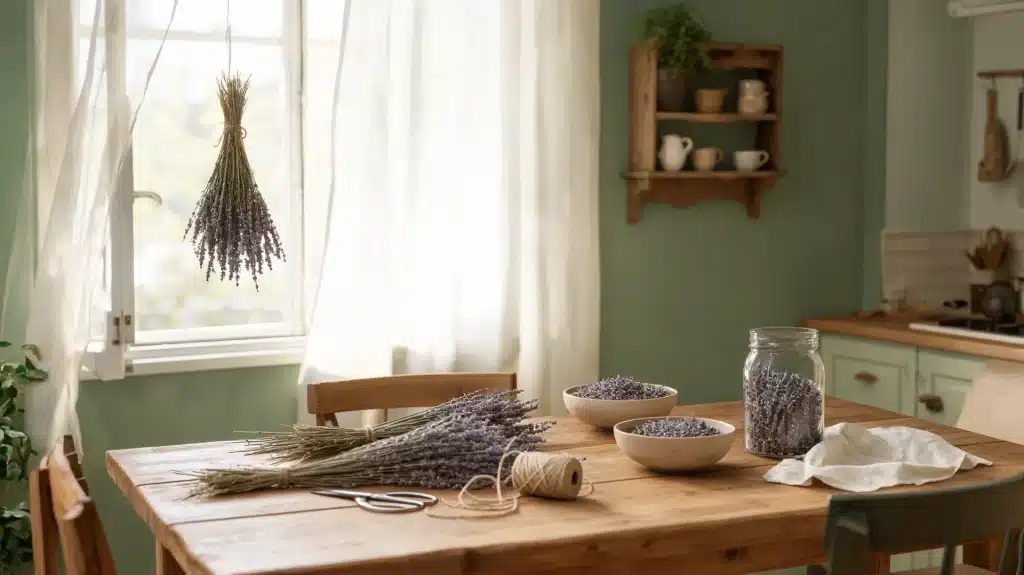

Lavender has a way of making a home feel calm without trying too hard. A small bundle sitting near a window or tucked into a drawer can bring back memories of summer gardens, warm evenings, and fresh air drifting through the house.
I still remember hanging my first lavender bundle in a small laundry room and checking it every day like it was some big project. A week later, the whole space smelled soft and clean.
If you’re growing your own lavender, starting with a DIY planter box is one of the easiest ways to get a dedicated patch going before the first harvest.
The mistakes that cause faded fragrance, brown stems, or moldy bundles are easy to avoid with the right steps in place, and that is exactly what this covers.
Why People Dry Lavender at Home?
Fresh lavender has a short window before the fragrance starts going flat, usually a few days at most. Drying it at the right moment preserves the essential oils and keeps the scent active for months, sometimes years. That alone makes it worth doing.
But people dry lavender for more reasons than fragrance alone:
- Drawer sachets that keep clothes smelling clean without synthetic products
- Loose-leaf tea with a calming, floral quality that works well before sleep
- Bath soaks and sleep pillows that put the scent to practical, daily use
- DIY candles, soaps, and crafts that use real botanical ingredients
- Natural scent for closets and linen storage without chemical sprays
- Dried bouquets that hold color and shape far longer than fresh flowers
The variety chosen and the moment it is cut are the two decisions that determine how much fragrance actually survives the whole process.
Not All Lavender Dries the Same
Three main varieties are available at most US garden centers and farmers’ markets.
Each one dries differently and suits different uses. Knowing which one to reach for before cutting anything saves a lot of frustration later.
1. English Lavender
English lavender (Lavandula angustifolia) is the standard choice when fragrance is the main goal. It keeps its scent well and has a softer floral smell that works nicely for tea, sachets, and sleep pillows.
The stems are also easier to bundle and dry evenly. Available at most garden centers across the US from spring through early summer. If only one type is available, choose the one.
2. French Lavender
French lavender (Lavandula dentata) has a more decorative look with larger flower heads and softer purple tones. It dries nicely for bouquets and room decor, though the scent is usually lighter than English lavender.
If you enjoy arranging stems, knowing how to cut flowers for vase displays will help you get the most out of French lavender before the drying stage. People often use French lavender in vases or hanging wall bundles because the flowers keep their shape well.
3. Lavandin
Lavandin (Lavandula x intermedia) produces the most intense fragrance of the three and yields more, making it a practical option for crafts, potpourri, and essential oil projects. It is a hybrid lavender known for its stronger scent.
The fragrance can feel sharper and more powerful, which makes it a good option for closets, storage spaces, and homemade cleaners.
With the variety sorted, timing becomes the next critical decision. Cutting at the wrong stage costs more fragrance than almost any other single mistake.
When to Harvest Lavender for Drying?
Harvesting lavender at the right time is crucial for preserving its fragrance, color, and quality. Here’s a simple guide to help you know when the timing is right:
| Factor | Details |
| Best Time of Day | Harvest in the morning after the dew has dried. Avoid the hottest part of the day to preserve natural oils and fragrance. |
| How to Know Lavender Is Ready | Look for stems where about half the flowers have opened. The color should be rich and healthy, with no brown spots. |
| What Happens If You Harvest Too Late | Lavender left on the plant too long may drop buds during drying. The scent weakens, and the color fades, leaving messy bundles. |
By following these guidelines, you’ll ensure the best possible quality when harvesting lavender for drying. The right timing sets the foundation for a successful drying process.
How to Dry Lavender: The 5 Best Ways at Home
Each approach below works, but they differ in fragrance quality and the conditions they handle best. Air drying is the standard for a reason, but the others earn their place in specific situations.
Lavender Drying Tools Checklist
- Sharp scissors or pruning snips
- Rubber bands
- Twine or string
- Drying rack or hanger
- Mesh screen or flat tray
- Glass jars with lids
Prep lavender by removing weak stems, skipping washing, shaking off insects, trimming ends evenly, and keeping stems long enough for easy bundling.
With the right variety cut at the right moment and prepped correctly, the drying method is what determines how much of that fragrance actually survives.
1. Air Drying the Right Way
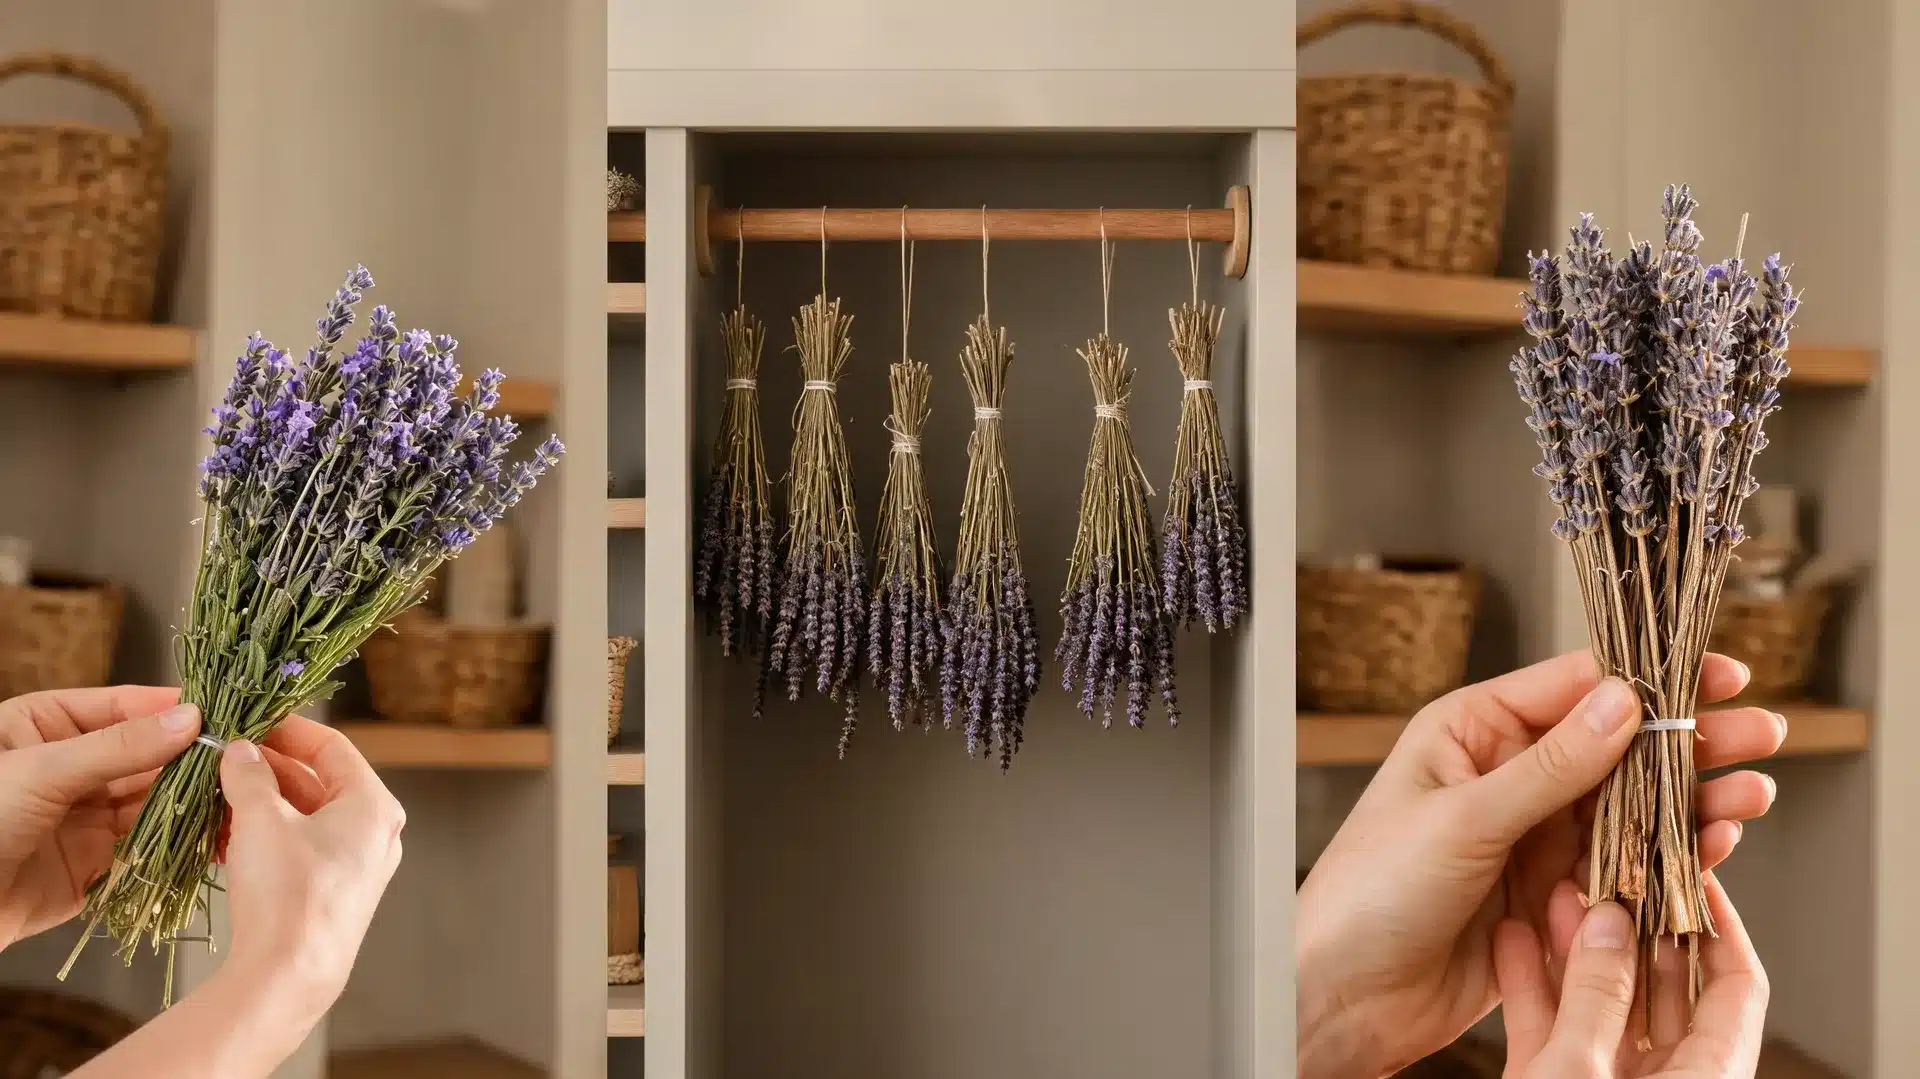
Step 1: Bundle the stems loosely: Group 8 to 10 lavender stems together and line up the cut ends. Keep the bundle small so air can move through it. Large bundles dry slowly and may trap moisture near the center.
Step 2: Secure the base tightly: Wrap a rubber band around the base of the stems. Rubber bands work better than string because stems shrink as they dry, and the band keeps them firmly in place.
Step 3: Hang in the right spot: Hang the bundle upside down in a dry, well-ventilated place. A closet, pantry wall, or quiet indoor corner works well. Keep it away from direct sunlight, as strong light can fade the color and weaken the scent.
Step 4: Leave the bundle alone: Let the lavender dry for 2 to 4 weeks. Avoid moving or squeezing the bundle too often because dry buds can fall off easily once the stems start curing.
Step 5: Check before storage: The lavender is ready when stems snap cleanly, and the buds feel dry and papery. If the stems still bend, give the bundle more time before storing it.
2. Flat on a Screen
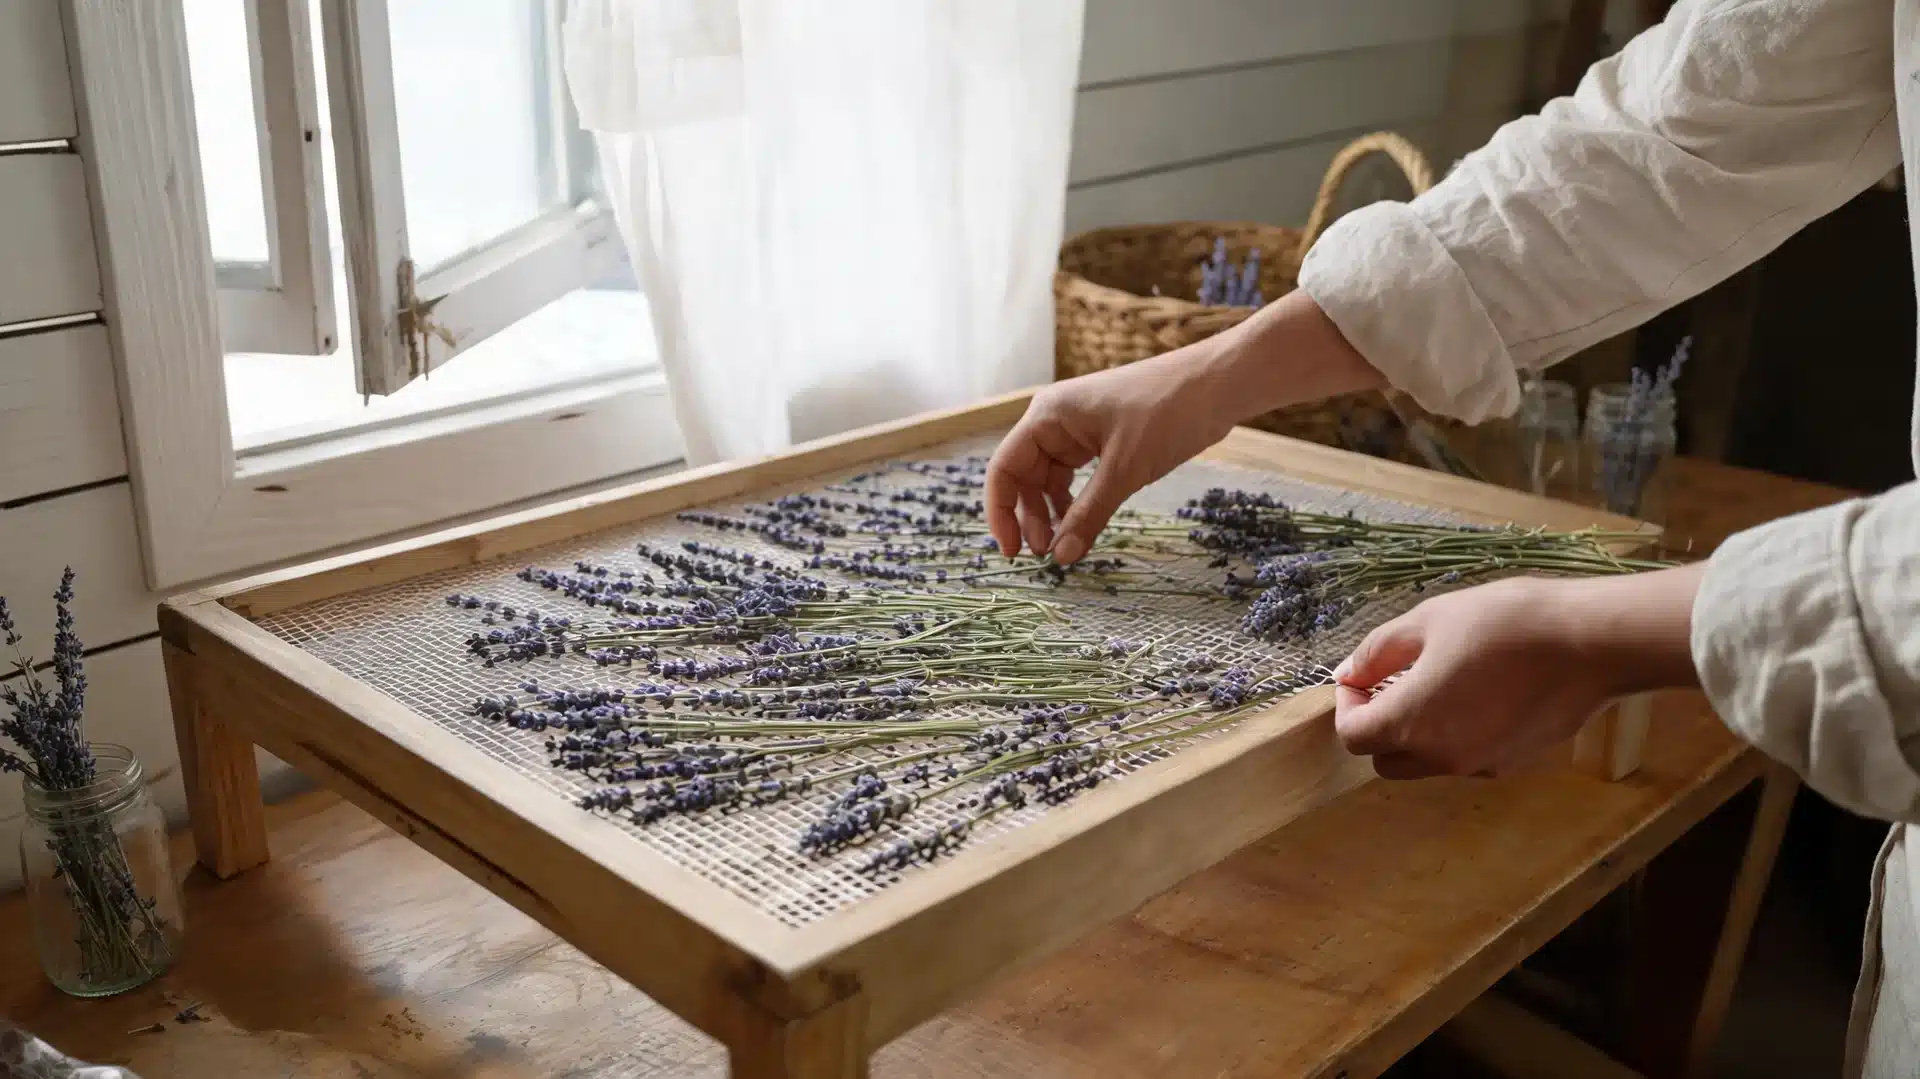
Step 1: Spread stems in one layer: Place the lavender stems across a mesh screen, cooling rack, or flat tray. Keep each stem separate so air reaches all sides evenly.
Step 2: Choose a warm indoor spot: Set the screen in a warm, dry room with steady airflow. Avoid windowsills or sunny countertops, as direct sunlight can cause the flowers to fade faster.
Step 3: Turn stems if needed: Check the stems once a day. If one side feels damp, gently turn the stems so they dry more evenly.
Step 4: Watch for damp spots: Look closely for mold, soft stems, or dark patches. Remove any affected stems immediately to prevent the issue from spreading to the rest of the batch.
Step 5: Test the texture: The lavender is ready when the stems feel dry, and the buds crumble slightly between your fingers. Let it sit one extra day if any part still feels cool or damp.
3. Oven Drying
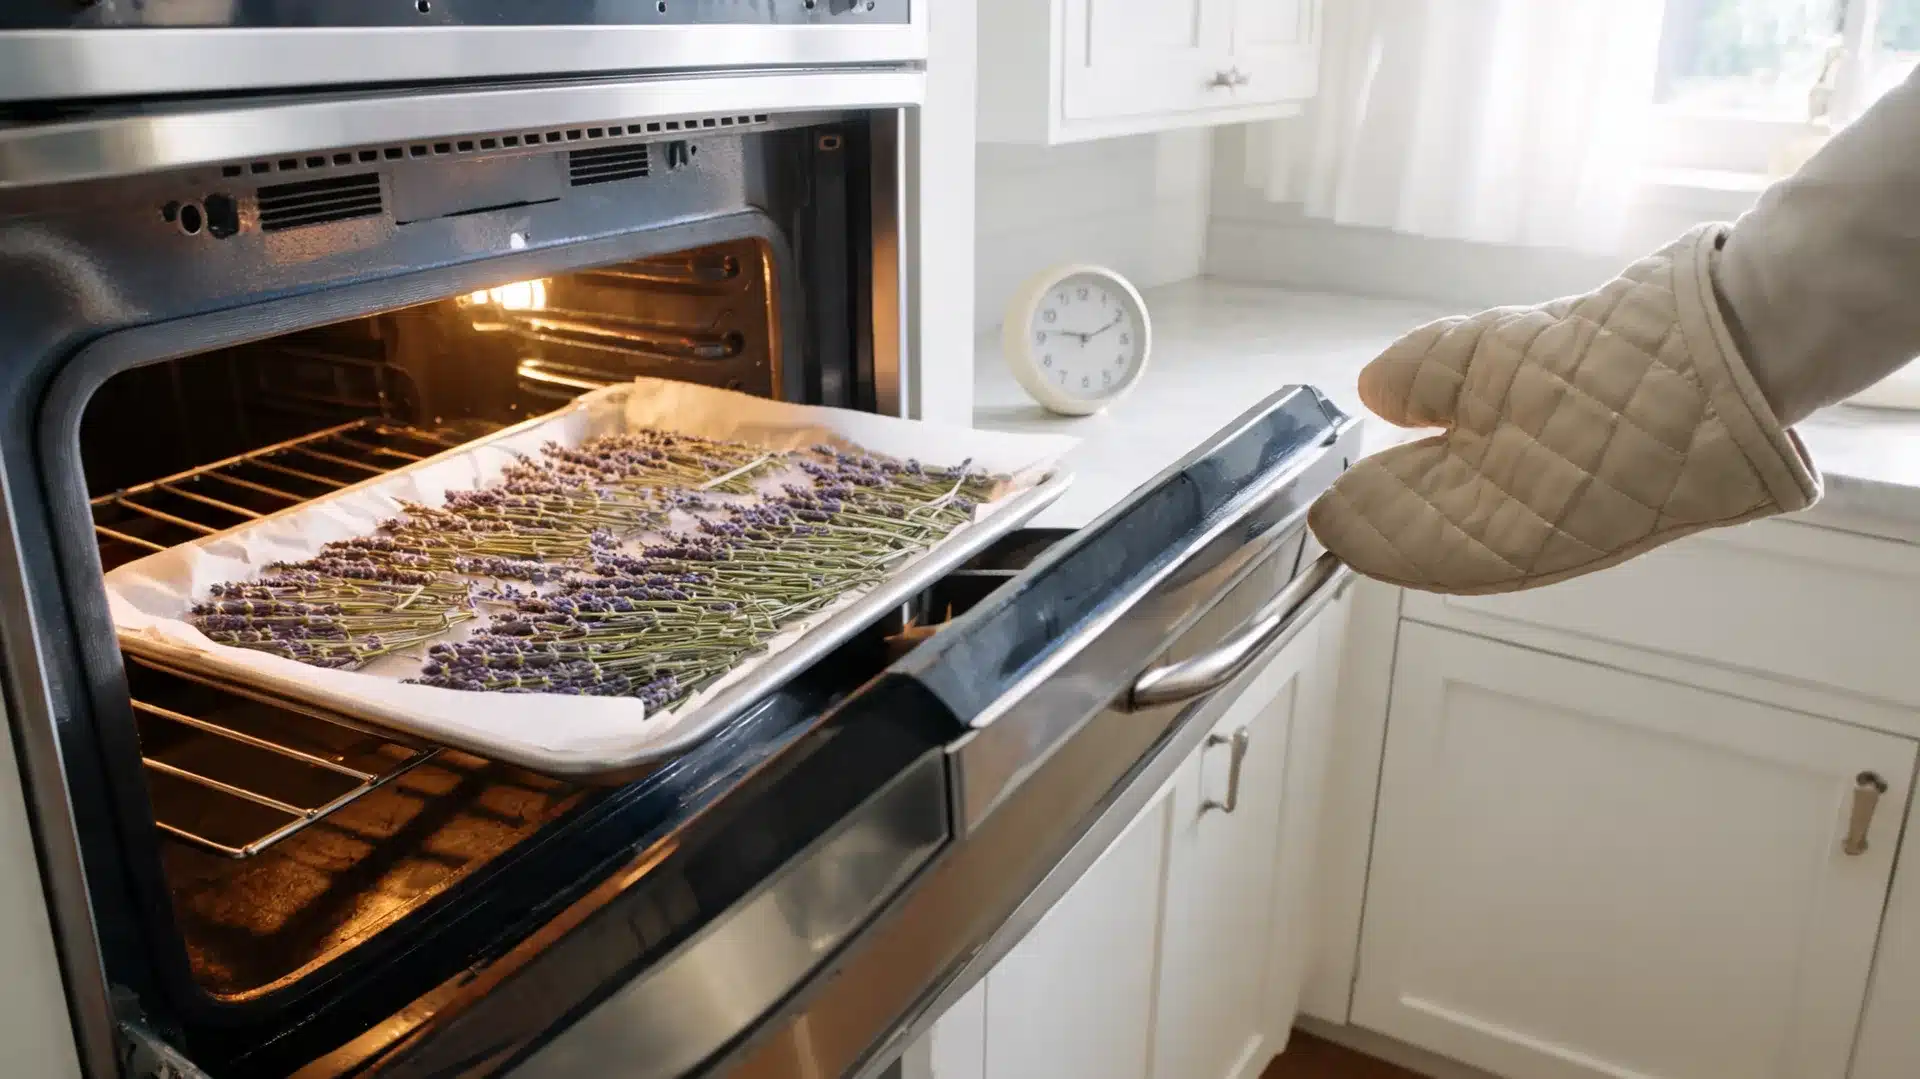
Step 1: Set the oven to low: Set the oven to the lowest possible temperature, ideally below 100 degrees Fahrenheit. High heat can cook the buds rather than gently drying them.
Step 2: Prepare the baking sheet: Line a baking sheet with parchment paper. Lay lavender stems in a single layer so they do not overlap.
Step 3: Keep the oven door cracked: Leave the oven door slightly open while drying. This helps moisture escape and lowers the chance of overheating the flowers.
Step 4: Check every 10 minutes: Check the lavender often so it does not dry too fast or scorch. Oven drying usually takes 1 to 2 hours, depending on stem size and moisture level.
Step 5: Cool before handling: Remove the tray once stems feel dry and crisp. Let the lavender cool fully before touching, bundling, or storing it.
4. Food Dehydrator
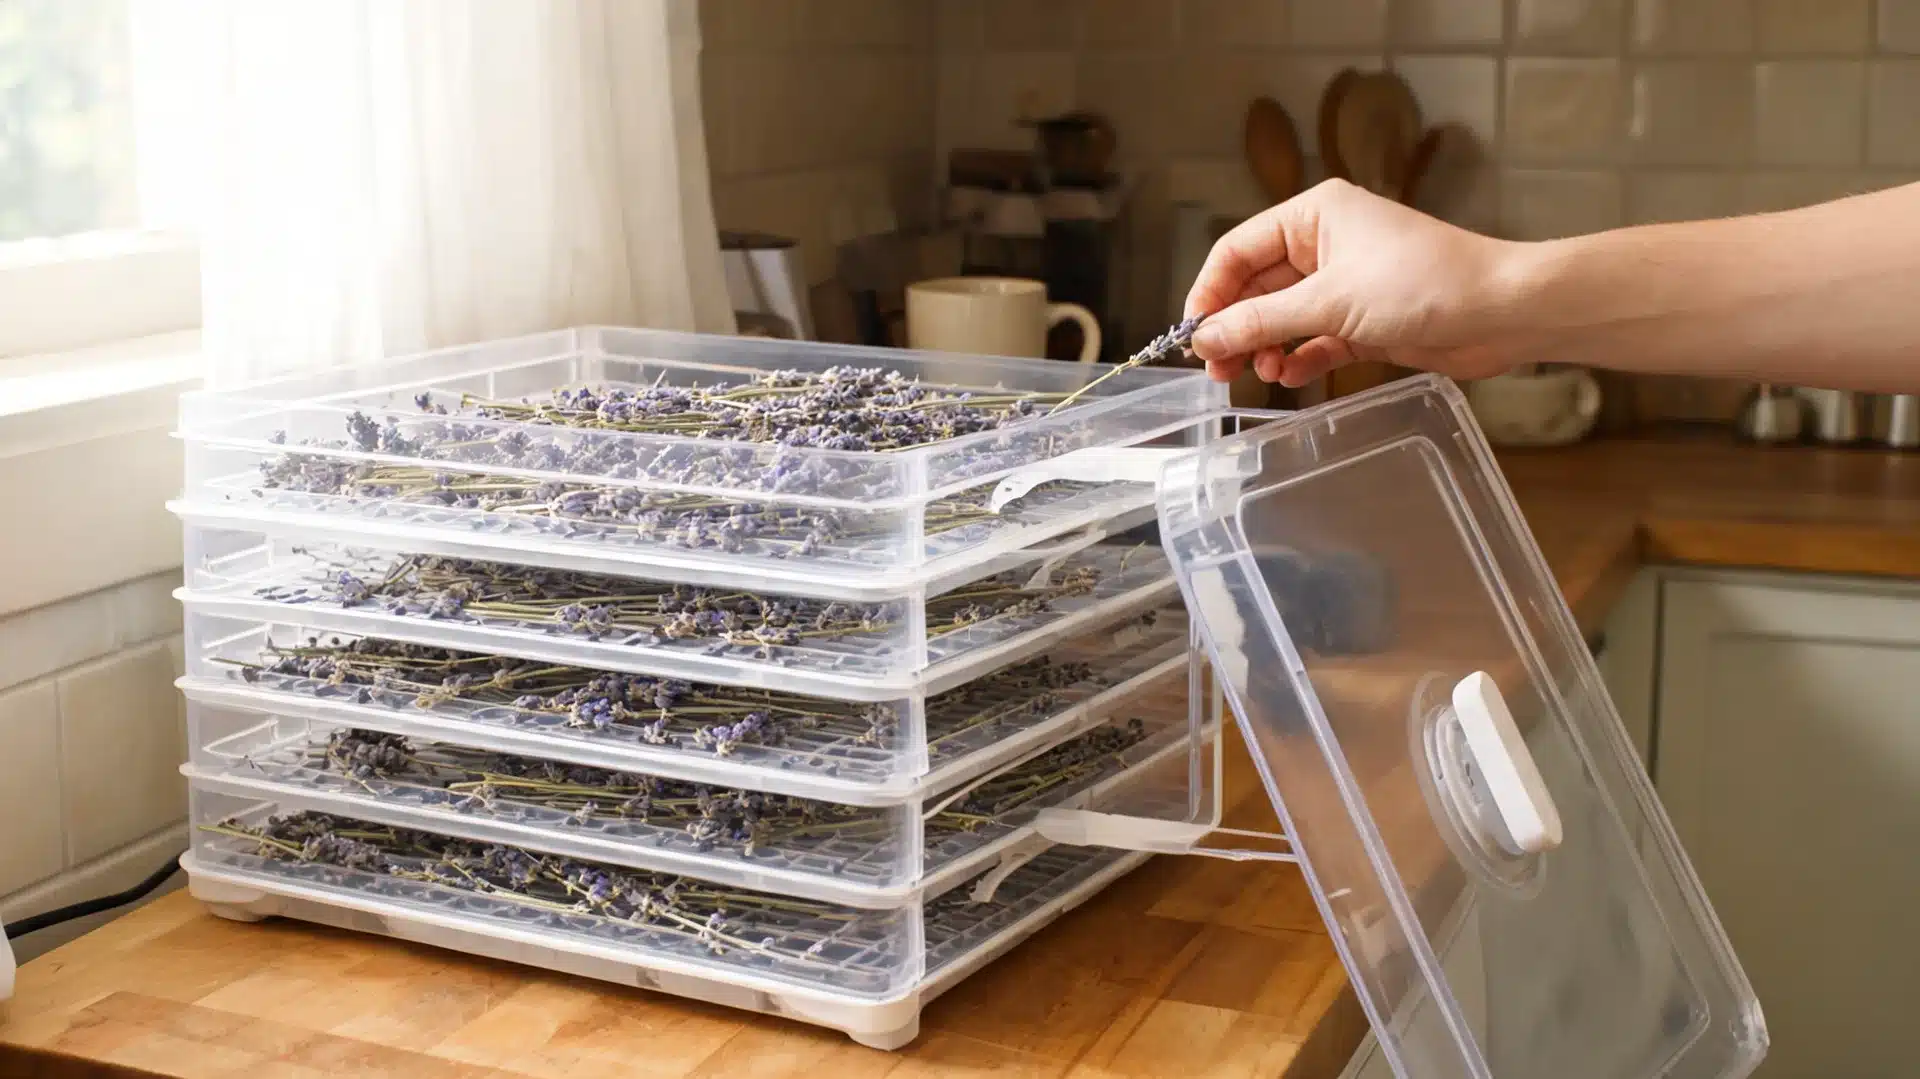
Step 1: Arrange stems on trays: Place lavender stems across dehydrator trays in a single layer. Leave space between stems so warm air can pass through.
Step 2: Use the lowest heat setting: Set the dehydrator to 95-105 degrees Fahrenheit. Low heat helps dry the flowers without stripping away too much scent.
Step 3: Check after the first hour: Look at the stems after one hour. Smaller stems may dry faster, while thicker ones may need more time.
Step 4: Remove fully dried stems: Take out stems once they snap instead of bending. The buds should feel dry, not soft or cool.
Step 5: Let them cool before storage: Allow the dried lavender to cool at room temperature before placing it in jars or bags. Warm stems can create condensation inside storage containers.
5. Microwave as a Last Resort
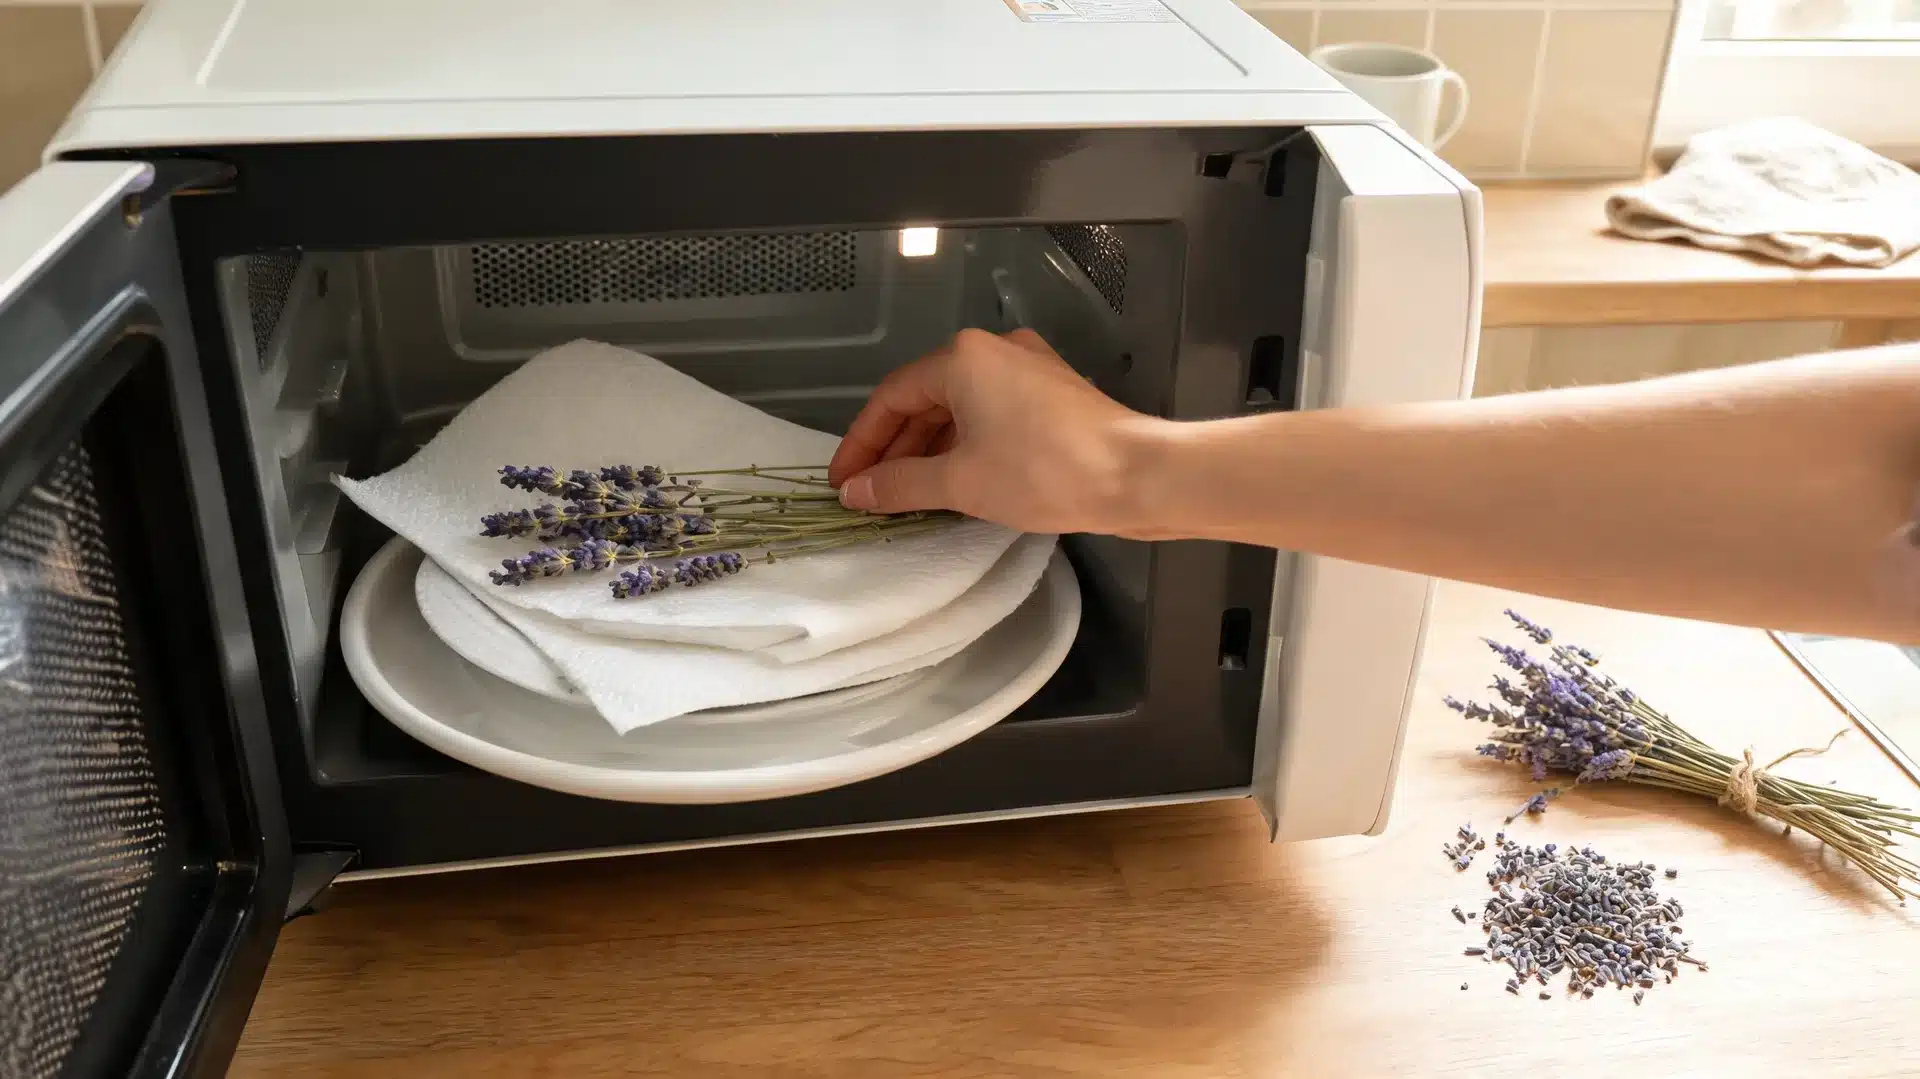
Step 1: Prepare a small batch: Place a small lavender bundle between two dry paper towels. Do not use a large batch because the microwave dries unevenly.
Step 2: Heat in short rounds: Microwave the bundle in 30-second intervals. Check the stems after each round so the buds do not overheat.
Step 3: Stop once stems feel dry: Most small batches dry within 1 to 3 minutes. Stop when stems feel dry and buds no longer feel damp.
Step 4: Cool before testing: Let the lavender cool completely before smelling or touching the buds. Hot buds may feel softer than they really are.
Step 5: Use this method only when needed: Microwave drying is fast, but scent retention is usually weaker. Use it for small, urgent batches rather than lavender you want to store for months.
Once the lavender feels dry and the stems snap cleanly, let it rest for a little while before storage. This extra time helps any hidden moisture leave the buds.
From there, you can keep the bundles whole, remove the buds for jars, or use them right away in sachets, tea, or small handmade gifts.
| How to Know It Is Ready: Stems snap cleanly without bending, buds feel dry and papery, fragrance smells concentrated and strong, and no coolness or dampness is felt when running a finger along the stem. If any stems near the bundle base still flex, leave them up for 3 to 5 more days. |
Mistakes to Avoid When Drying Lavender
To keep your lavender fresh and fragrant, watch out for these common mistakes:
- Thick bundles: Moisture gets trapped, causing mold.
- Direct sunlight: It fades the color and fragrance quickly.
- Wet stems: Mold can form before drying finishes.
- Sealing too soon: Condensation can ruin the dried lavender.
- High heat: It can strip away essential oils.
- Poor airflow: Drying slows down, and mold can form.
By avoiding these mistakes, you’ll keep your lavender at its best! Even when you’re following all the right steps, things can still go wrong. Here’s how to fix common issues:
- Turns brown: Lack of airflow causes drying to slow down, leading to browning.
Fix: Ensure good airflow during the drying process to prevent mold and discoloration. - Scent fades fast: Caused by late harvest or excessive heat.
Fix: Cut earlier and use lower heat when drying. - Mold on stems: Caused by wet stems or thick bundles.
Fix: Dry stems before bundling. - Buds falling off: Caused by cutting after peak bloom.
Fix: Cut when about one-third of the buds are open.
Avoiding these fixes will help you preserve the fragrance and quality of your lavender!
Practical Uses Around the Home
Dried lavender does more than sit in a vase. These are the uses worth knowing from the start, each with enough detail to get started immediately.
1. Drawer Sachets

Creating drawer sachets with dried lavender is a quick and natural way to keep your clothes smelling fresh without relying on synthetic products.
The scent of lavender is naturally refreshing and can help keep your drawers, closets, and shoe storage smelling clean for weeks. Lavender also works to repel moths, making it a fantastic pest deterrent in your clothing storage.
- Quick Setup: Simply fill small fabric bags with dried lavender buds.
- A Natural Freshener: Provides long-lasting freshness without synthetic fragrances.
- Pest Control: Lavender helps keep moths and other pests away naturally.
- Customization: Experiment with fabric types or add other herbs like rosemary for a layered scent.
2. Lavender Tea
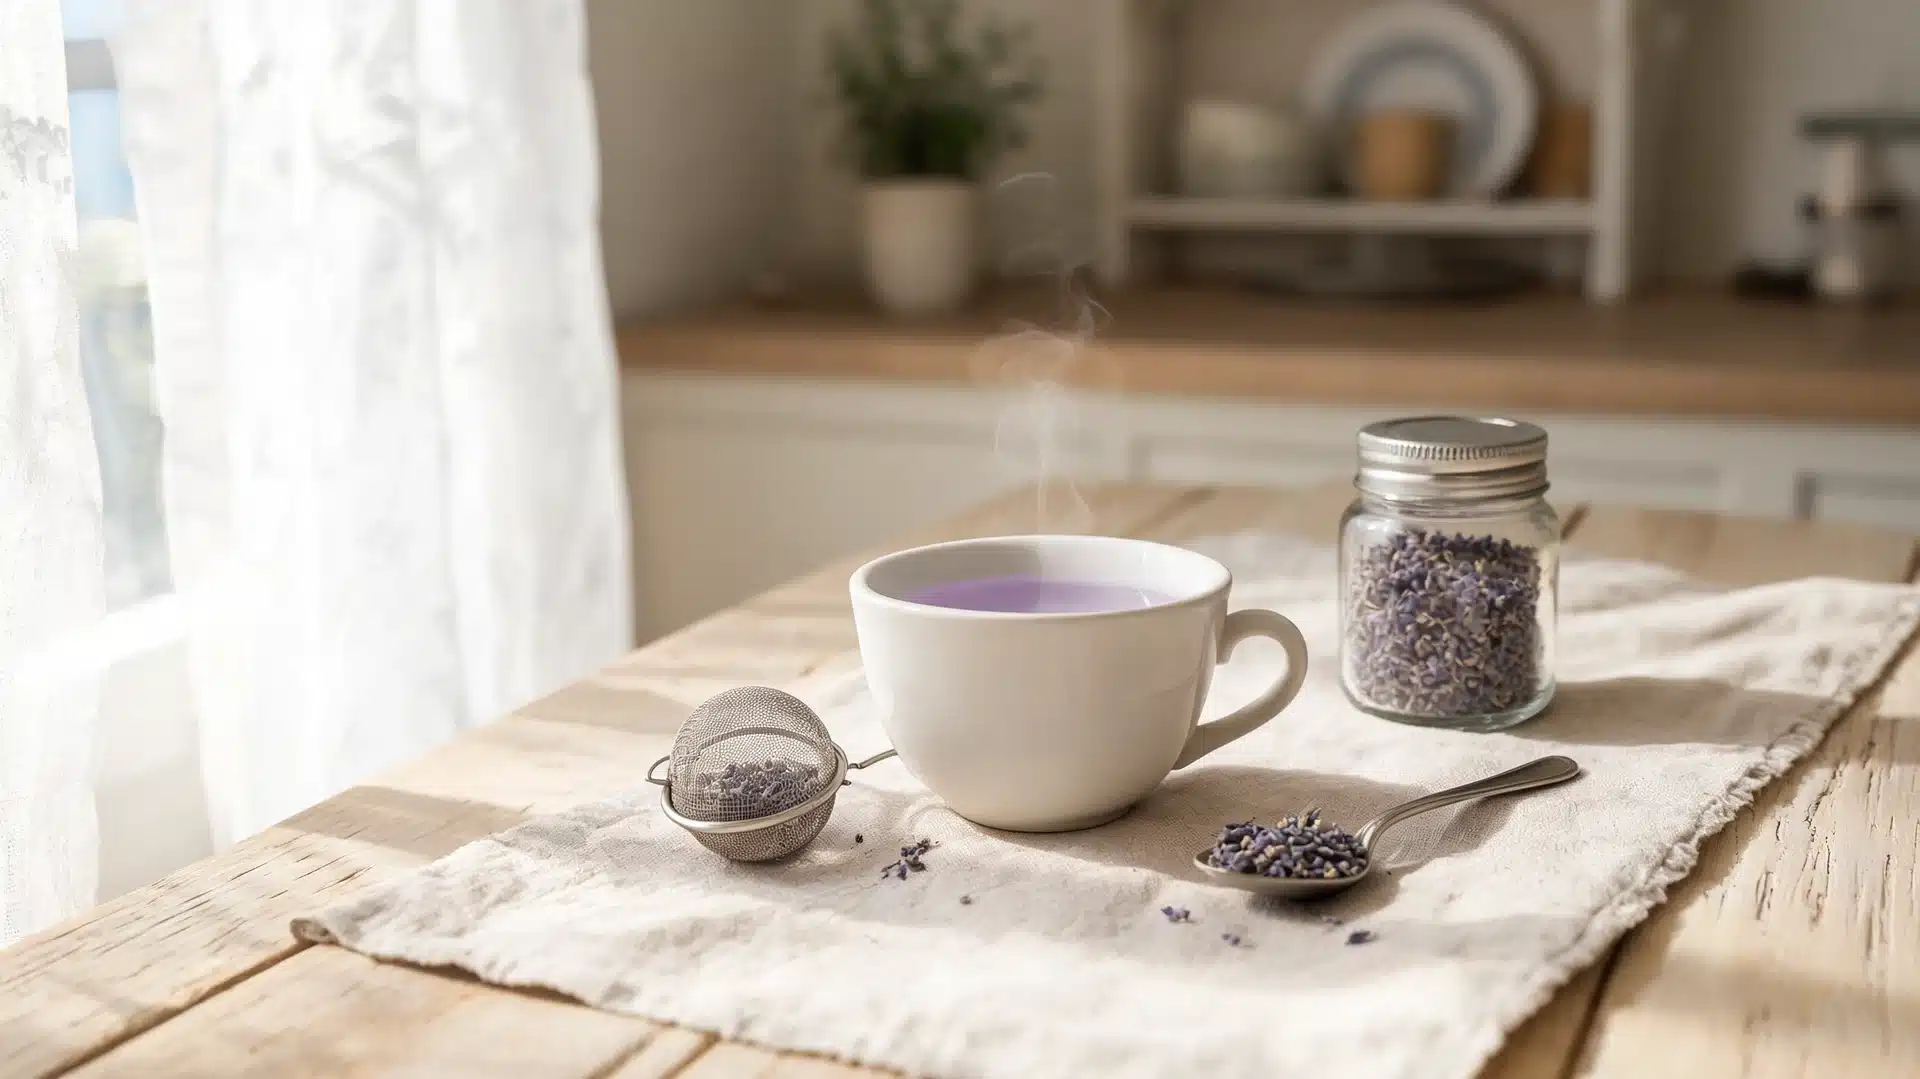
Lavender tea is known for its calming properties, making it an ideal beverage before bedtime.
Simply steep dried lavender buds in hot water for a floral, soothing drink that can help reduce stress and promote relaxation. It’s a great option for those looking for a caffeine-free alternative to wind down at night.
- Simple to Prepare: Steep 1 teaspoon of dried lavender buds in hot water for 5-7 minutes.
- Relaxation Aid: Helps calm the mind and prepares you for a restful sleep.
- Flavor Options: Add honey or lemon to enhance the flavor.
- Use Culinary Lavender: Ensure the lavender you use is safe for consumption (culinary grade).
3. Bath Soaks
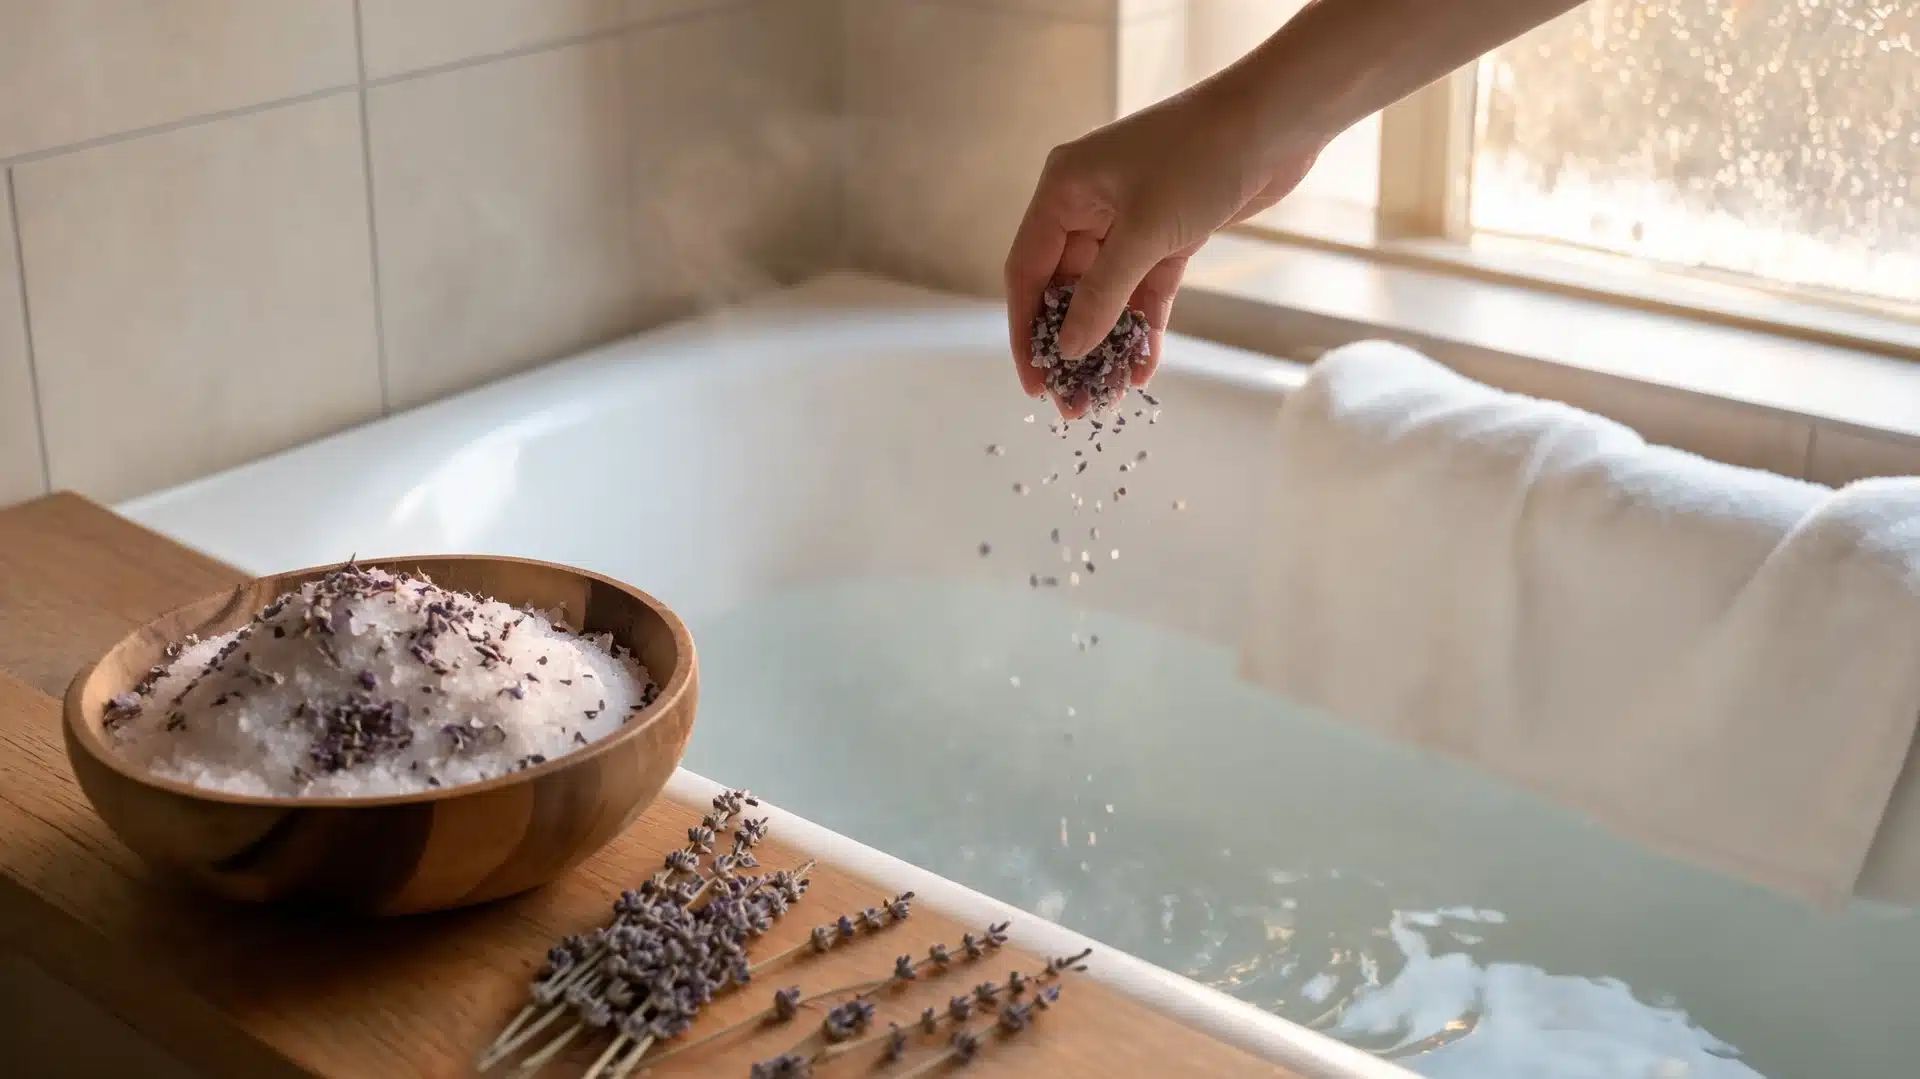
Lavender bath soaks are an easy way to transform your bath into a relaxing, spa-like experience.
By combining dried lavender buds with Epsom salts, you create a soothing mixture that not only smells incredible but also helps ease muscle tension.
Lavender’s calming scent, combined with the benefits of Epsom salts, makes for a deeply relaxing bath.
- How to Mix It: Add dried lavender buds to Epsom salts and pour into your bathwater.
- Benefits for the Body: Epsom salts help with muscle relaxation while lavender calms the mind.
- Extra Touches: Try adding rose petals or essential oils to elevate the experience.
- Soak Time: 15–20 minutes is optimal for maximum relaxation.
4. DIY Potpourri
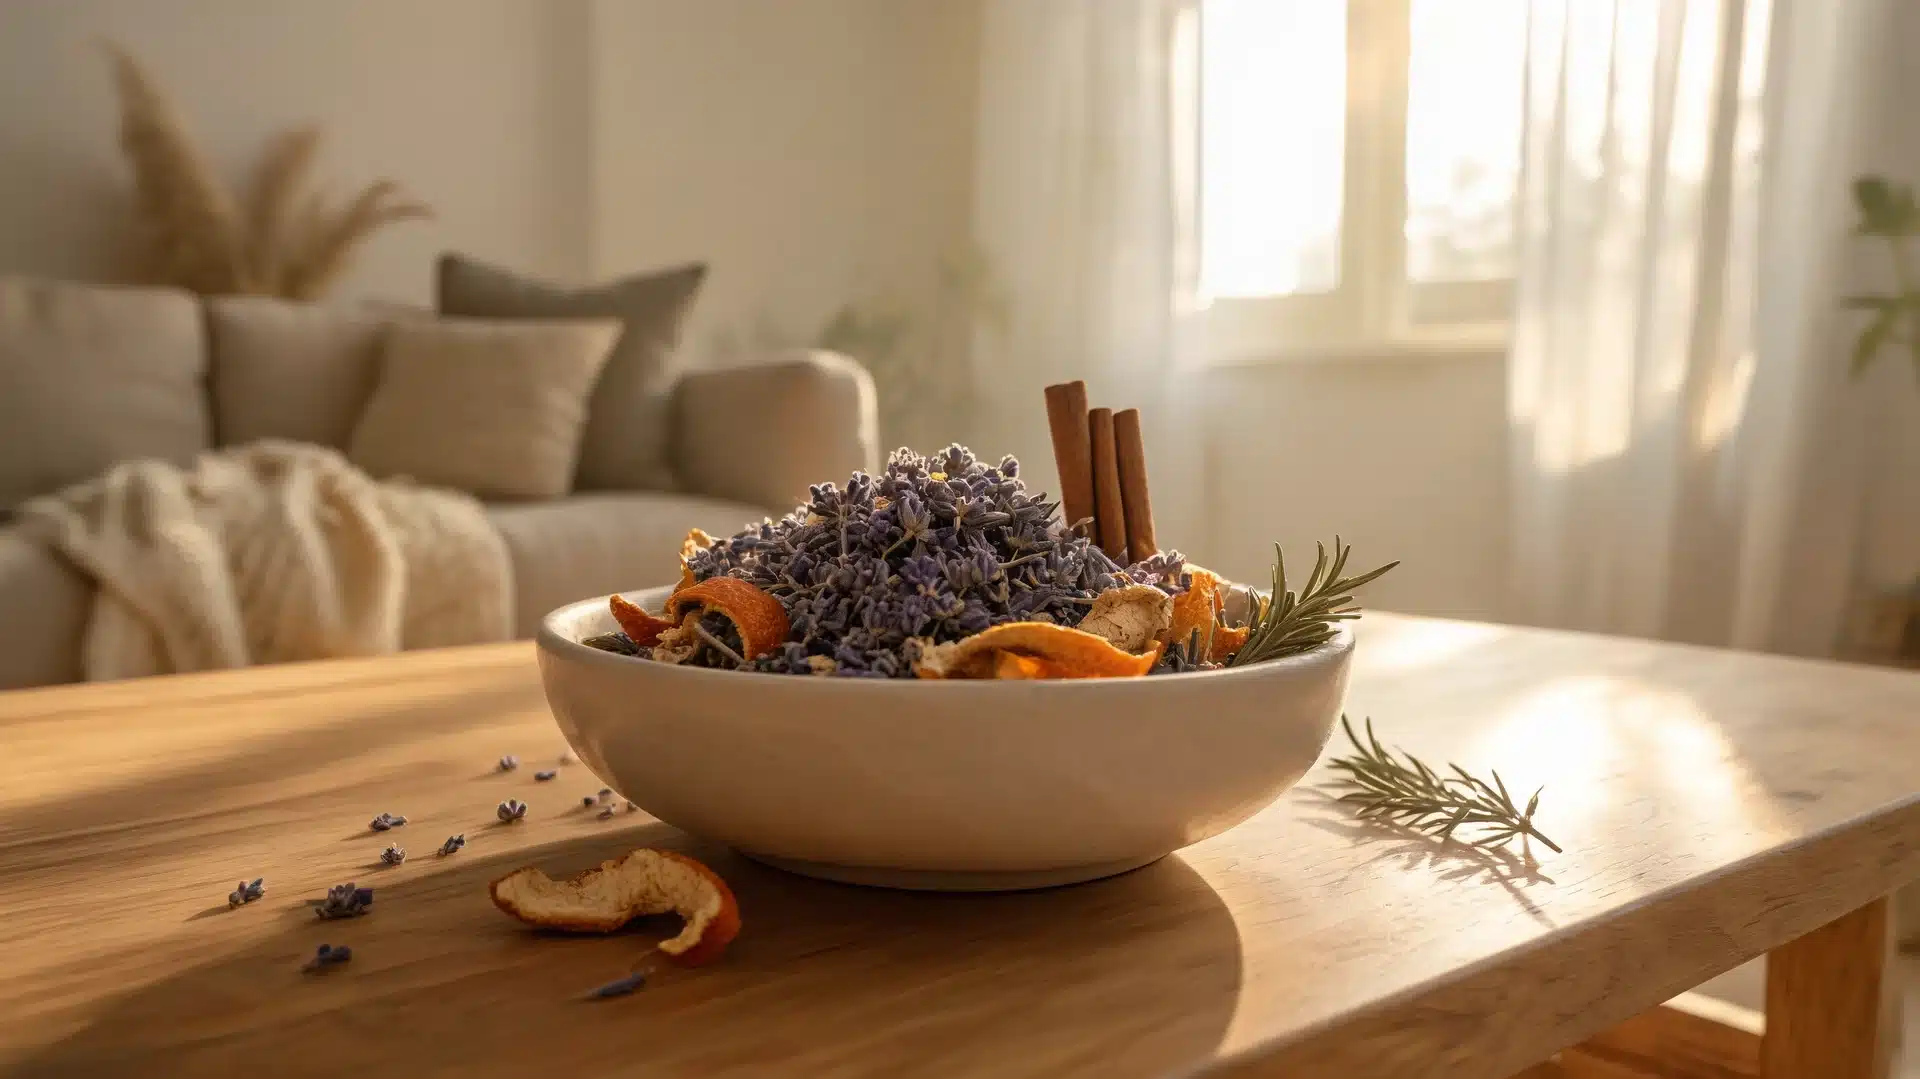
Make your own potpourri with dried lavender and other aromatic ingredients to create a natural, long-lasting fragrance for your home.
Lavender pairs beautifully with other herbs like rosemary, orange peel, or cinnamon. This simple and customizable potpourri is a great way to fill your home with an inviting scent.
- Custom Scent: Mix dried lavender with cinnamon, rosemary, or orange peel for a unique fragrance.
- A Decorative Touch: Display potpourri in open bowls or vases for a natural decor piece.
- No Chemicals: Unlike synthetic air fresheners, this is an all-natural, eco-friendly option.
- Refreshing Tip: Keep the scent strong by adding more lavender or a few drops of essential oil.
5. Sleep Pillows
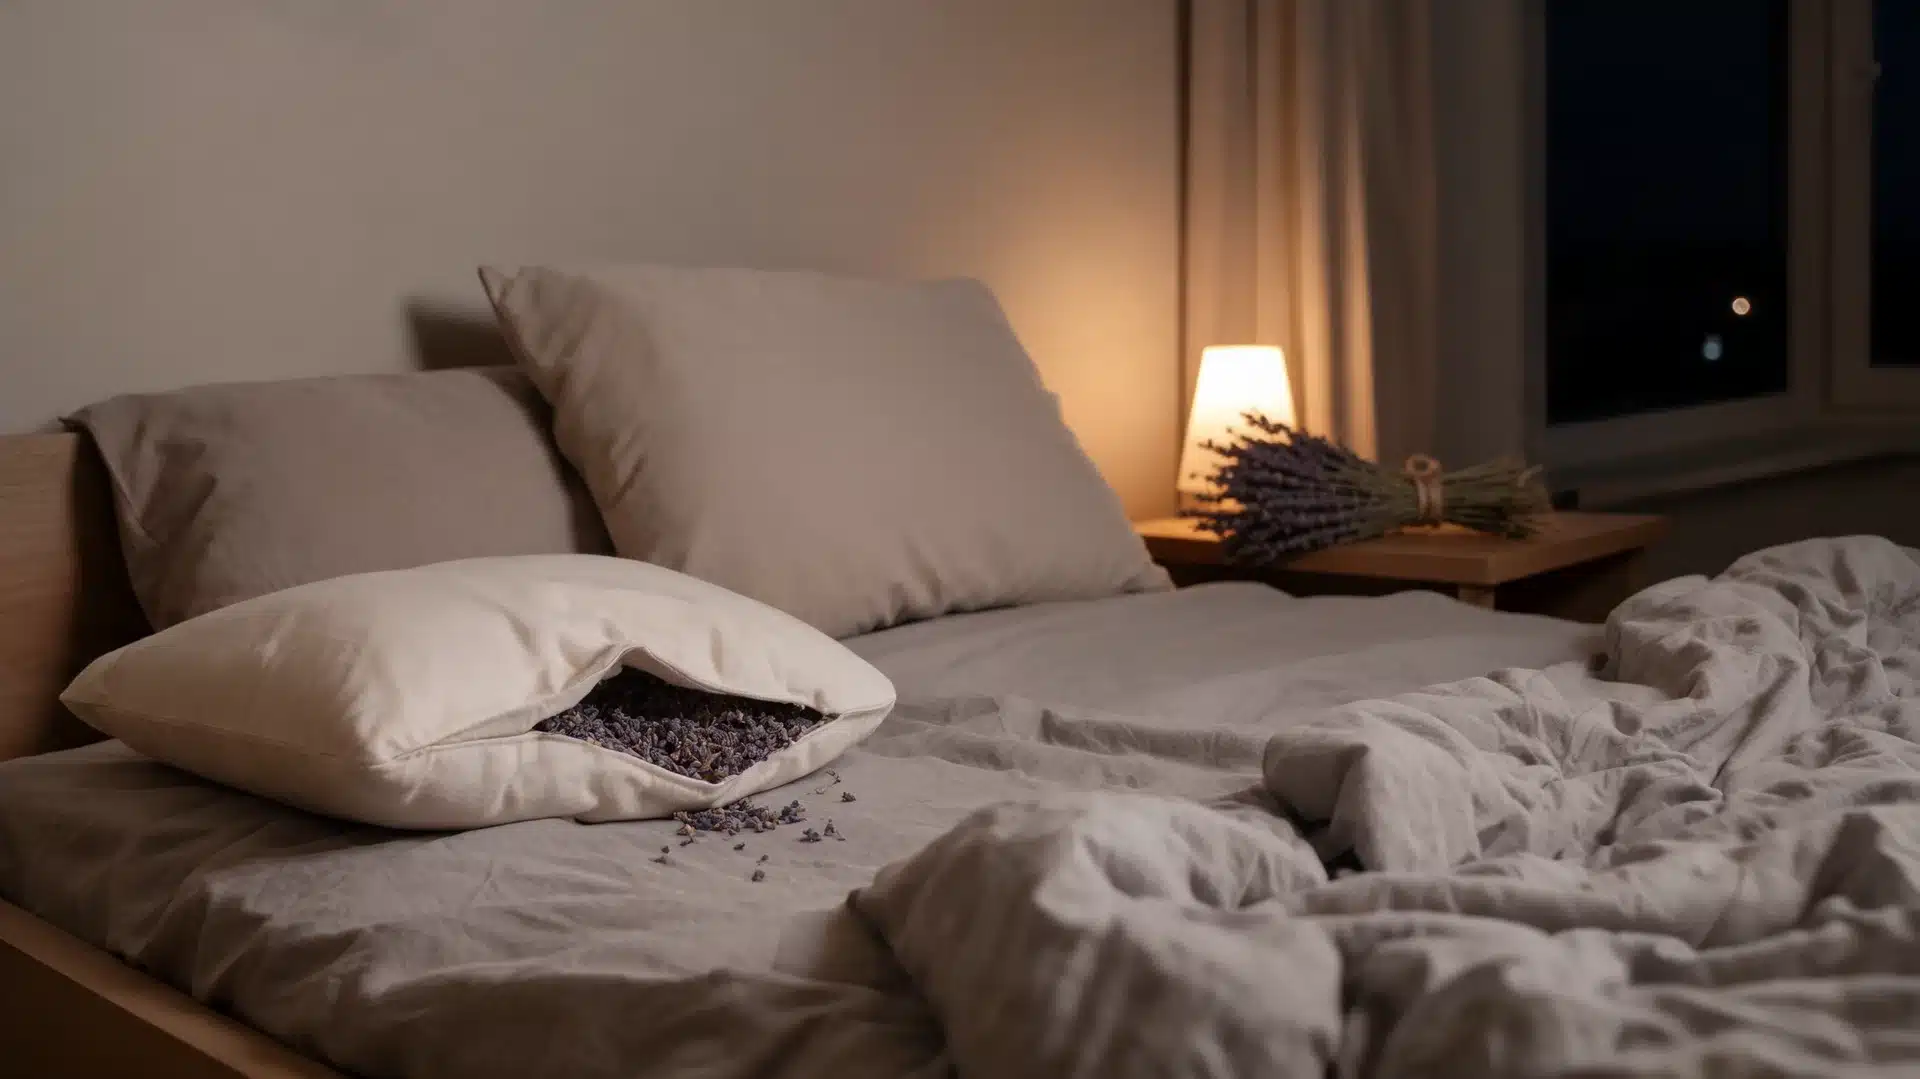
Lavender sleep pillows offer a calming effect that can help improve the quality of your sleep.
Placing a pouch of dried lavender near your pillow will release a gentle scent that promotes relaxation and helps ease the mind. Lavender has been used for centuries to aid sleep, making it a wonderful addition to any nighttime routine.
- How to Make It: Fill a small cotton pouch with dried lavender and place it near your pillow.
- Sleep Aid: Lavender promotes relaxation, making it easier to fall and stay asleep.
- Additional Herbs: Mix in chamomile or valerian root for added calming effects.
- Scent Duration: Lavender’s fragrance lasts a few weeks, after which you can refresh it.
6. Candles and Soap
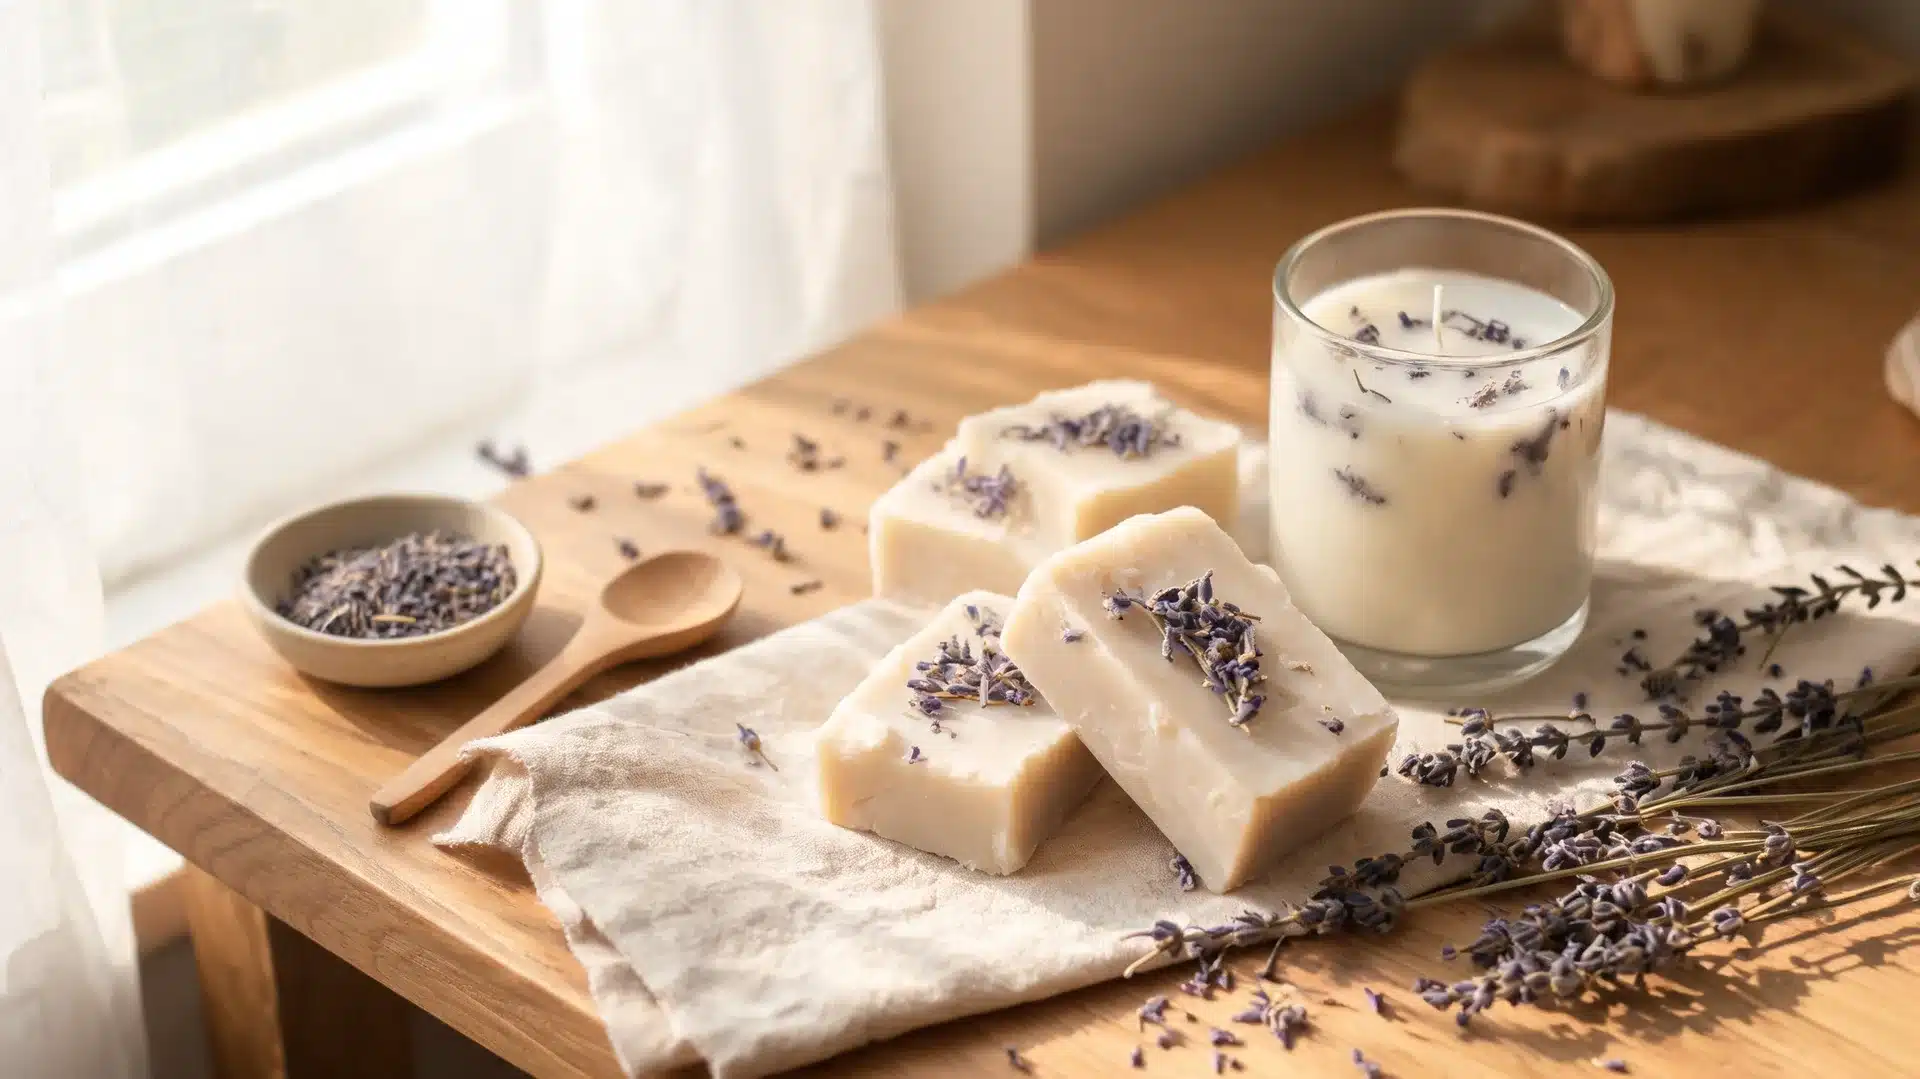
Lavender is a wonderful ingredient to use in homemade candles and soap. Adding dried lavender buds into the wax before it sets gives your candles a soft, natural scent that’s both calming and inviting.
Similarly, embedding lavender in soap not only makes it smell fantastic but also provides soothing, skin-friendly properties.
- Incorporating Lavender: Embed dried lavender into the wax of candles or the soap mixture.
- All-Natural Fragrance: Lavender provides a natural scent without synthetic oils or additives.
- Customization Options: Experiment by mixing lavender with other essential oils like eucalyptus or sandalwood.
- Safety First: Follow safety precautions when working with wax and soap-making materials.
7. Dried Bouquets
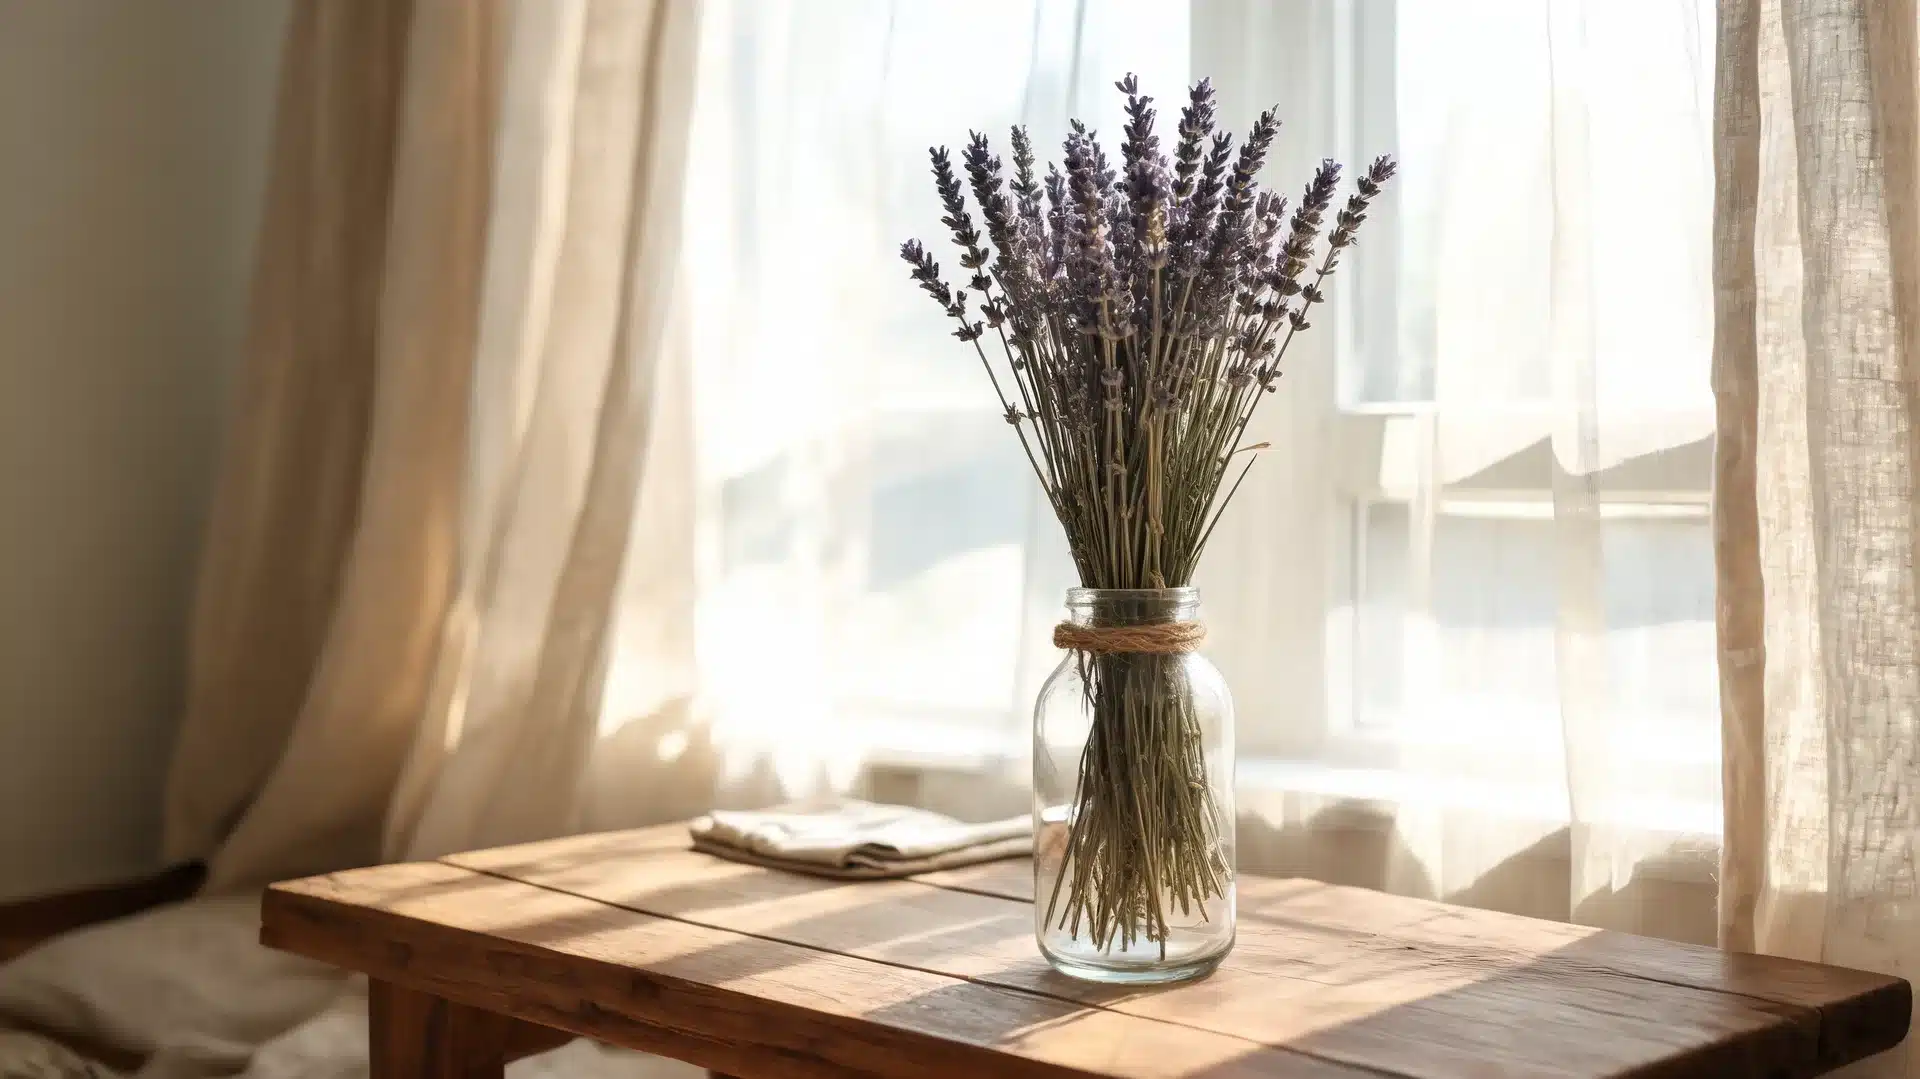
A dried lavender bouquet is a long-lasting way to enjoy the fragrance and beauty of lavender. Once gathered, tie a small bunch of dried lavender stems together and place them in a vase.
The bouquet will maintain its color and scent for months, adding a touch of rustic charm to any room without the need for maintenance.
- How to Create: Tie 15-20 dried lavender stems with twine and display in a vase.
- Long-Lasting: Unlike fresh flowers, dried lavender bouquets last for months with minimal care.
- Decorative Idea: Combine lavender with other dried flowers for a fuller, seasonal display.
- No Maintenance: Dried bouquets only need occasional dusting, making them easy to maintain.
8. Closet and Linen Storage
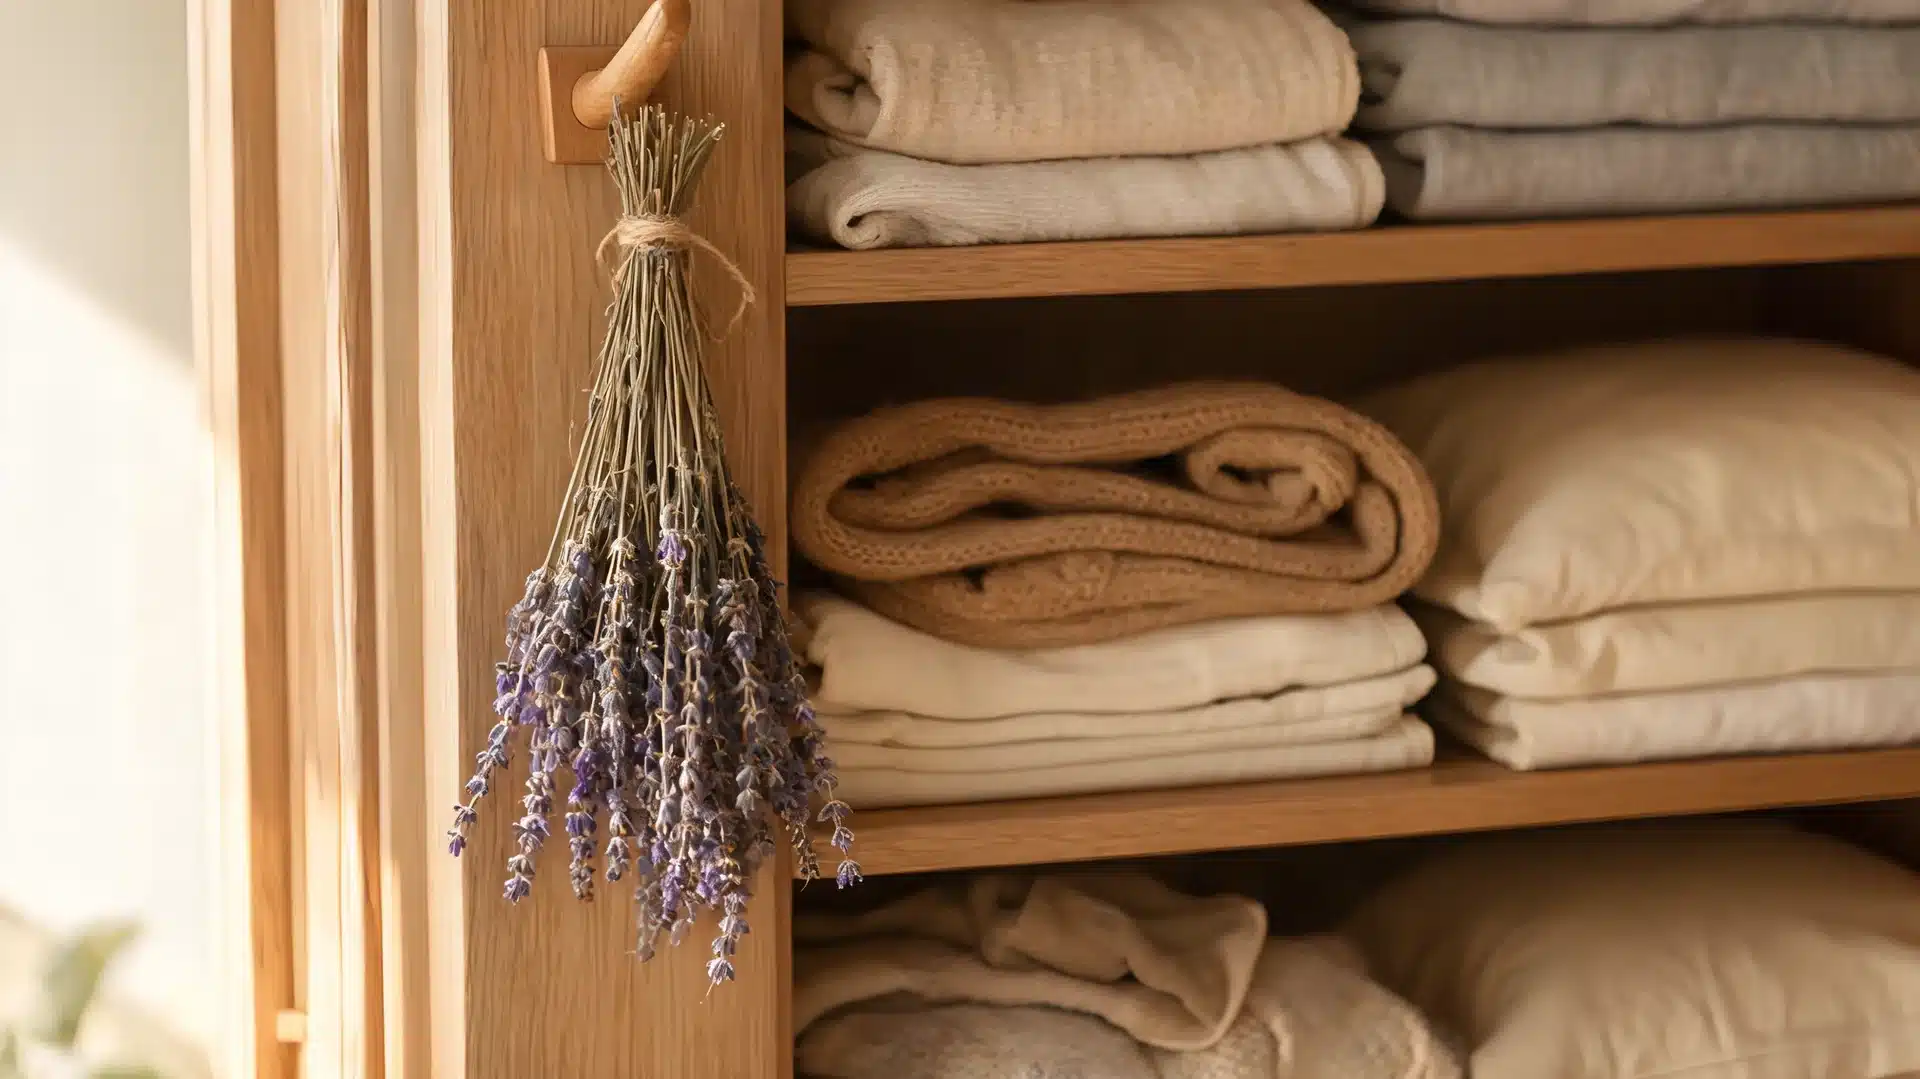
Lavender bundles can be hung in your closet or placed among your linens to keep your towels, sheets, and clothes smelling fresh.
Lavender’s scent also helps repel moths and other pests, providing natural protection for your fabrics. It’s an easy, eco-friendly way to refresh your linen storage and keep it smelling clean between washes.
- How to Use: Hang small lavender bundles inside your closet or tuck them into linen storage.
- Natural Freshener: Lavender imparts a subtle, pleasant fragrance to your linens.
- Pest Control: Lavender also helps prevent moths from damaging your fabrics.
- Scent Longevity: The fragrance lasts for weeks, and you can refresh it with new lavender as needed.
Storing It So the Scent Stays
Drying lavender well is only half the job. How it is stored afterward determines whether the fragrance holds for months or disappears within weeks.
| What | Best Option | What to Avoid |
| Container | Airtight glass jar, dark glass preferred | Plastic absorbs and releases foreign smells |
| Location | Bedroom drawer, dry pantry, linen shelf | Near the oven, bathroom, or any window |
| Shelf life | 1 to 3 years if stored correctly | Loose buds and sachets fade faster than whole stems |
| Refresh method | 2 to 3 drops of lavender oil on a cloth, sealed in a jar for 24 to 48 hours | Works once or twice before lavender degrades fully |
Storage keeps the fragrance intact. The section below covers actually putting all that dried lavender to use around the home.
Summing Up
Drying lavender at home is one of those simple projects that feels rewarding from start to finish.
Once you learn how to dry lavender, a few fresh stems can turn into drawer sachets, calming tea, handmade gifts, or small bundles that keep a room smelling fresh for months.
The process does not need fancy tools or perfect conditions. Most people can do it with scissors, string, and a quiet corner of the house.
Drop a comment below and share what you plan to do with your dried lavender!


