


Have you been thinking about giving your space a fresh update without going through a full renovation? I’ve been in that spot too. Adding a green beadboard might be just what you need.
It’s a straightforward way to add color, texture, and personality while keeping things simple and functional.
In this guide, I’ll show you exactly what green beadboard is, how you can install it yourself, where it looks best in your home, and how to keep it looking great over time.
If you’re ready to take on a project that’s both easy and rewarding, let’s get started.
What is a Green Beadboard
Green beadboard refers to vertically grooved wall paneling painted in various green shades, commonly used to add character and texture to interior spaces.
Originating in the 19th century, beadboard was a practical wall finish that protected surfaces while adding visual structure. Over time, it became popular in cottages and traditional homes.
The use of green introduces a calm, grounded feel to a room. Earthy tones, such as sage or olive, work especially well in spaces where relaxation, freshness, and a connection to nature are desired.
Steps for Installing Beadboard at Home
You can easily install green beadboard in your own space by following these steps, which require only a few basic tools.
Tools and Materials
- 4’x8′ beadboard sheets
- 18-gauge brad nailer and 2” nails
- Hammer and finishing nails (optional)
- Stud finder, measuring tape, pencil
- Jigsaw, table saw, or circular saw
- Level, painter’s tape
- Caulk and caulking gun
- Spackling paste or wood filler
- 1×4 primed pine (for trim)
- Outlet extender ring (if needed)
Step 1: Cutting Beadboard to Size
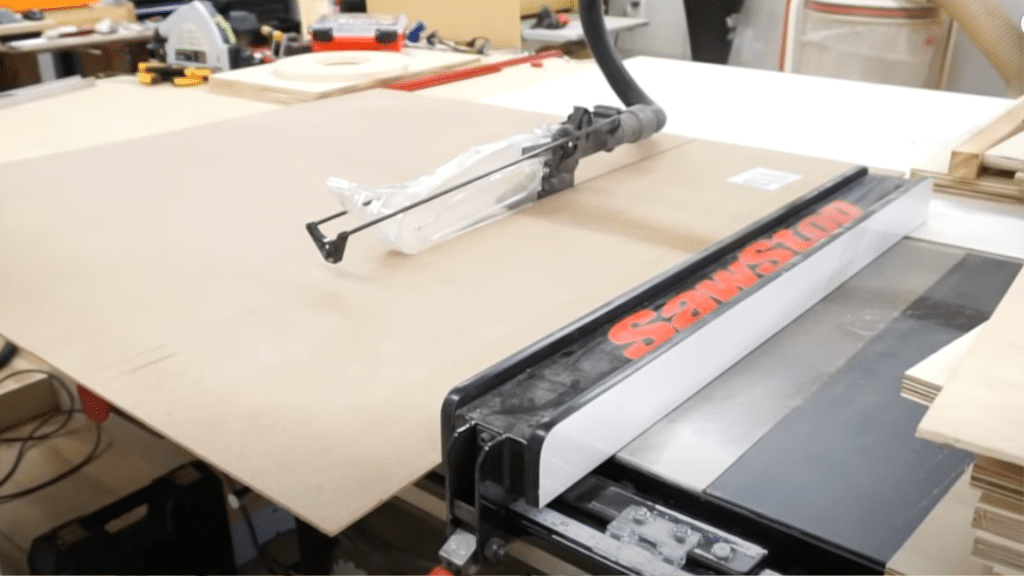
If full panels are too large for transport, request in-store cutting to accommodate your needs. For a 48″ height, cut 4’x8′ panels in half. This simplifies handling and matches standard wainscot height.
Be sure to inspect the edges for consistent grooves to ensure they align when joined. Some stores also offer smaller pre-cut options suited for various wall heights.
Step 2: Marking Studs
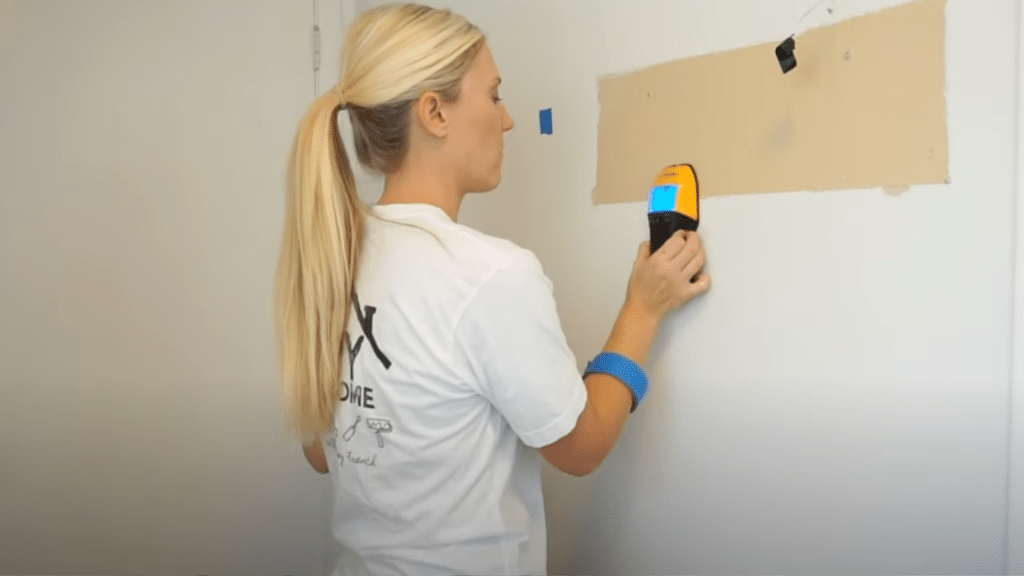
Use a stud finder to locate wall studs. Mark each stud with a small strip of painter’s tape above the intended panel height.
This ensures nails are driven into solid support behind the drywall, keeping panels secure.
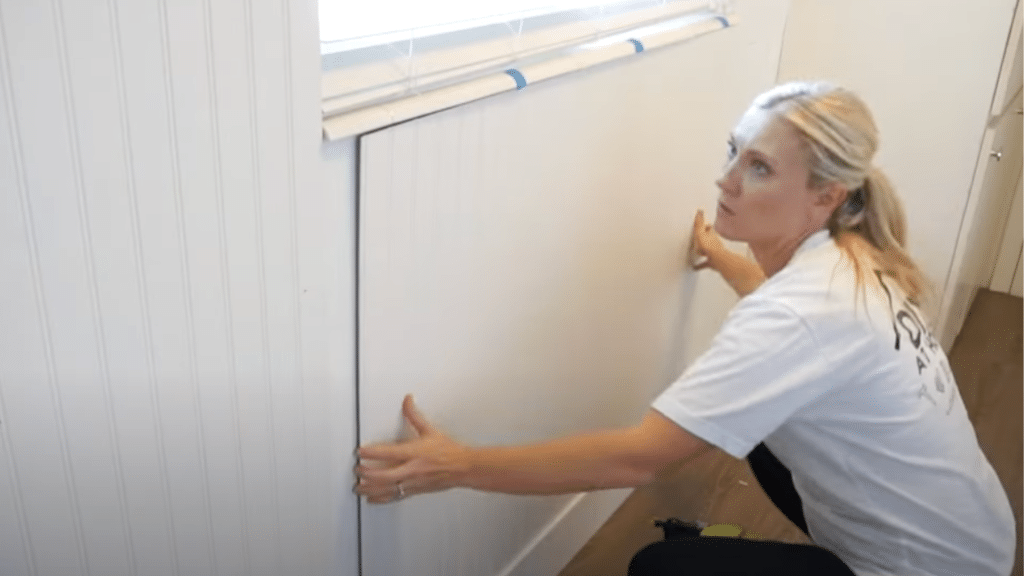
Step 3: Installing the First Panel

Place the first panel on top of the baseboard. Using a Brad nailer, drive 2” nails into the marked stud locations.
Confirm the panel is level before securing it fully. If using hand tools, attach them with finishing nails, though this takes longer.
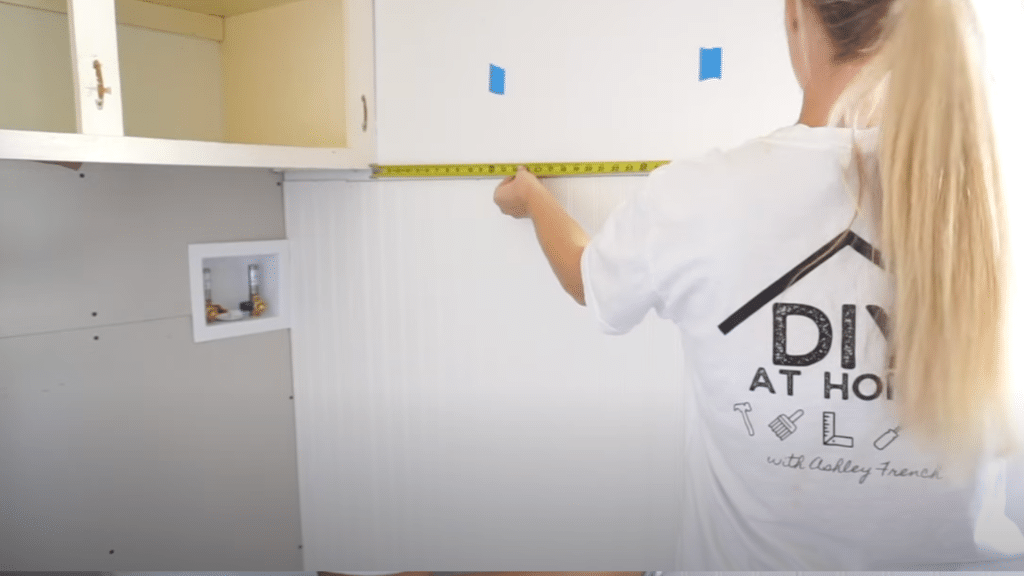
Step 4: Fitting Partial Panels
Measure gaps with a tape measure and mark your cut on the panel.
Ensure the groove or rib pattern aligns with the previous panel. Use a table saw, jigsaw, or circular saw to make precise cuts. Dry-fit before securing.
Step 5: Making Cutouts for Windows and Outlets
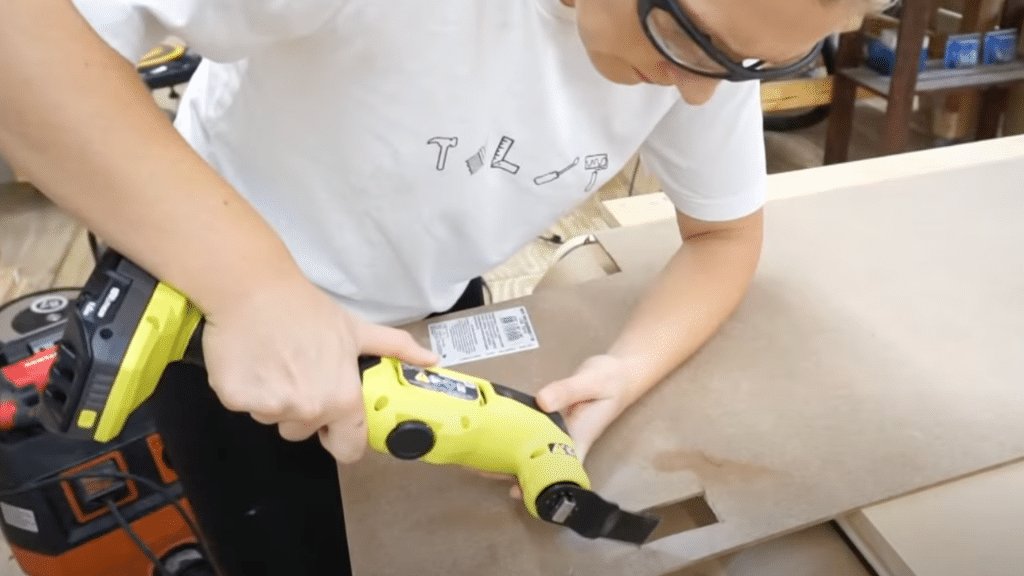
Measure carefully around windows or obstacles. Mark vertical and horizontal distances on the panel.
For outlets, use double-sided painter’s tape to temporarily attach the cover to the panel’s back, trace the shape, and cut with a multi-tool or jigsaw. Add an extender ring if the outlet sits behind the panel.
Step 6: Installing Trim Molding
Use 1×4 primed pine for top molding. Measure accurately and cut using a miter saw.
Secure trim with brad nails into wall studs. Trim adds a finished edge and conceals any uneven panel tops.
Step 7: Filling Gaps and Holes
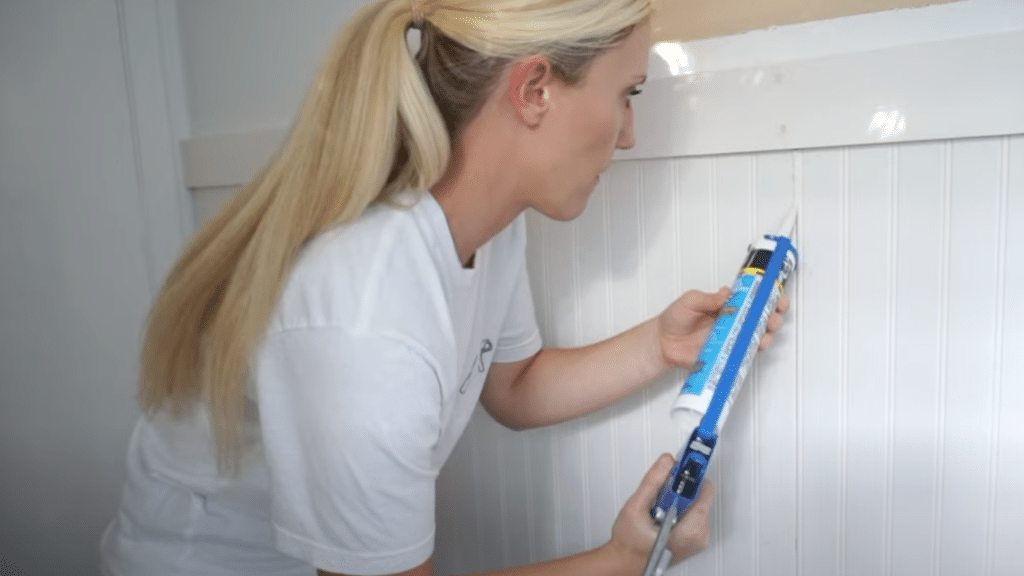
Apply spackling or wood filler to nail holes. Smooth with your finger and sand lightly after drying. For panel seams and corners, use caulk.
Cut the tip to a small size and apply with steady pressure. Optionally, use painter’s tape to keep caulk lines neat.
Step 8: Final Prep Before Paint
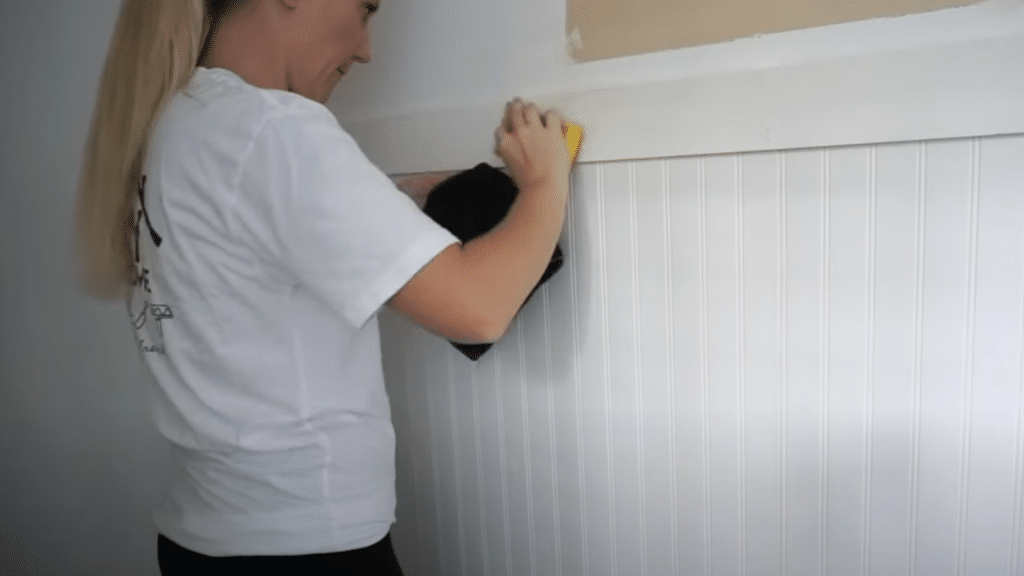
Once the paneling, trim, and caulking are finished, lightly sand all surfaces and wipe clean. The panels are already primed so that any standard interior wall paint can be applied directly.
Watch the full video tutorial below to see each step in action.
Best Rooms to Use Green Beadboard
Bathrooms
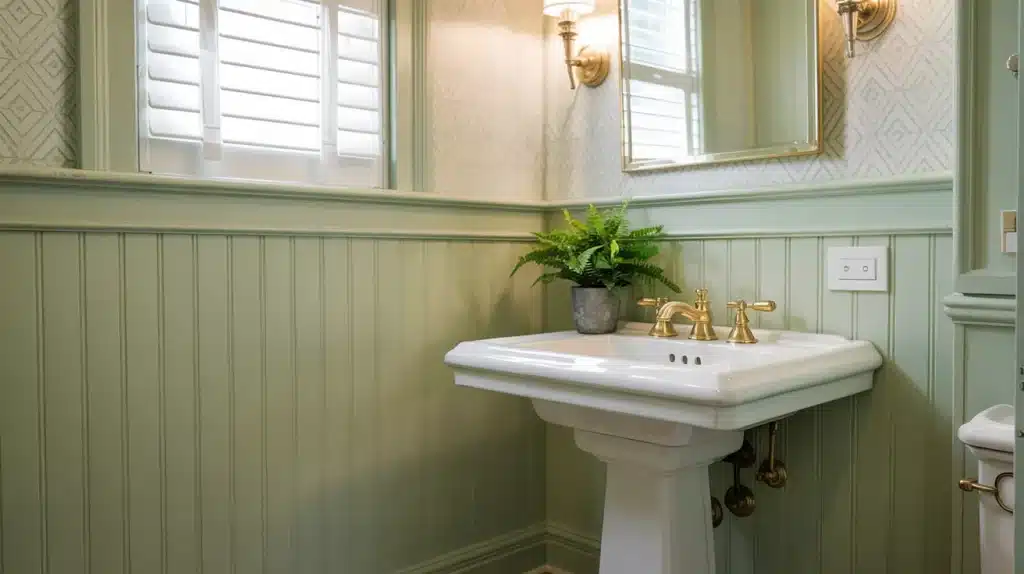
Beadboard is often installed up to 36″–48″ high in bathrooms, offering protection from splashes and visual structure to small spaces.
It pairs well with pedestal sinks and vintage or modern fixtures. Combining beadboard with patterned wallpaper or hexagonal tile above creates a two-tone wall effect that’s clean and balanced while also protecting lower walls from moisture.
Laundry Rooms
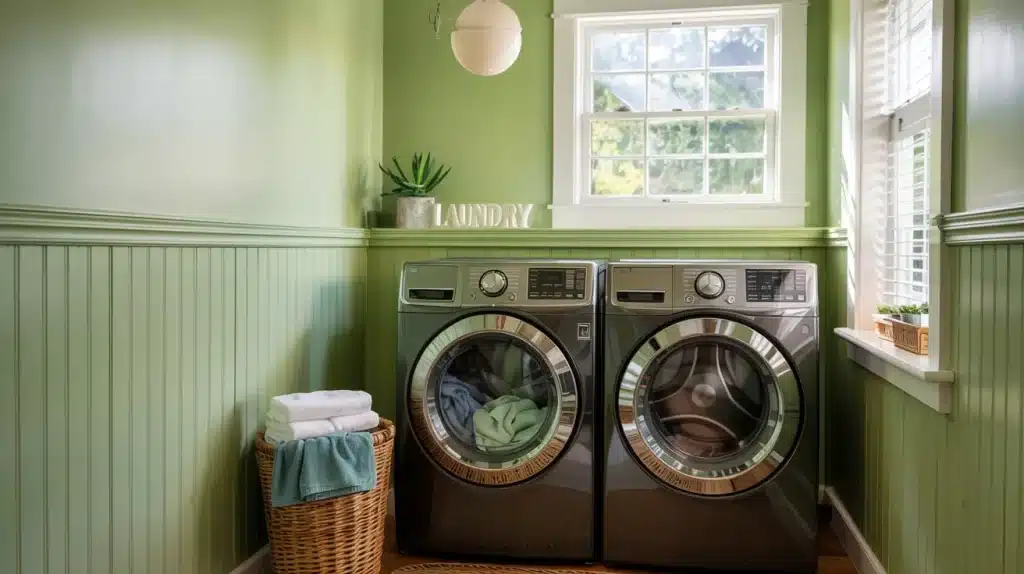
Green beadboard is ideal for laundry rooms, especially in homes with moisture concerns. It provides a protective layer over drywall while enhancing visual interest in utilitarian spaces.
Choose moisture-resistant panels and pair them with proper caulking and paint for added durability. Whether behind machines or along free walls, this paneling hides scuffs and keeps the space looking fresh with minimal upkeep.
Mudrooms & Entryways
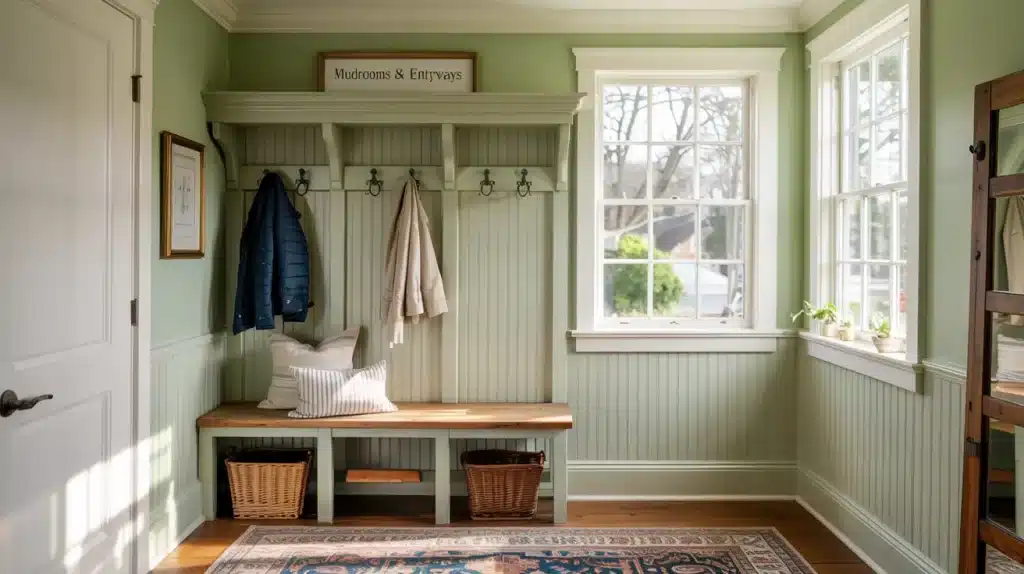
Mudrooms and entryways benefit from the scuff-resistant, easy-to-clean surface that beadboard provides. When installed at chair rail height or higher, it protects walls from bags, shoes, and coats while giving structure to high-traffic zones.
In green tones, beadboard also adds warmth and a sense of order to spaces where functionality is just as important as appearance. Hooks, shelves, or benches pair well with this setup.
Choosing the Right Shade of Green
When selecting a shade of green for your beadboard, keep a few key points in mind:
- Sage Green has a soft, muted tone that works well in bathrooms and laundry rooms. It pairs nicely with white trim and marble tile.
- Olive Green brings an earthy, warm feel, perfect for mudrooms or entryways. It looks great with natural wood and brass accents.
- Emerald Green offers a rich, bold look, ideal for accent walls or formal spaces. It complements gold accents and dark flooring.
- Tranquil Green is a cool, pale tone suited for small or relaxed rooms. It blends well with light wood and neutral decor.
- Meadow Green is a bright, fresh shade that complements kitchens or craft areas well. It pairs best with floral prints and open shelving.
Beadboard Types & Materials
Understanding the available beadboard options helps you choose a style and material that fits your room’s conditions, budget, and use.
|
Material |
Description |
Best Use |
Notes |
|
MDF (Medium Density Fiberboard) |
Smooth surface, affordable, easy to paint. |
Dry areas like bedrooms or hallways |
Avoid in bathrooms or laundry rooms. |
|
PVC |
Water-resistant, lightweight, low-maintenance. |
Bathrooms, laundry rooms |
Ideal for humid environments. |
|
Wood |
Natural finish, a classic appearance, and is more expensive. |
Living rooms, entryways |
May require sealing in damp areas. |
|
Plywood Panels |
Budget-friendly, available in large sheets, and easy to install. |
Utility spaces, garages |
May have visible grain or seams. |
|
Peel-and-Stick Vinyl |
Faux beadboard looks, fast install, minimal tools required. |
Rentals, quick updates |
Less durable; not ideal for high-traffic |
Product Buying Guide for Beadboard
When shopping for green beadboard, you’ll want to compare materials, sizing, and finishes to find the best match for your space.
Best Retailers & Pricing
Familiar sources include major home improvement stores, specialty wall panel providers, and online marketplaces. Most offer a range of materials, from PVC to wood, and some involve cutting services.
Retailers may differ in return policies, shipping availability, and panel finish types. Local availability often determines the styles and materials that can be selected.
Popular Sizes & Styles
Standard beadboard panels are often available in 32″, 42″, or 48” heights with widths up to 96“. Styles include narrow or wide grooves, primed or unfinished surfaces, and decorative edge details.
Some panels are tongue-and-groove, while others are flat sheets, affecting ease of installation and seam visibility once mounted on the wall.
Peel-and-Stick Options
Peel-and-stick beadboard provides a fast, tool-free option for achieving a similar look to traditional paneling. These adhesive panels typically come in vinyl or paper-based materials and are suited for low-moisture areas.
They offer flexibility for renters or short-term updates but may lack the texture and durability of true beadboard panels.
Maintenance Tips for Beadboard
Keep green beadboard looking its best by following a few simple maintenance practices to preserve finish, cleanliness, and durability.
- How to clean: Wipe with a damp cloth and mild soap. Avoid abrasive scrubbers to prevent surface damage or finish wear.
- Repainting or sealing: Use quality interior paint for touch-ups. In moisture-prone areas, apply a sealant to protect against water damage.
- Mold prevention: Ensure proper ventilation. Use mold-resistant materials in bathrooms or laundry spaces and check caulked seams regularly.
Summing Up
Now that you’ve seen how to choose the right style, install it step by step, and care for your green beadboard, you’re fully equipped to bring this look into your home.
I hope this guide has given you the clarity and confidence you need to move forward with your project. If you’re updating one wall or an entire room, you’ve got a smart, stylish option to work with.
If you’re ready to keep improving your space, don’t stop here. I’ve put together some simple, helpful tips and how-to guides just for you. Head over to my other posts and find more!


