


Ever looked at a wooden table or box and wondered how those sharp shapes or patterns are set into the surface so neatly? Wood inlay can seem tricky at first, but with the proper guidance, you can absolutely do it yourself.
In this blog, I’ll walk you through what wood inlay is, what materials work best, and exactly how to get started.
You’ll find step-by-step instructions, project ideas for all levels, and simple tips to help you avoid common problems.
If you’ve worked with wood before or are just curious, this guide gives you the tools to try something new with confidence. Ready to learn how it works and what you’ll need to begin?
Understanding Wood Inlay Work
Wood inlay involves placing contrasting materials, such as wood, resin, or metal, into carved spaces on a solid surface to form shapes or patterns.
This method has roots in ancient Rome, Egypt, and Asia, where it was applied to furniture and ceremonial items.
Unlike marquetry, which uses thin pieces laid on a surface, or veneer, which covers larger areas with thin sheets, inlay adds detail directly into the base.
Step-by-Step Guide to Creating Wood Inlays
Follow these clear instructions to prepare, cut, install, and finish inlay work with accuracy using basic tools and steady technique.
Tools Required
- Chisels (various sizes)
- Craft knife or precision blade
- Ruler or marking gauge
- Router or rotary tool
- Clamps
- Sandpaper (fine grit)
- Wood glue or epoxy
- Safety glasses and a mask
Step 1: Planning and Cutting the Design
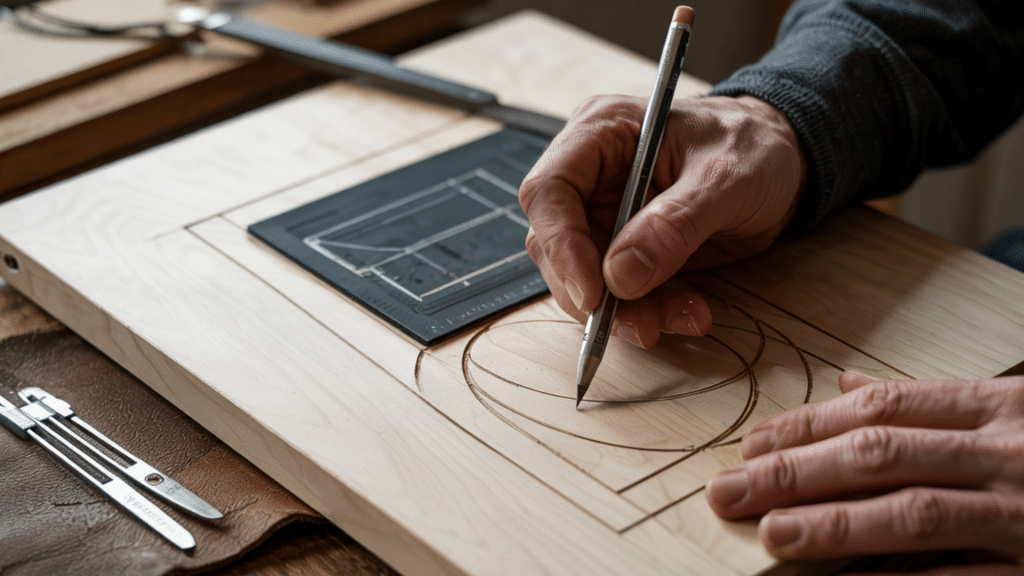
Start by sketching your design directly onto the wood surface or transfer it using carbon paper. Use a ruler or template to keep lines accurate.
Mark clear boundaries for the inlay and check alignment from multiple angles. Carefully cut along the marked area using a chisel or precision blade.
For more detailed work, a router with a guide may help shape recesses without damaging surrounding areas.
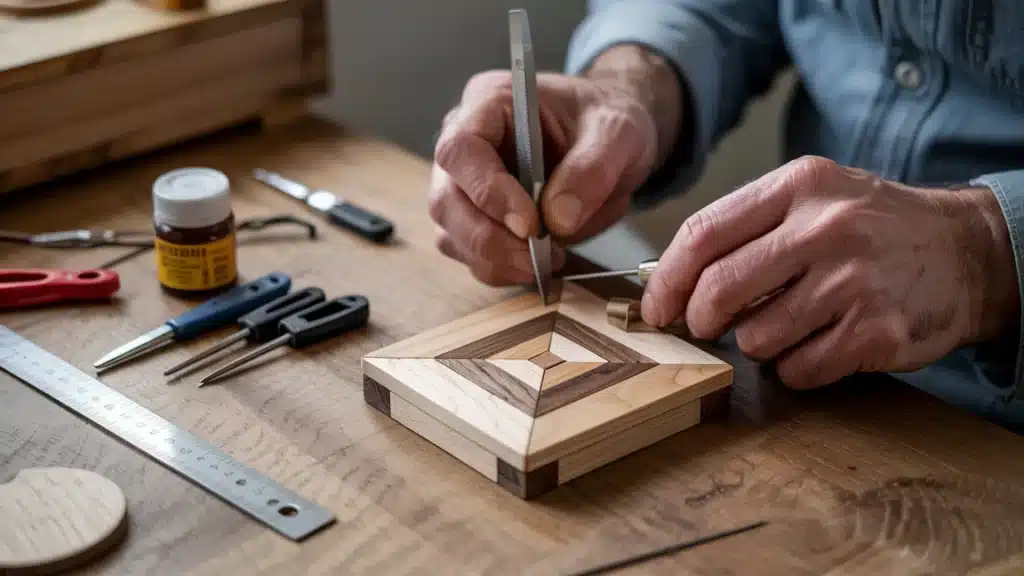
Step 2: Setting the Material in Place
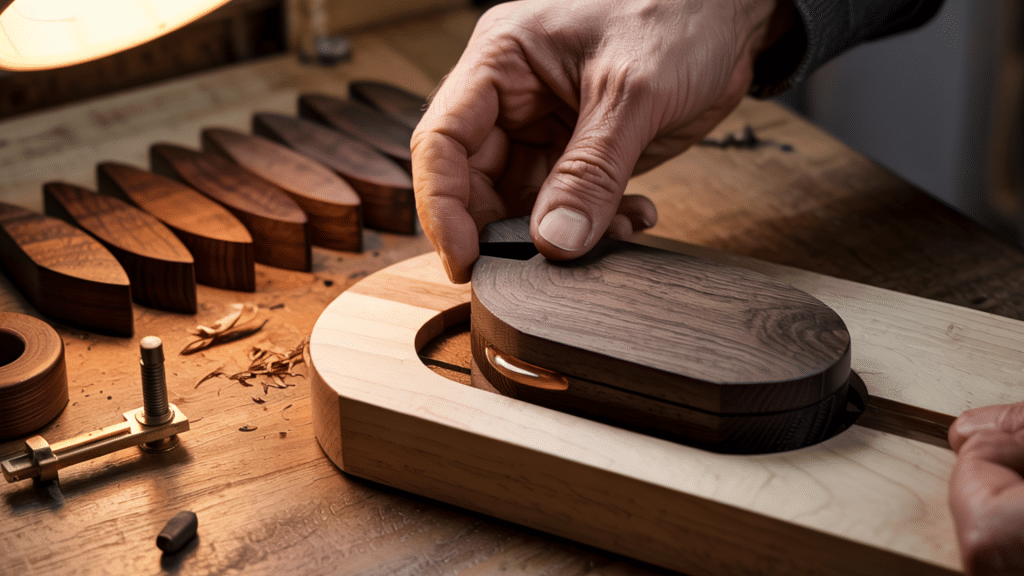
Dry-fit each inlay piece to check accuracy before applying glue. Ensure the fit is snug but not forced, which can damage the edges. Apply a thin, even layer of adhesive to the inside of the cavity.
Press the material gently into position, making sure all parts are flush with the surrounding surface. Use clamps or weights if needed while it sets. Clean up any excess glue before it hardens.
Step 3: Smoothing and Finishing Techniques
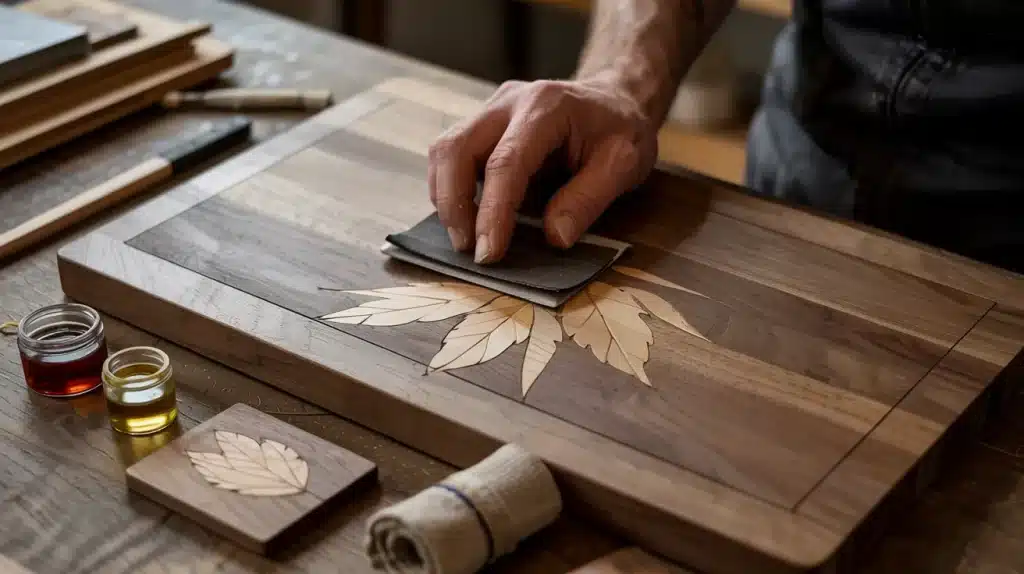
Once the adhesive is fully dry, begin sanding the entire surface with fine-grit sandpaper to bring all parts to an even level. Move slowly to avoid removing too much material.
After sanding, apply your choice of finish, such as oil, wax, or varnish, based on the object’s intended use. Always test finishes on a sample first to check for surface reactions or discoloration.
Step 4: Fixing Fit or Surface Issues
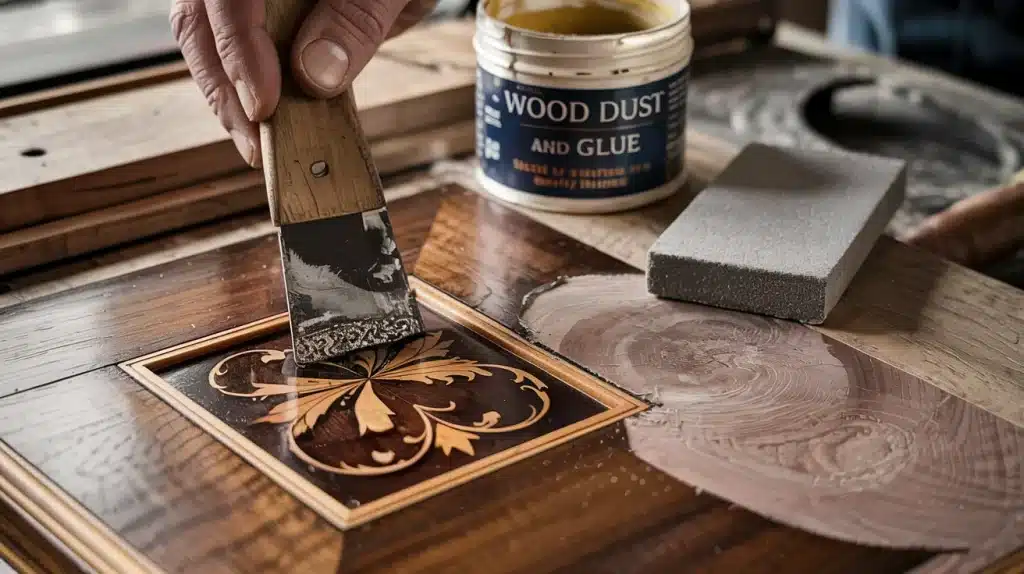
If gaps are visible after placement, use wood dust mixed with glue to fill them. Let it dry thoroughly, then resend. If the inlay is uneven or loose, check for movement in the base material or improper cuts.
Adjust with careful trimming or replace the affected part. Avoid rushing corrections, as minor flaws can become more noticeable after the project is complete.
Regular inspection during each stage helps avoid long-term issues.
Wood Inlay Ideas for Every Skill Level
This section offers practical project ideas suited for different experience levels. Each one helps you practice key skills, from simple shapes to larger builds, using various materials and tools.
Simple Coasters with Basic Shapes
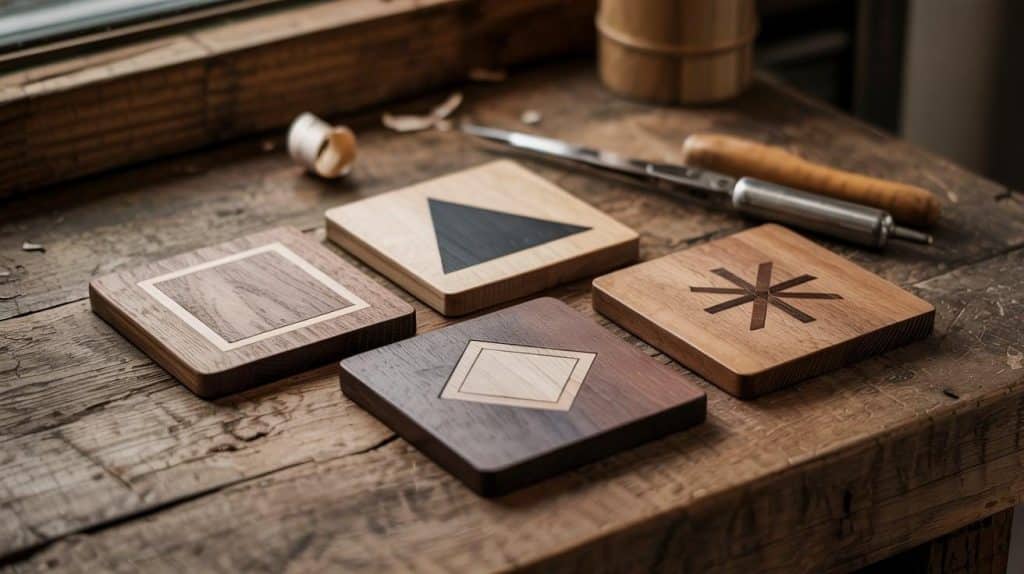
This beginner project is perfect for getting used to the inlay process. Use small wood blanks to make coasters and insert simple shapes like lines, triangles, or diamonds.
Focus on clean cuts, smooth fits, and applying glue evenly. Minimal tools are needed, and results are quick to see.
It’s a great way to build control and understand how contrasting materials behave when worked into shallow surface recesses.
Framed Wall Plaque or Sign
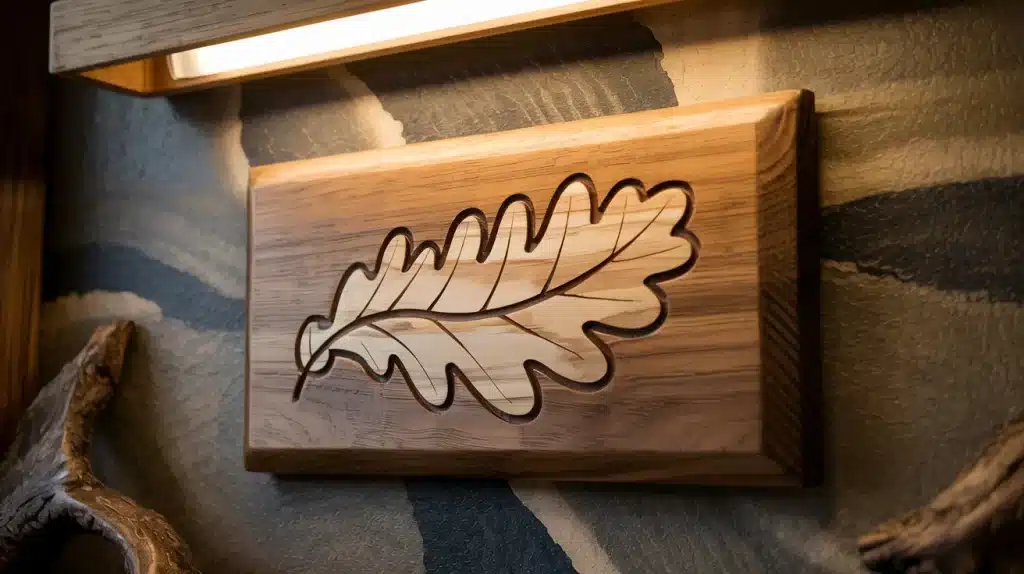
Use a flat wooden board to create a plaque with a symbol, shape, or lettering made from inlay. You can trace the design or use stencils.
Carve shallow recesses using a chisel or craft knife, then fit thin strips or shaped wood into place.
This project teaches surface layout, edge control, and precision placement. It’s a useful way to build focus without handling complex joints or deep cuts.
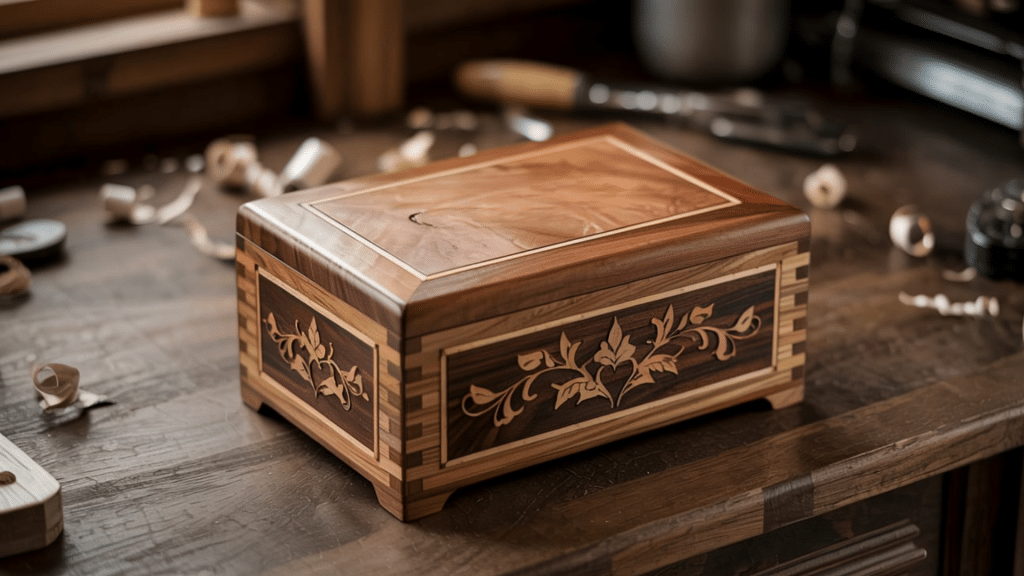
Small Wooden Box with Lid Detail
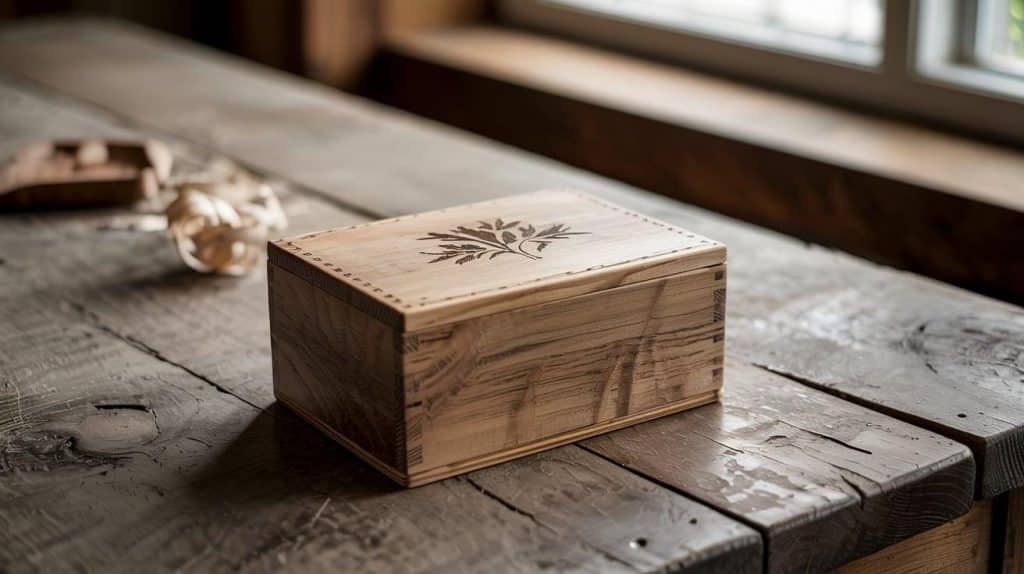
This project introduces corners, surface variation, and alignment. Start with a basic wooden box and design a simple border or shape on the lid for the inlay.
You’ll learn to work across flat and raised areas, helping with your hand skills and layout planning. It’s also a chance to practice gluing and sanding on a functional object. The box serves as a great gift or storage item when finished.
Serving Tray with Border Inlay
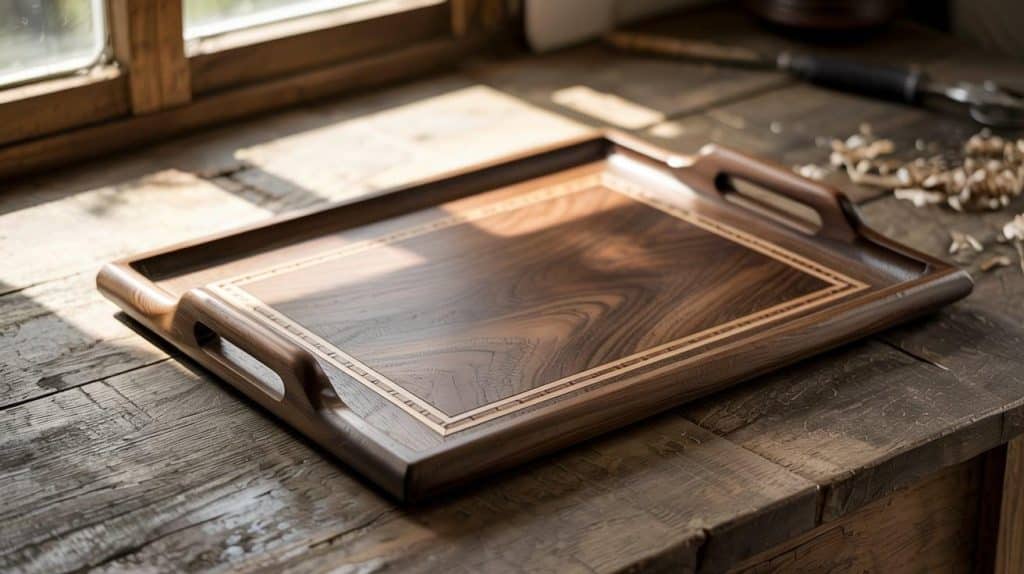
A serving tray offers a flat, medium-sized surface to test longer inlay lines or curves. Use a ruler and compass to create the pattern, then cut and place thin wood or metal into shallow grooves.
This teaches longer cuts, pattern continuity, and finish control. Handles and raised edges can be added for function. The final tray looks polished, and you’ll gain comfort working with slightly larger tools or routers.
Keepsake Box with Multiple Inlay Panels
This box features more detail, often combining inlay on the lid, sides, or even inside. It demands layout planning and precise measurement.
You’ll need to shape and fit pieces consistently across multiple faces, requiring a steady hand and repeatable cuts. This helps improve your handling of repetitive tasks, like cutting numerous identical pieces.
The result is a personal project that shows improvement in control, accuracy, and surface finishing.
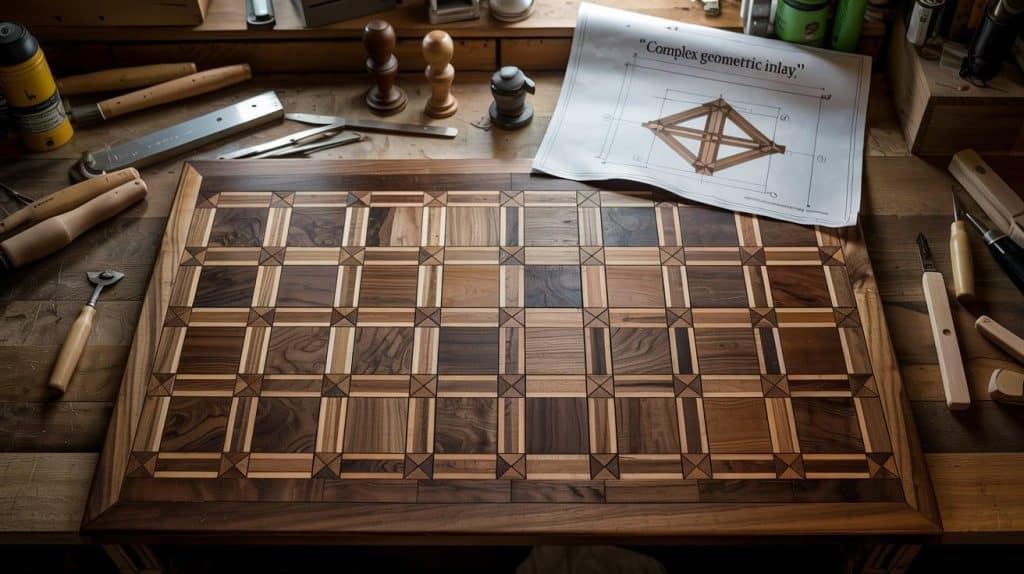
Tabletop with Repeating Geometric Pattern
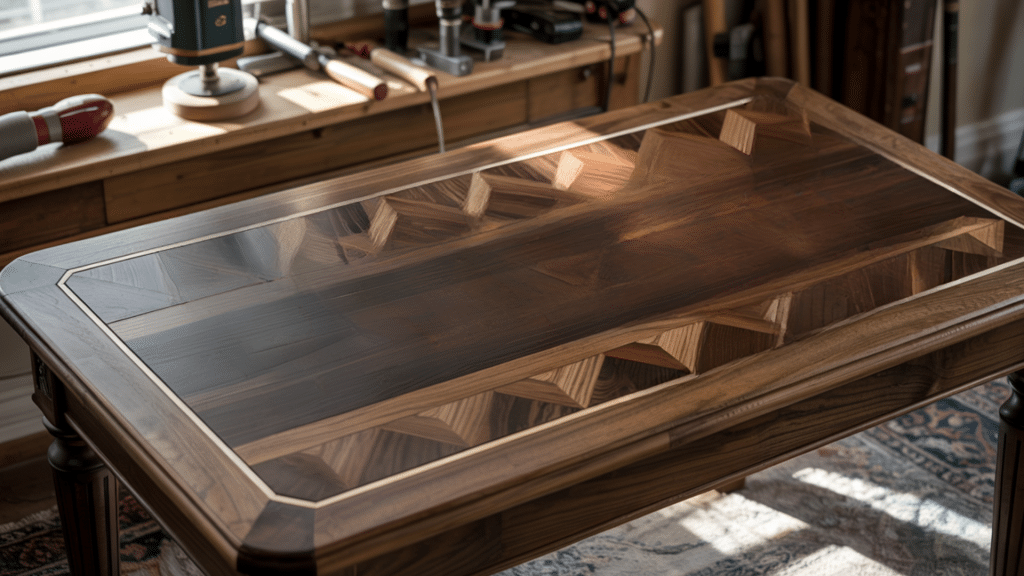
A tabletop design gives space to practice complex layouts like grids, diamonds, or repeating bands.
This project requires planning full patterns before cutting and ensures each inlay aligns across a large area. It’s ideal for using routers and advanced layout tools.
You’ll also learn to manage surface leveling and keep edges consistent. Working across a wider surface teaches patience and helps refine techniques learned in smaller projects.
Decorative Wall Panel with Mixed Materials
This advanced project lets you combine wood with metal, resin, or stone to create high-contrast visuals. Choose a balanced design and lay it out across a wooden board.
Different tools are needed for each material, so this project teaches tool switching and adhesive compatibility. Surface leveling becomes more complex with mixed textures.
The panel works well as a display piece, allowing you to test detailed patterns and highlight precision.
Materials Used in Wood Inlay
Different materials are chosen based on contrast, strength, and purpose. Selection depends on the project type, tools, and surface needs.
Common Types of Wood for Inlay Work
Popular choices include walnut, maple, cherry, and ebony. Each offers contrast in color and texture, and most are easy to shape and sand.
- Walnut – deep brown, ideal for darker accents
- Ebony – very dark, dense, clean edges
- Maple – pale tone, smooth grain
- Cherry – warm reddish tone, easy to work with
Hardwoods are favored for strength. Matching densities helps prevent cracking, especially in small and mid-size designs.
Other Materials Often Used (Stone, Metal, Epoxy)
Materials like metal, stone, and epoxy are used when a stronger definition or texture is desired. Thin brass or aluminum strips form precise lines.
Crushed stone adds a coarse, natural surface. Epoxy allows bright colors and works well for narrow gaps. These materials each require different handling tools and bonding methods.
Testing fit and adhesive compatibility is essential when mixing materials to avoid weak points or uneven finishes in the final result.
Tips on Choosing the Right Combination
Choose materials based on your design, tools, and experience level. Start with basic wood pairings to learn control and shaping. When combining woods, use opposing tones for contrast.
For more visual impact, integrate metal or resin only after testing fit and finish. Always match material hardness to avoid shifting after sanding or use.
Checking how materials react with glue and finish helps prevent problems once the piece is complete and sealed.
Where to Get Supplies and Kits
Several trusted online sources provide wood inlay supplies, including Inlay Product World,Bell Forest Products, and Exotic Wood Zone.
When evaluating suppliers, consider factors such as product variety, wood types, return options, shipping reliability, and clear customer feedback.
Reliable sellers offer detailed descriptions and clear images that help assess grain and tone. Starter kits may include essential tools and materials, while individual items can be chosen based on specific project needs.
Choosing suppliers with consistent quality and clear policies helps ensure smoother results for both small and large builds.
Helpful Tips to Improve Accuracy and Build Quality
Improving results in wood inlay often comes down to preparation, tool handling, and choosing materials that match the surface and project type.
- Check your fit early using dry runs before applying adhesive; this helps avoid gaps or uneven surface levels.
- Work slowly with harder materials, and use sharp tools to prevent chipping or rough edges around recesses.
- Seal both the inlay and base wood if working in changing humidity to reduce movement and ensure long-term strength.
- Avoid forcing pieces into place; gently reshape them to preserve surface detail and reduce the risk of damage.
Conclusion
Now that you’ve got a solid overview of wood inlay, you can see it’s more about steady steps than special talent.
You’ve learned how the process works, which materials to use, and how to start with small, rewarding projects.
If you’re thinking about giving this a try, go back to the tools list and pick a simple plan from the ideas section. Keep it low-pressure; your first project is all about learning.
Remember, the more time you give each step, the better your result will be.
Want to build on this and keep learning? Check out more of my guides and posts on hands-on woodworking tips, right here on the blog.


