


Painting over stained wood can feel scary at first, like the paint might peel right off the next day. I’ve been there.
The good news is you can paint over stained wood without stripping it, and you can still get a strong, clean finish if you prep it the right way.
In this blog, I’ll walk you through the steps to tell what kind of stain or finish you’re dealing with, the quick DIY tests, and the full step-by-step process to clean, degloss, prime, and paint for a durable result.
I’ll also cover when you can skip sanding, the best primer choices to stop bleed-through, and simple fixes for common problems like peeling or yellow stains showing through.
Can You Paint Over Stained Wood?
Good news: you can absolutely paint over stained wood without stripping the stain first.
The key is proper preparation, cleaning the surface, roughing it up a bit, and using a stain-blocking primer to prevent bleed-through and peeling.
This works great for updating trim, doors, cabinets, and furniture without the mess of chemical strippers.
Is It Advisable to Paint Over Stain?
The Pros
Painting over stain beats stripping in several ways:
- Much faster than chemical stripping or heavy sanding
- Way less messy (no gooey stripper, no sawdust everywhere)
- Perfect for giving tired trim, cabinets, and furniture a fresh look
- Saves money on refinishing supplies and labor
The Cons
Skip the proper steps, and these problems pop up:
- Peeling and chipping happen when paint can’t grip the slick surface underneath
- Yellow or brown bleed-through ruins light paint colors when tannins seep up
- Fish-eyes and craters appear when silicone polish contaminates the paint
The good news? All these problems are preventable with proper prep.
Identify What You’re Painting
Before grabbing a brush, spend two minutes figuring out what’s actually on your wood. This determines which prep steps matter most.
What Kind of “Stain” is It?
There are two main situations:
Penetrating stain or dye soaks into the wood. When you run your hand over it, you can feel the wood grain. The surface might feel slightly rough or natural.
Film-forming finish on top means there’s a protective coating, such as polyurethane, varnish, lacquer, or shellac, over the stain. This creates a smooth, sealed surface that paint struggles to grip.
Quick Tests (Simple, DIY-Friendly)
Try these at-home tests:
| Test | How to do it | What to look for | What it means |
|---|---|---|---|
| Wax Test | Scrape gently with your fingernail or a coin somewhere hidden, or lightly sand a small area. | Soft, non-wood shavings come off or sandpaper “gums up” quickly. | There’s likely wax on the surface (the paint/primer may not stick until the wax is removed). |
| Water Bead Test | Put a drop of water on the surface and watch it for a minute. | The water beads up and sits there instead of soaking in. | The wood is sealed with a finish (like poly/varnish/lacquer), so use de-glossing and primer for good adhesion. |
| Tannin Risk Check | Identify the wood type, look for knots, and note stain color. | Oak/mahogany, visible knots, and very dark stain. | Higher chance of tannin/stain bleed-through, so use a stain-blocking primer (shellac or oil-based). |
How to Paint Over Stained Wood: DIY Guide
Ready to refresh stained wood without peeling or scratches, follow these simple prep-and-paint steps to lock in stains, boost adhesion, and get a tough, smooth finish.
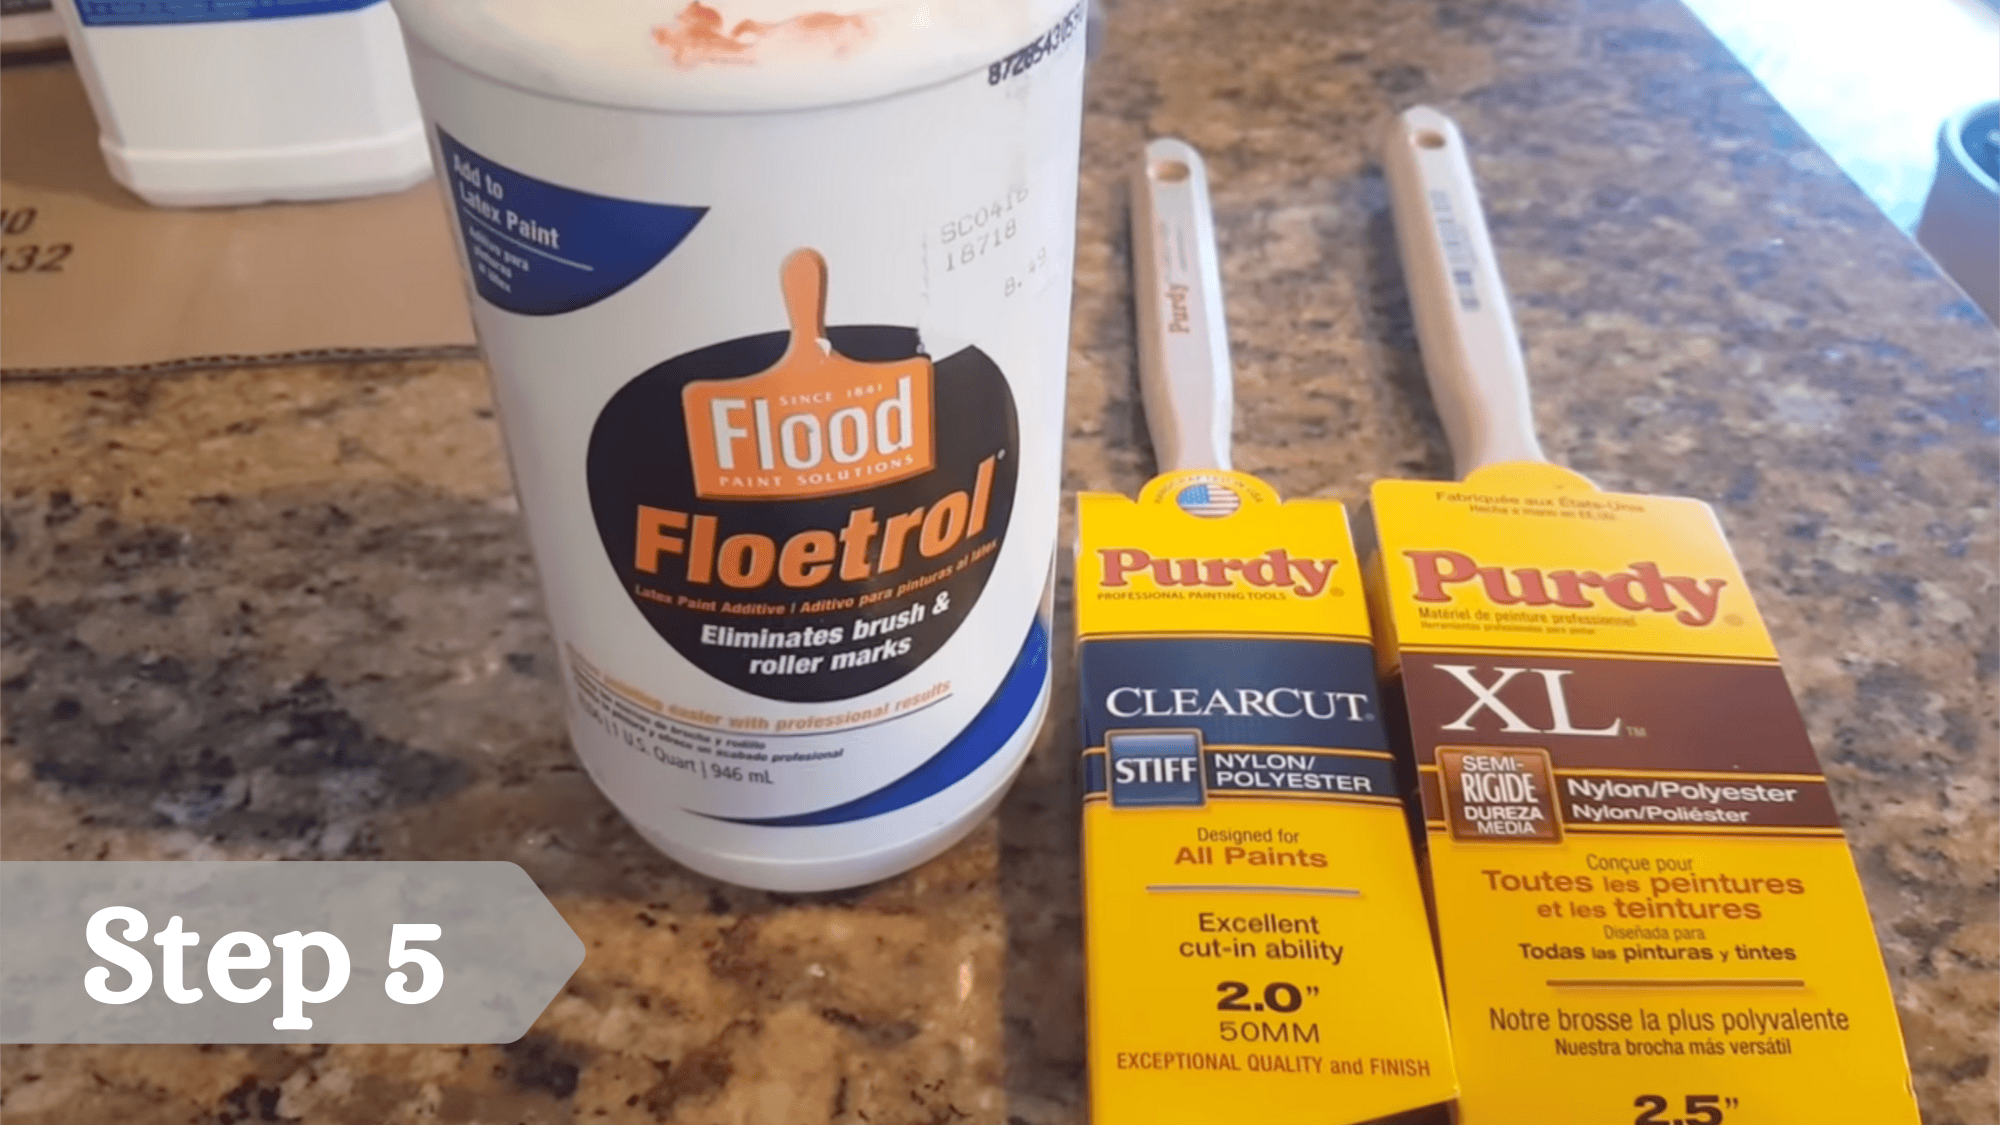
Materials and Tools Needed
- TSP cleaner and rag/sponge for washing.
- Liquid deglosser (sanding deglosser).
- Sanding block (fine to medium grit).(mentioned as optional but recommended)
- Stain‑blocking primer/sealer suitable for glossy stained/varnished wood.
- Quality paint (e.g., cabinet/trim enamel like Sherwin‑Williams ProClassic or equivalent).
- Paint brush (high‑quality angled sash brush, e.g., Purdy) and foam roller for flat areas.
- Paint additive like Floetrol (helps reduce brush marks).(optional)
- Wood filler/patching compound for holes or dings (optional but suggested).
- Glaze for highlighting details (optional) and water‑based clear coat/topcoat for protection.
- Tack cloth or clean brush to remove dust.
Step 1: Clean the Stained Wood Thoroughly
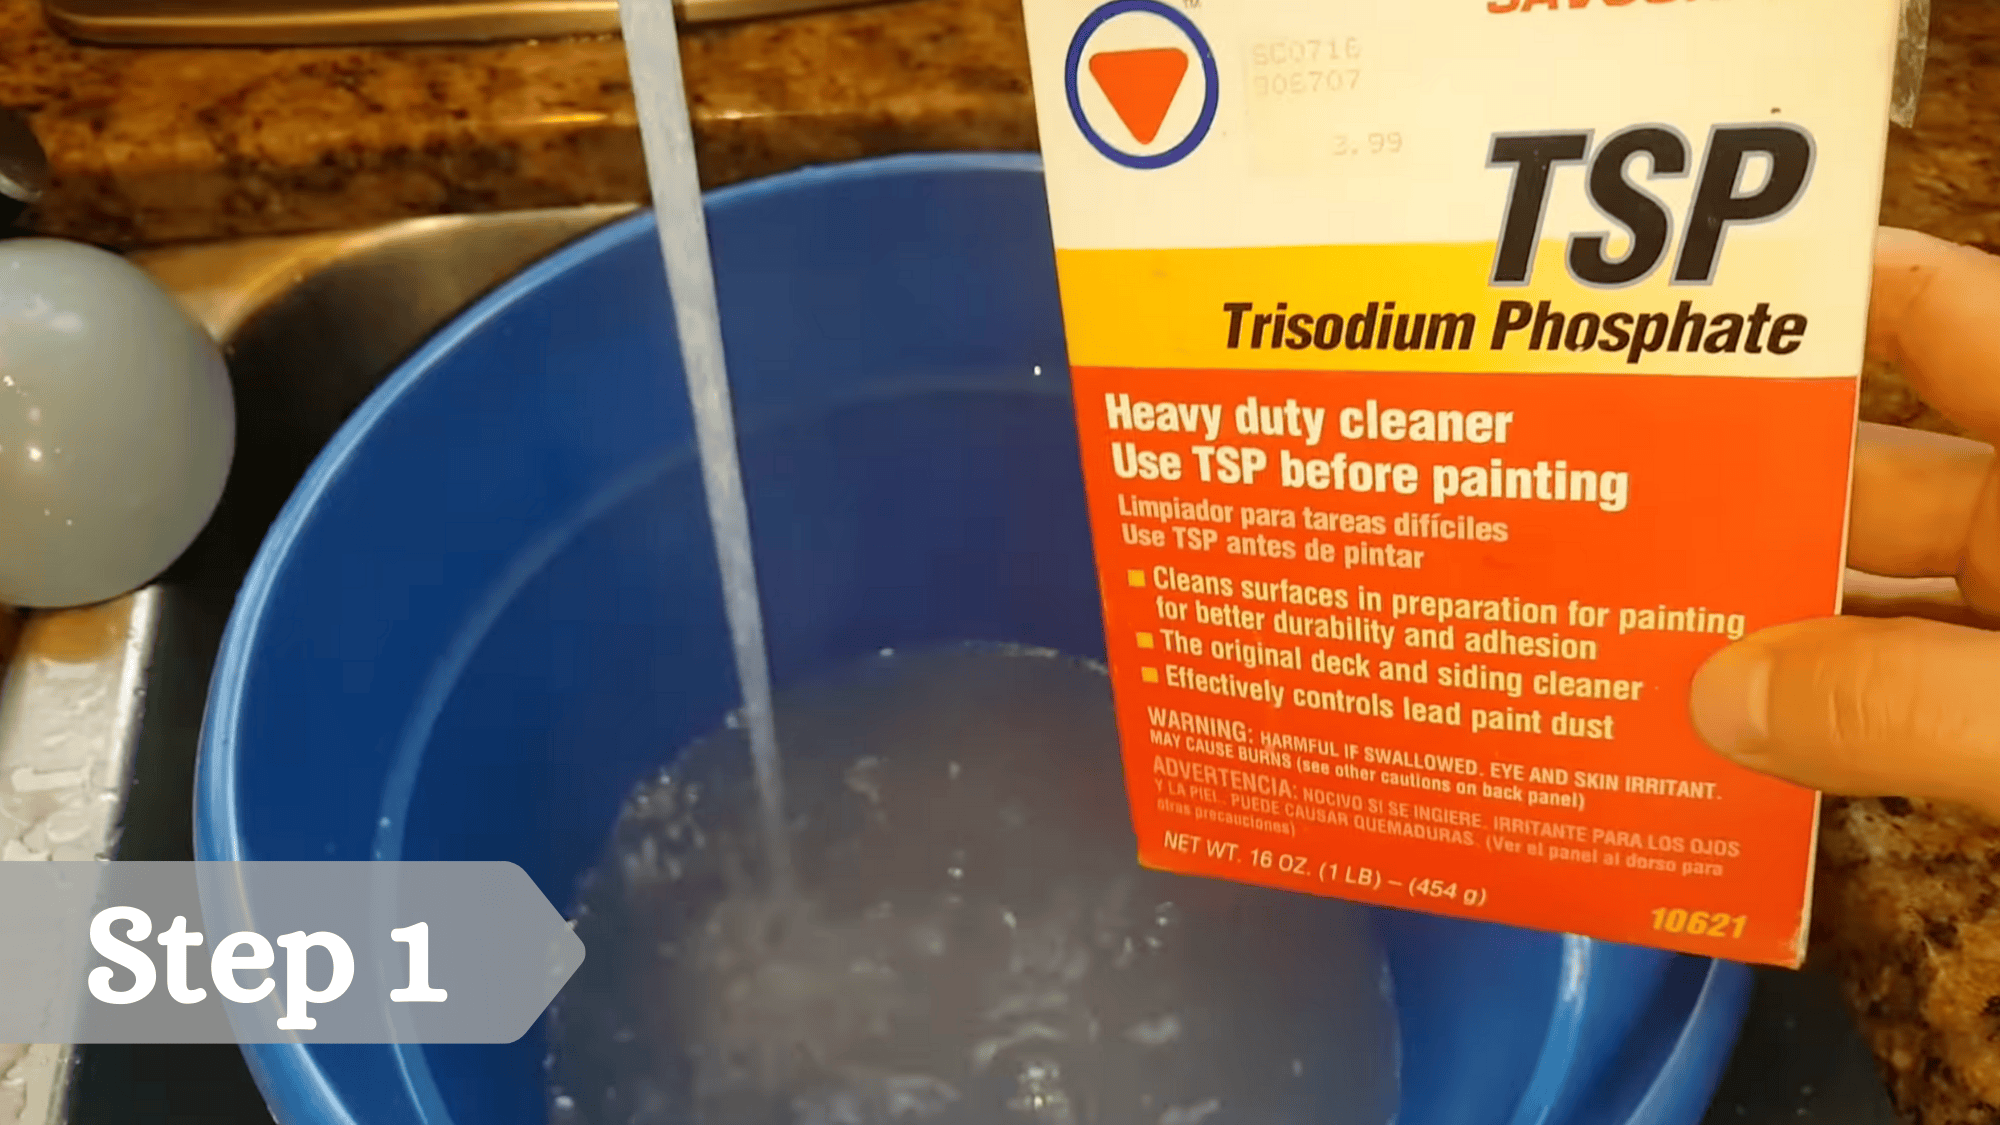
Mix TSP cleaner with water according to the product directions.f
Use a rag or sponge dipped in the TSP solution to scrub all stained/varnished trim or wood surfaces, focusing on greasy areas like kitchens.
Wipe until the surface feels clean and dull, then let it dry completely; the video shows how dirty the water becomes, stressing that grease and grime must be removed so primer and paint can adhere properly.
Step 2: Degloss and Light Sand
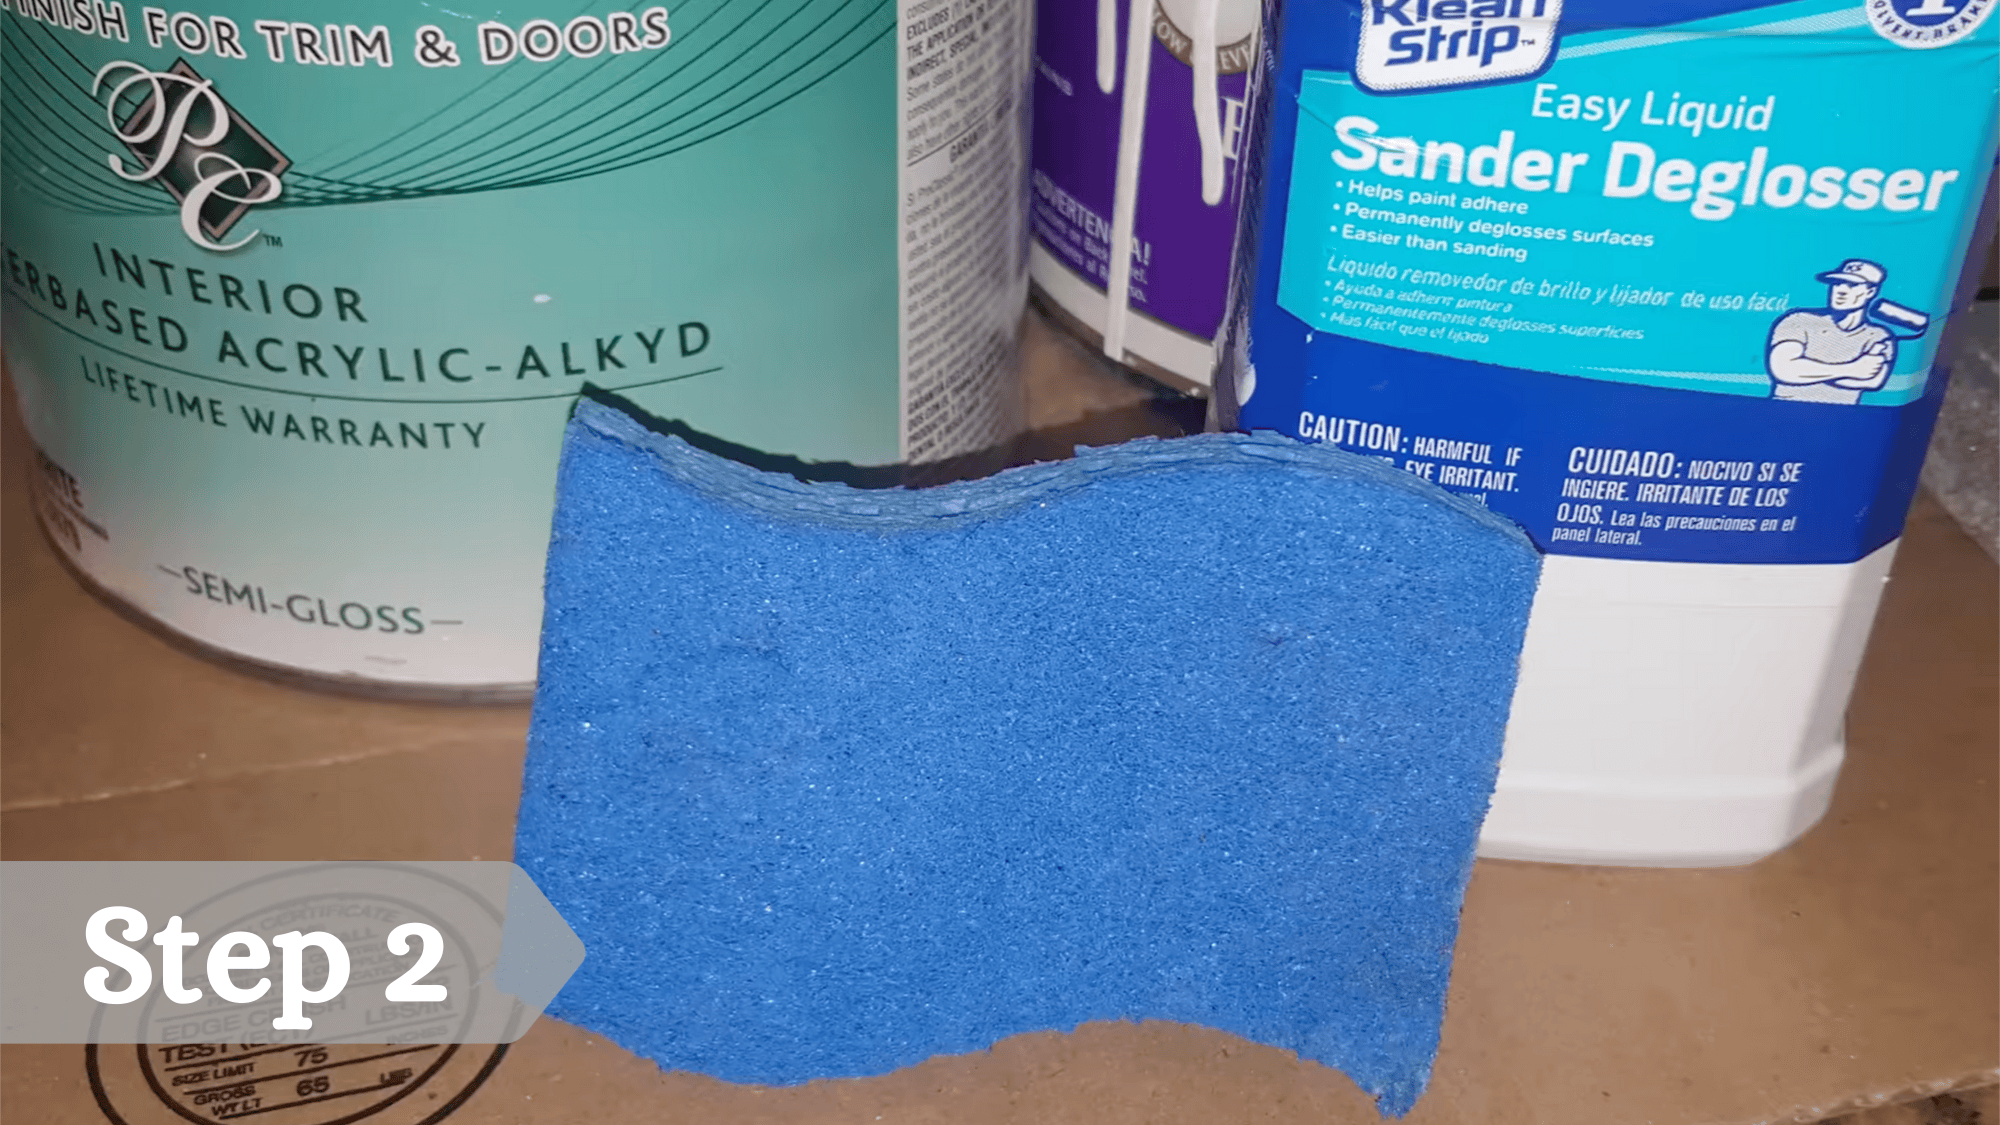
After cleaning and drying, lightly scuff the surface with a sanding block, especially on edges and any rough spots; this is not heavy sanding, just enough to scratch the gloss.
Apply a generous amount of liquid deglosser over all stained/varnished areas using a rag or sponge, working it in to remove the sheen and improve adhesion.
Allow the deglosser to work per product instructions; the video emphasizes using “a lot” of deglosser and getting it into all areas, especially if you are minimizing sanding.
Step 3: Apply Stain‑Blocking Primer
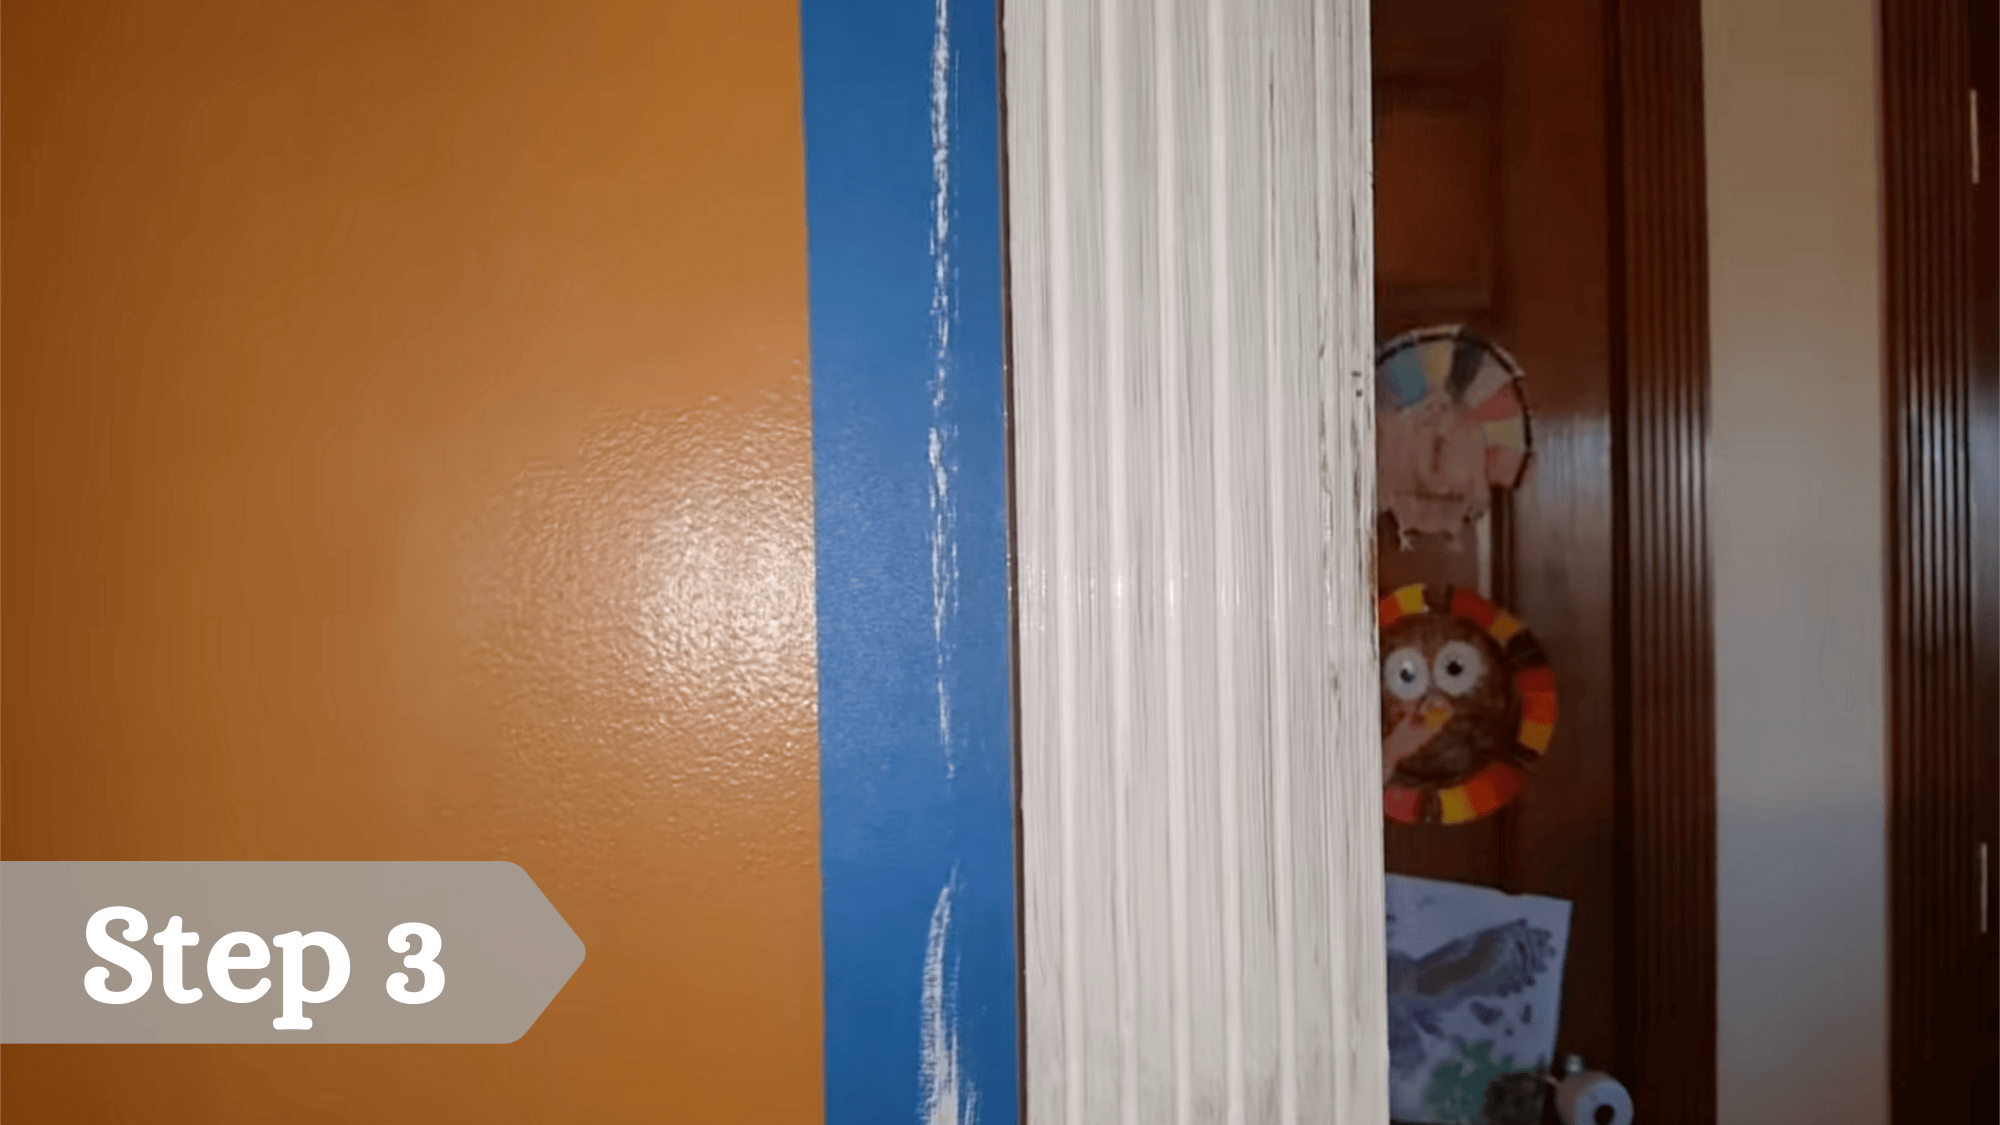
Once the surface is deglossed and dry, apply a stain‑blocking primer/sealer labeled for use over stained or varnished wood.
Brush or roll on a uniform but not overly thick coat, just enough to give the paint something to grip while covering the stain color.
At this stage, fill nail holes or minor defects with wood filler and let them dry before or right after priming, as suggested in the video.
Step 4: Lightly Sand Primer and Remove Dust
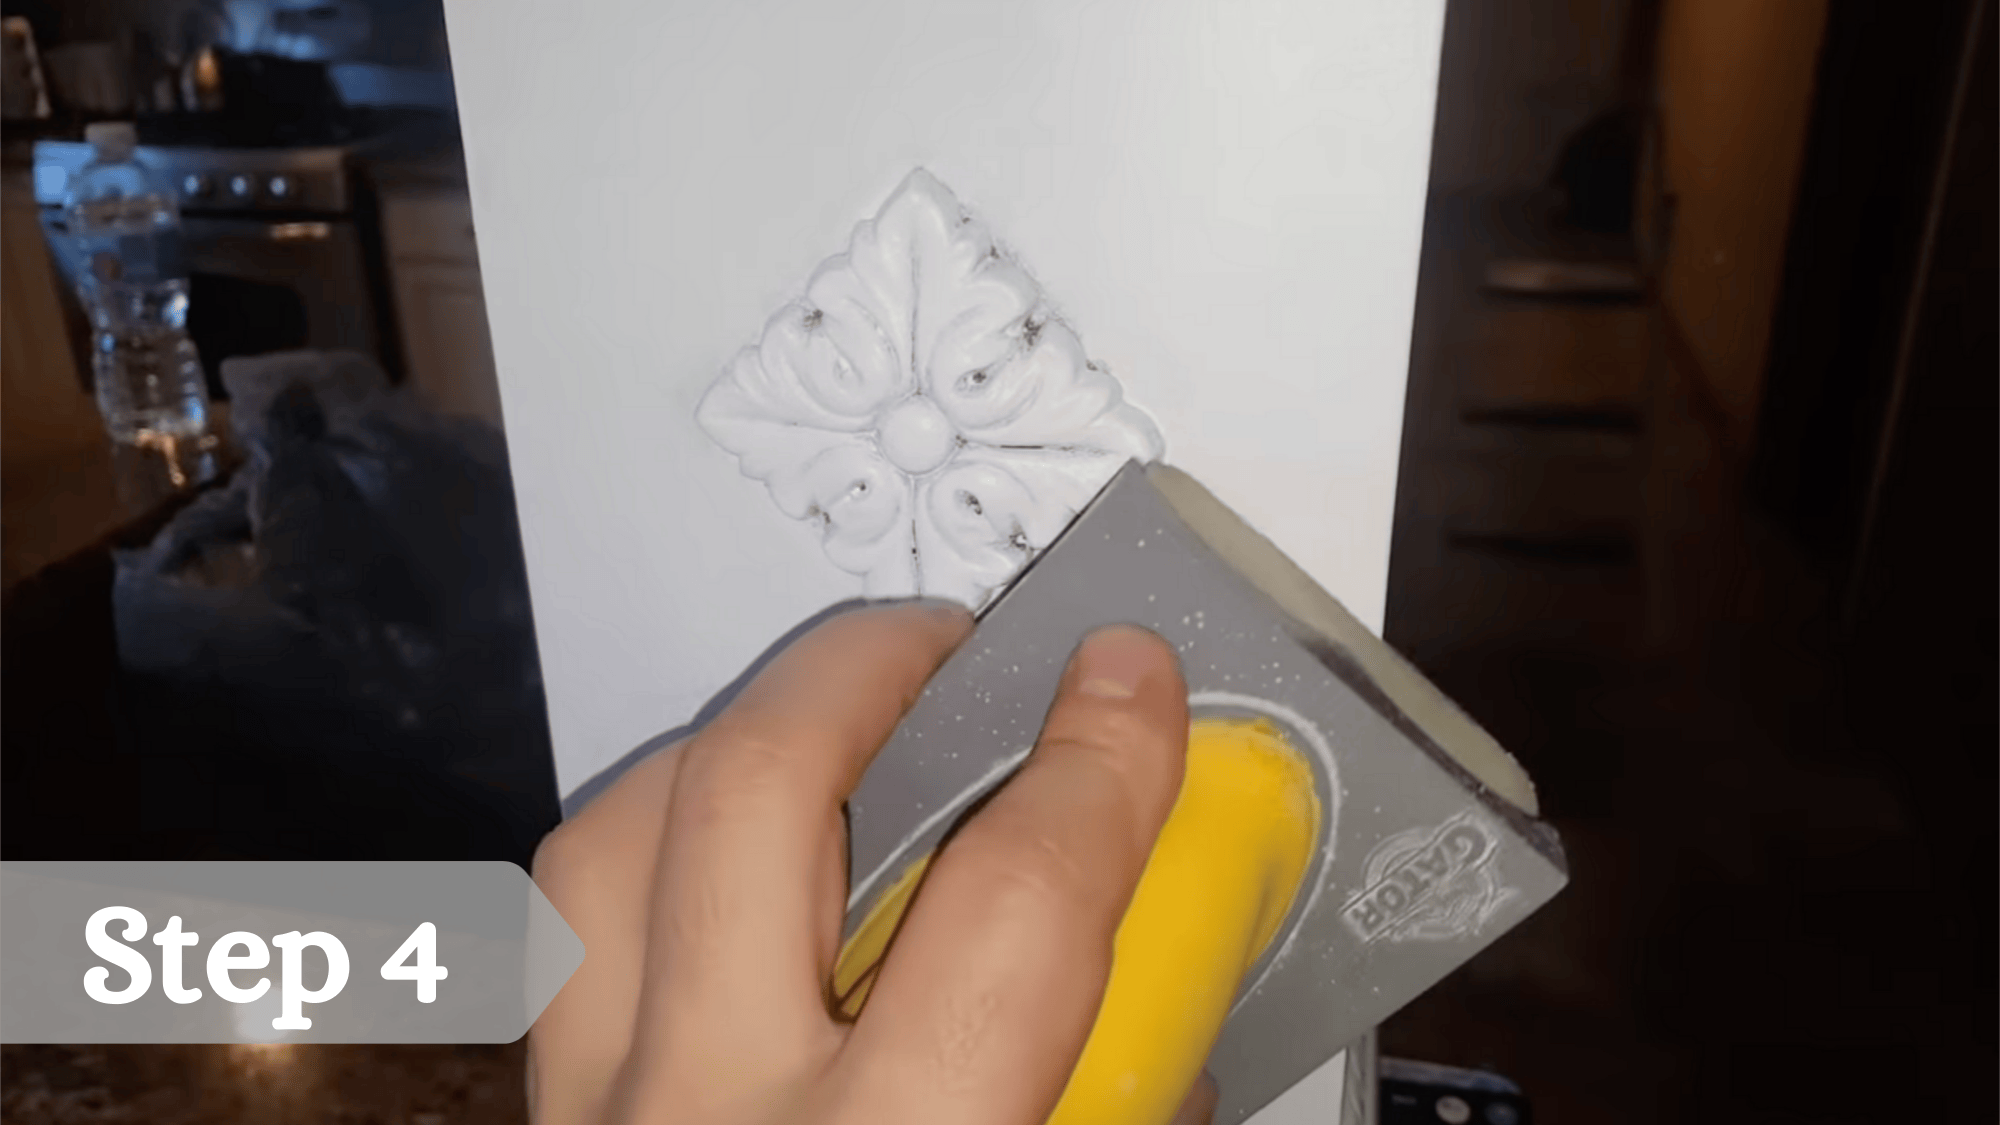
After the primer dries, inspect for imperfections like raised fibers or rough spots; lightly sand these areas with the sanding block to smooth the surface.
Once sanding is done, remove all sanding dust using a brush, vacuum, or tack cloth so nothing loose remains on the surface; the video shows dust on the tape as a warning that paint will not adhere to dusty areas.
Step 5: Prepare Paint and Tools for a Smooth Finish
Add a small amount of Floetrol (or similar paint conditioner) to the paint if desired, especially for darker paints, to reduce brush marks; follow the product directions and note it can slightly lighten darker colors.
Use a high‑quality brush (such as a Purdy angled brush) for detailed or profiled areas and a good foam roller for flat sections to minimize streaks and roller texture.
Choose a durable trim/cabinet paint (such as a water‑based enamel) designed explicitly for woodwork and cabinets, which significantly improves long‑term durability.
Step 6: Paint the Wood
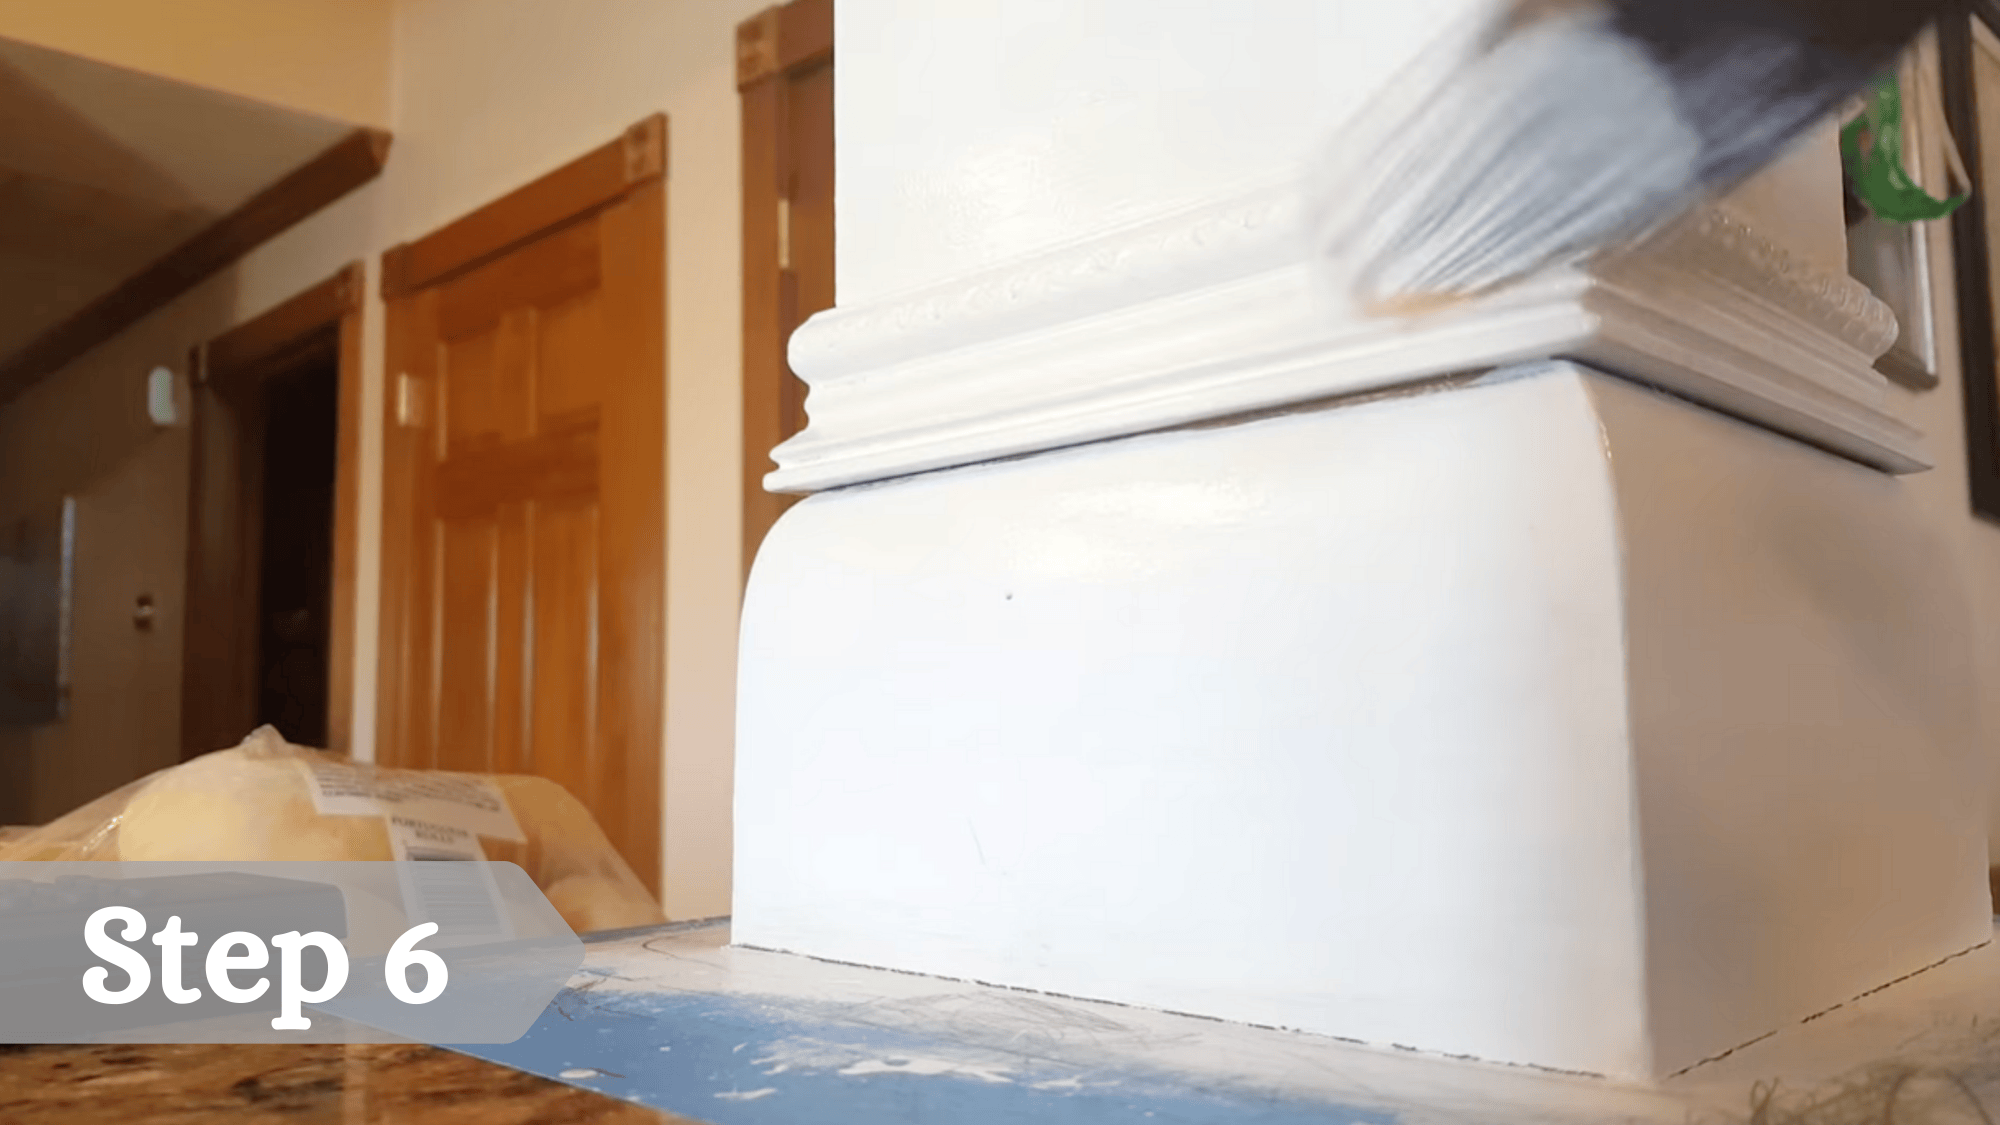
Cut in and cover detailed or narrow areas with the quality brush, working the paint into grooves and profiles.
Use the foam roller on larger flat areas to level the paint and reduce visible brush marks, blending brush and roller sections while the paint is still wet.
Allow the first coat to dry thoroughly, then add a second coat if needed for full coverage and an even finish (the video focuses on technique rather than coat count, but two coats are typically standard).
Step 7: Apply Glaze to Highlight Details
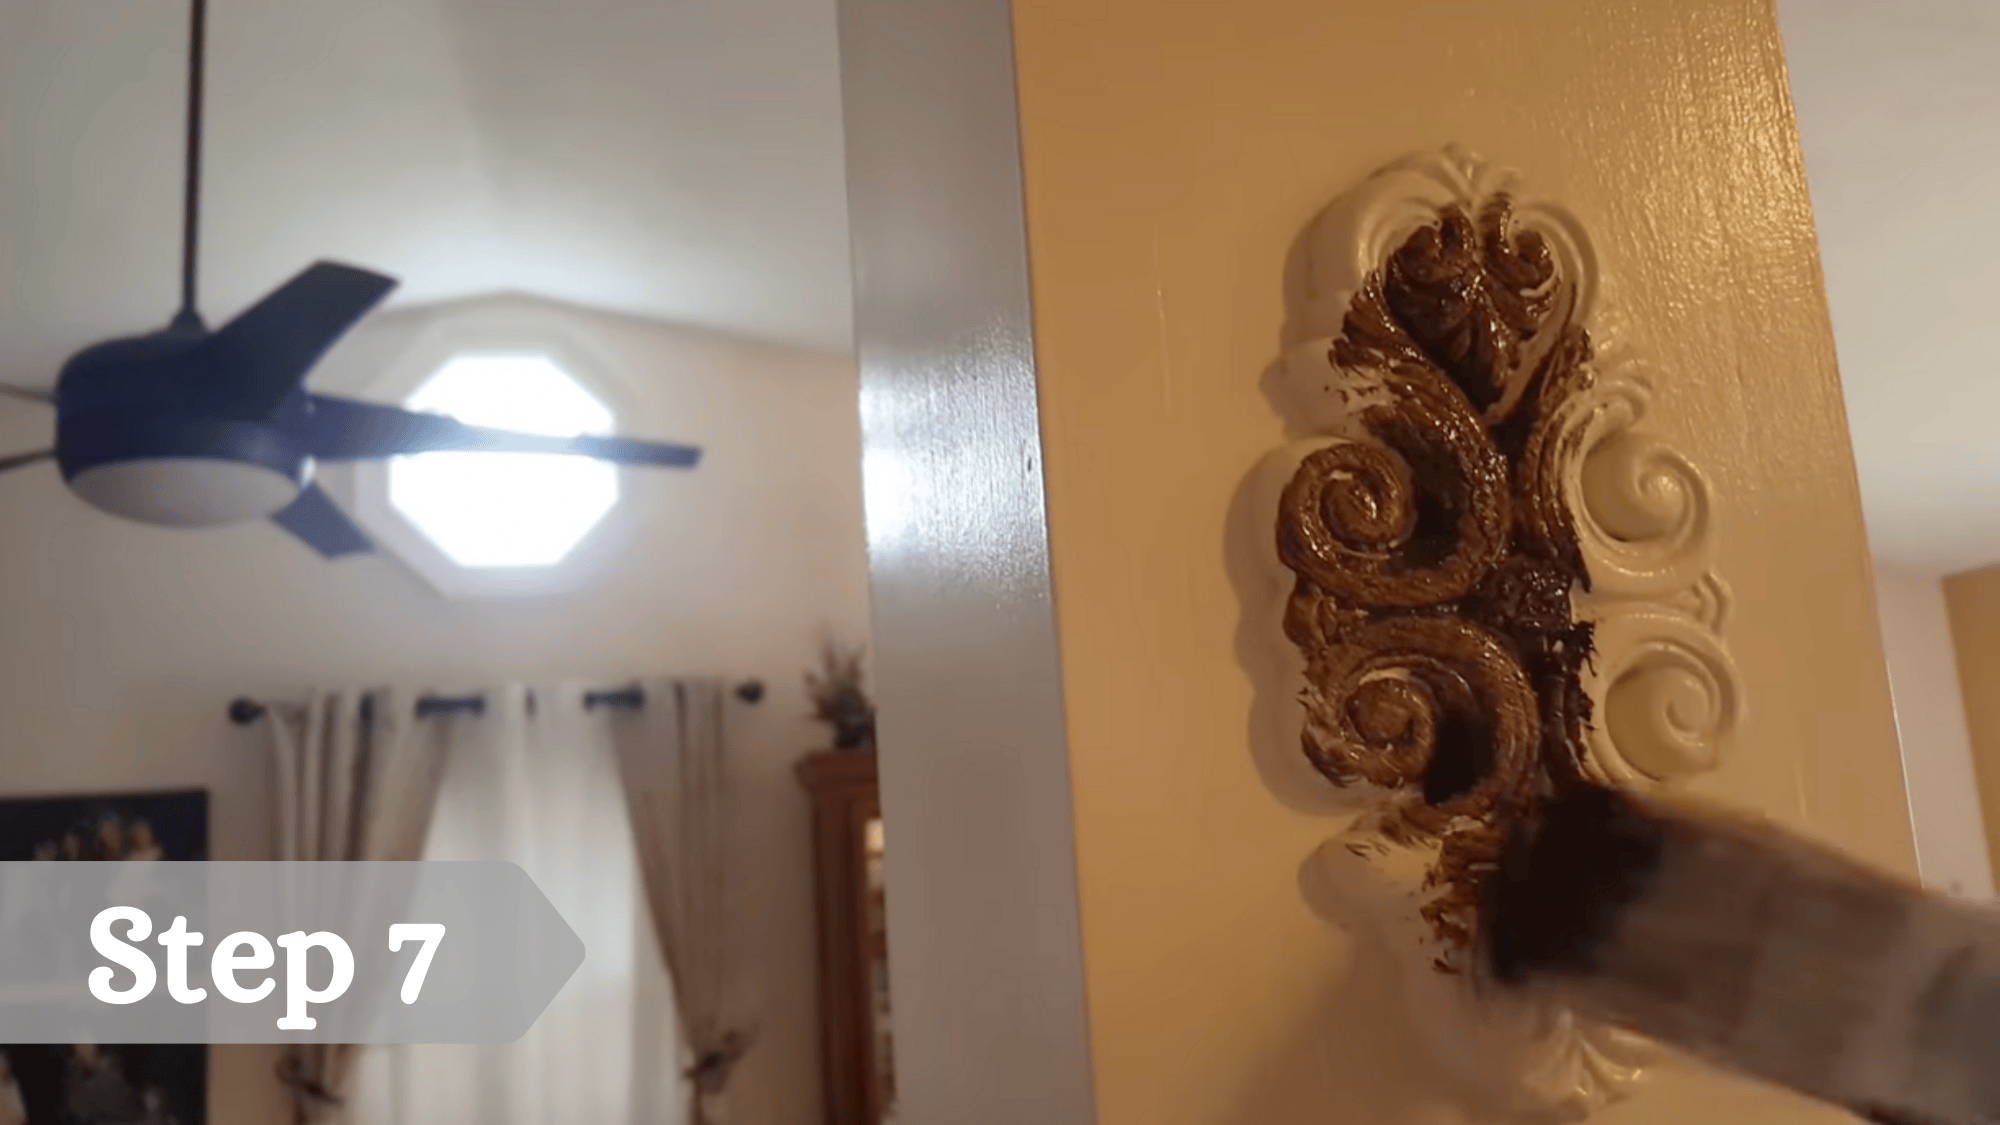
Once the paint is fully dry, apply a glazing product to the detailed areas to make grooves and edges stand out; the video shows “edge glazing” but does not go into the technique.
Wipe or brush the glaze so it settles into details, then remove excess according to the glaze product directions; this step is decorative and optional.
You can watch and follow this video for more detailed tutorial by da P.A:
Can You Paint Over Stained Wood without Sanding?
Yes, you can, but with a catch. On glossy or film-finished surfaces, paint adhesion is less reliable without some roughening. Think of it like trying to stick tape to glass versus tape to cardboard.
Best compromise: Use liquid deglosser to chemically dull the surface, plus add a light scuff-sanding in high-wear spots (edges, corners, handles).
“No-Sand” Scenarios Where People Succeed
Some situations naturally work better:
- Matte or flat finishes that are already slightly rough
- Surfaces with existing texture or wear patterns
- Using specialty bonding paints (still recommend stain-blocking primer if there’s bleed risk)
What’s the Best Primer for Painting Over Stained Wood?
If you want paint that sticks and stays clean-looking, the right stain-blocking primer stops bleed-through, locks in tannins, and gives your topcoat a smooth base.
1. Best Overall
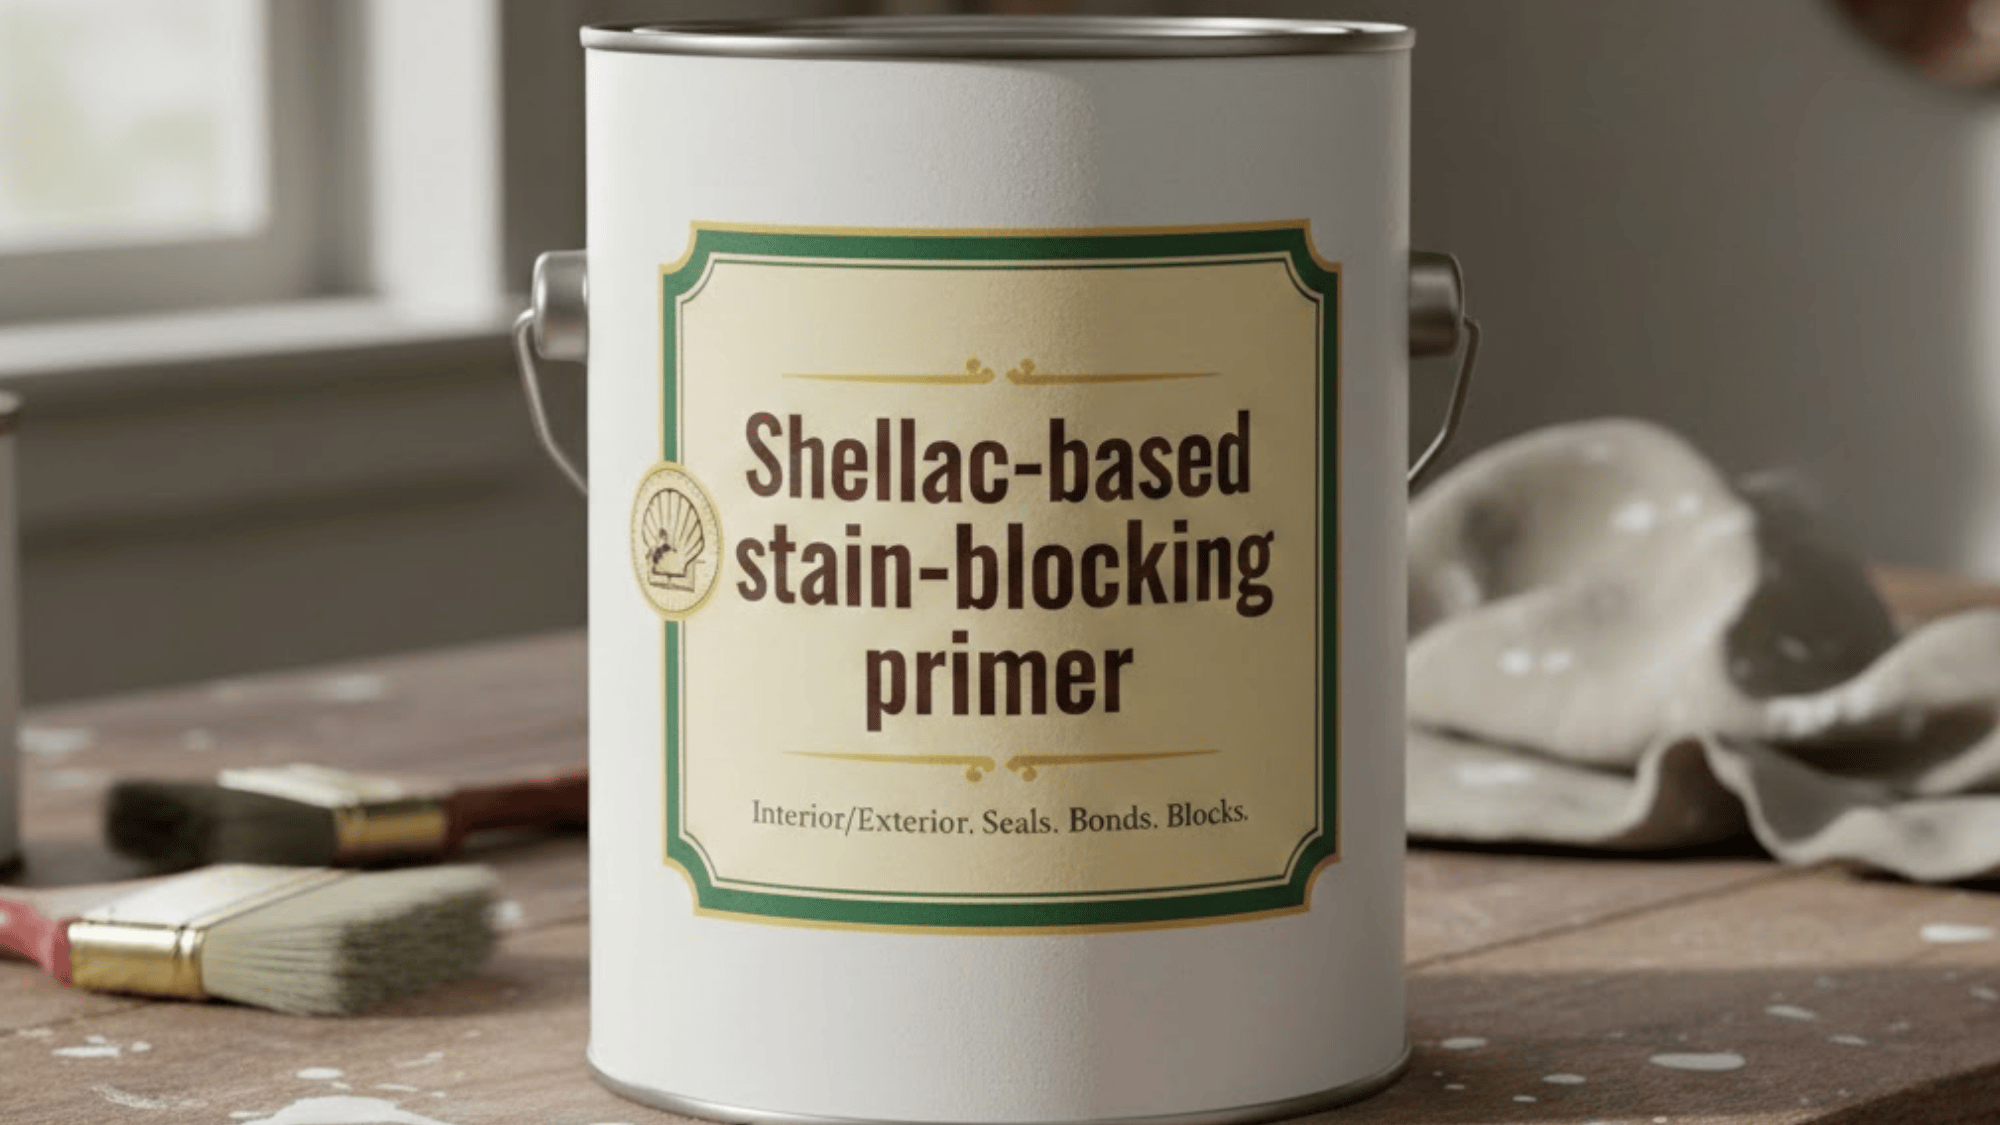
Shellac-based stain-blocking primer is the best choice for most projects. It handles tannins, unknown finishes, and weird situations without complaint.
Dries fast (usually one hour), seals everything, and works under any paint type. Popular brands include BIN and Cover Stain.
2. When Oil-Based Primer Makes Sense
Choose oil-based stain-blocking primer for:
- Heavy stain bleed risk (very dark stains, high-tannin woods)
- Outdoor projects with weather exposure
- Situations where you can handle stronger odors and longer dry times
Oil-based primers block stains extremely well but need good ventilation and take longer to dry (4-6 hours or more).
3. When Water-Based Primers are Okay
Water-based primers work fine only if the bleed risk is low and you’re certain about what finish you’re dealing with. For most stained wood projects, shellac or oil-based is the safer bet.
Better to overdo it on the primer than redo the whole project when stains bleed through.
Troubleshooting Common Problems
| Problem | Signs | Causes | Fix |
|---|---|---|---|
| Stain/Tannin bleed | Yellow/brown spots | Weak primer block | Spot-prime (stain-blocking), dry, repaint |
| Peeling/scratching | Chips/lifts easily | No de-gloss, oil/wax, rushed dry | Sand, clean, re-prime, repaint |
| Fish-eyes/craters | Round holes | Silicone polish | Strip/sand, solvent clean, restart |
| Brush marks/orange peel | Lines/texture | Thick coats, rushing | Thin coats, better tools, sand lightly, dry fully |
Pro Tips for a Factory-Smooth Finish
- Sanding happens at multiple stages. Even when “optional,” a light scuff between coats makes everything go more smoothly. Pros sand more than DIYers realize.
- Multiple thin coats beat one thick jacket every time. Thin coats dry faster, level better, and avoid drips. Plan for 2-3 coats of paint minimum.
- Cure time isn’t the same as dry time. Paint might feel dry after a few hours, but a full cure takes days or even weeks, depending on the product. Handle painted surfaces gently during this period.
- Choose the right sheen to hide prep flaws. Darker colors and flatter sheens (satin, eggshell) hide imperfections better than light colors with high gloss.
- Read the paint can instructions. Manufacturers know their products best. Follow recoat windows and compatibility recommendations.
Final Takeaway
Painting over stained wood isn’t hard, but it does reward patience. When I take time to clean off grime, dull the shine, and use a true stain-blocking primer, the paint goes on smoother and holds up much longer.
If I rush or skip steps, that’s when I see chips, scratches, or those annoying yellow-brown spots creeping through. So my final advice is simple: prep first, paint second, and let each layer dry like it should.
Also, remember that “dry” isn’t the same as “fully cured,” so I try to treat cabinets, trim, and doors gently for a few days. The extra effort up front saves you from doing the whole job twice.
So, grab your primer, pick your paint color, and try these steps on a small test area today, then keep going with confidence.


