


Do you ever look at your porch or windowsill and think it could use a little more life?
A DIY flower box could be just what you need! I know how easy it is to feel like a space needs something extra, but the great news is that you don’t need to spend a lot of money or be a pro to create something beautiful.
This DIY flower box project runs about 3 to 5 hours of active work, costs between $50 and $100 in materials (if you own the tools), and sits solidly at a difficulty level of 2 out of 5.
I’ve done this build twice. The second time was faster, cheaper, and the box is still standing three seasons later. Here’s what I’d tell you before you buy a single board.
| Difficulty | 2 out of 5, basic cuts, no joinery skills needed |
| Time | 3 to 5 hours across one weekend |
| Cost | $50 to $100 in materials (tools not included) |
| Tools Needed | Circular saw or handsaw, power drill, measuring tape, sandpaper (80 and 120 grit), level, clamps |
| Skill Required | Beginner, if you can drive a screw straight, you can do this |
| Cost Note: Figures in this article are estimates based on national averages. Actual costs vary significantly by region, store, and wood species. Tools are a one-time purchase; if you already own a drill and saw, your material cost drops to $50 to $100. |
Understanding Sunlight Before You Choose a Spot
Step outside and spend a few minutes watching your space before you decide where the box goes. Note which direction the wall faces, how nearby overhangs or trees create shade, and whether afternoon light hits directly or bounces off a surface.
If you’re mounting the box on a porch railing or deck, it’s worth thinking about how the box works as part of the overall outdoor deck layout, not just in isolation.
A south-facing wall gets the most sun exposure throughout the day. North-facing spots stay consistently shaded.
East-facing positions receive gentle morning sun, and west-facing areas take the full intensity of afternoon heat. This matters because it determines which plants will survive in your box, and building the wrong box for the wrong spot wastes both the build and the planting investment.
Pick your location first, then build to fit it.
Materials and Tools Needed for Your DIY Flower Box
Before you start building, I recommend gathering everything you’ll need. Don’t worry, most of these materials are budget-friendly and easy to find at your local hardware store.
Here’s your complete shopping list:
| Material / Tool | Cost (USD) | Notes |
|---|---|---|
| Cedar / Pine Boards | $15–30 | Cedar resists rot; pine needs sealing |
| Wood Screws (Exterior) | $5–8 | Avoid drywall screws outdoors |
| Wood Glue (Exterior) | $4–6 | Weather-resistant (e.g., Titebond III) |
| Stain / Paint | $10–25 | Stain shows grain; paint hides flaws |
| Wood Sealer | $8–15 | Required for pine |
| Landscape Fabric | $5–10 | Helps drainage, slows rot |
| Sandpaper | $3–8 | Smooth finish |
| Drill (if buying) | $40–80 | For holes & assembly |
| Saw (if buying) | $15–60 | The hand saw works fine |
| Safety Gear | $10–22 | Essential for protection |
If you already own the tools, your actual spend is the first six rows, roughly $45 to $94. That’s the number to budget against.
Tools like a power drill and circular saw are one-time investments that pay off across many projects.
The same drill you use to build this box is the one you’ll use if you ever tackle something more involved, like a fireplace remodel.
Step-by-Step Guide to Building Your Flower Box
Ready to bring your flower box to life? I’ve got you covered! Follow these simple steps, and you’ll have a beautiful planter in no time.
Take your time with each step; precision now means a sturdy box later. Here are the steps:
Step 1: Measure and Cut Wood Pieces
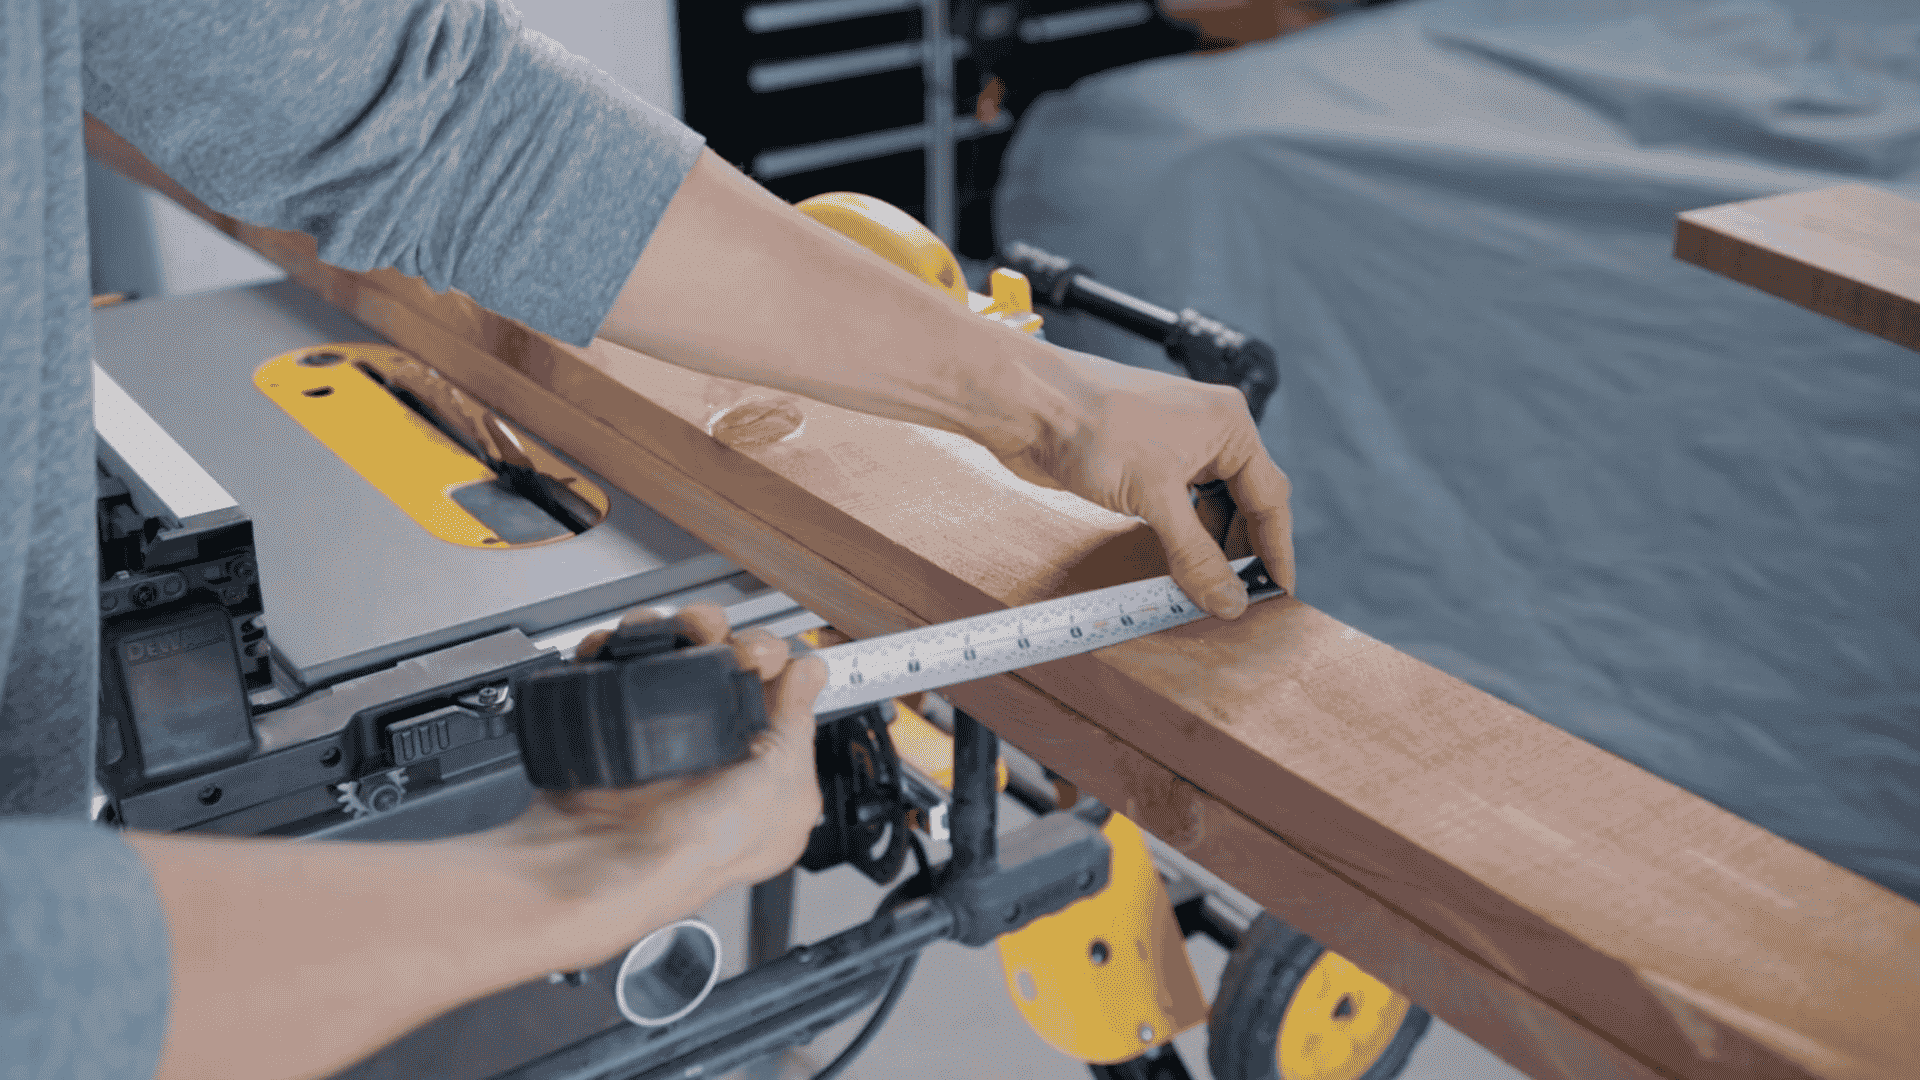
Start by carefully measuring your wood boards to your desired box dimensions. Mark each cut clearly with a pencil, then use your saw to cut the pieces to length.
Double-check your measurements before cutting; you want all corners to meet at perfect right angles. Accuracy here sets the foundation for a professional-looking finished product.
Step 2: Resaw Boards

If you’re working with thicker lumber, use a table saw to resaw the wood into thinner, more manageable pieces.
Make multiple shallow passes rather than one deep cut; this ensures straighter, cleaner cuts and reduces the risk of kickback. Keep your hands safely away from the blade and work slowly for the best results.
Step 3: Sand and Prepare Wood
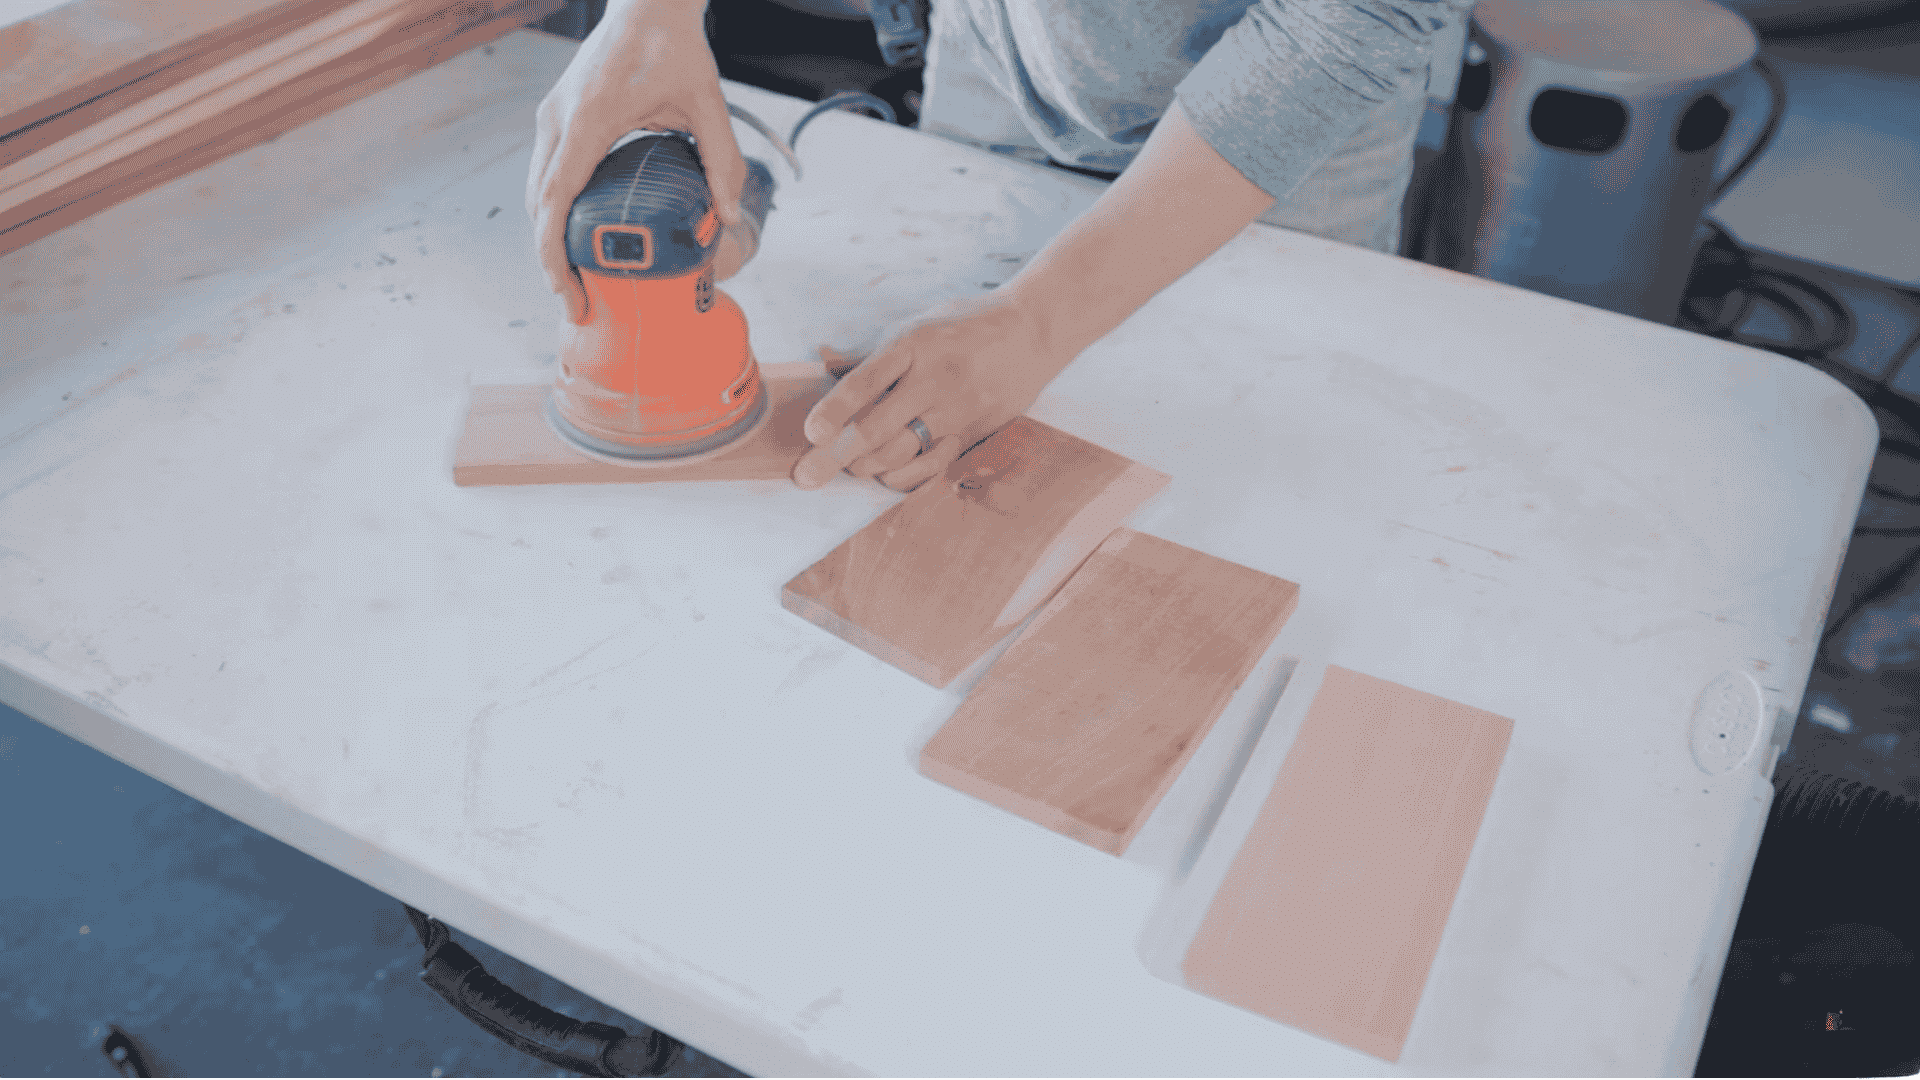
Now it’s time to smooth everything out. Use medium-grit sandpaper to sand down all rough edges, splinters, and saw marks on each piece.
Pay special attention to the cut edges where your saw blade worked. This step ensures your box looks polished and prevents splinters when you’re handling it later during planting.
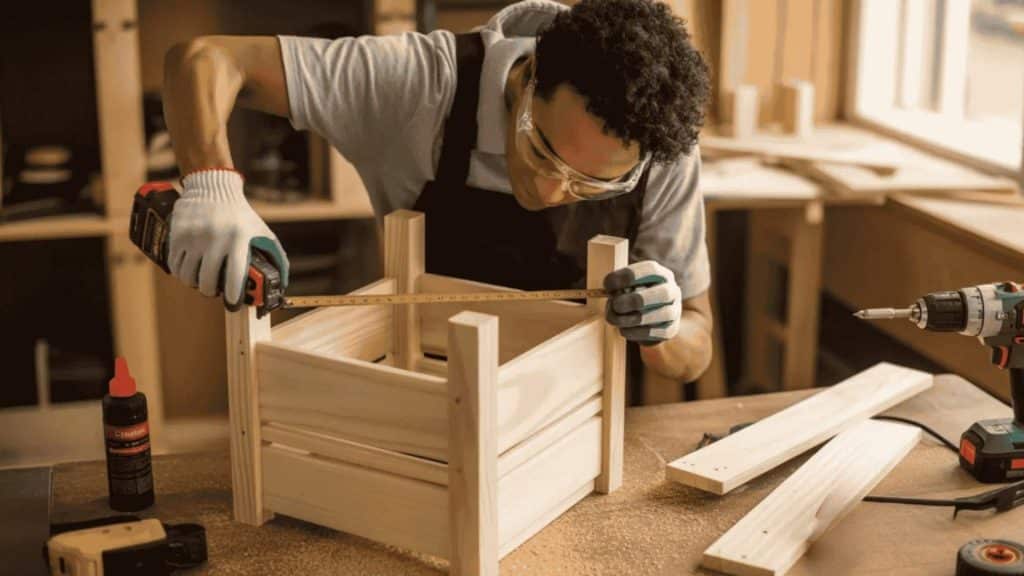
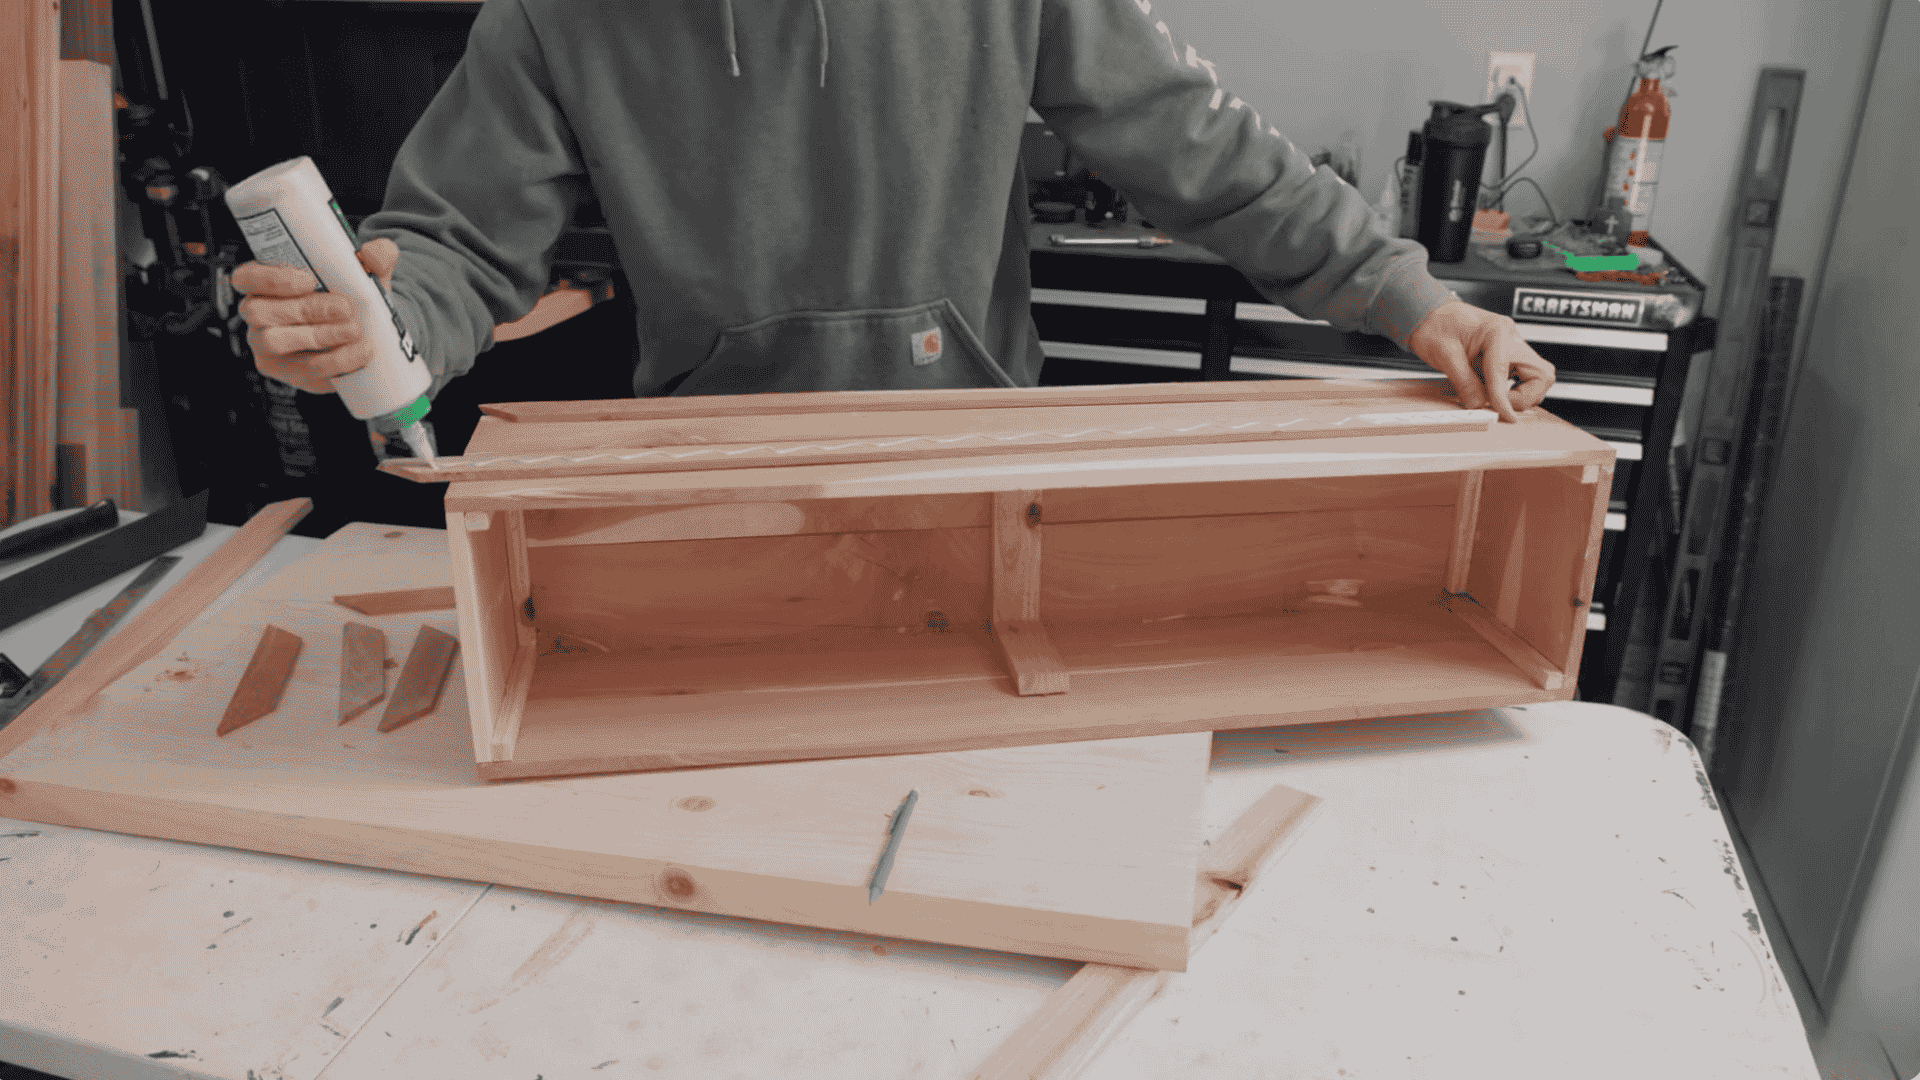
Step 4: Assemble the Box Frame
Begin assembling your flower box by applying wood glue to the edges where pieces will join. Attach the side pieces together using your drill and screws or a hammer and nails.
Use a carpenter’s square or level to ensure all corners are perfectly square. Clamps can help hold pieces steady while the glue dries.
| Pro Tip: Pre-drill your screw holes about an inch from the board ends. Without pre-drilling, screws near the edge of cedar or pine will split the wood almost every time. |
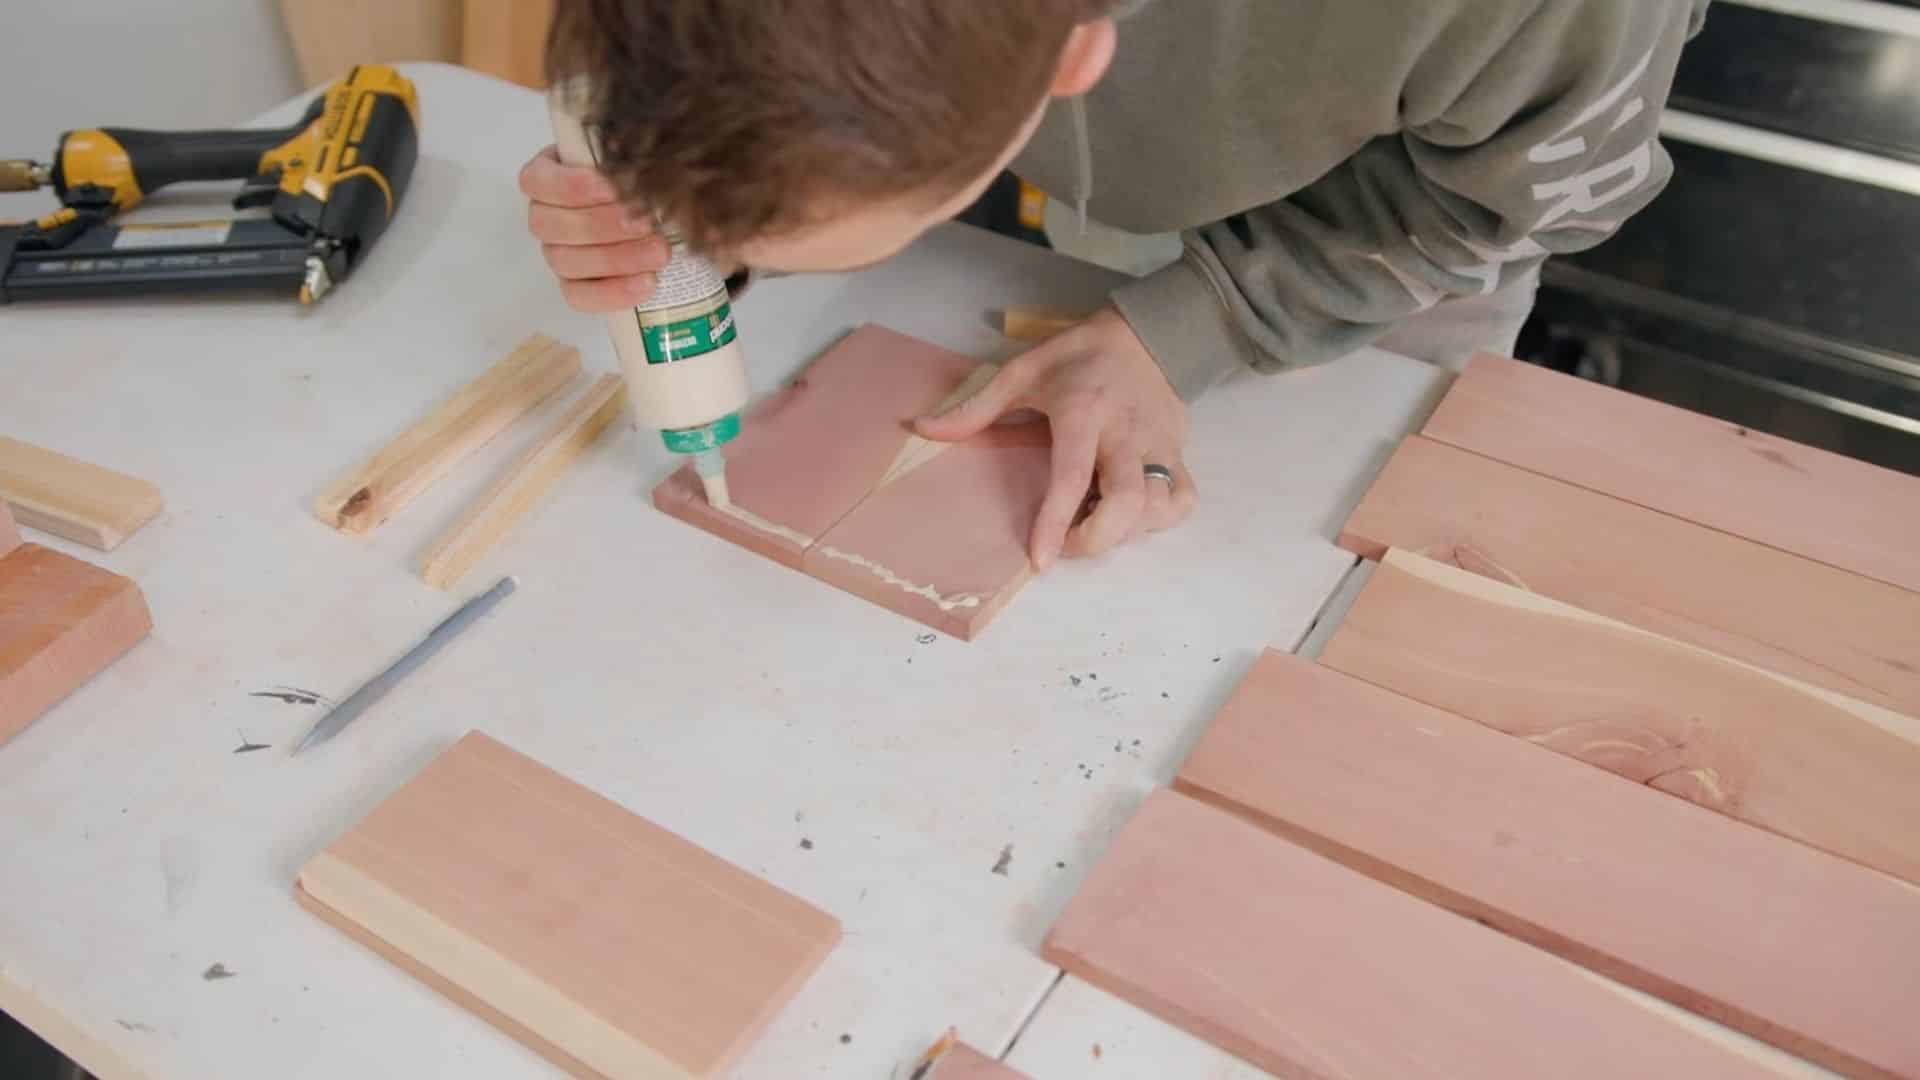
Step 5: Attach the Bottom Panels and Add Trim
Measure and cut bottom panels to fit between the assembled sides, leaving 1/4-inch gaps for drainage. Secure with wood glue and nails, ensuring they’re flush and stable.
Next, cut and attach decorative trim around the top edge or corners using wood glue and finishing nails. Sand any rough spots, then apply your chosen stain or paint. Let it dry completely before planting.
Here is the detailed video by Guardian Woodworking
What Soil Mix to Use in a Wooden Planter Box?
Don’t use standard garden soil in a flower box. It compacts in containers, drains poorly, and gets heavy enough to warp a wooden box over time.
Use a lightweight potting mix designed for containers, something with perlite or vermiculite already in it. For a standard 36-inch box, you’ll need roughly 0.5 to 0.75 cubic feet of mix.
If you’re planting herbs or vegetables alongside flowers, add a slow-release granular fertilizer into the mix at planting time. Container plants deplete nutrients faster than in-ground plantings because watering flushes them out.
Best Flowers and Plants for a DIY Flower Box
When I pick plants for a flower box, I always think about sunlight first. You’ll get better results when your plants match your space.
The right mix makes your box look full and healthy without extra work. Let’s break it down by light type so you can quickly find what works best for your spot:
Full Sun Flower Ideas
If your flower box gets six or more hours of direct sunlight daily, these bright bloomers will perform beautifully all season long. Here is a quick look at the best full sun options and what makes each one worth planting:
| Plant | Light Requirement | Why It Works |
|---|---|---|
| Petunias | Full Sun (6+ hours) | Produces continuous blooms from spring until first frost in a wide range of colors |
| Geraniums | Full Sun (6+ hours) | Handles heat exceptionally well and stays colorful even during dry spells |
| Marigolds | Full Sun (6+ hours) | Naturally repels common garden pests while adding bold yellow and orange color |
| Zinnias | Full Sun (6+ hours) | Extremely heat-tolerant with bright, dome-shaped blooms that attract butterflies throughout summer |
| Lantana | Full Sun (6+ hours) | Multicolored flower clusters bloom all season, heavily with very little watering or maintenance needed |
These sun-loving plants are low-maintenance and keep your flower box looking vibrant from spring through fall.
Shade-Friendly Plants
Got a shaded porch or north-facing windowsill? These plants handle low-light conditions well and still deliver plenty of color. Take a look at the top shade-friendly picks and why they work so well in low-light flower boxes:
| Plant | Light Requirement | Why It Works |
|---|---|---|
| Impatiens | Partial to Full Shade | Produces masses of small flowers in pink, red, and white without needing any direct sun |
| Begonias | Partial Shade | Attractive glossy foliage looks great even between bloom cycles, adding year-round visual interest |
| Ferns | Full Shade | Lush green fronds add rich texture and fullness to any shaded flower box arrangement |
| Hostas | Full to Partial Shade | Bold, broad leaves in green, gold, and blue tones create a strong visual presence in shaded spots |
| Coleus | Partial to Full Shade | Vividly patterned foliage in red, purple, and lime green adds dramatic color without needing any blooms |
These shade-tolerant options prove that a flower box in a darker spot can still look just as lively and full.
Trailing Plants for a Cascading Look
Want your flower box to spill over beautifully? These trailing plants add depth and movement that flat upright plants simply cannot match. Here’s a simple breakdown
| Plant | Light Requirement | Why It Works |
|---|---|---|
| Sweet Potato Vine | Full Sun to Part Shade | Fast-growing foliage in purple or lime green cascades dramatically over box edges |
| Ivy | Partial Shade | Classic trailing vines create a clean, structured spill that pairs well with any blooming plant |
| Lobelia | Full Sun to Part Shade | Tiny flowers in deep blue and purple trail softly, adding color at the box edges |
| Bacopa | Full Sun to Part Shade | Produces a carpet of small white or pink flowers that spill neatly over the sides all season long |
| Creeping Jenny | Partial Shade | Bright chartreuse foliage spreads quickly and adds a bold pop of color between flowering plants |
Mixing trailing plants with upright bloomers creates a full, layered look that makes any flower box stand out instantly.
Maintenance Tips for Long-Lasting Flower Boxes
Your flower box is built, now let’s keep it looking great! Follow these simple care tips to protect your investment and enjoy vibrant blooms all season long:
- Water consistently, but don’t Overdo It: Check soil moisture regularly and water when the top inch feels dry.
- Fertilize Every Two Weeks: Use diluted liquid fertilizer to keep your plants healthy and blooming.
- Deadhead Spent Blooms: Remove faded flowers weekly to promote new growth and keep your box fresh.
- Reapply Wood Sealer Annually: Protect your box from the elements by reapplying sealer or paint every 1-2 years.
- Monitor for Pests: Check plants regularly for pests like aphids, and treat them promptly with insecticidal soap or neem oil.
With these straightforward maintenance habits, your DIY flower box will stay beautiful and productive season after season. A little regular attention goes a long way!
Final Thoughts
I hope this has inspired you to create your very own DIY flower box and refresh your outdoor space. With just a few materials and some creativity, you can easily craft something beautiful that adds color and personality to your home.
Remember, it’s all about having fun and enjoying the process; don’t worry if your first attempt isn’t perfect. The most important thing is that you’re learning and creating something you’ll love.
I’d love to hear how your project turns out! Drop a comment below and let me know which flower box design you tried. Happy building and planting!
Frequently Asked Questions
How deep should a flower box be for flowers?
Use at least 8 inches of soil for most flowers. For plants with deeper roots, aim for 10 to 12 inches. Shallow boxes dry out quickly and require frequent watering during warm weather.
What wood is best for outdoor flower boxes?
Cedar works well because it resists rot and handles outdoor conditions without treatment. Pine can be used as a lower-cost option, but it must be sealed thoroughly on all surfaces before use.
How do you keep a wooden flower box from rotting?
Ensure proper drainage with holes, line the interior with landscape fabric, and apply a protective sealer to all surfaces. Maintain it by reapplying the sealer every one to two seasons.
What to put in the bottom of a flower box for drainage?
Skip gravel layers and rely on drainage holes instead. Cover the holes with landscape fabric to keep soil in place while allowing excess water to escape efficiently.
What size should a window flower box be?
Match the length to your window width. Keep width around 8 inches minimum and depth between 8 to 10 inches to support healthy root growth without making the box overly heavy.
How do I waterproof a wooden flower box?
Apply an exterior wood sealer to every surface, including edges and joints. Use at least two coats and allow proper drying time before adding soil to ensure long-lasting moisture protection.
Can I use pressure-treated wood for a flower box?
It can be used for decorative flowers since modern treatments are safer. For growing edible plants, choose untreated wood with a suitable sealer to reduce potential chemical exposure.


