


Painting brick is a moderate DIY project, plan for one to two days on an exterior wall, three to four hours on an interior one, and a supplies budget between $200 and $600, depending on surface size. That’s the honest headline.
The steps themselves are not complicated, but the prep work is where most projects fail, and it fails in the same three ways every time.
I’ll walk you through what goes wrong, what to use, and how to paint brick so the finish actually holds up.
| Difficulty | 3/5; Moderate. Manageable for a first-timer, but prep is unforgiving. |
| Time | Exterior house: 1–2 days. Interior wall: 3–4 hours. |
| Cost | $200–$600 for supplies (paint, primer, tools). Paint alone runs $30–$60 per gallon for quality masonry paint, and brick is porous; budget for two full coats. |
| Tools Needed | Pressure washer, stiff brush, mortar repair caulk, painter’s tape, drop cloths, masonry paint, primer, thick-nap roller (3/4–1 inch), paintbrushes, paint tray, ladder or scaffolding, safety gear. |
| Skill Required | Beginner to intermediate. No specialist tools. One person can manage an interior wall; exterior jobs benefit from a helper. |
The One Thing That Kills Most Brick Painting Projects
Before the steps, the failure mode worth understanding: brick painting projects almost always fail at prep, not application.
I’ve seen it repeatedly. Someone cleans the surface quickly, skips the drying time, paints right over hairline cracks, and uses whatever latex paint was left over in the garage.
Six months later, the paint bubbles, peels, or traps moisture in cracks that are now hidden but getting worse.
Three things go wrong most often:
- First, painting over damp brick, even slightly damp, causes blistering as moisture tries to escape through the paint film.
- Second, using standard interior or exterior wall paint instead of masonry-specific paint; standard paint doesn’t flex with brick’s thermal movement and peels within a season.
- Third, skipping crack repair and painting over mortar damage, which locks moisture in and accelerates spalling.
None of these is hard to avoid. They just require patience the first time through.
| Important: If your brick has active moisture intrusion, efflorescence (white chalky powder), or crumbling mortar, painting will make the underlying problem worse, not better. Have a masonry contractor inspect the surface before you commit to painting. |
What You Need to Know Before Painting a Brick House?
Painting a brick house can instantly update your home’s appearance, add a layer of weather protection, and give you a cleaner exterior that reads as intentional rather than tired. But once painted, reversing the process is expensive and often incomplete. Stripped brick rarely looks as it did before.
Beyond aesthetics, painted surfaces need ongoing maintenance. A fresh coat every five to ten years is typical for exterior brick, and any peeling needs addressing immediately or it compounds.
If you own a historically significant home, check with your local preservation authority before committing; some jurisdictions restrict painting original brick. If the structure is sound and you’ve made the decision, here’s how to do it properly.
Choosing the Right Paint for Brick
Standard wall paint does not work on brick surfaces. Brick is porous, expands and contracts with temperature, and needs a paint that can move with it. Using the wrong product is the second-fastest path to peeling, after skipping prep.
| Paint Type | Best For | Key Benefit |
| Masonry Paint | Porous brick surfaces | Superior adhesion and long-term protection, the safest default choice |
| Latex-Based Paint | Interior and light exterior use | Breathable, flexible, and easy to apply, good for interior brick walls |
| Elastomeric Paint | Cracked or weathered exterior brick | Bridges’ hairline cracks and handles harsh weather; a thick application is required |
| Vapor-Permeable Paint | Any brick with moisture sensitivity | Let the brick breathe and release trapped moisture, important for older structures |
| Acrylic Paint | Smooth or sealed brick | Durable finish with good color retention, works well on interior brick |
| Mineral Paint | Aged or historic brick | Bonds deeply without trapping moisture, the right call for older, softer brick |
For exterior walls: elastomeric or masonry paint.
For interior surfaces: latex or acrylic.
When you are not sure which condition you are dealing with, masonry paint covers most situations and is widely available at any hardware store.
How to Paint Brick: Step-by-Step Guide
These steps apply to a brick house exterior. The interior brick section below has a shorter version adjusted for indoor conditions.
Step 1: Clean the Brick Surface Properly
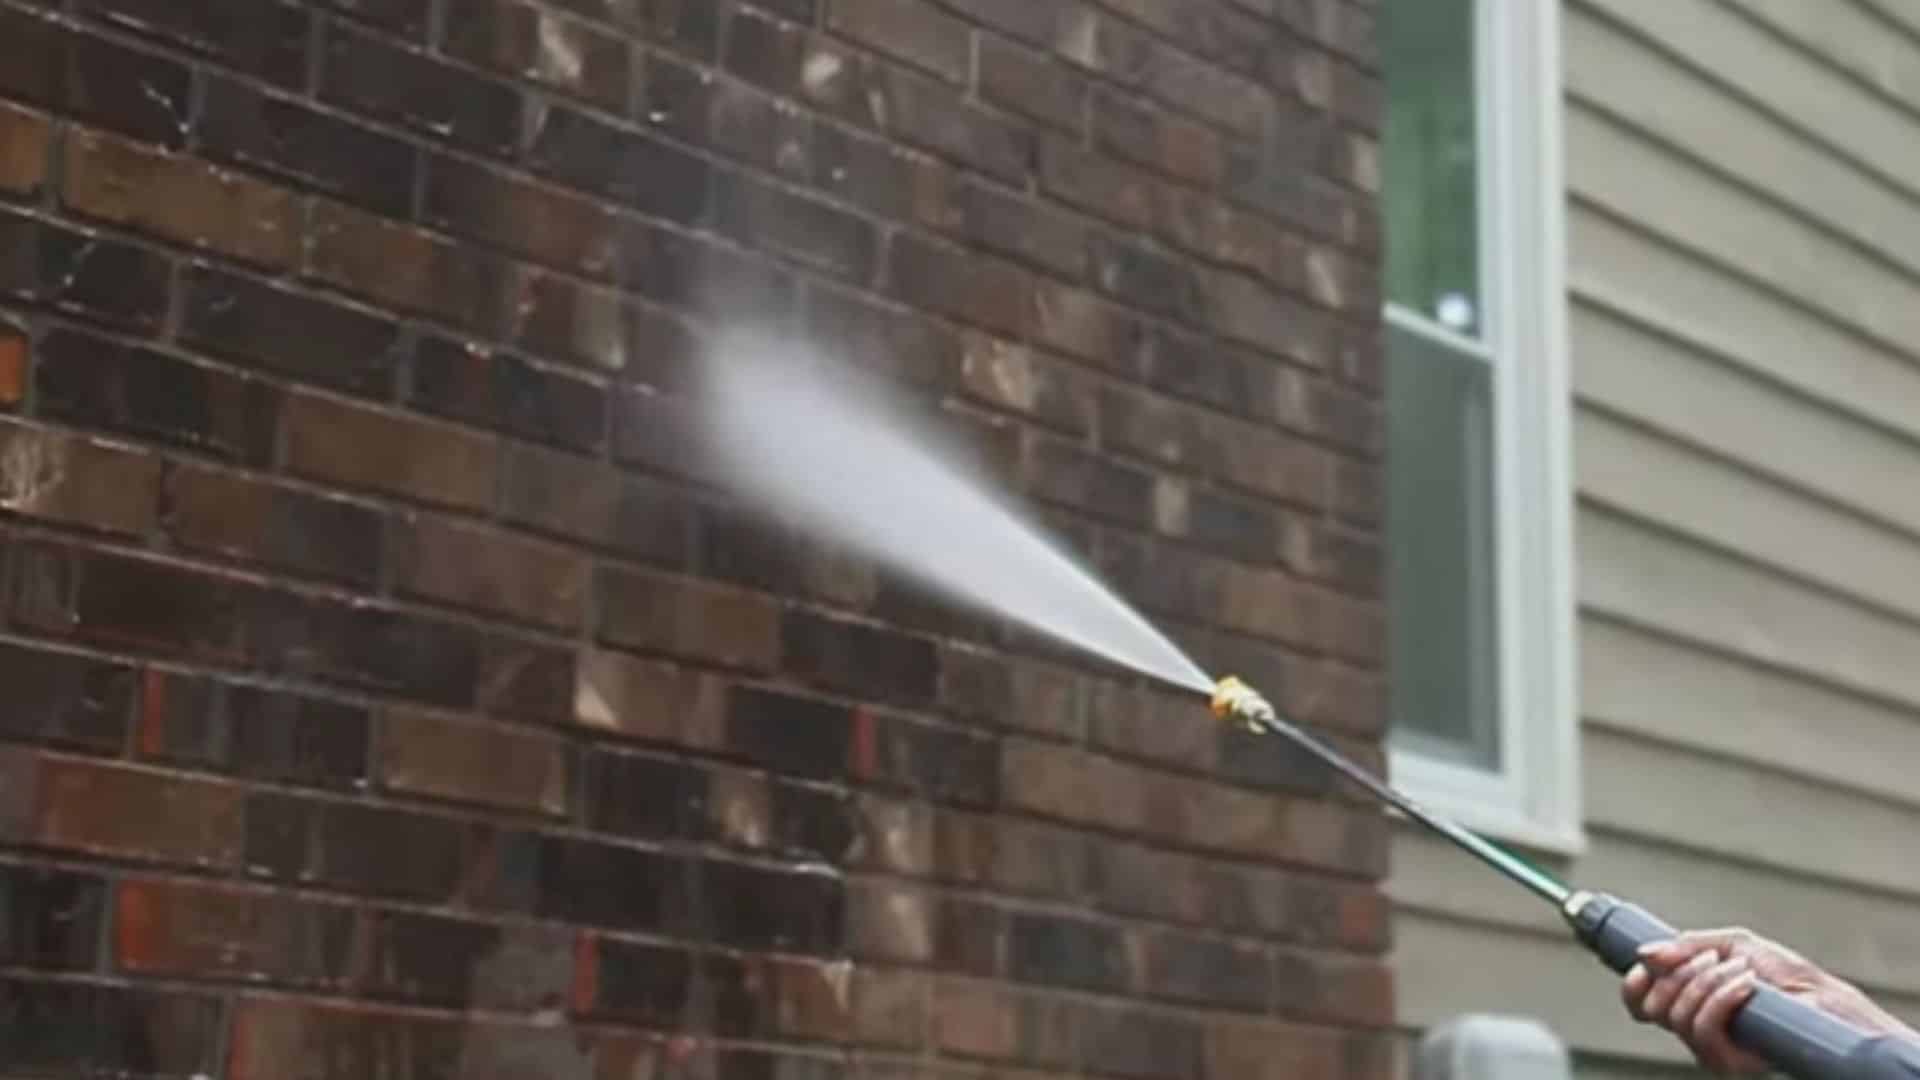
Remove all dust, dirt, cobwebs, mildew, and any white chalky powder (efflorescence) from the brick surface.
A pressure washer handles large exterior areas faster than a brush and gets into mortar lines more effectively. For interior walls or smaller sections, a stiff brush with a diluted TSP solution works well.
After washing, allow the brick to dry for at least 24 to 48 hours before painting. Painting over damp brick is the most common cause of bubbling and peeling. If you are in any doubt, wait another 24 hours. Brick holds moisture longer than it looks like it does.
Step 2: Inspect and Repair Any Damage
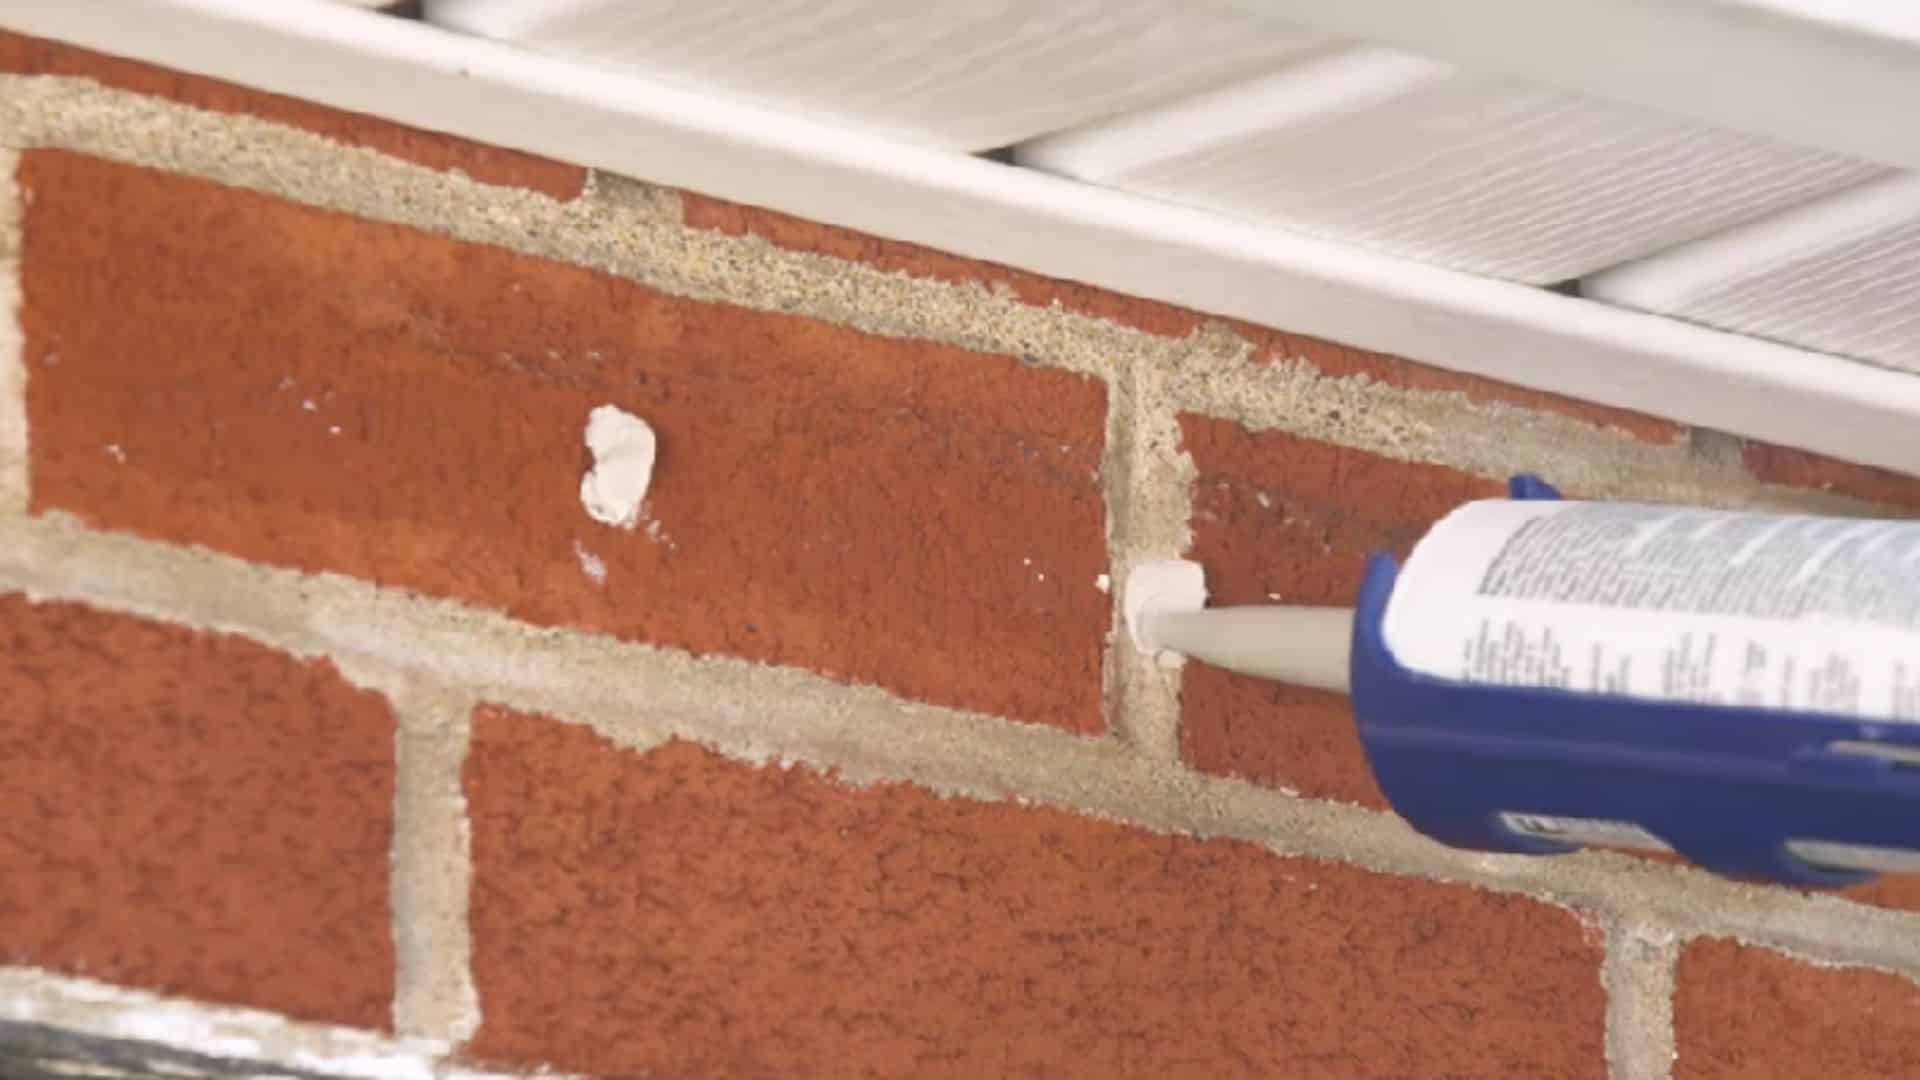
Once the surface is fully dry, examine the entire wall for cracks, holes, crumbling mortar joints, or signs of water damage. Fill small gaps and hairline cracks with mortar repair caulk.
Larger damage, anything wider than a pencil tip or with visible structural movement, needs professional repointing before you paint over it.
Painting over active moisture intrusion or mold does not seal the problem. It hides it while making it worse underneath. Address water issues now, or the finish will fail in the exact spots where the damage was.
Step 3: Protect Surrounding Areas
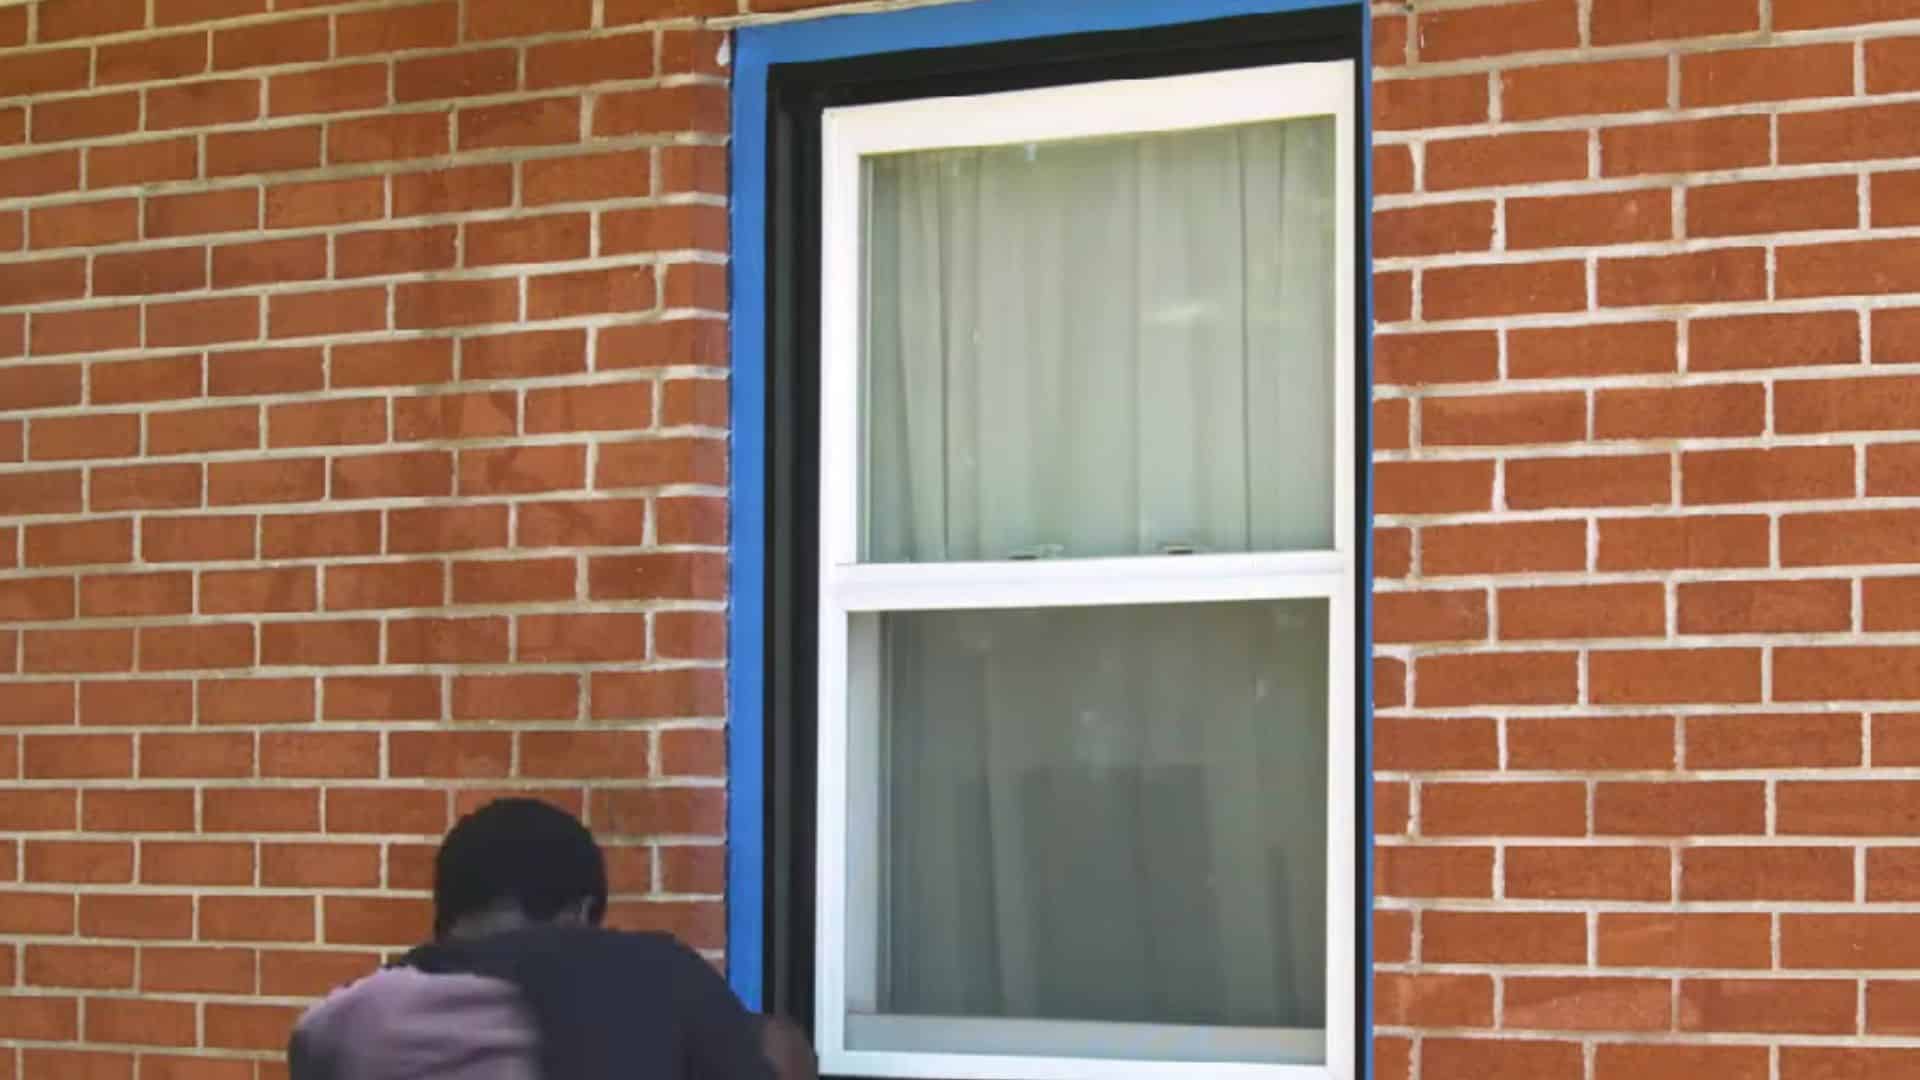
Remove light fixtures, house numbers, mailboxes, and any hardware that could get splattered. Seal windows and doors with painter’s tape and plastic sheeting, and be thorough along the edges.
Lay drop cloths over plants, pathways, and any nearby hard surfaces to catch drips and overspray. Lightly mist plants before covering them to keep them from overheating underneath the plastic.
Step 4: Choose and Prepare Your Paint
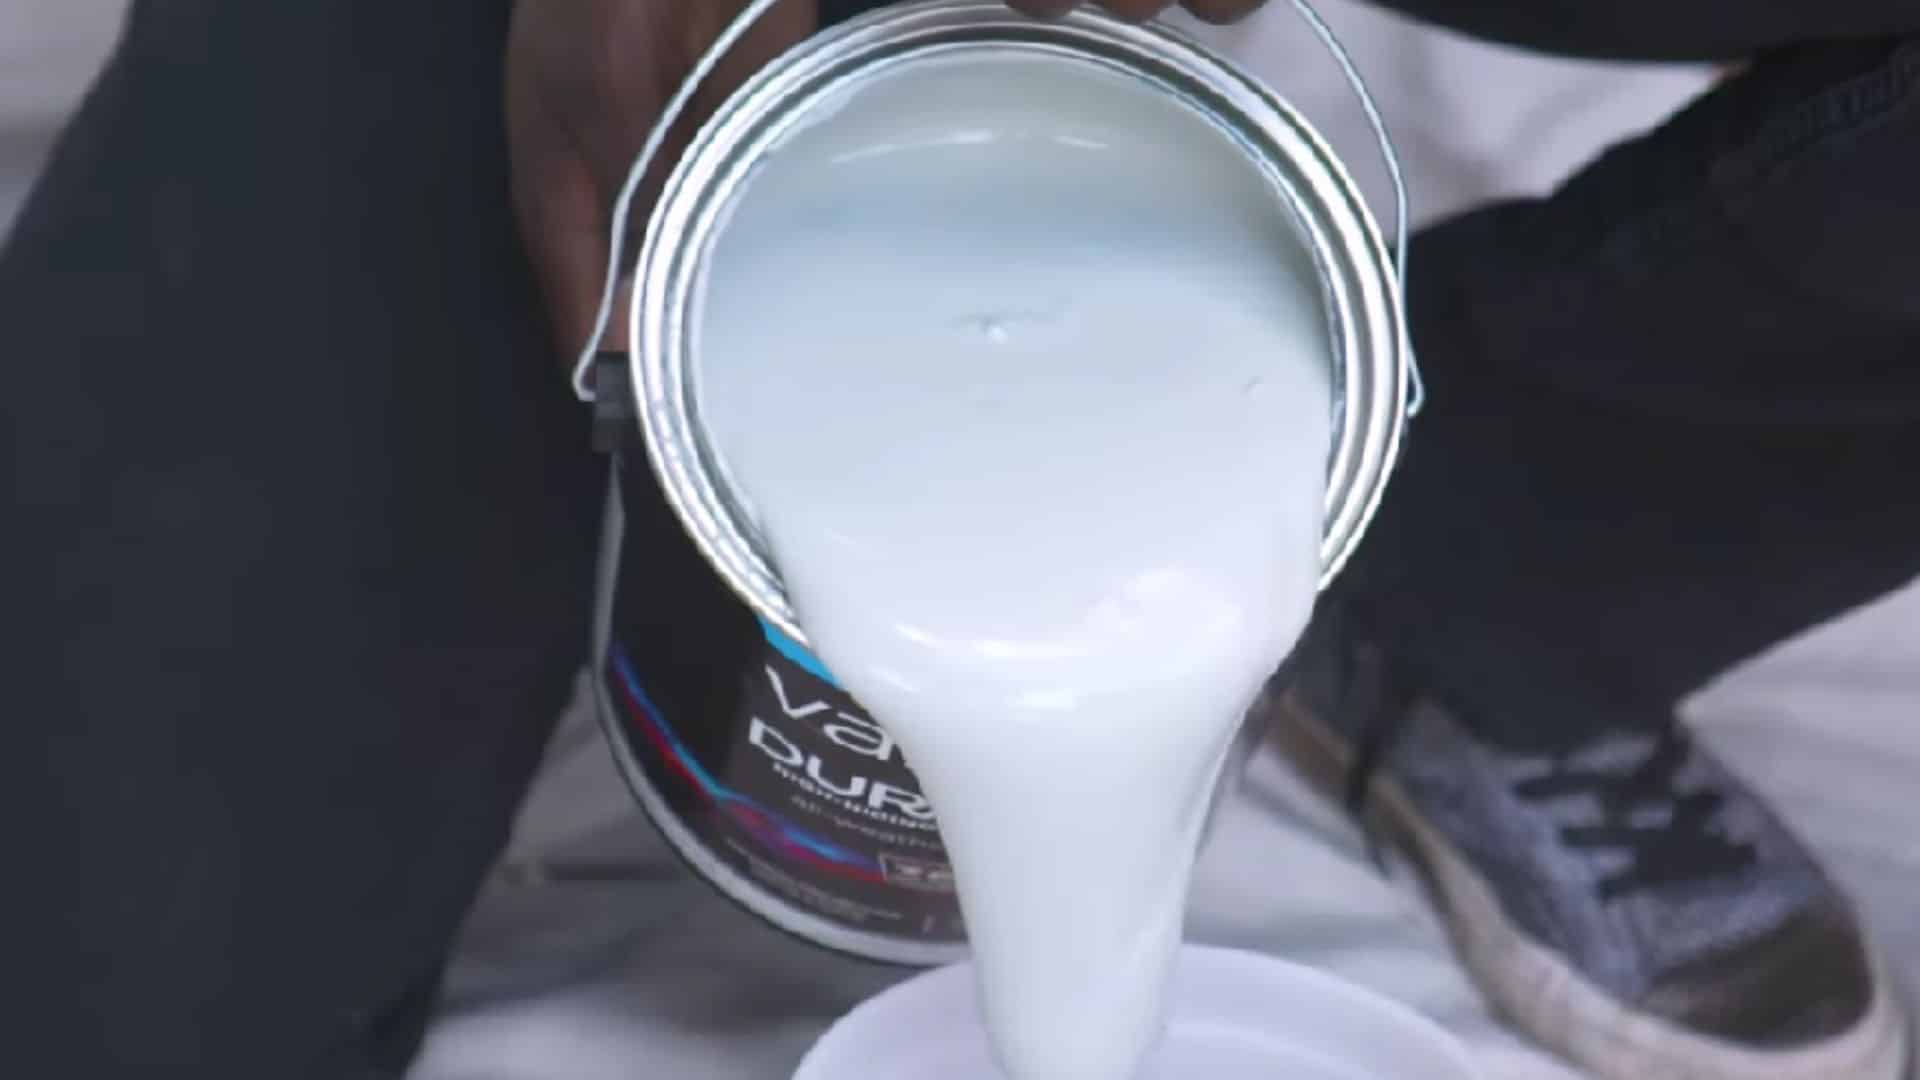
Use a paint specifically formulated for masonry or exterior brick. A combined paint-and-primer product simplifies the process and works well on surfaces that are structurally sound. Measure your total surface area before buying. Brick is highly porous, and almost every project needs at least two full coats.
If you are considering dark colors for a brick house exterior, colors like Sherwin-Williams Greenblack in a masonry-rated formula hold well and read as intentional against the texture of painted brick.
For lighter neutrals, Sherwin-Williams Natural Choice translates cleanly to brick without looking washed out.
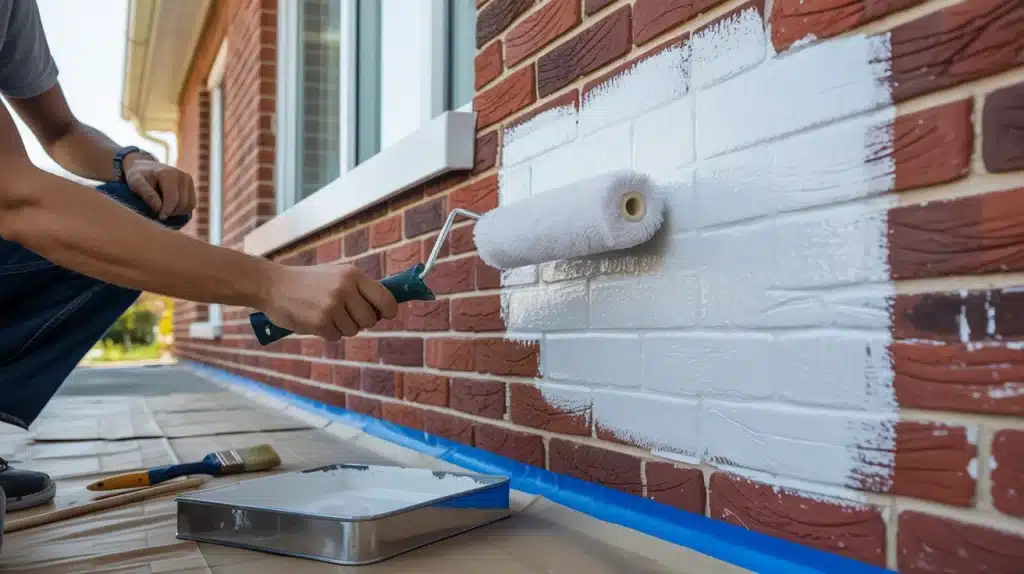
Step 5: Apply the Paint Using the Right Method
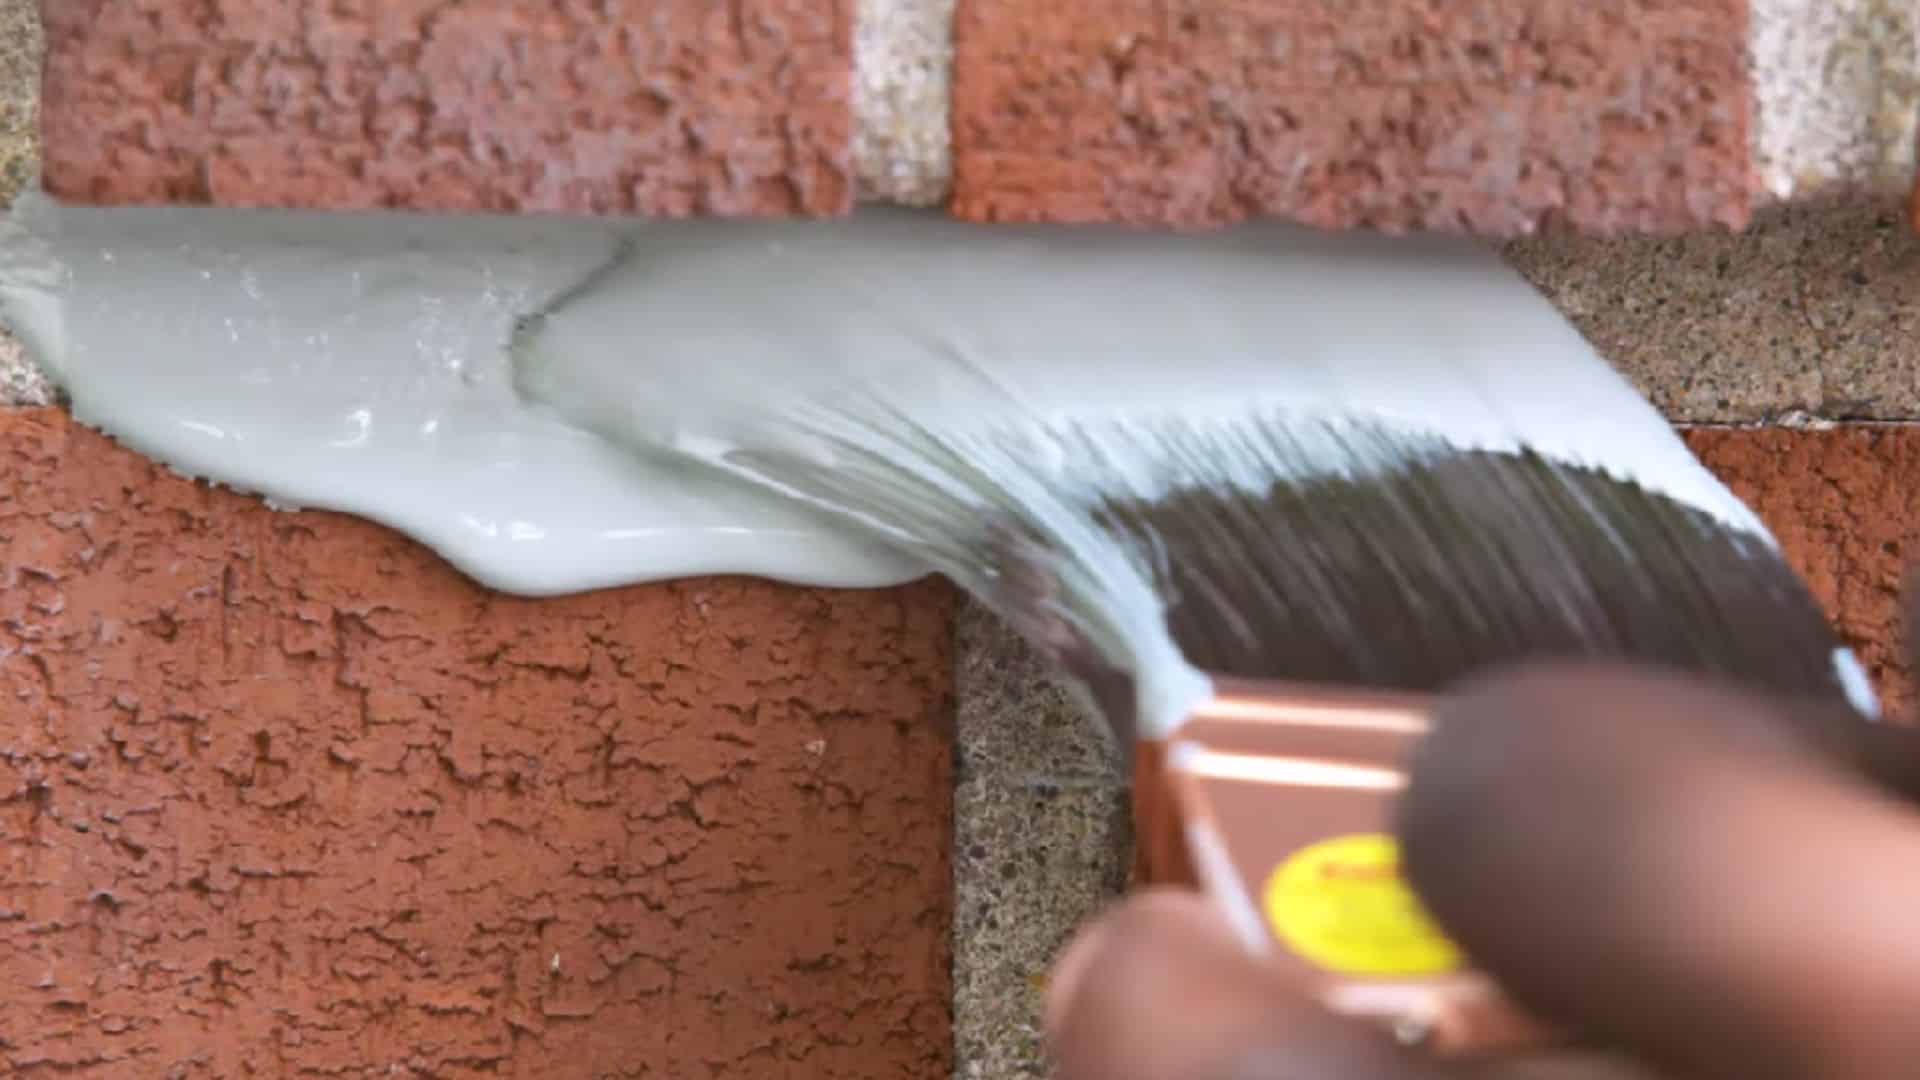
Use a quality brush first to cut in along all edges, corners, window frames, door surrounds, and into mortar lines where a roller cannot reach. Then switch to a thick-nap roller , 3/4 to 1-inch nap , for the flat sections of the brick.
The thicker nap pushes paint into the porous surface rather than sitting on top of it, which is what you need for adhesion.
Work from the top of the wall downward to catch any drips as you go. Let the first coat dry completely before applying the second. Rushing this is the most common mistake at the application stage.
For exact wait times based on your specific paint, how long to wait between paint coats covers the variables that actually matter; humidity, temperature, and coat thickness all affect drying time more than the number on the can.
|
Faster the Second Time: On a large exterior, use a paint sprayer for the first coat to get deep penetration into the porous brick surface, then follow up with a roller for the second coat to even out coverage and texture. The sprayer does the bonding work; the roller does the finishing work. I learned this the hard way after spending twice as long with a roller on the first coat of a full house exterior. It was fine, but the sprayer approach on the second house was significantly faster with a better result. |
Step 6: Finish and Clean Up
Once the final coat has dried completely, remove all painter’s tape, sheeting, and drop cloths without disturbing the fresh edges.
Walk the entire surface in good light and look for thin spots, missed mortar lines, or uneven areas, and touch them up with a brush.
Clean all brushes, rollers, and trays according to the paint manufacturer’s instructions. Masonry paint cleans up with water if you catch it before it dries, but it sets hard and is difficult to remove once cured.
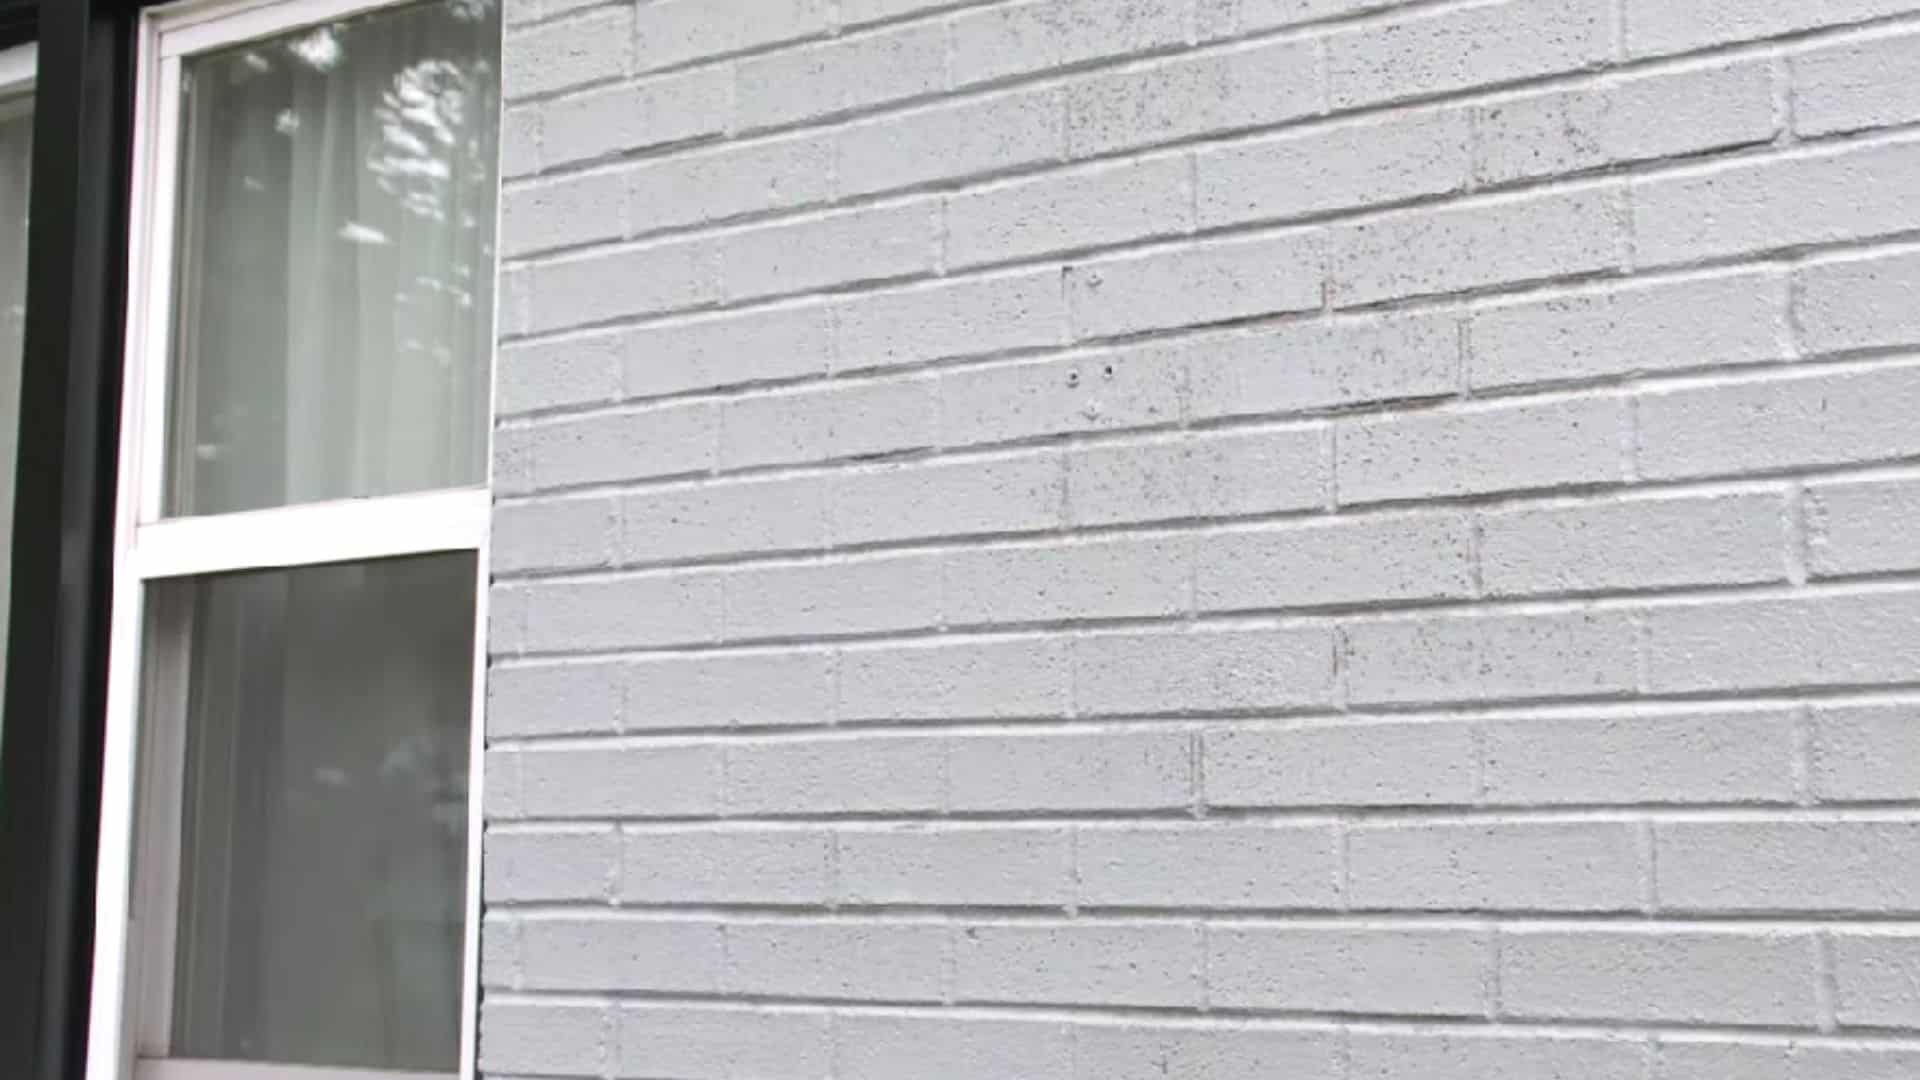
For a polished result on a brick house exterior, consider repainting shutters and doors in a coordinating color, updating light fixtures, and tidying landscaping to frame the fresh exterior cleanly.
Watch this video for a step-by-step guide on how to clean, prep, and paint your brick house for a professional finish.
How to Paint Interior Brick
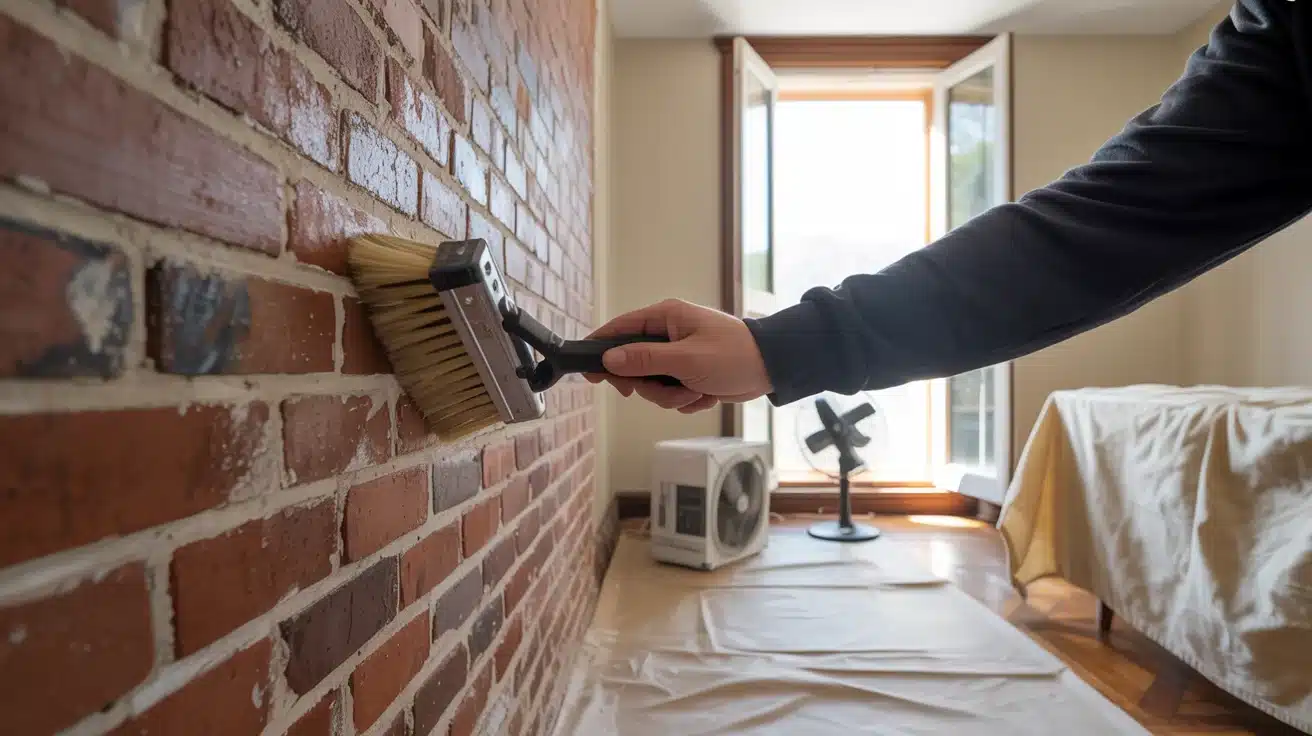
Painting interior brick requires careful preparation, the right materials, and a steady technique to achieve a clean, lasting, and professional-looking finish every time.
Step 1: Prep the Space: Open windows and place a fan facing outward to ventilate the room. Cover all floors, furniture, and nearby surfaces with drop cloths or plastic sheeting to protect them from paint splatter and stains.
Step 2: Clean the Brick: Scrub the brick surface using a stiff brush and mild detergent to remove dust, grease, and dirt. Rinse thoroughly and allow the brick to dry completely for at least 24 hours before applying any paint.
Step 3: Pick the Right Paint: Choose a low-VOC masonry paint or a paint-and-primer combo for safer indoor air quality. These options provide better adhesion, reduce the number of coats needed, and leave a smooth, clean finish on interior brick surfaces.
Step 4: Apply the First Coat: Use a brush to work paint into mortar lines and edges first. Then switch to a roller for the flat brick surface. Keep coats thin and even to avoid drips and ensure proper adhesion throughout.
Step 5: Apply the Second Coat: Once the first coat dries fully, inspect for missed spots, uneven areas, or thin patches. Apply a second thin coat evenly across.
Common Mistakes to Avoid When Painting Brick
In my experience, most brick painting projects go wrong not because of poor technique, but because of easily avoidable mistakes that I’ve seen homeowners make time and again.
- Skip Prep Work: Never paint over dirty or damp brick. Always clean, dry, and prime the surface first to ensure strong adhesion and a lasting finish.
- Ignore Crack Repairs: Painting over cracks traps moisture and worsens damage over time. Fix all cracks and repoint mortar joints before applying any paint.
- Wrong Paint Choice: Using standard wall paint on brick leads to early peeling and cracking. Always use masonry or elastomeric paint for durable and lasting results.
- Rushing Drying Time: Applying a second coat too soon causes a patchy and uneven finish. Follow the recommended drying time strictly between each coat.
Avoiding these simple mistakes makes all the difference, saving you time, money, and the frustration of redoing your entire project from scratch.
Tips to Maintain Painted Brick
Painted brick needs consistent but simple maintenance.
The goal is catching problems early; a small amount of peeling addressed immediately is a ten-minute touch-up job; the same problem ignored for two seasons becomes a full recoat.
| Task | How | When |
| Clean the surface | Soft brush, mild detergent, warm water, rinse thoroughly | Every few months, or after heavy weather |
| Avoid harsh chemicals | No bleach, acid cleaners, or high-pressure washing, as they all strip paint from brick | Always |
| Repaint exterior surfaces | Full recoat with the same masonry paint product used originally | Every 5 to 10 years, or when fading or chalking appears |
| Protect the interior brick | Keep away from steam, direct moisture, and hard contact near fireplaces | Ongoing |
| Check for early warning signs | Look for peeling edges, fading patches, or chalking, and address them immediately with a touch-up coat | Every season |
The most important habit is the seasonal walk-around. Catching peeling early keeps a simple maintenance schedule from turning into a full repaint.
Final Verdict
Painting brick is one of those home projects that looks simple but rewards careful planning. I hope this guide has given you everything you need to move forward with confidence.
You now know how to paint brick the right way, from choosing the right paint and tools to prepping your surface and avoiding the most common mistakes.
More importantly, you know how to protect your investment and keep it looking great for years to come.
The process isn’t complicated when you follow the right steps. Take your time, trust the process, and don’t skip the prep work.
If you found this guide helpful, try these tips on your next project and share your experience in the comments below.
Frequently Asked Questions About Painting Brick
How to paint a brick fireplace?
Start by cleaning and fixing any damage. Apply primer, then two coats of paint. Use heat-resistant paint for areas near flames. Let it cure fully, usually about 72 hours, before using the fireplace.
Should you paint a brick fireplace?
Paint works well if the brick looks outdated or stained. Avoid it if there are moisture issues or damaged mortar. Fix those first. A light neutral shade can change how the whole room feels.
Can you paint a brick house?
Yes, and it can last many years with proper prep. Make sure there are no moisture problems and the mortar is in good shape. Once painted, it becomes a long-term finish that is not easy to reverse.
What does limewash paint look like on brick?
Limewash gives a soft, aged look. It lets the brick texture and some color variation show through. It does not fully cover like regular paint. It suits older brick and is easier to change later.
How much does it cost to paint a brick house?
DIY cost is around $200 to $600 for supplies. Brick uses more paint, so plan for extra. Hiring a professional usually costs $1,500 to $4,000, depending on size, location, and prep work needed.
What colors work well on a painted brick house?
Dark shades like charcoal, black, and navy give a strong contrast. White and off-white keep things classic. Warm neutrals work well with red or orange brick tones. Always test a sample section before painting.
Can you paint brick?
Yes, brick can be painted if it is clean and dry. Use masonry or elastomeric paint for best results. Once painted, going back to natural brick is very hard, so decide carefully before starting.


