

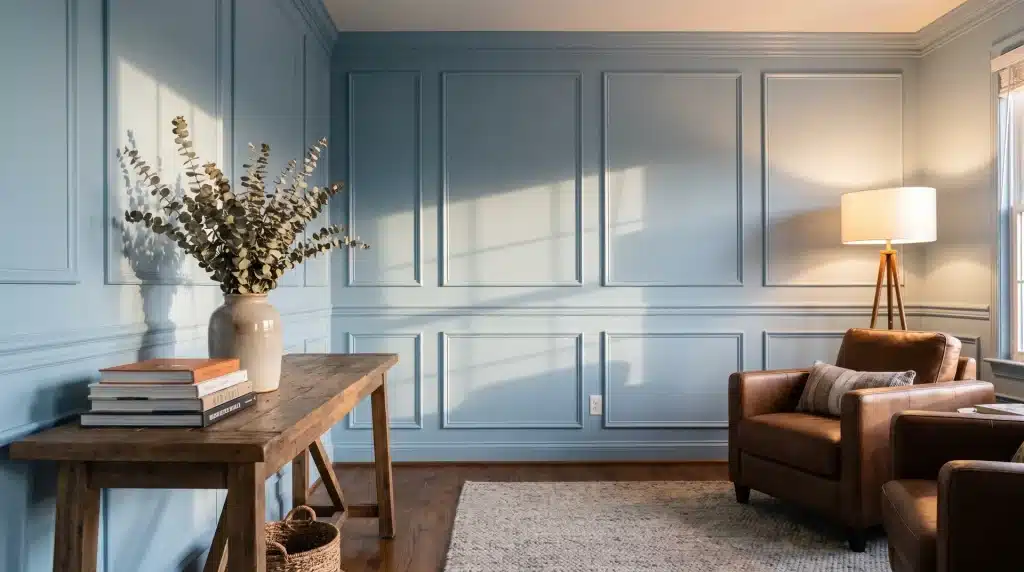


A DIY accent wall with trim and paint is one of the highest-impact home upgrades you can complete in a single day without calling a contractor.
The materials cost a fraction of what most people expect, the tools are basic, and the result is the kind of architectural detail that makes a room look intentionally designed rather than casually assembled.
This guide covers exactly how to build a picture frame trim accent wall from start to finish, the same method I used on a 9-by-14-foot recessed wall next to my front door that completely changed how the entryway felt.
Whether this is your first time picking up a brad nailer or your tenth weekend project, the process is more forgiving than it looks and more rewarding than almost anything else you can do to a wall in a day.
Tools and Materials for Your DIY Accent Wall
Before the first nail goes in, having everything on the work surface saves multiple trips and keeps the project moving at the pace it should.
- Speed square
- Contractor framing square
- Angle finder
- Tape measure
- Chop saw / miter saw
- Brad nailer
- CA glue with accelerator
- Stud finder
- DAP Patch and Paint spackle
- Random orbital sander
- Caulk gun and paintable caulk
- Painter’s tape and drop cloths
- Respirator1x2 MDF trim, 10-foot lengths
How to Build a DIY Accent Wall With Trim and Paint in 10 Steps
Everything in this project follows a sequence that builds on itself. Skipping steps costs more time fixing problems later than the step itself would have taken.
Step 1: Choose Your Wall and Plan Your DIY Accent Wall Layout
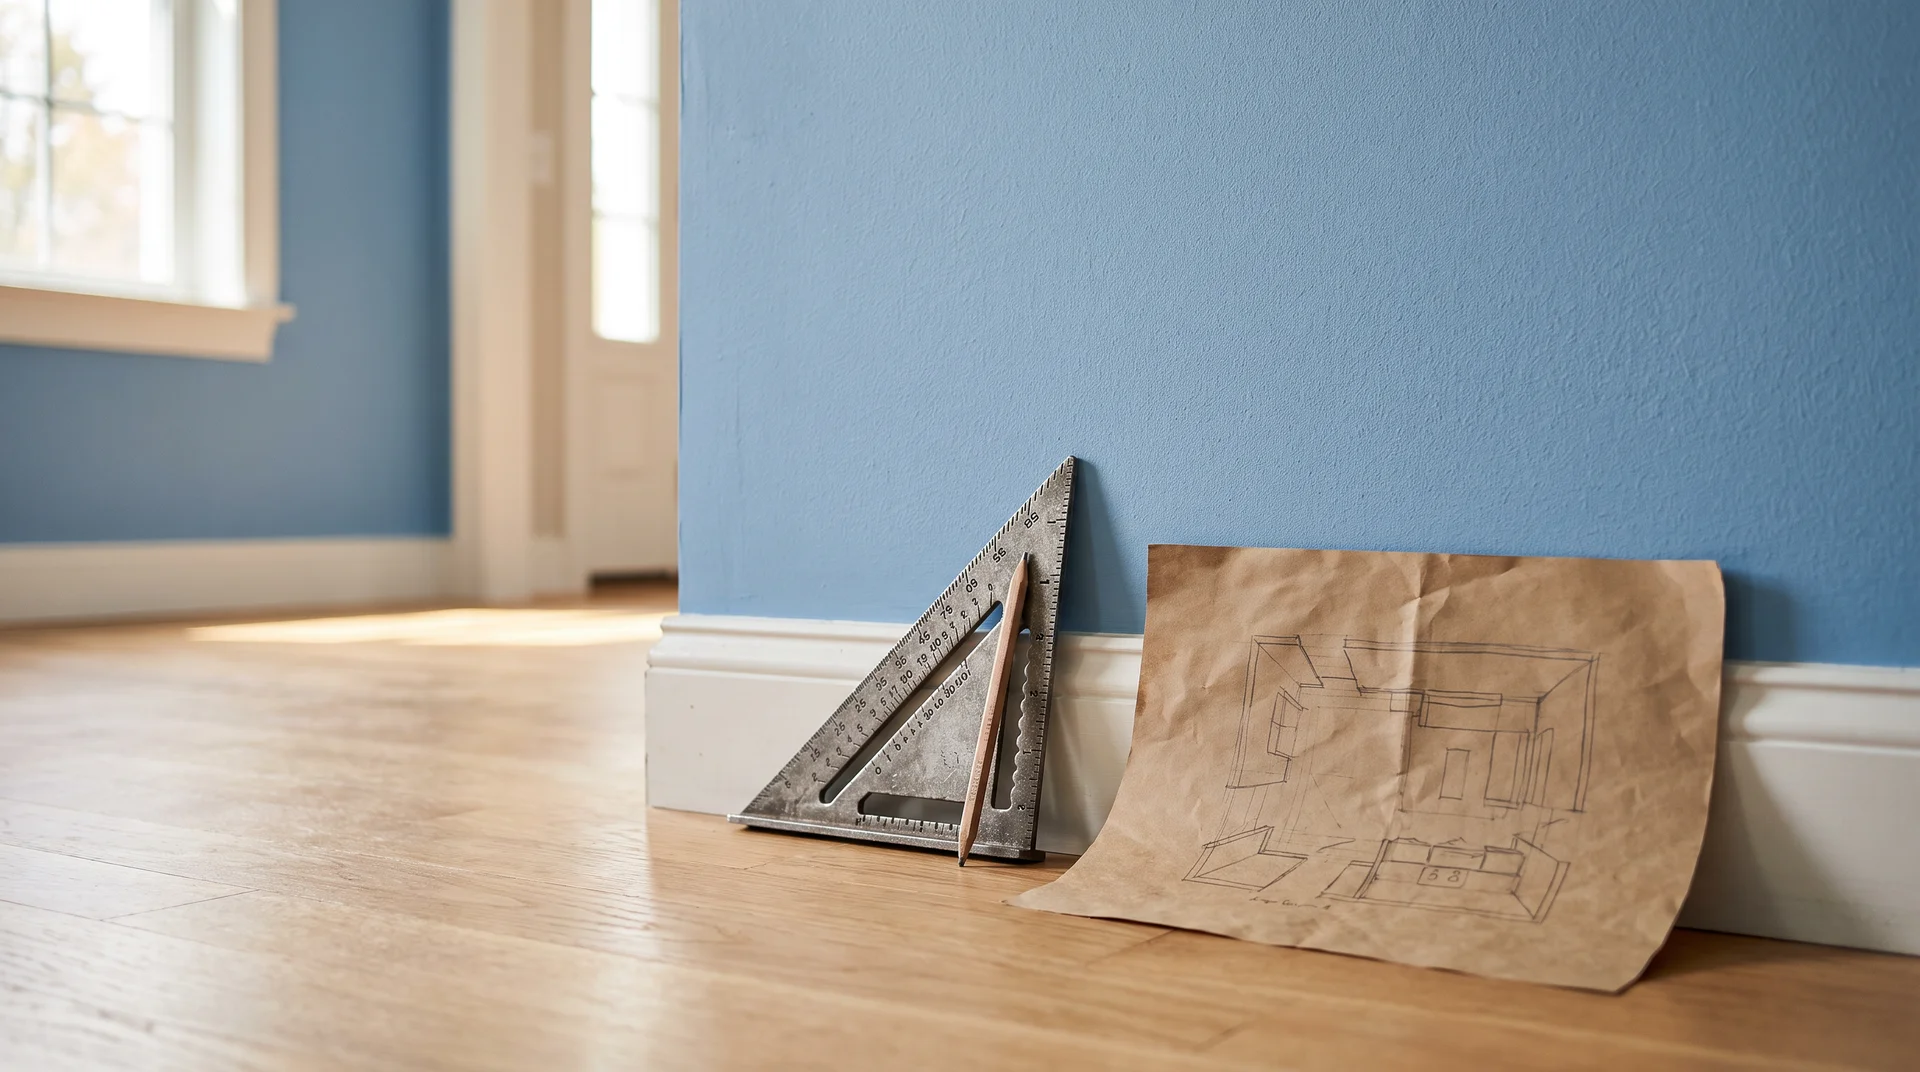
Recessed walls, walls beside entryways, and walls directly opposite doorways produce the strongest visual impact.
The wall I worked on sat in a recessed area next to my front door, approximately 9 feet tall by 14 feet long, and it changed how the whole entryway felt.
Sketch the layout on paper first and decide between a picture frame system, a grid pattern, or a mixed panel arrangement before touching the lumber.
And if you are wondering whether accent walls are out of style, the picture frame trim version has been gaining ground in US home design since the early 2020s and shows no sign of slowing.
What dated was the single painted stripe with nothing behind it. Trim-based detail is architecture, not a trend.
Step 2: Measure the Space and Calculate Your Materials
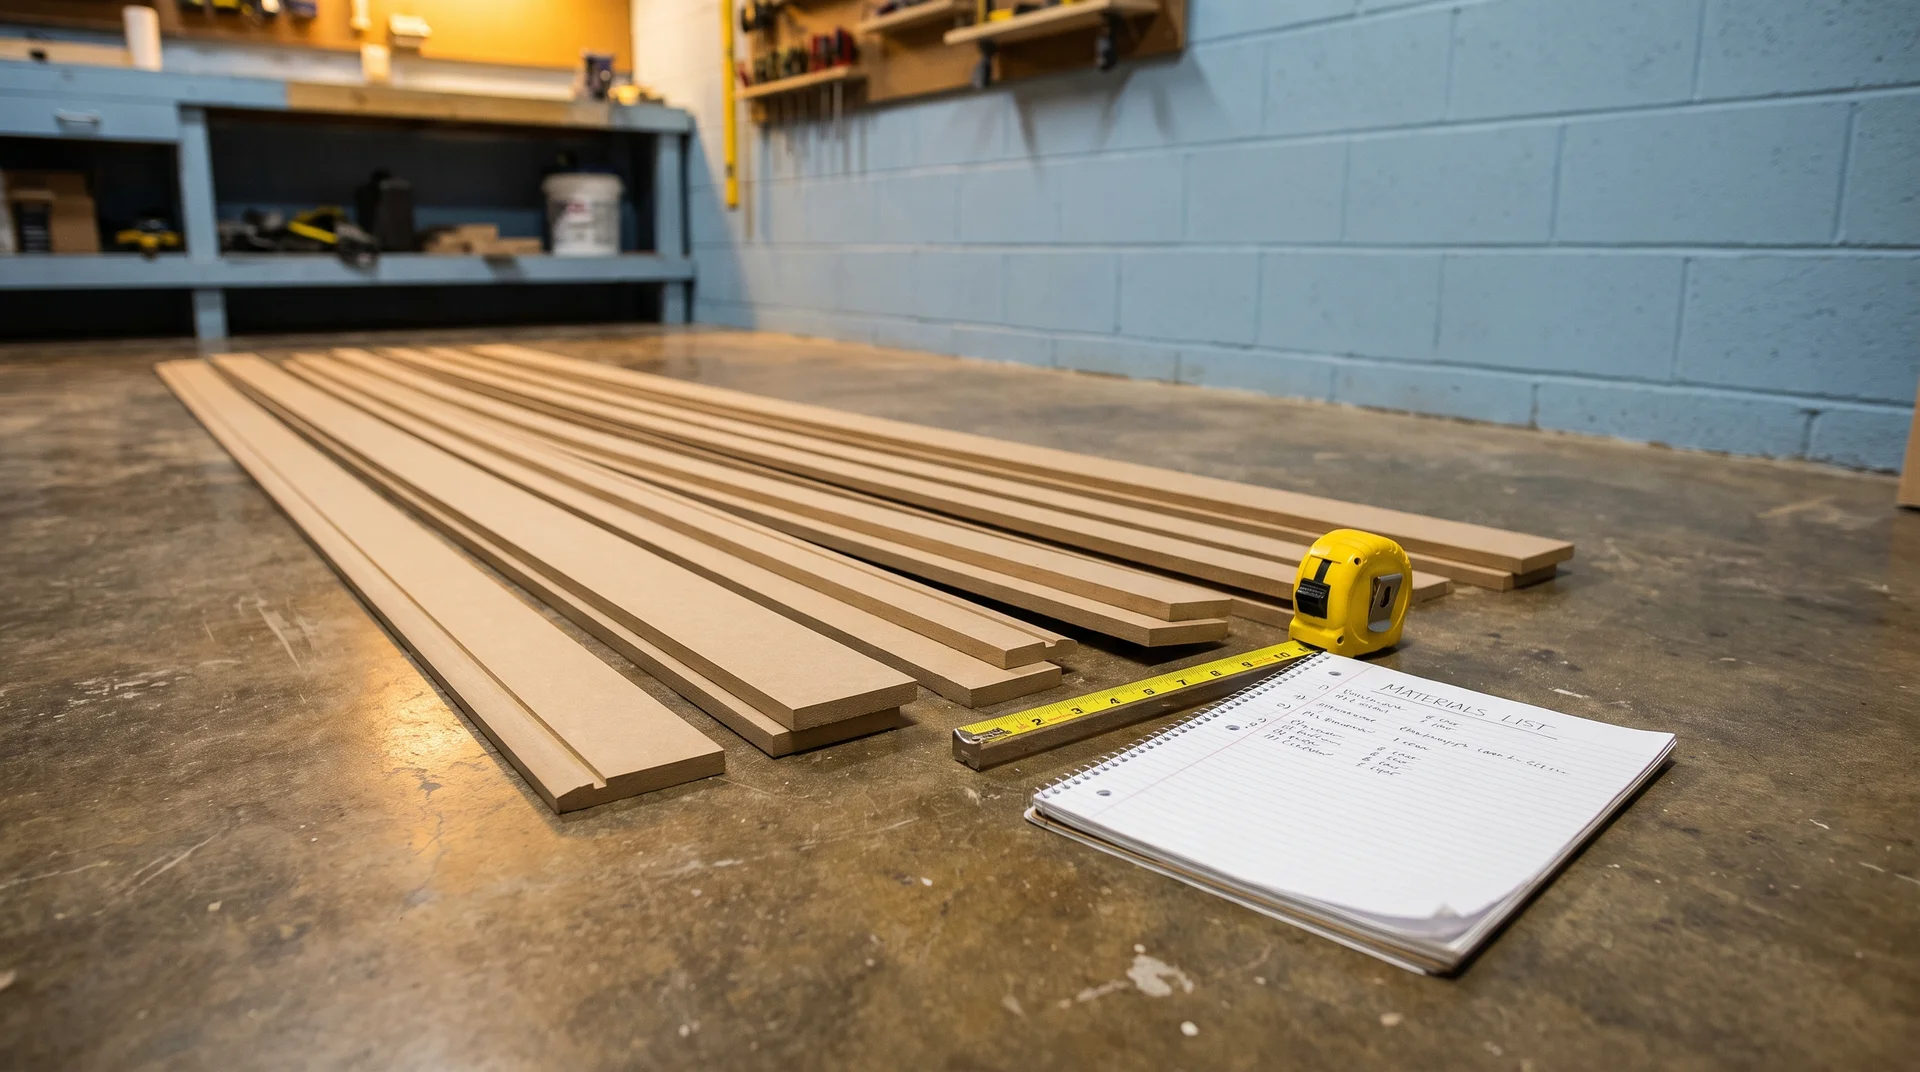
Take the total square footage of the wall, add a 20% waste factor, and round up to the nearest whole number of 10-foot MDF lengths.
Running short mid-installation costs you an afternoon. MDF comes off the shelf straight, stays that way during installation, and costs less per linear foot than solid wood.
Step 3: Locate and Mark Your Studs
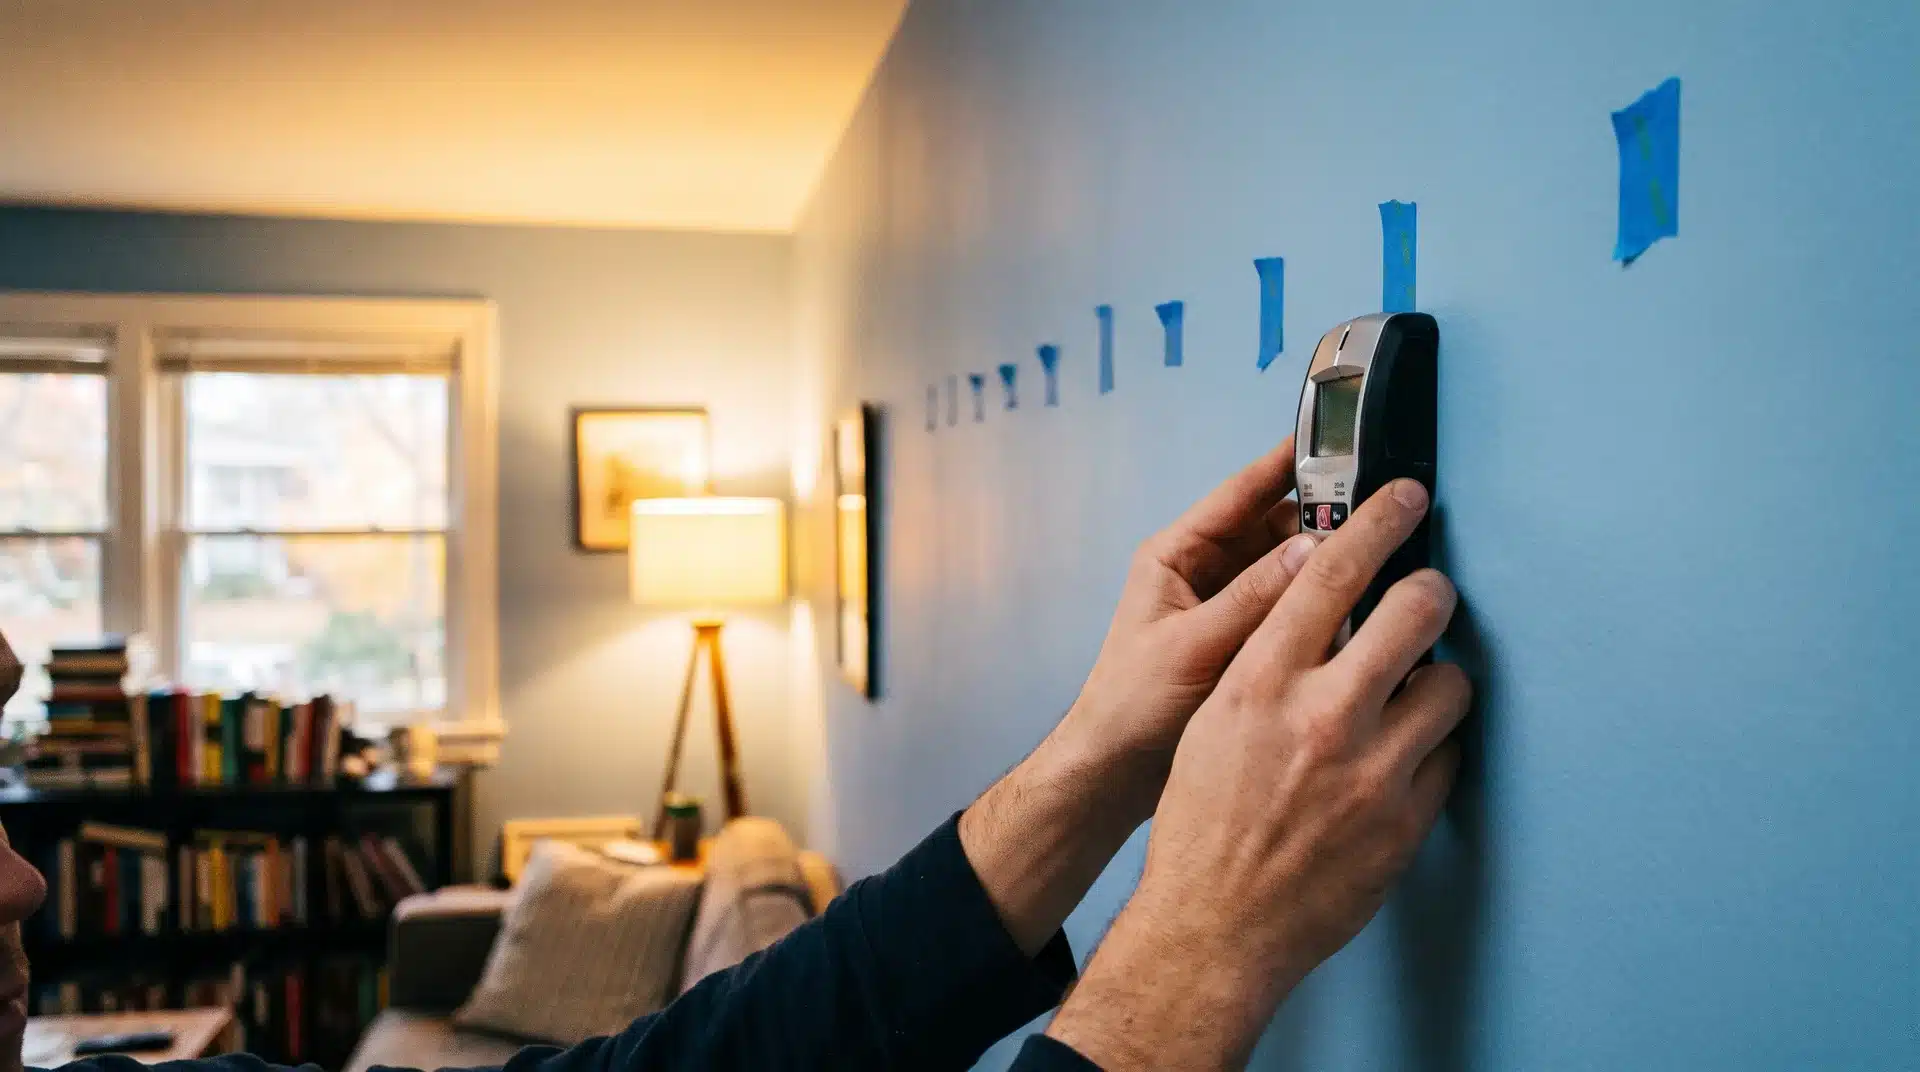
Run the stud finder across the full wall before marking a single trim position. Stud locations determine where you can fasten securely and shape where trim sections begin and end.
Mark every stud with painter’s tape at the top. For sections where no stud is reachable, CA glue with accelerator holds MDF panels firmly without a nail.
Step 4: Set Up Your Chop Saw and Start Cutting

Elevate the saw before making a single cut. Kneeling for dozens of cuts adds real fatigue to a project that already demands a lot.
Use the angle finder to verify wall corners before setting the miter. Drywall corners often run closer to 46 degrees than 45. Mark cuts directly on the board rather than transferring tape measurements.
Step 5: Install the Outer Frame First
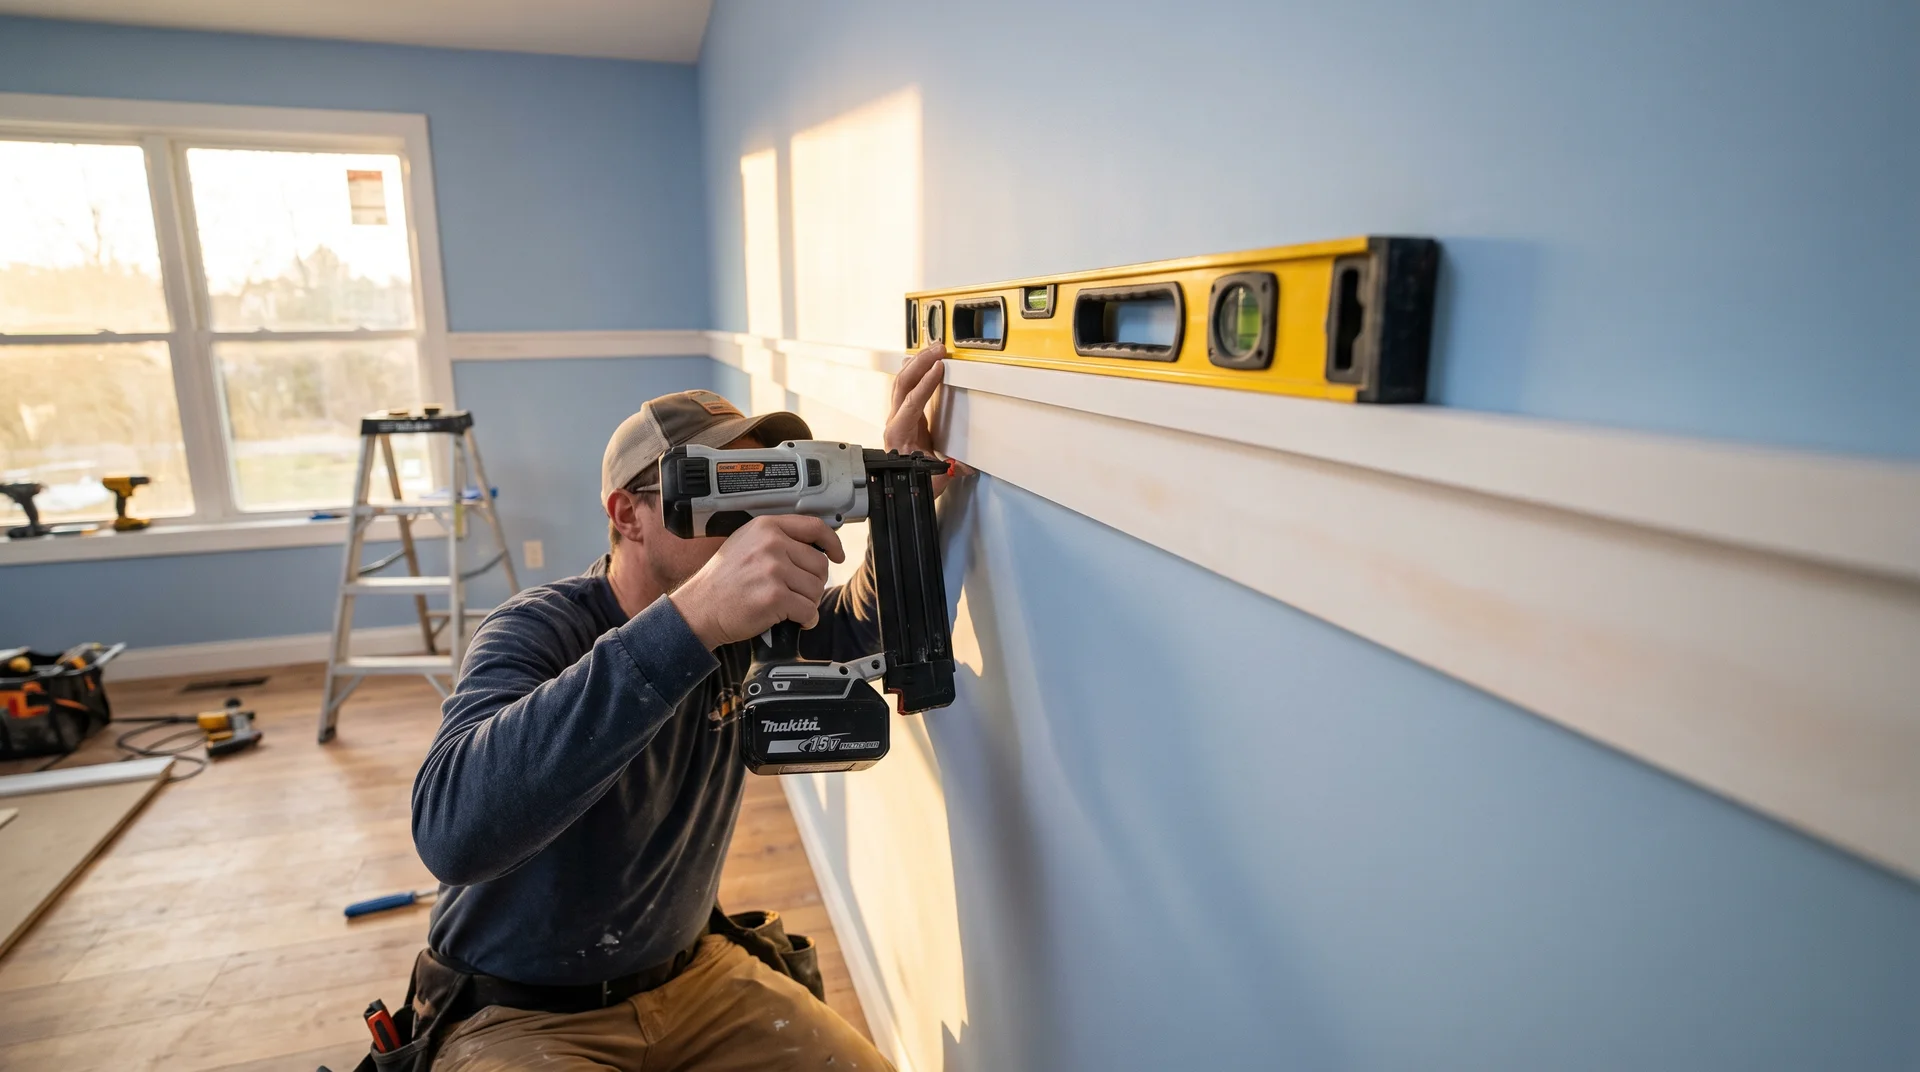
The outer frame defines the entire picture-frame accent wall. Any error in the perimeter carries through the whole wall.
Start with the horizontal top and bottom lengths, then add the vertical sides. Check each board for level.
For spans longer than 10 feet, cut 45-degree angles and overlap them. The angled splice disappears under paint. A butt splice never does.
Step 6: Install the Interior Trim Sections
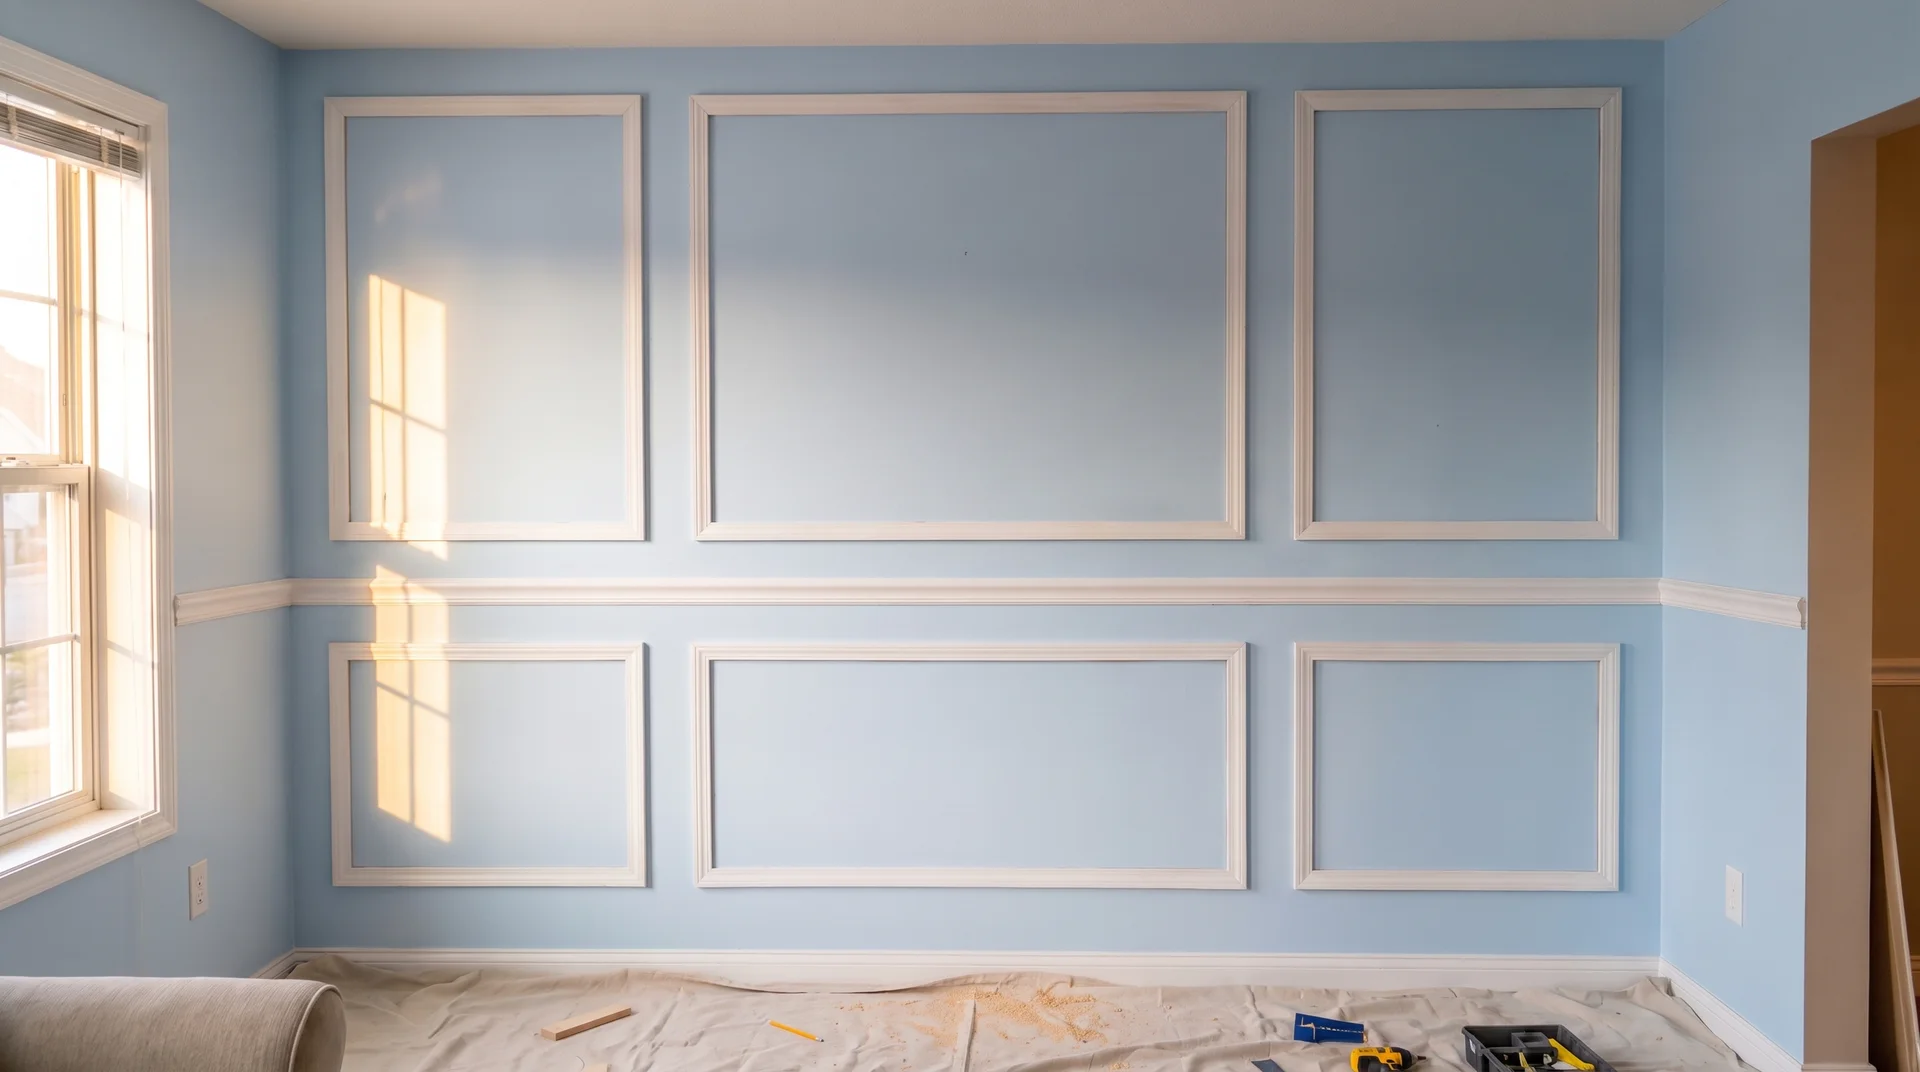
With the outer perimeter secured, cut the interior horizontal and vertical panels that create the framed sections.
Work from the center outward to keep spacing symmetrical on both sides.
Factory drywall corners are slightly rounded, so boards butting into corners need a small back-edge adjustment with a utility knife before they sit flush against the wall.
Step 7: Caulk All Edges of Your DIY Trim Accent Wall
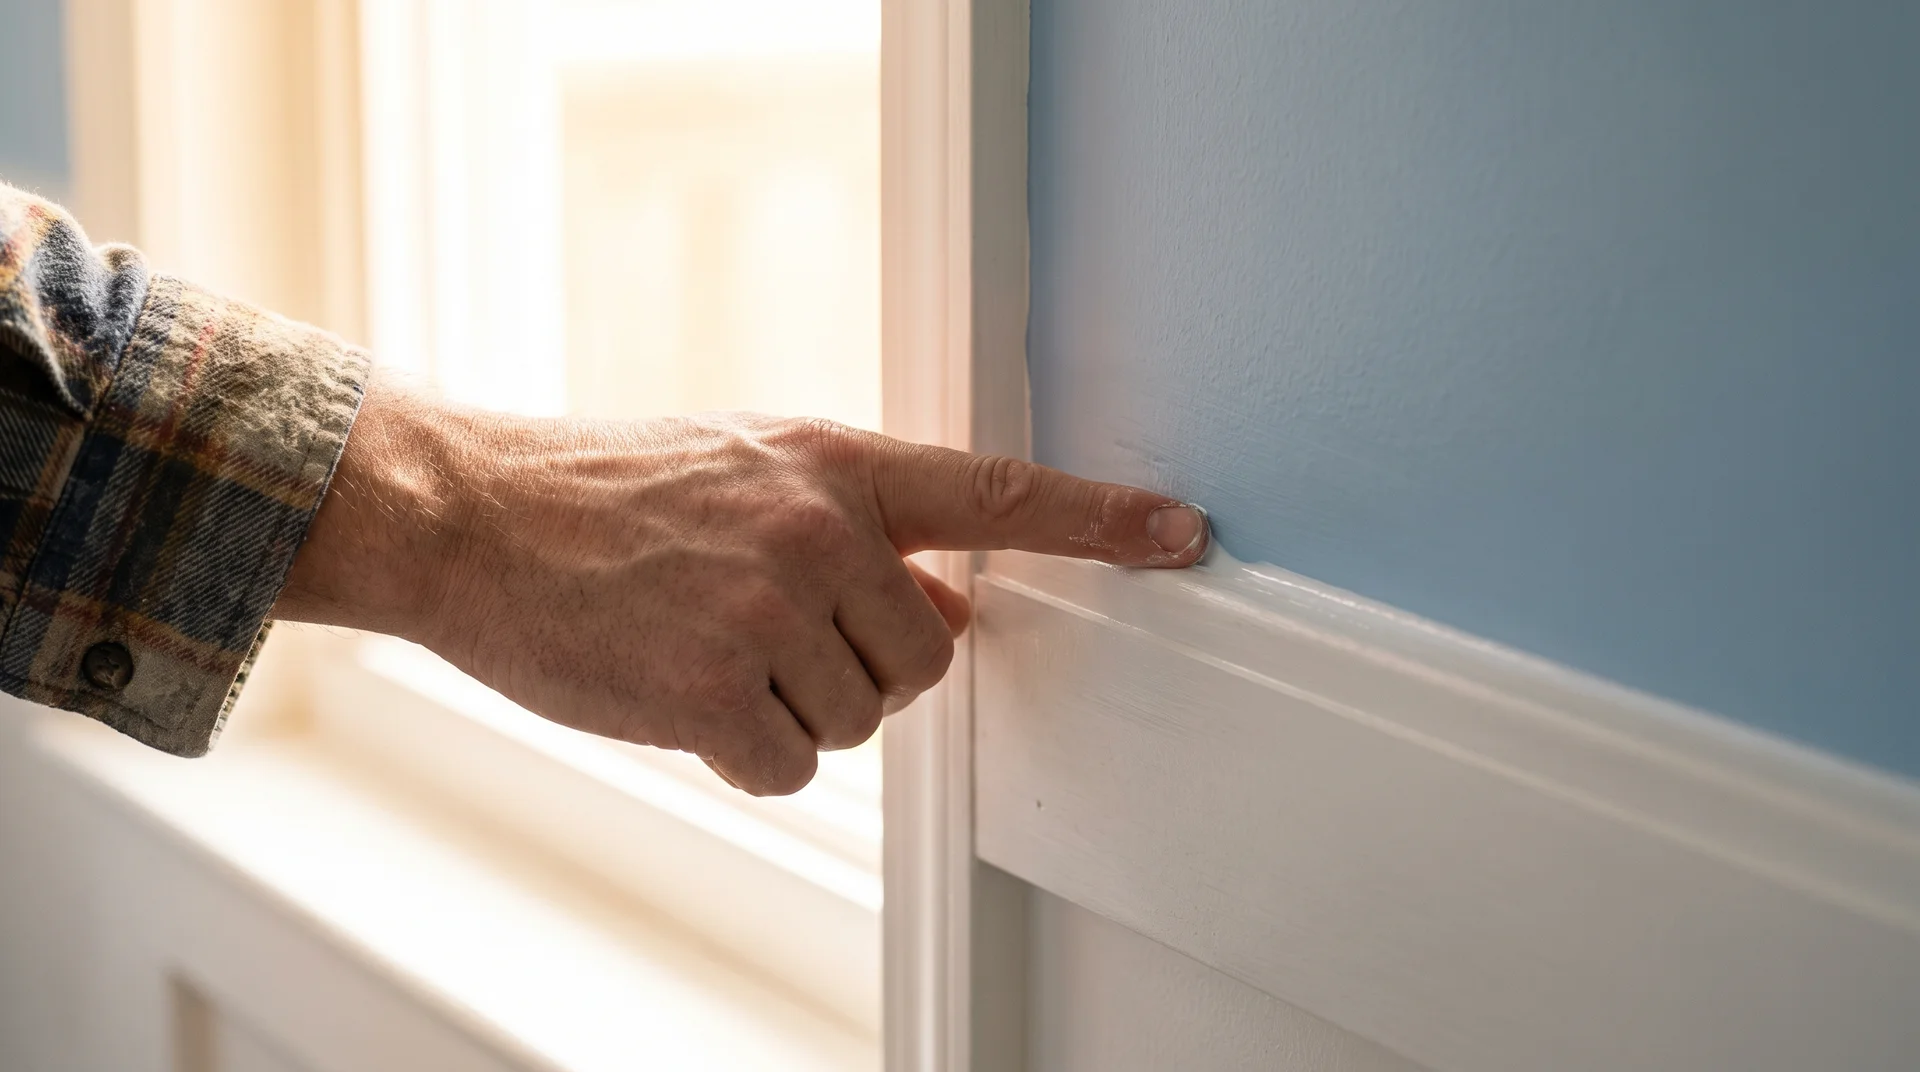
Every gap between MDF and drywall will show through paint. Apply a thin bead of paintable caulk along every edge where trim meets drywall, and smooth it with a damp finger before it skins over.
Caulk corners where boards meet, and anywhere trim meets the adjacent wall. The difference is visible from across the room.
Step 8: Fill Nail Holes and Sand the Surface Smooth
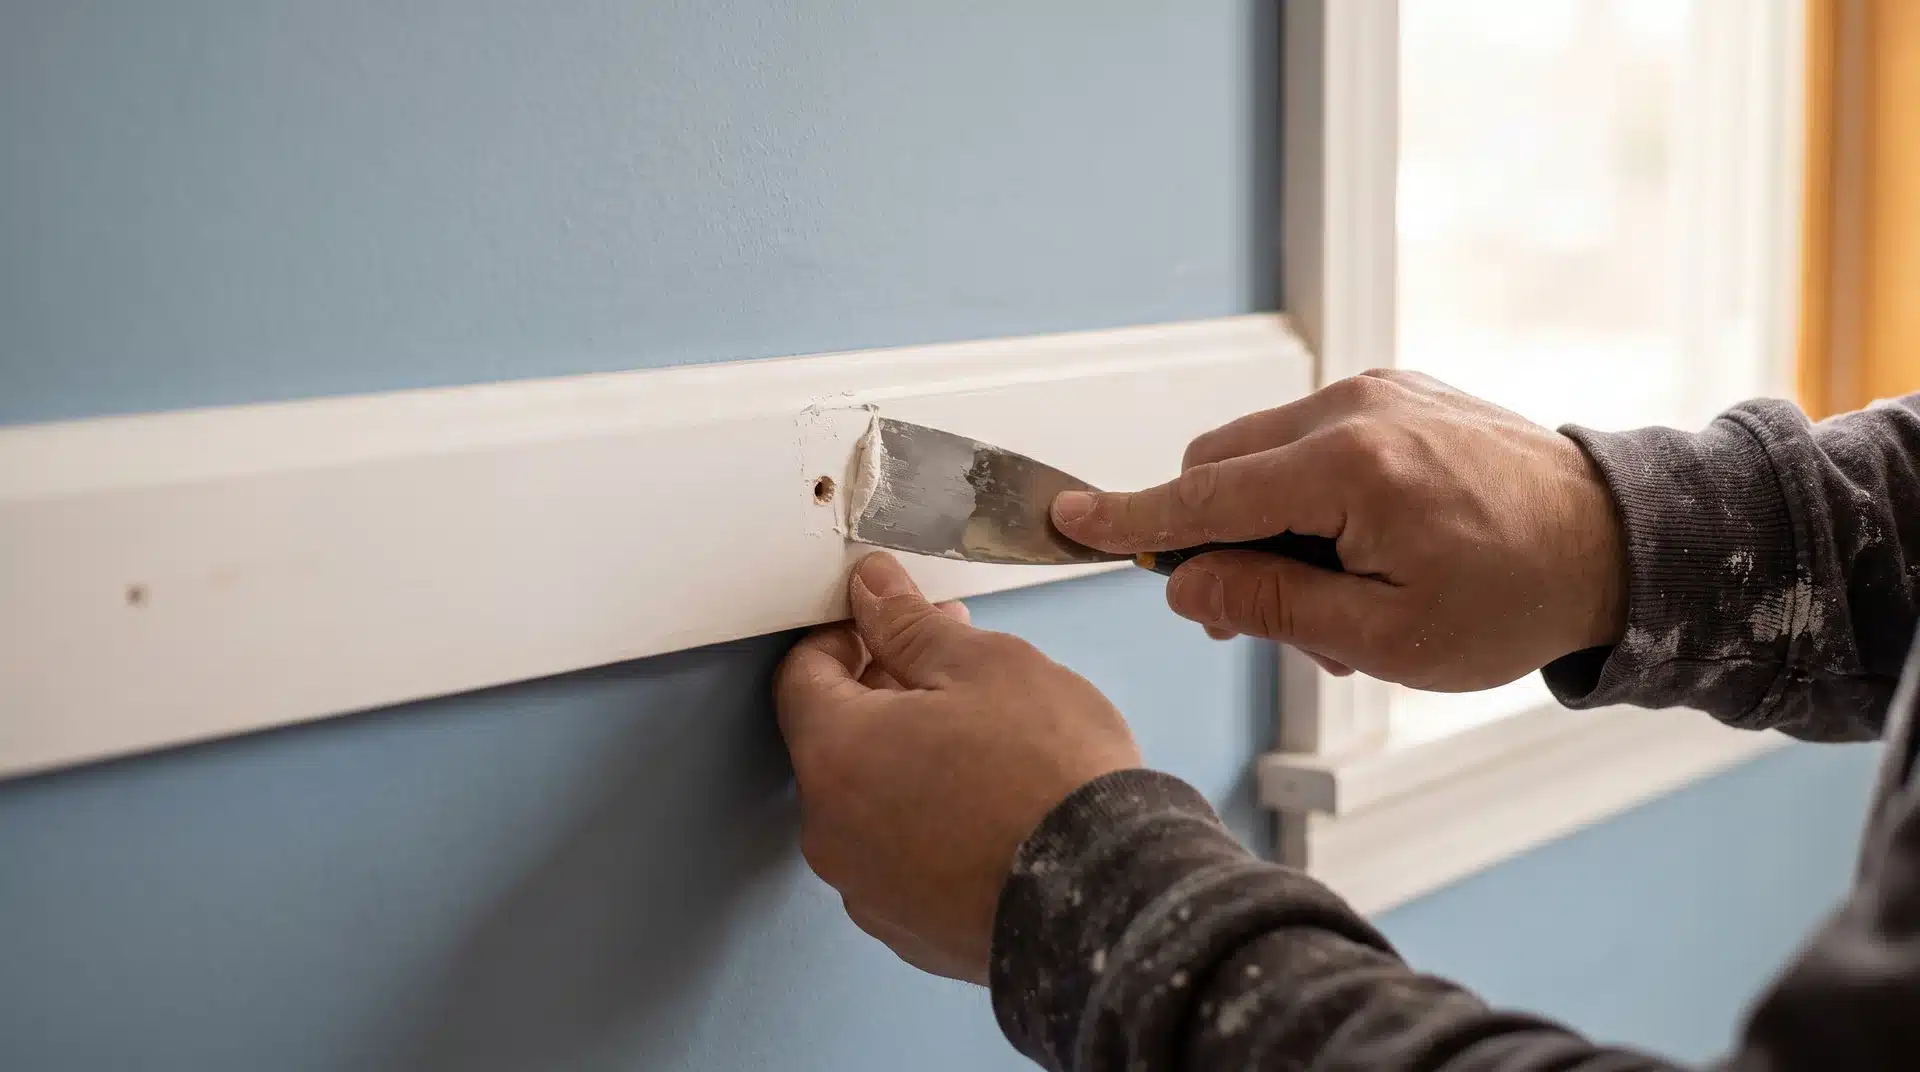
Apply DAP Patch and Paint spackle to every nail hole, splice joint, and trim intersection. It dries in 30 minutes, does not shrink, is sandable, and needs no primer before paint.
Once dry, sand every filled area with 320-grit paper until no seam is detectable by touch. Wipe all dust off the wall before taping for paint.
Step 9: Tape Off the Space and Paint Your Modern Accent Wall
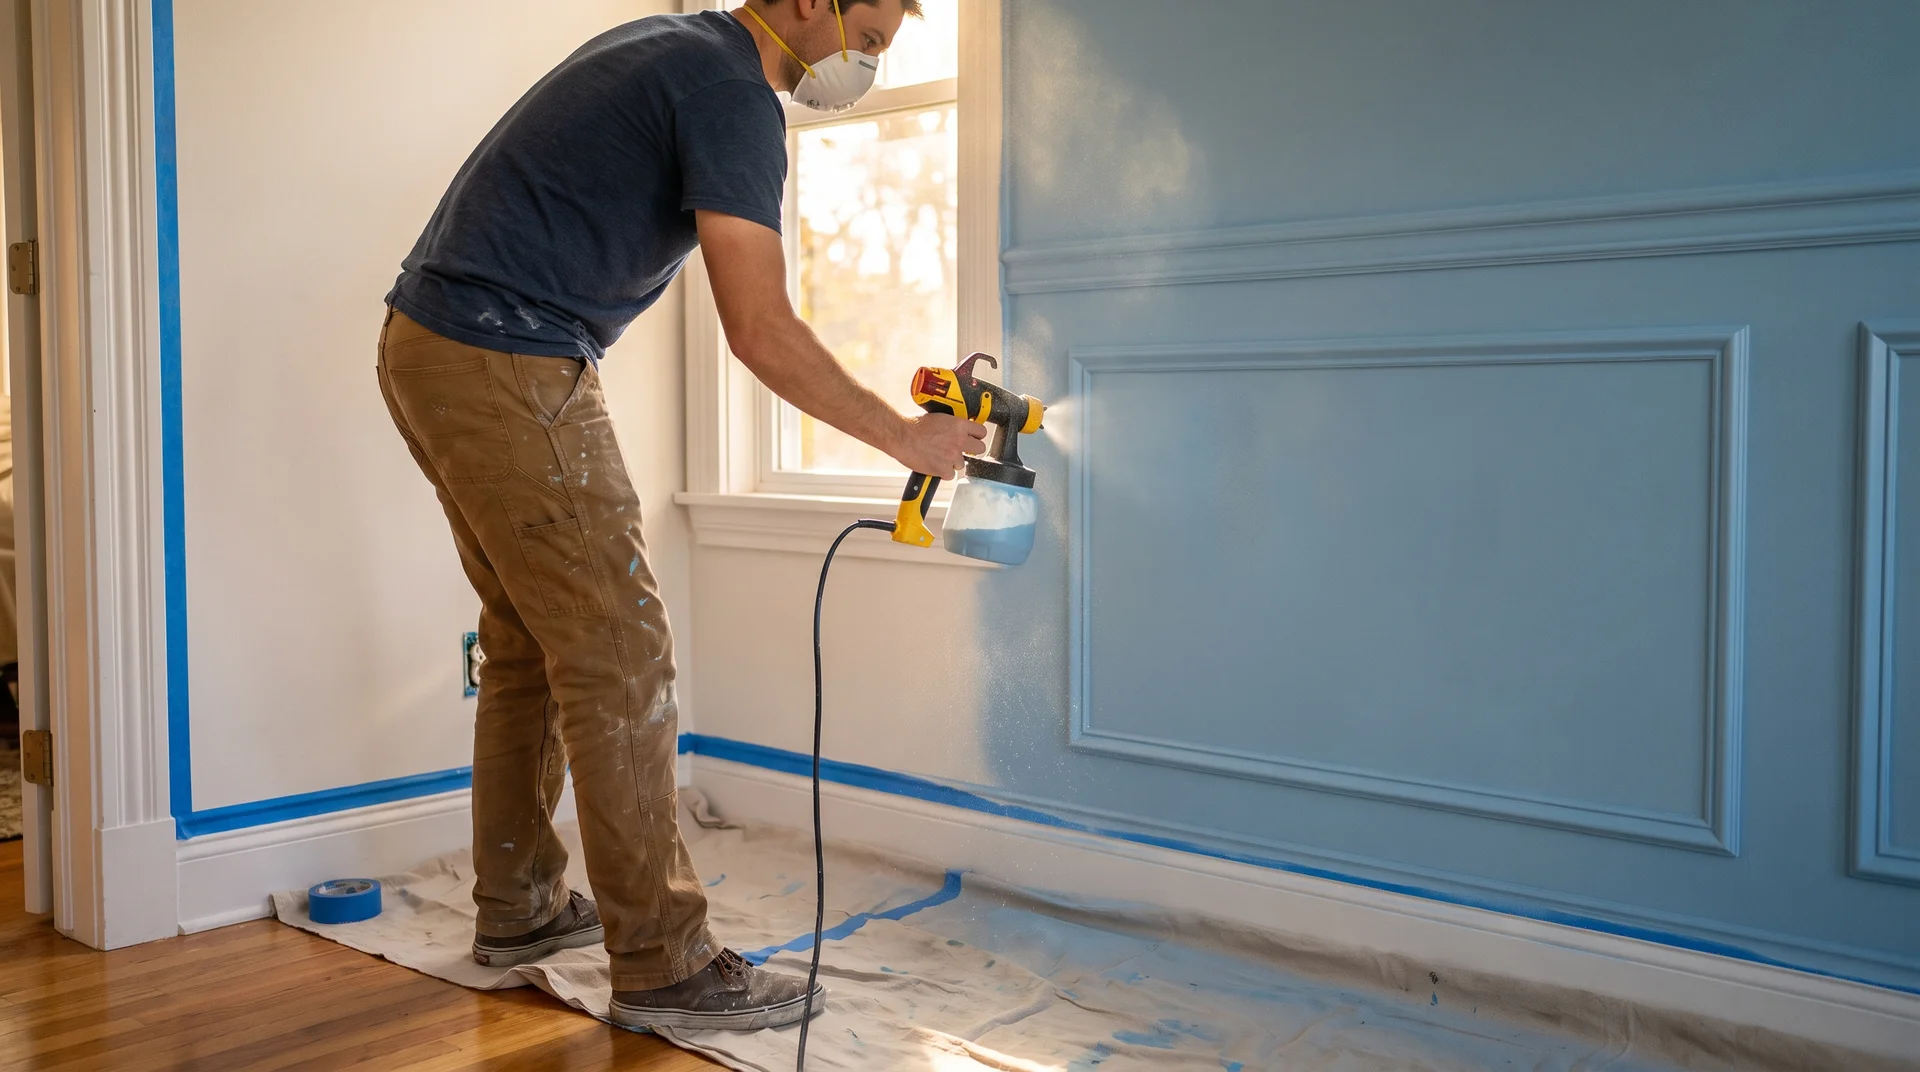
Flat-finish paint adds depth that eggshell and satin cannot match. Benjamin Moore Regal Select in flat covers in two passes.
Spray with the Wagner Flexio 3000, thinned 5% to 10% with water, for full coverage in about 20 minutes per coat.
Remove painter’s tape while the second coat is slightly damp, not fully dry.
Step 10: Remove Tape and Reinstall Outlet Covers
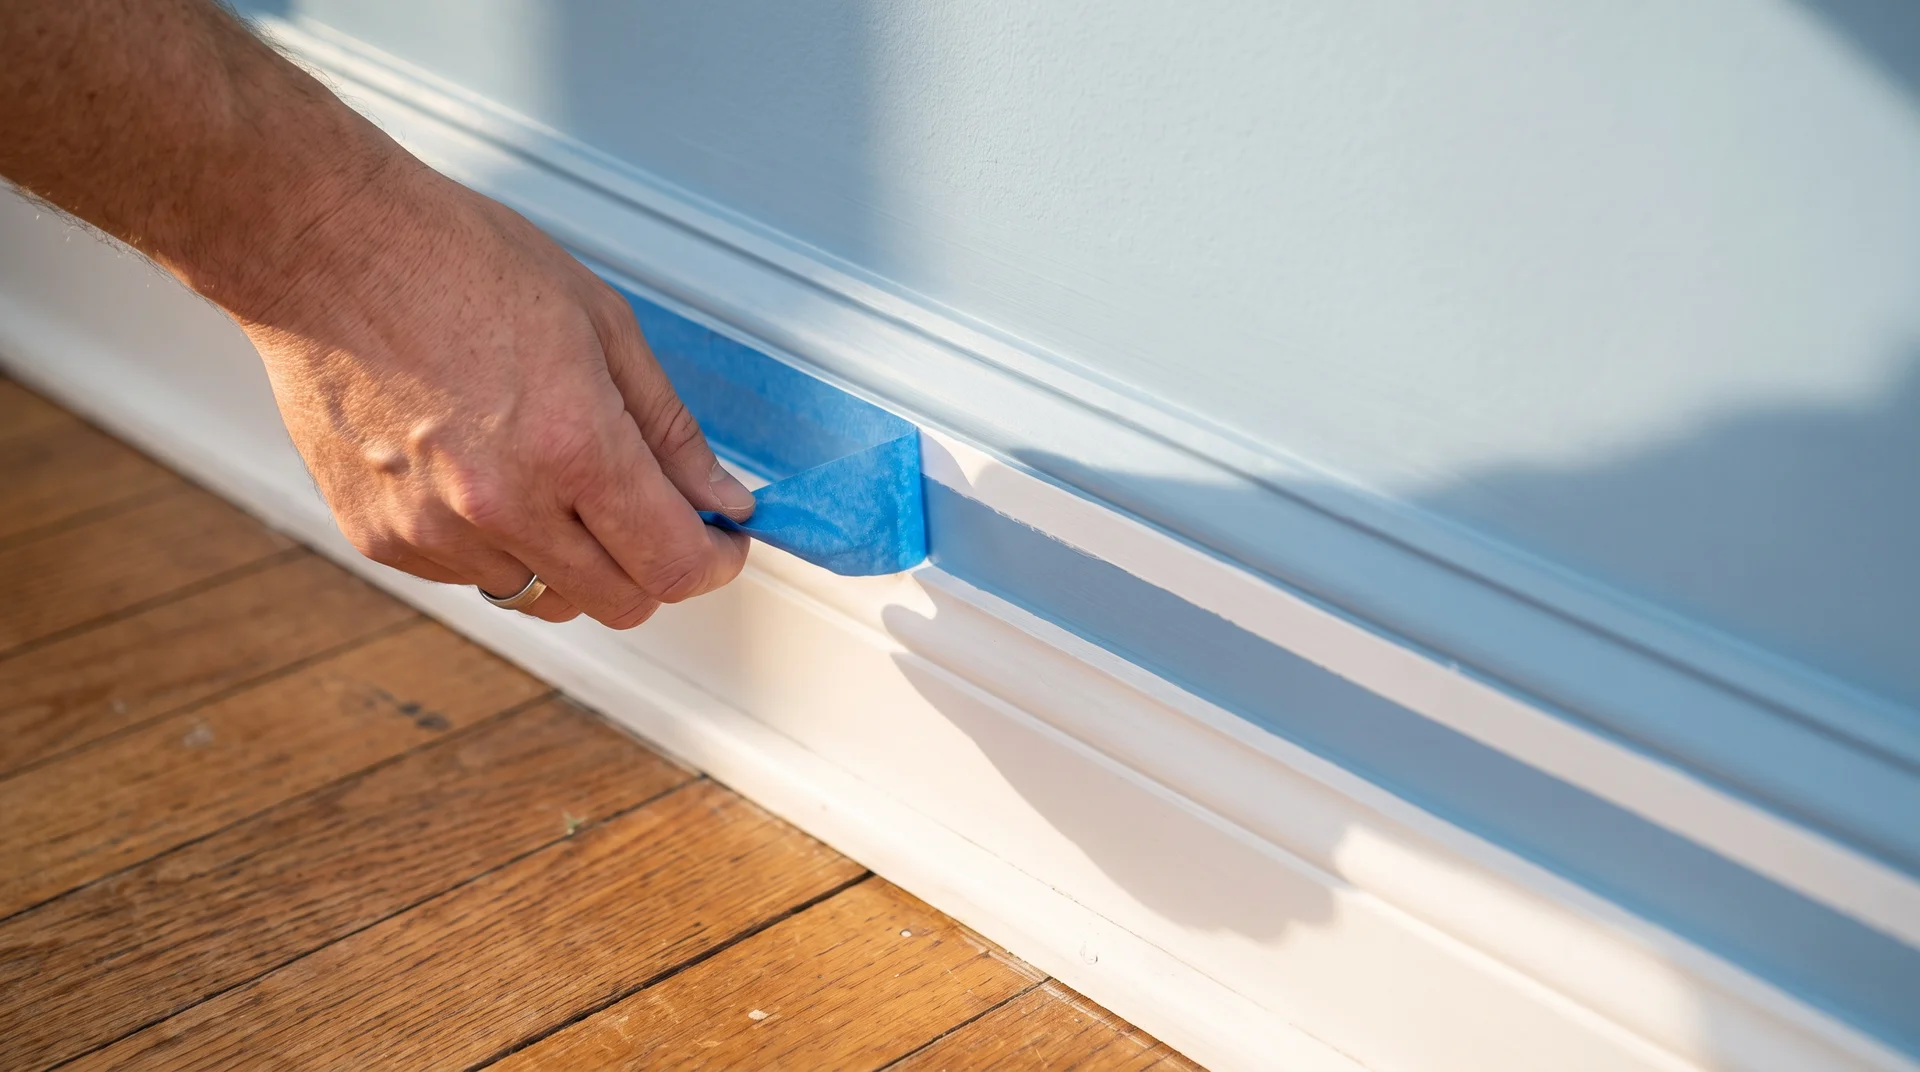
Pull tape back at a 45-degree angle rather than straight away from the wall. Work the full run slowly rather than pulling in one fast strip.
Reinstall outlet covers once the paint is dry. A painted-over cover is the first thing any trained eye notices.
Step back from the doorway. If the proportions landed, you will know.
Tips to Get a Professional-Looking Accent Wall
Small details often make the biggest difference when building an MDF accent wall. These simple habits help avoid visible mistakes and give the finished design a cleaner, more polished look.
- Buy 10 to 15% extra MDF for mistakes: Extra material covers imperfect cuts, split edges, and measurement errors. It also saves you from stopping the project for an unexpected store run.
- Label every cut piece before installation: Mark each MDF piece on the back as soon as it is cut. Similar-looking boards can easily get mixed up and cause unnecessary rework.
- Apply and smooth caulk right away: Work in one direction and smooth the bead immediately. Once caulk starts drying, going back over it can create ridges that show through paint.
- Allow paint coats to dry before removing tape: Removing painter’s tape too early can pull up wet paint and leave uneven edges. Let the first coat fully cure for cleaner lines.
Conclusion
A DIY accent wall with trim and paint is the kind of project that permanently changes how a room reads, not temporarily.
The wall you are looking at right now is one day of work away from looking like something a designer charged four figures to produce.
The materials are affordable, the tools are accessible, and the process outlined here removes every guessing point that turns a motivated homeowner into a frustrated one halfway through.
Pick the wall. Buy the trim. Cut the angles.
The transformation that follows is not subtle, and the next person who walks into that room will ask who you hired. Tell them you did it yourself, because you did.
Frequently Asked Questions
What is the most trending color for a DIY accent wall?
Deep olive green, warm beige, charcoal gray, muted terracotta, and dark navy are the top accent wall colors, pairing well with natural wood furniture and warm lighting throughout US homes.
Can a DIY Accent Wall Make a Small Room Look Bigger?
Yes. Vertical trim lines draw the eye upward and add perceived ceiling height. Lighter colors on the accent wall combined with balanced furniture placement improve the overall sense of space considerably.
How Much Does a DIY Accent Wall Cost Compared to Hiring a Contractor?
A DIY trim accent wall typically runs $150 to $400 in materials. Professional installation on the same wall costs $2,000 to $3,500, making the DIY route a significant saving for most homeowners.



