

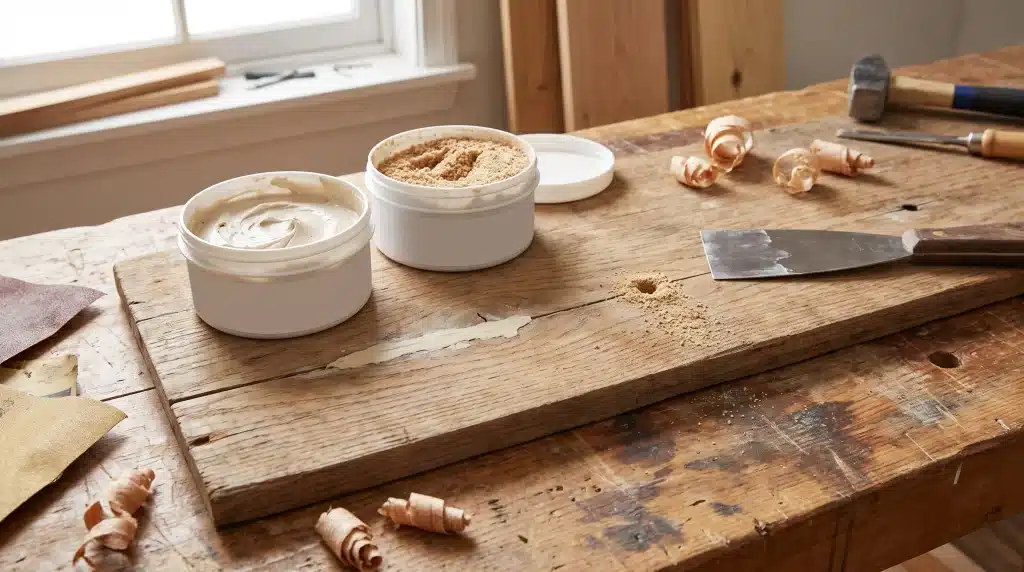


Small wood repairs can be surprisingly tricky. I have seen many projects where a simple crack, dent, or scratch turned into a noticeable patch because the wrong repair material was used.
Wood putty and wood filler often look almost identical at first glance. However, each one is designed for a different type of repair.
In my experience, wood filler works best for deeper repairs on unfinished wood that will be sanded, painted, or stained, while wood putty is better suited for small touch-ups on already finished surfaces.
Choosing between wood putty vs wood filler comes down to understanding the surface you are repairing, the size of the damage, and the finish you want to achieve.
You can merge both sections under a broader H2 that introduces the two materials before comparing their differences.
What Is Wood Filler?
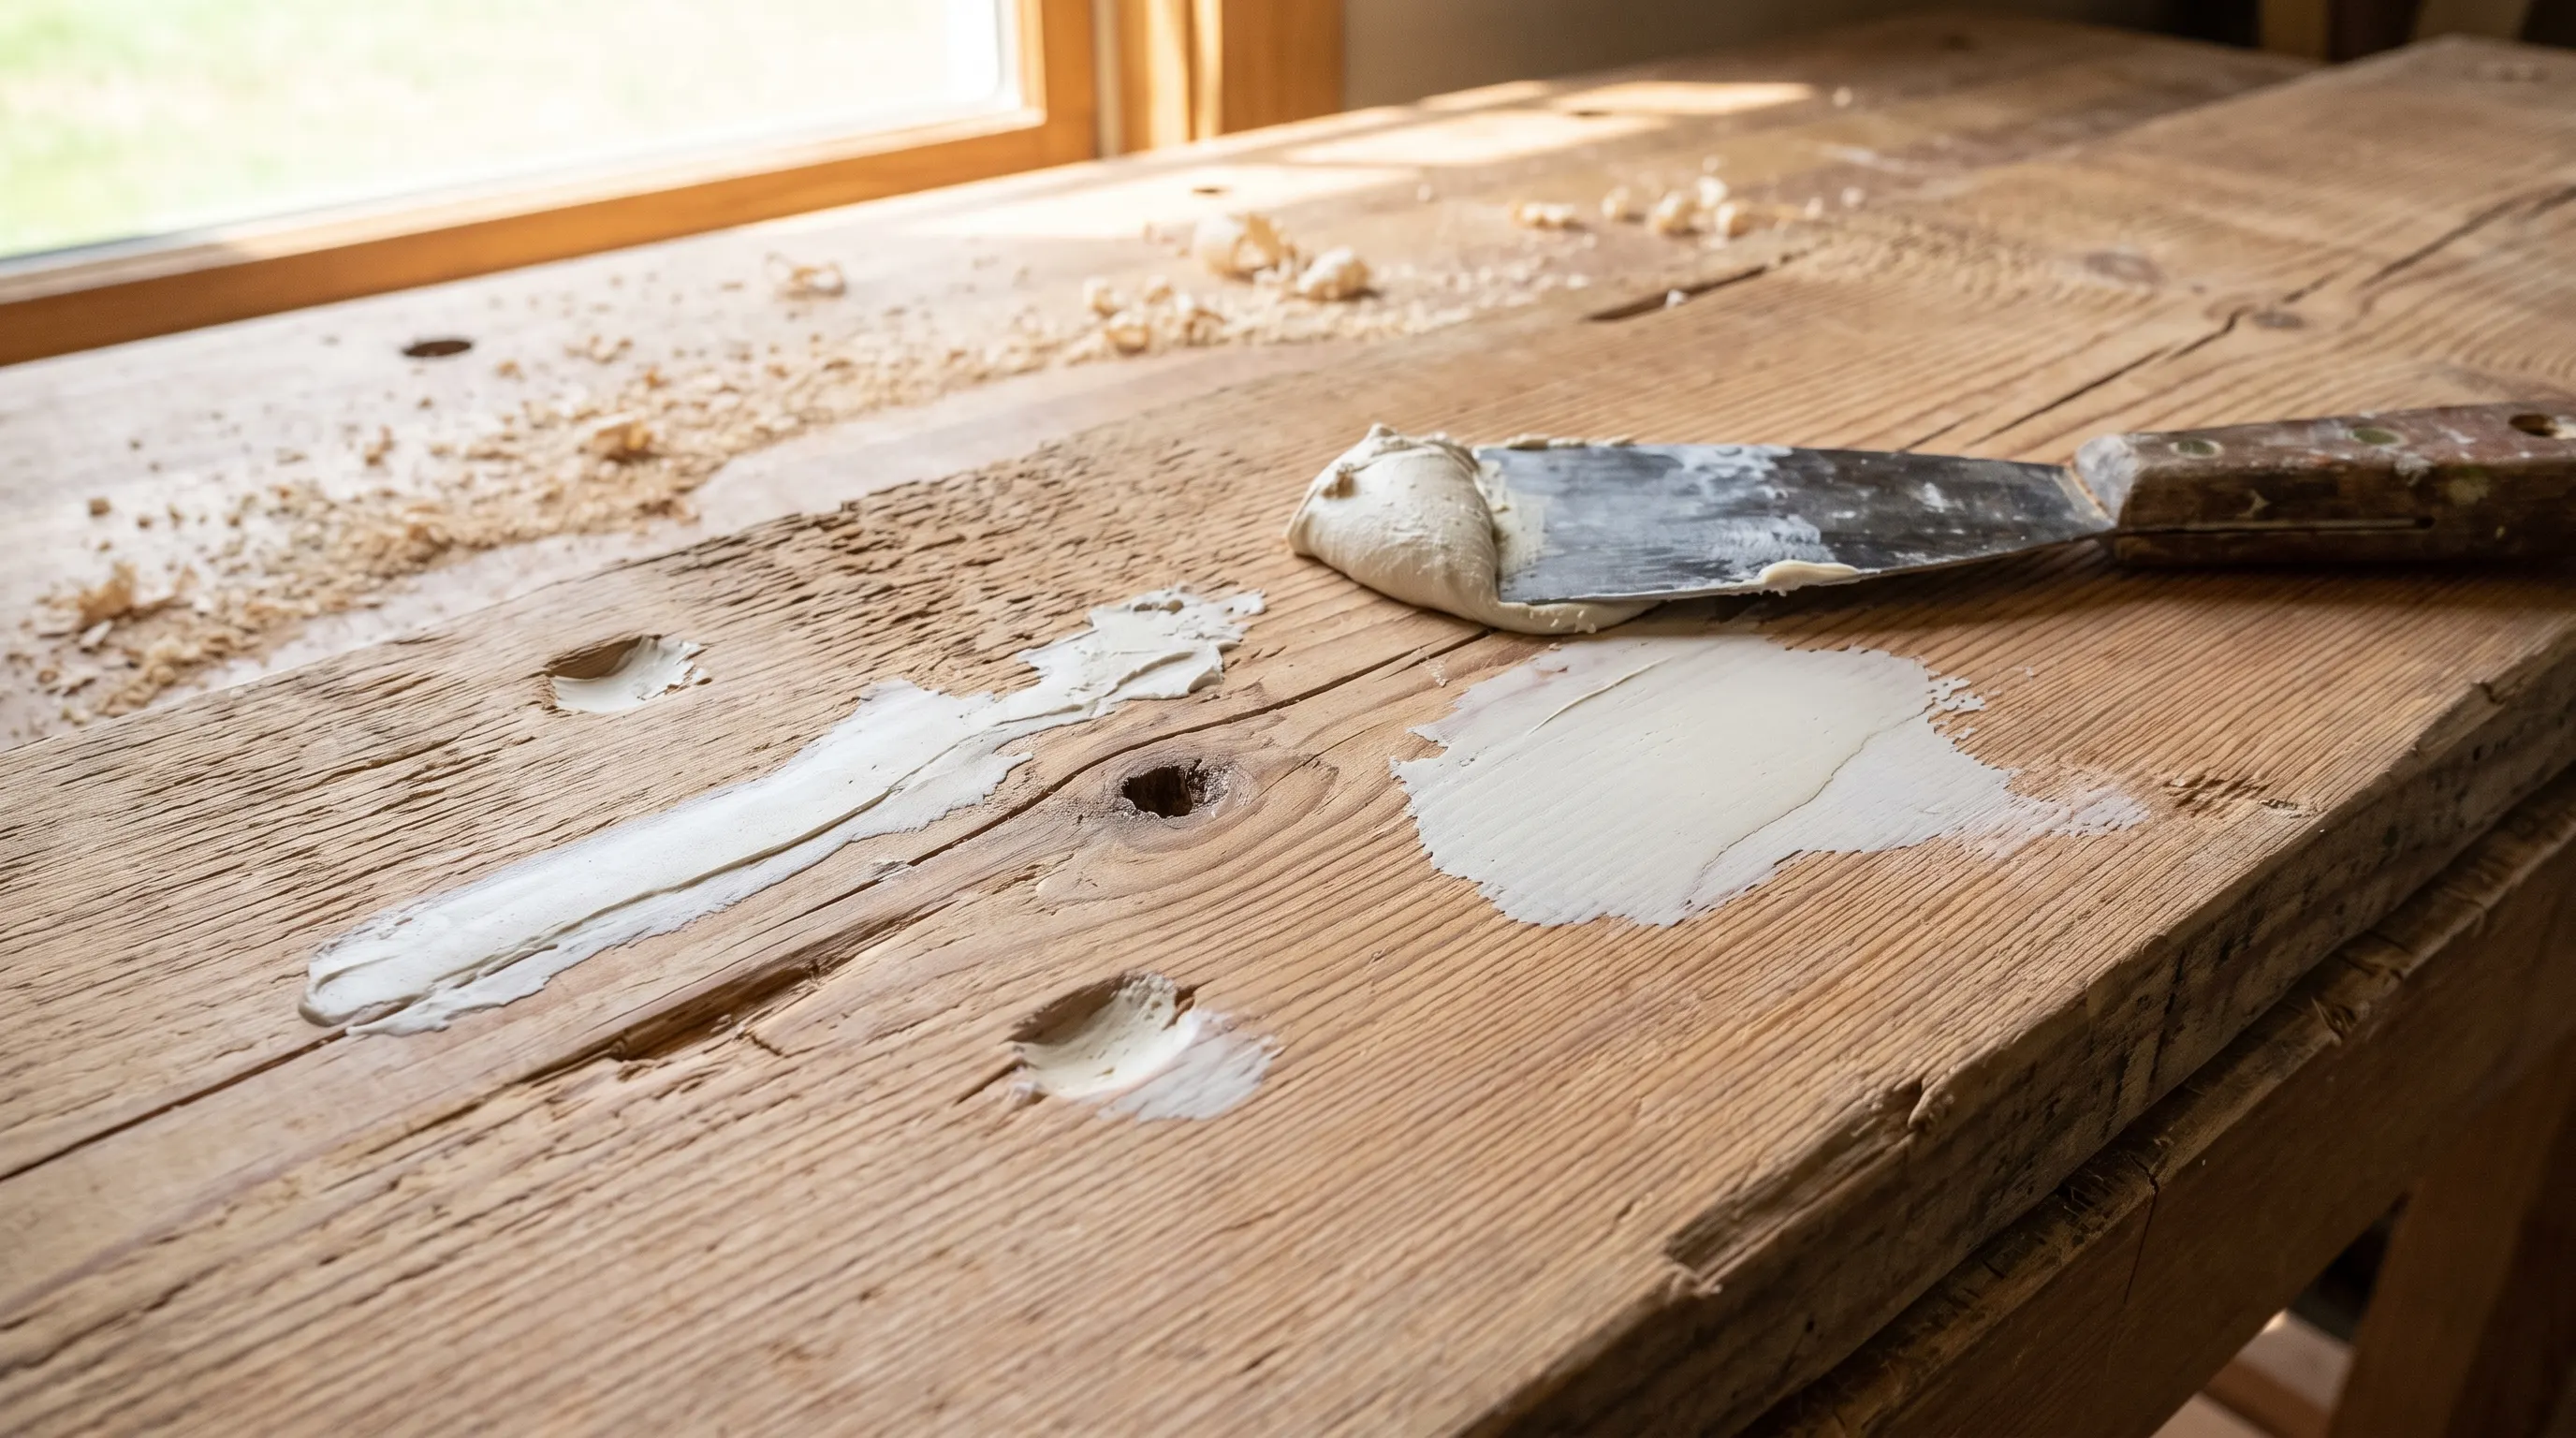
Wood filler is a repair compound used to rebuild damaged areas of wood. It is made with wood fibers or synthetic materials mixed with binders to create a material that hardens as it dries.
It works well for filling deeper holes, cracks, dents, and missing sections because it becomes a solid surface that can be sanded smooth.
Since filler bonds with the wood rather than sitting only on top, woodworkers often use it during the repair and preparation stage before painting or finishing.
| Pros | Cons |
|---|---|
| Creates a hard surface that can be sanded, shaped, and painted. | Can crack if used on wood that expands and contracts frequently. |
| Works well for filling deep holes, cracks, gaps, and damaged wood areas. | Usually requires sanding and surface preparation after drying. |
| Bonds with the wood surface for stronger repairs. | May not match the natural grain of stained wood. |
| Suitable for unfinished wood projects before painting or staining. | Some types dry quickly, leaving less working time. |
| Helps create a smooth surface for professional-looking finishes. | Not always ideal for repairs on already finished furniture. |
What Is Wood Putty?
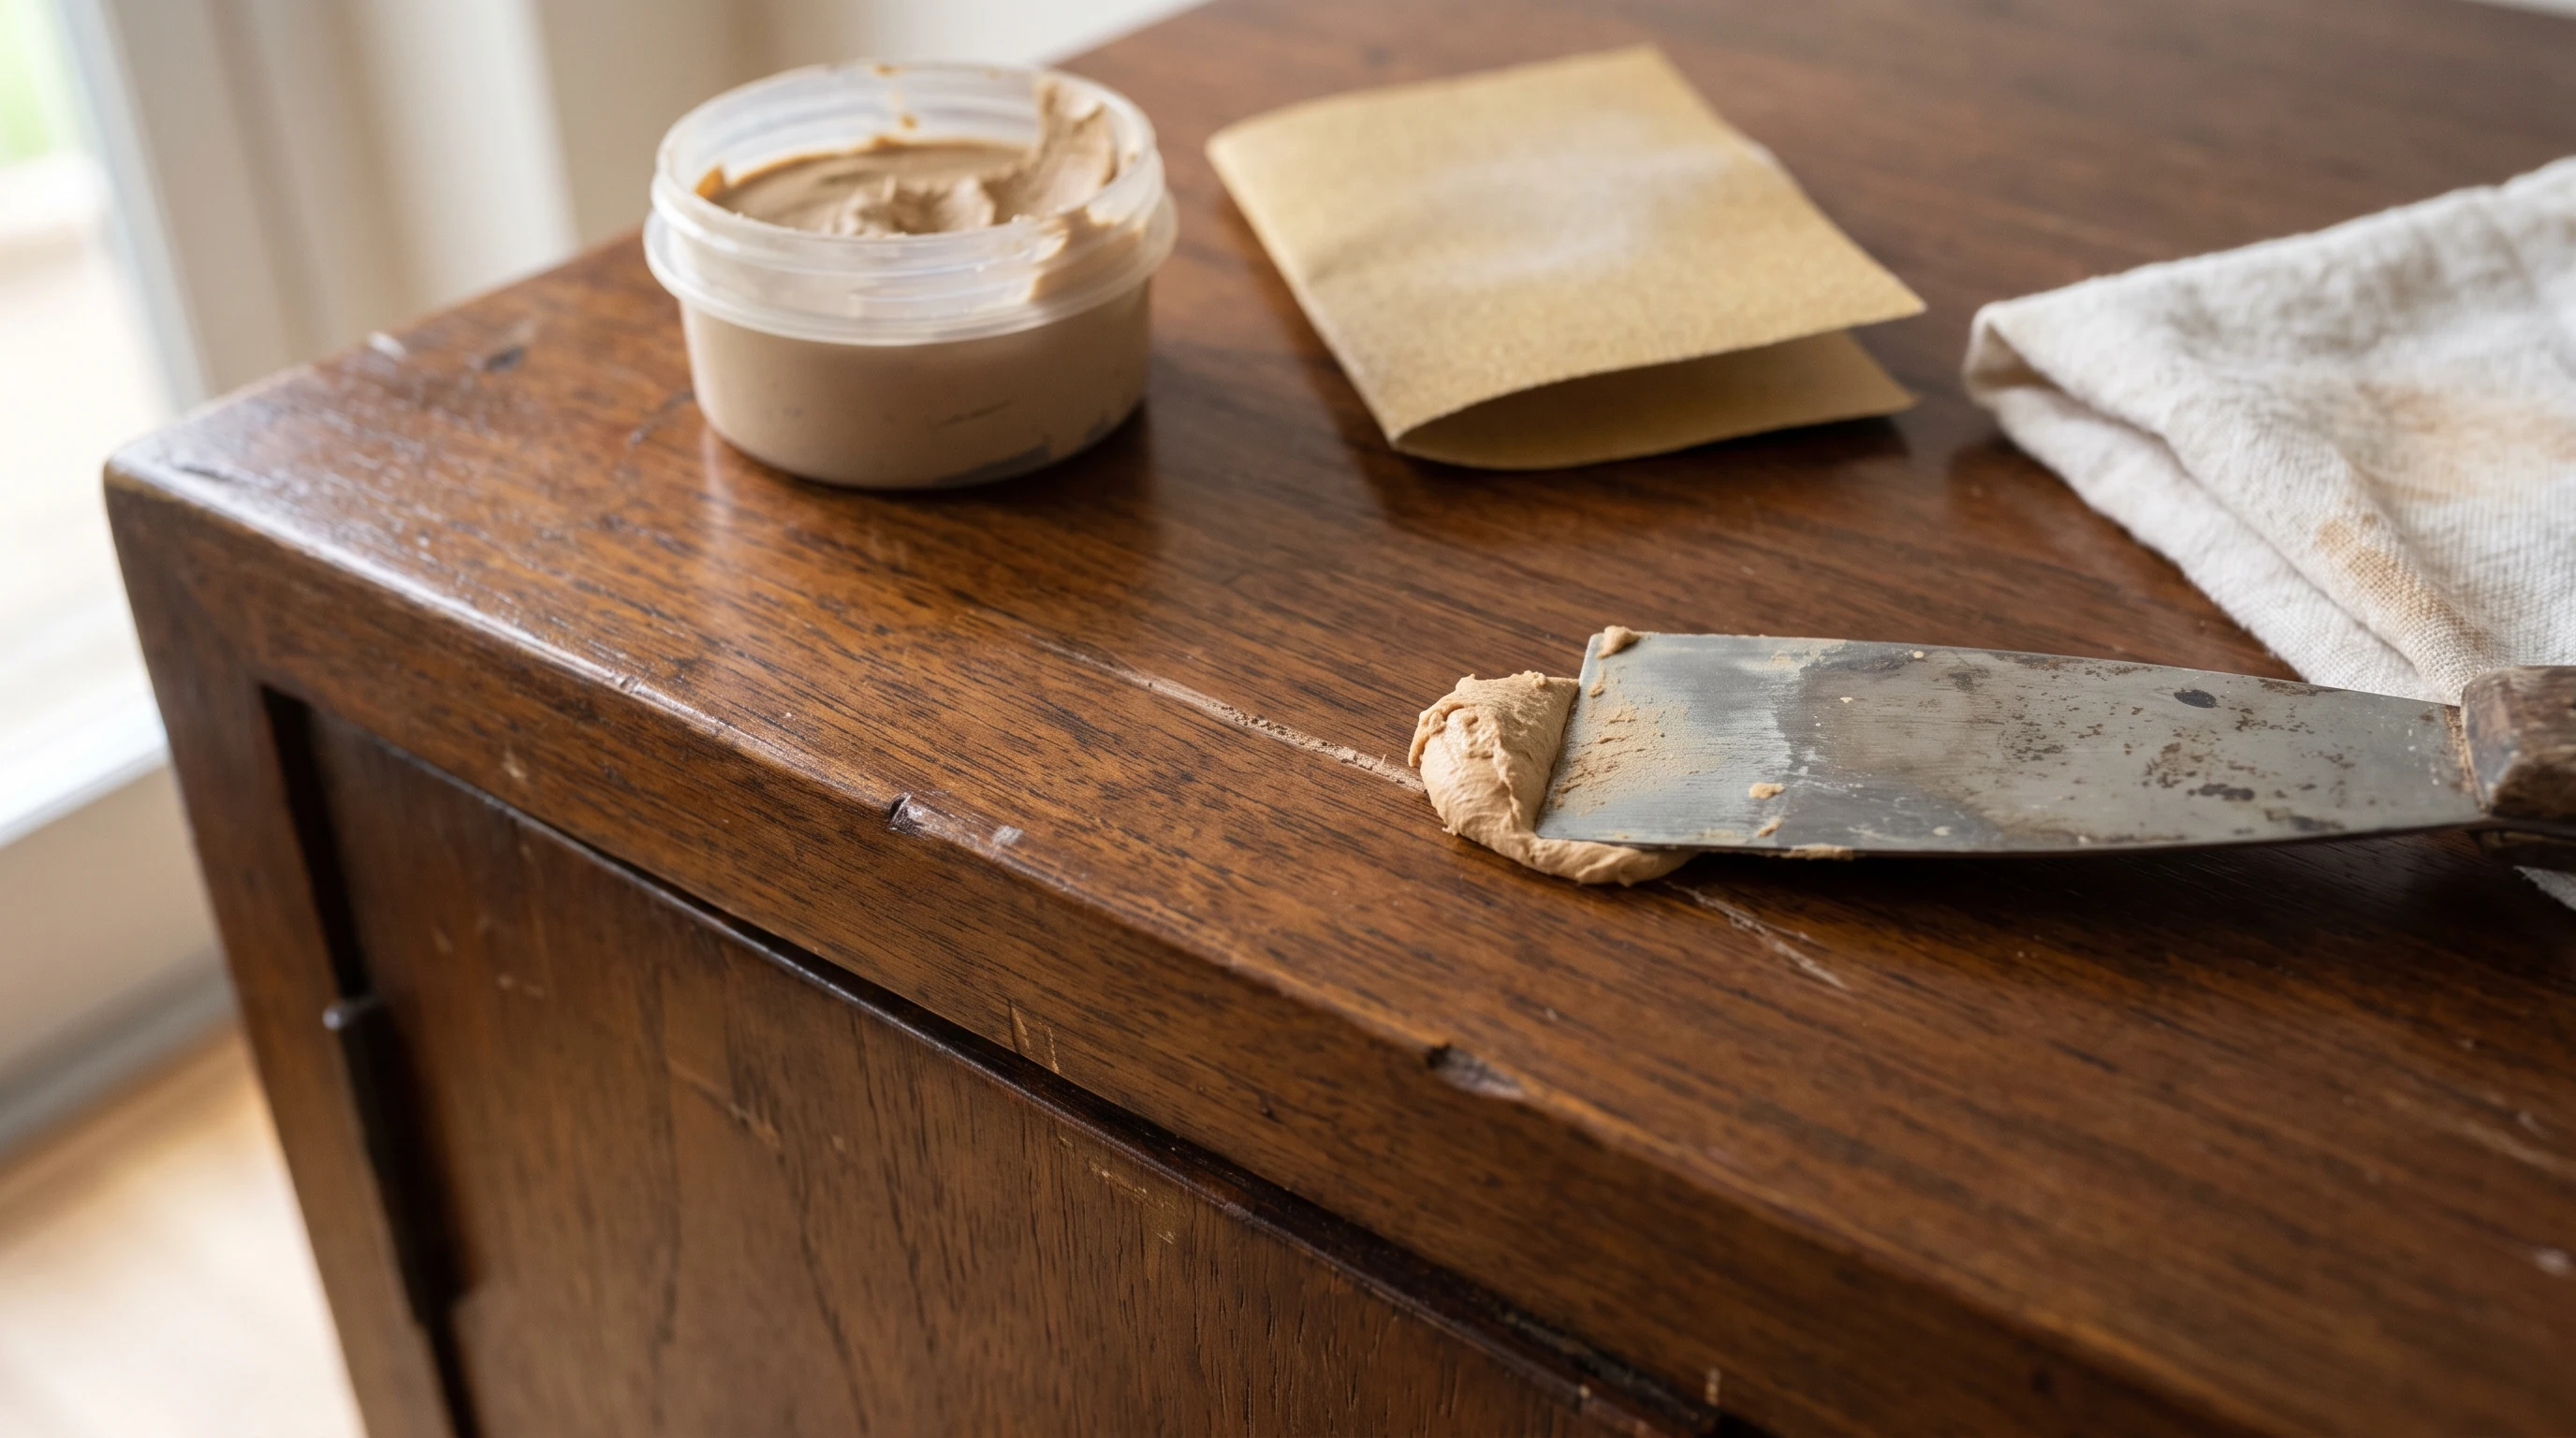
Wood putty is a softer, more flexible material designed for small surface imperfections on finished wood. It is typically made from oils, solvents, and synthetic compounds that keep it slightly pliable after application.
Unlike wood filler, putty is not meant for rebuilding damaged areas. It is commonly used after staining or finishing to hide small scratches, nail holes, or minor flaws.
Furniture restorers often keep multiple putty shades available to blend repairs into existing finishes without refinishing the entire piece.
| Pros | Cons |
|---|---|
| Stays flexible after drying, allowing it to handle slight wood movement. | Not suitable for repairing deep holes, large cracks, or missing wood sections. |
| Works well for small surface repairs like scratches, dents, and nail holes. | Takes longer to dry compared to some wood fillers. |
| Available in different colors to match finished wood surfaces. | Cannot usually be sanded as smoothly as wood filler. |
| Ideal for repairing finished furniture without removing the existing finish. | May not hold up well in areas exposed to heavy wear or moisture. |
| Helps restore the appearance of antique furniture and decorative pieces. | Often needs a matching shade for a less noticeable repair. |
When Should You Use Wood Putty or Wood Filler?
Choosing between wood putty and filler comes down to the type of wood and repair. Wood filler works well for serious damage or holes, while putty is best for smoothing surface imperfections and blending with finished wood.
Knowing which product to use makes furniture restoration or DIY woodworking projects easier and the results more seamless.
| Feature / Aspect | Wood Putty | Wood Filler |
|---|---|---|
| Best For | Small cosmetic repairs on finished wood surfaces | Larger repairs on unfinished wood where strength is important |
| Typical Uses | Hiding scratches, minor dents, small imperfections | Filling nail holes, screw holes, gaps, cracks, small splits |
| Finish Compatibility | Matches existing finish, available in different shades | Applied before painting or staining for smooth, even surfaces |
| Wood Type Consideration | Suitable for all finished wood | Dense hardwoods handle differently than softwoods for durability. |
| Strength / Durability | Cosmetic only, not structural | Strong, durable, can withstand wear |
| Application Examples | Furniture, cabinets, interior trim | Furniture projects, cabinet prep, trim installation |
How to Apply Wood Filler Correctly?
A smooth wood filler repair starts with proper preparation. Rushing the process can leave uneven patches or weak spots that show through the final finish. Follow these steps for a cleaner, longer-lasting repair.
1. Clean the Damaged Area: Remove dust, dirt, loose wood pieces, and debris before applying filler. A clean surface improves adhesion and helps create a smoother, more even repair.
2. Apply the Filler: Use a putty knife to press wood filler firmly into cracks or holes. Slightly overfill the area because some fillers shrink as they dry.
3. Let It Dry Completely: Allow the filler to dry fully before sanding. Drying time depends on the repair size, product type, and surrounding conditions, with larger areas needing more curing time.
4. Sand the Surface: Once hardened, sand the repaired area with fine-grit sandpaper until it becomes level with the surrounding wood. Create a smooth surface ready for finishing.
5. Finish the Wood: Remove sanding dust and apply paint, stain, or sealant based on the project. Choose a compatible finish to protect the repair and blend it with the wood.
How to Apply Wood Putty Correctly?
Putty rewards patience and a close color match. Here is the right way to do it.
1. Match the putty color: Choose a wood putty shade that closely matches the finish. Since putty is used for visible repairs on stained wood, a close color match helps the repaired area blend in instead of drawing attention.
2. Press putty into the repair: Apply the putty directly into the scratch, dent, or small surface flaw using a putty knife. For imperfections, you can use your finger to press the material into the damaged area. Make sure the putty fills the spot without leaving gaps.
3. Remove the excess: Once the repair is filled, wipe away extra putty from around the damaged area. Keep the patch level with the surrounding surface so it does not create a raised spot that stands out after drying.
4. Let it set: Allow the wood putty to dry and settle according to the product instructions. Avoid touching or disturbing the repair while it sets, as moving it too soon can affect the final appearance.
5. Seal if needed: Depending on the surface and location of the repair, adding a protective finish can help the putty last longer. Sealing is especially useful for furniture and frequently used wooden surfaces exposed to moisture, dust, or regular wear.
How Much Do Wood Putty and Wood Filler Cost?
Wood filler runs about $8 to $18 for a standard tub at major retailers. Common DAP fillers sit around $7.98 to $17.98 depending on the size. A single container fills many nail holes and cracks.
Wood putty falls in a similar range. Small tubes cost only a few dollars each. A six-pack of Varathane putty runs about $29.69, which works out to $4.95 per unit. DAP putty multi-packs land near $5.57 per tube.
Here is a quick price snapshot to compare the two.
| Product | Typical Size | Rough Price |
|---|---|---|
| Wood filler | 8 to 16 oz tub | $8 to $18 |
| Wood putty | 3 to 4 oz tube | $5 to $10 |
| Exterior wood filler | Larger tub with hardener | $15 to $30 |
Wood Putty vs Wood Filler for Different Home Projects
Real projects make the choice clearer. From furniture repairs to flooring fixes, the right product depends on the wood type, surface finish, and level of damage.
Engineered hardwood floors, for example, have a layered construction that requires careful repair methods to avoid damaging the top veneer.
| Project | Recommended Product |
|---|---|
| Hardwood floor scratches | Filler or repair kit, based on finish |
| Painted cabinets | Wood filler |
| Stained furniture | Wood putty |
| Door frame repairs | Wood filler |
| Small trim damage | Wood putty |
| Outdoor wood repairs | Exterior-rated wood filler |
Final Verdict
When I choose between wood putty and wood filler, I always start by looking at the repair itself.
Wood filler works best for damaged or unfinished wood that needs sanding, painting, or staining, while wood putty is better for small touch-ups on finished surfaces.
Taking a moment to match the product to the job can save time and prevent uneven patches later, before applying either one.
I recommend checking the type of wood surface and the size of the damage. Those two details usually make it clear which option will give the best result.
Frequently Asked Questions
Does wood putty harden like wood?
No. Wood putty usually stays slightly flexible after it dries. That helps it move with finished wood. It never gets as hard as wood filler.
When should you not use wood filler?
Skip filler on finished surfaces that need flexibility or a color match. It also fails on large structural repairs and areas with heavy movement.
How big of a gap can you fill with wood filler?
Most fillers handle small to medium repairs, usually up to about a quarter inch. Bigger gaps may need several applications or another method.
Does wood putty need to be sealed?
Not always. But sealing helps guard the repair from moisture, dirt, and wear. This matters most on furniture you use every day.
How do you apply wood putty correctly?
Clean the area, press putty into the spot, and wipe off the excess. Let it set, then add finish protection if the surface needs it.



