

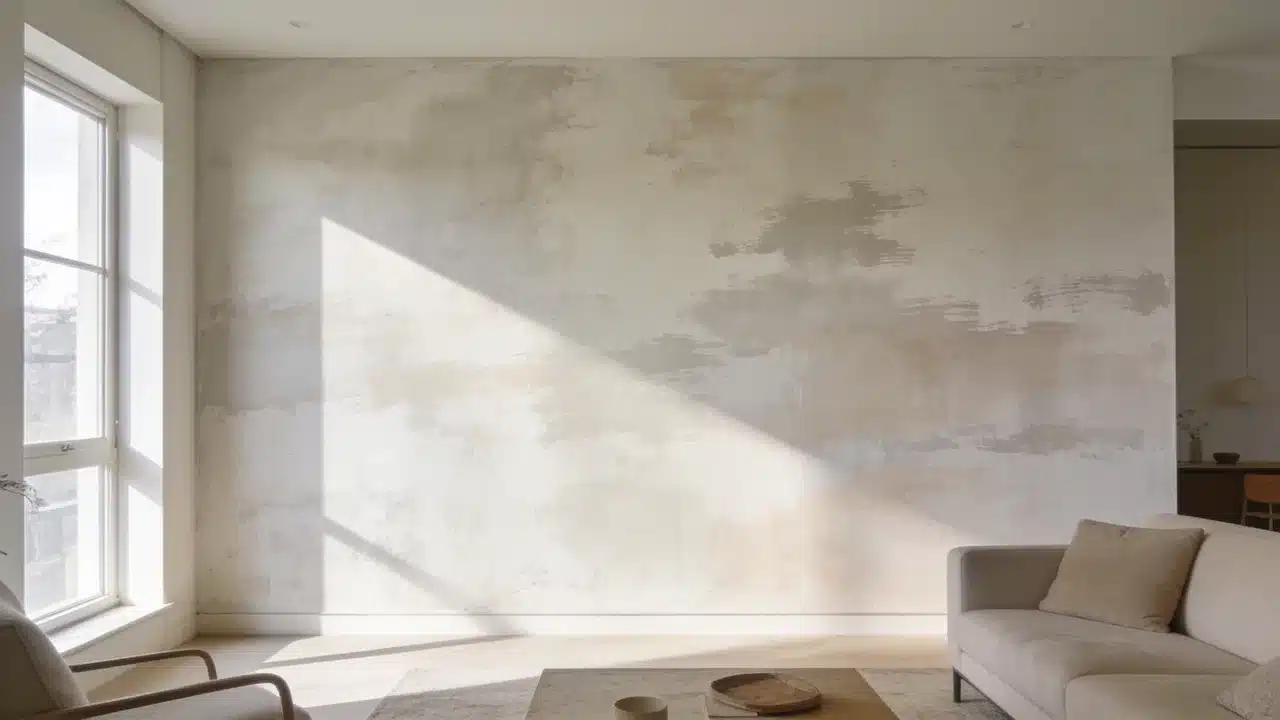


Limewashing walls starts with preparing the surface and applying thin mineral-based layers with a block brush. Random crisscross strokes create the cloudy variations that define this finish.
The appeal comes from how the color changes as lighting shifts throughout the day. A wall that reads soft white at noon can look warm and shadowed by late afternoon.
After a decade working with color, I have found that this changing appearance is one reason homeowners connect with limewash.
The process involves preparing the wall, applying multiple coats, and caring for the finished surface.
What is Limewash Paint and How Does It Work?
Limewash is one of several textured wall finishes unlike regular paint, which creates an even surface with a consistent sheen, it’s applied in thin, semi-transparent layers that leave visible brushstrokes.
Limewash is applied in thin, semi-transparent layers, allowing brushstrokes and color variation to remain visible. The brushwork stays visible in the final coat. That variation is the point.
Color behavior matters here. The paint appears darker when wet and noticeably lighter once dry. Adding extra paint too early can reduce the soft variation that gives limewash its character. Let each layer dry fully before assessing the wall.
Tools and Materials Needed to Limewash Walls
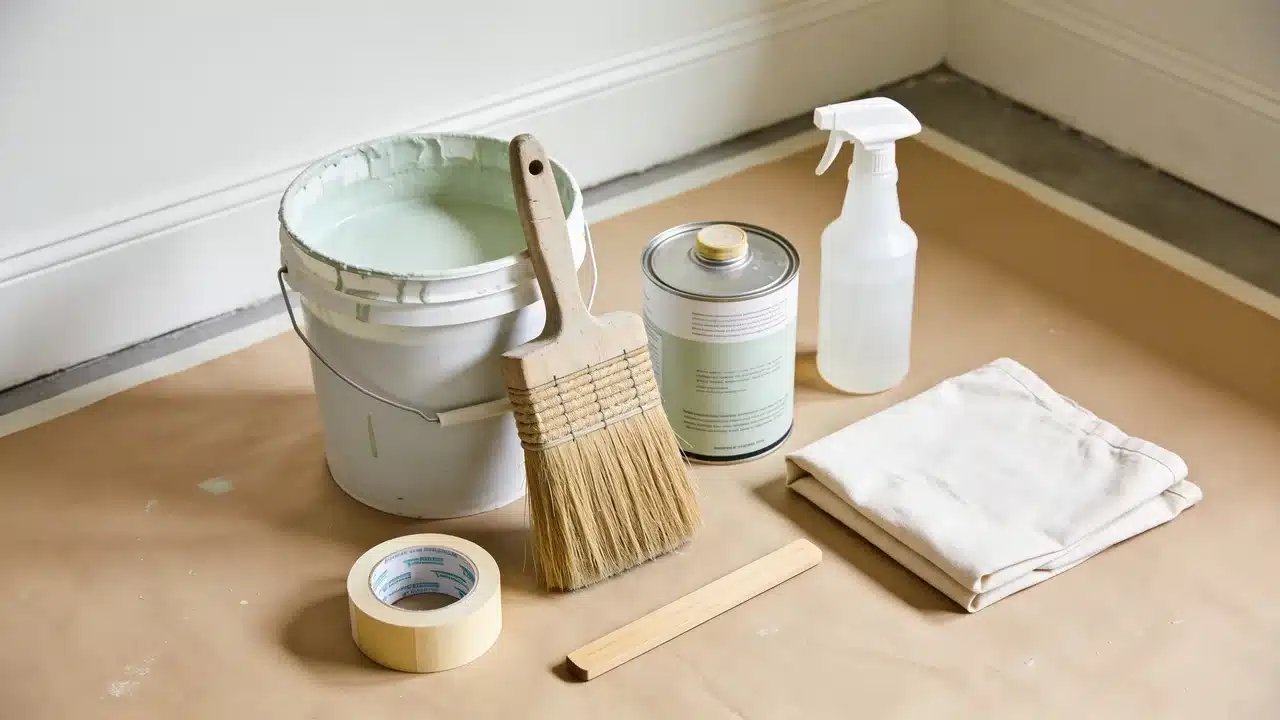
Collect all materials before starting. Limewash dries differently from standard wall paint, so stopping halfway across a wall can create visible transition marks.
| Item | Purpose |
| Limewash paint | Creates the textured finish |
| Mineral primer | Helps limewash bond with walls |
| Block brush | Creates the signature movement |
| Drop cloth | Protects floors |
| Painter’s tape | Protects edges |
| Stir stick | Keeps paint consistent |
| Spray bottle | Helps maintain a wet edge |
How to Prepare Walls for Limewashing
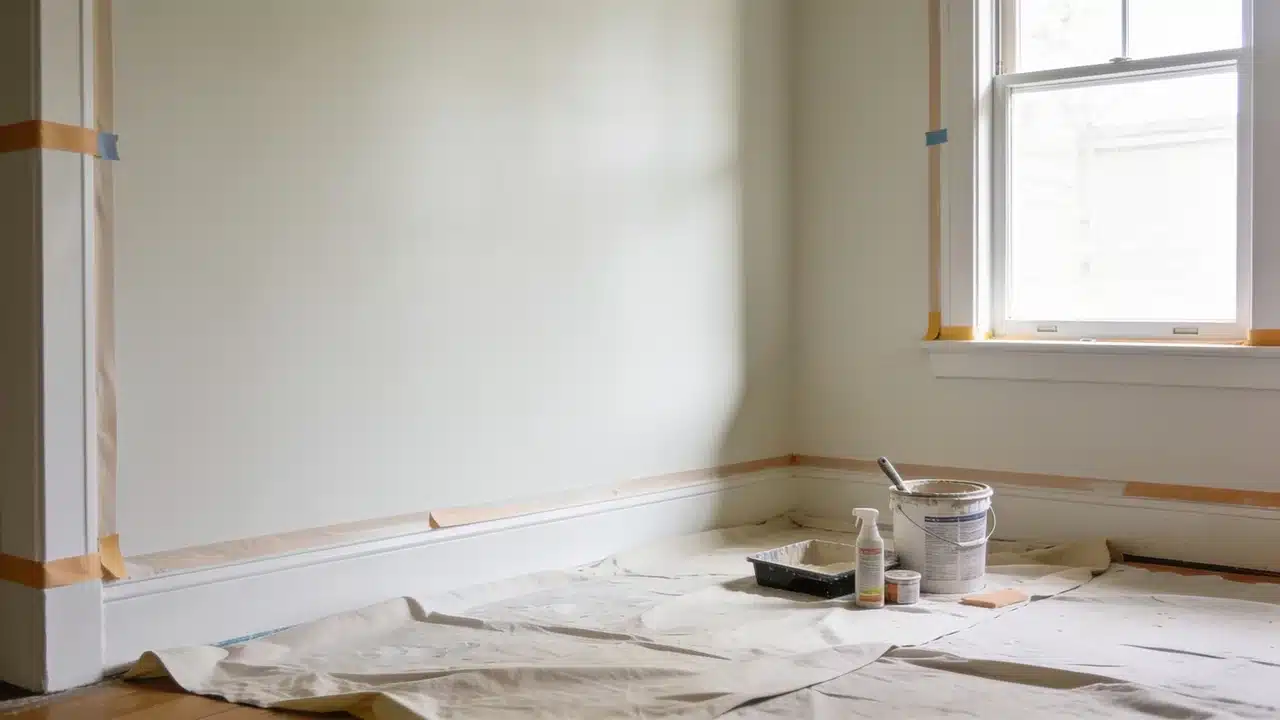
Proper preparation helps limewash absorb evenly and creates a more consistent finish. Skipping any of these steps affects the final result.
- Clean and Repair the Wall: Remove dust, grease, and dirt with a damp cloth and mild cleaner. Fill holes with patching compound. Let everything dry before priming.
- Prime the Surface: New drywall requires mineral primer. Previously painted walls need primer only if the existing finish is glossy or in poor condition. Highly porous surfaces can absorb limewash quickly, resulting in uneven color if not properly prepared.
- Test the Color and Finish: Apply a sample patch to the actual wall. This finish reads differently at 7 am than at 7 pm. Check both before committing.
How to Limewash Walls Step by Step
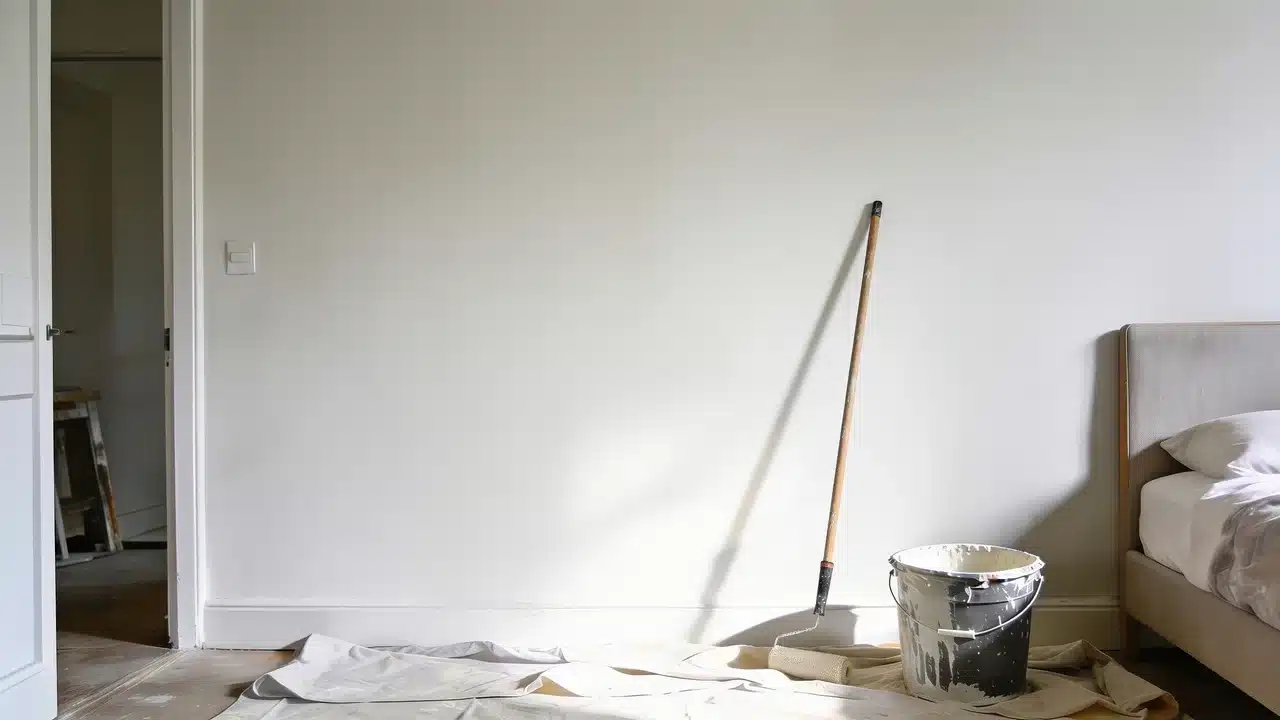
Follow the order carefully because preparation, drying time, and application technique all affect the final appearance.
Step 1: Prepare the Limewash Paint
Stir thoroughly for at least two minutes before use. Follow the product’s dilution instructions if thinning is required. Pour the paint into a clean application bucket and stir again.
Continue stirring during application to maintain an even consistency. Settled paint creates uneven coverage and color variation across the wall.
Step 2: Apply the First Coat Using the Limewash Technique
Load the block brush about a quarter of the way up the bristles. Apply using loose, unstructured crisscross strokes from the center of each section.
Keep a wet edge throughout and work in small sections. Deposit most of the paint at the center and feather outward to blend the edges. Do not aim for full coverage on the first coat.
Step 3: Add Additional Layers for Depth
Let the first coat dry fully before adding a second coat, typically 12 to 24 hours, depending on humidity and temperature. The wall will look darker when wet and lighter when dry.
Apply each additional coat using the same crisscross technique. Two coats suit most walls. A third thin coat adds consistency where needed.
Step 4: Finish, Cure, and Evaluate the Wall
Remove painter’s tape once the final coat dries. Stand back and assess the full wall in both morning and evening light before deciding if another coat is needed.
Allow full curing before touching the surface. Mist lightly if the manufacturer recommends it. A matte sealer is optional but adds protection in high-traffic areas.
Limewash Wall Care and Maintenance
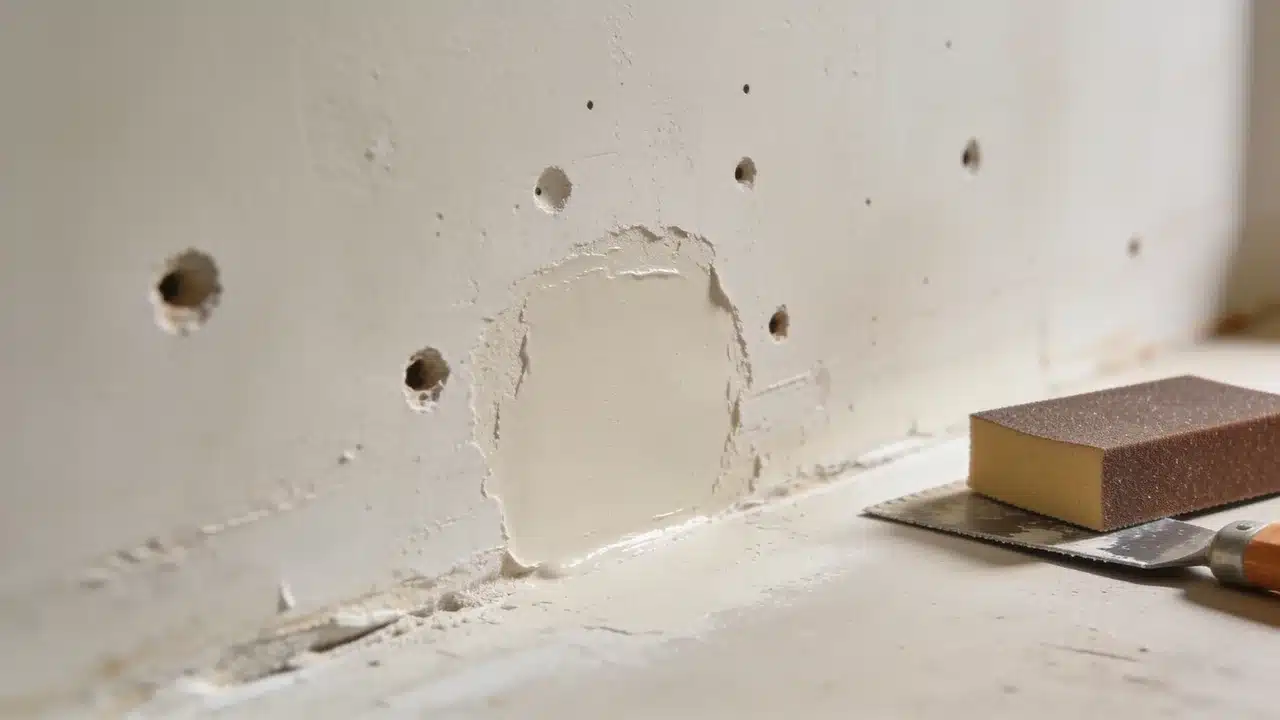
Limewash walls require less maintenance than many traditional painted surfaces. Keeping water exposure to unprotected areas to a minimum is what matters most.
For cleaning, use a dry or barely damp cloth. Strong cleaners strip the finish. For repairs, apply a thin layer of the original product over the affected area.
Feather the edges using the same crisscross approach as the original coat.
Sealing is optional. A matte sealer adds protection in high-traffic areas. Without sealer, the surface may change gradually as it ages.
How to Choose Limewash Colors for Different Rooms
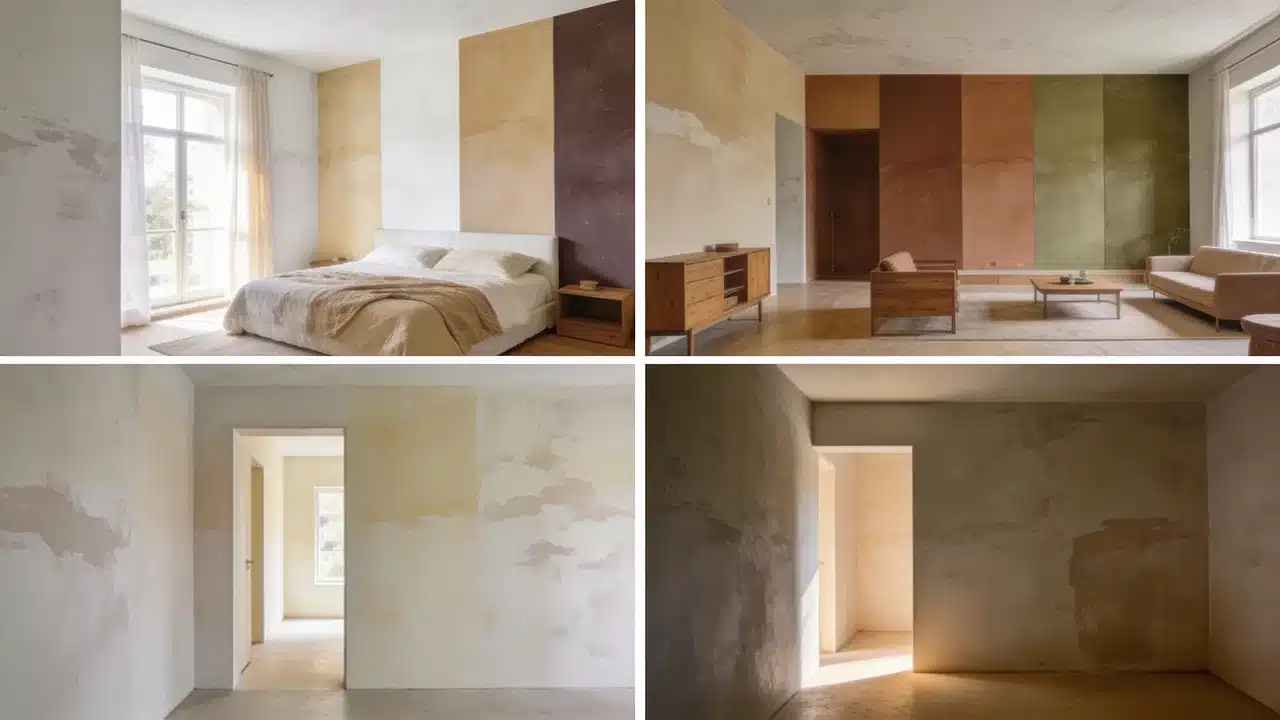
Limewash changes with lighting, so a shade can look different throughout the day. This helps reveal how the color responds to morning and evening light.
Bedrooms: Soft neutrals like warm white, beige, and muted taupe work well. These shades create a calm backdrop while keeping the limewash texture visible.
Living Rooms: Warm earth tones such as sand, clay, soft brown, and muted olive pair well with natural materials and add depth to larger spaces without feeling heavy.
Small Rooms: Lighter shades like soft cream, pale beige, and light gray can help small rooms feel more open. Always test the color first, because limewash can appear stronger across an entire wall.
Low-Light Rooms: Avoid very cool shades in rooms with limited sunlight, as they can make the space feel cold. Warmer neutrals and earthy colors usually work better under softer lighting.
Can You Paint Over Limewash?
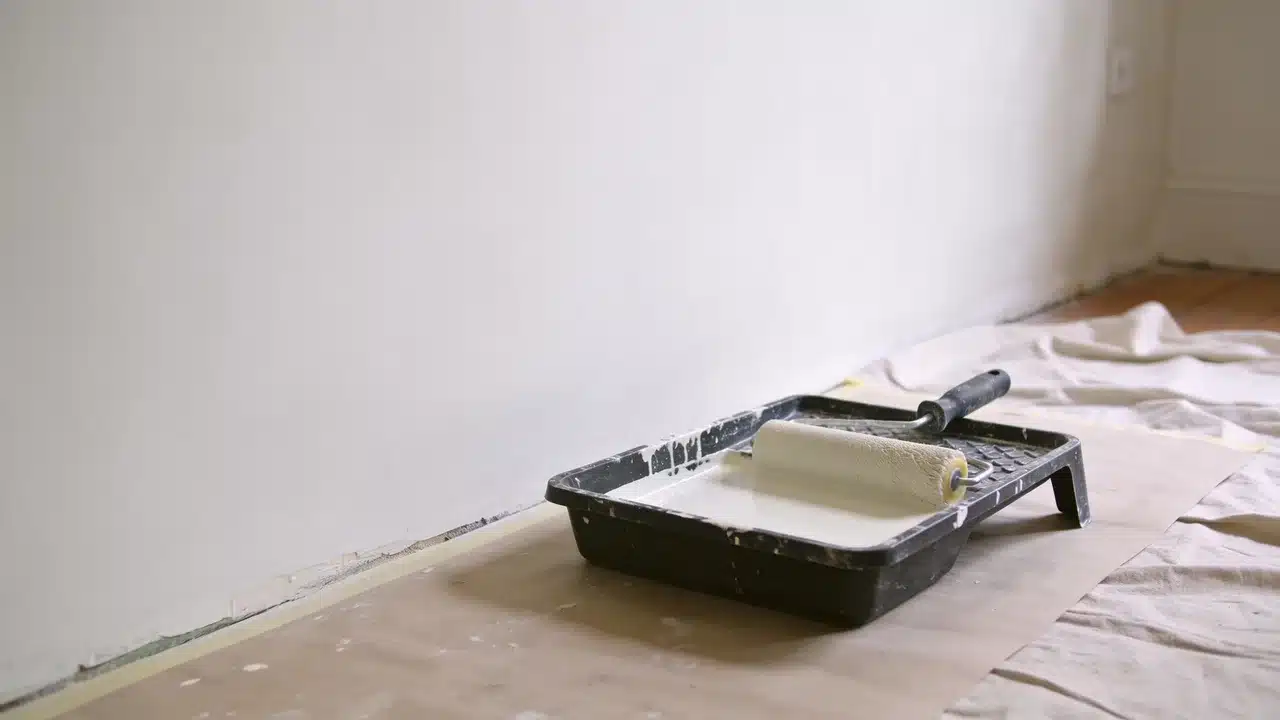
You can paint over limewash after checking the surface condition and preparing it for the new coating. Run a hand over the existing wall. If material transfers, the layer must be stabilized before anything is placed on top.
Remove loose or dusty limewash, or stabilize it before applying primer and new paint. Clean the wall with a damp cloth, then let it dry completely. Apply a suitable primer before the new paint.
Water-based paints tend to work over primed limewash. Oil-based products need a compatible intermediate primer.
Mistakes to Avoid When Limewashing Walls
These common issues usually arise from problems during preparation or application.
| Mistake | Cause | Fix |
| Finish looks streaky | Too much paint applied | Use thinner layers |
| Texture looks flat | Not enough stroke variation | Add another coat |
| Paint color does not stick | Poor surface preparation | Prime correctly first |
| Color looks wrong | Assessed before full drying | Wait until completely dry |
| Application lines visible | Wet edge lost mid-wall | Work faster and maintain wet edge |
Frequently Asked Questions
What are The Disadvantages of Limewash Paint?
Limewash may require more preparation than regular paint, and the final color can be difficult to judge until each coat has fully dried.
Does Limewash Paint Need a Primer?
Primer is recommended on new drywall, glossy surfaces, and highly porous walls to improve adhesion and create more even absorption.
How Long Does Limewash Last on Interior Walls?
A properly applied limewash finish can last for years indoors when protected from excessive moisture and cleaned gently.
Can You Apply Limewash with a Roller?
A roller can speed up coverage on large areas, but a block brush creates the natural variation and texture associated with limewash.
What Surfaces Can be Limewashed?
Limewash works best on porous surfaces such as plaster, brick, and mineral-based walls that allow the finish to be properly absorbed.
Happy Reading
The process for limewashing walls is more forgiving than most paint techniques. Variation is the point, and a perfectly even coat works against the finish.
Get surface preparation right, use the crisscross stroke, and let each layer dry before assessing the color.
The finish looks different at 7 am than at 7 pm. That movement is part of what makes it worth the effort.
Try a small section first to test the technique. Share the result in the comments once done.





