

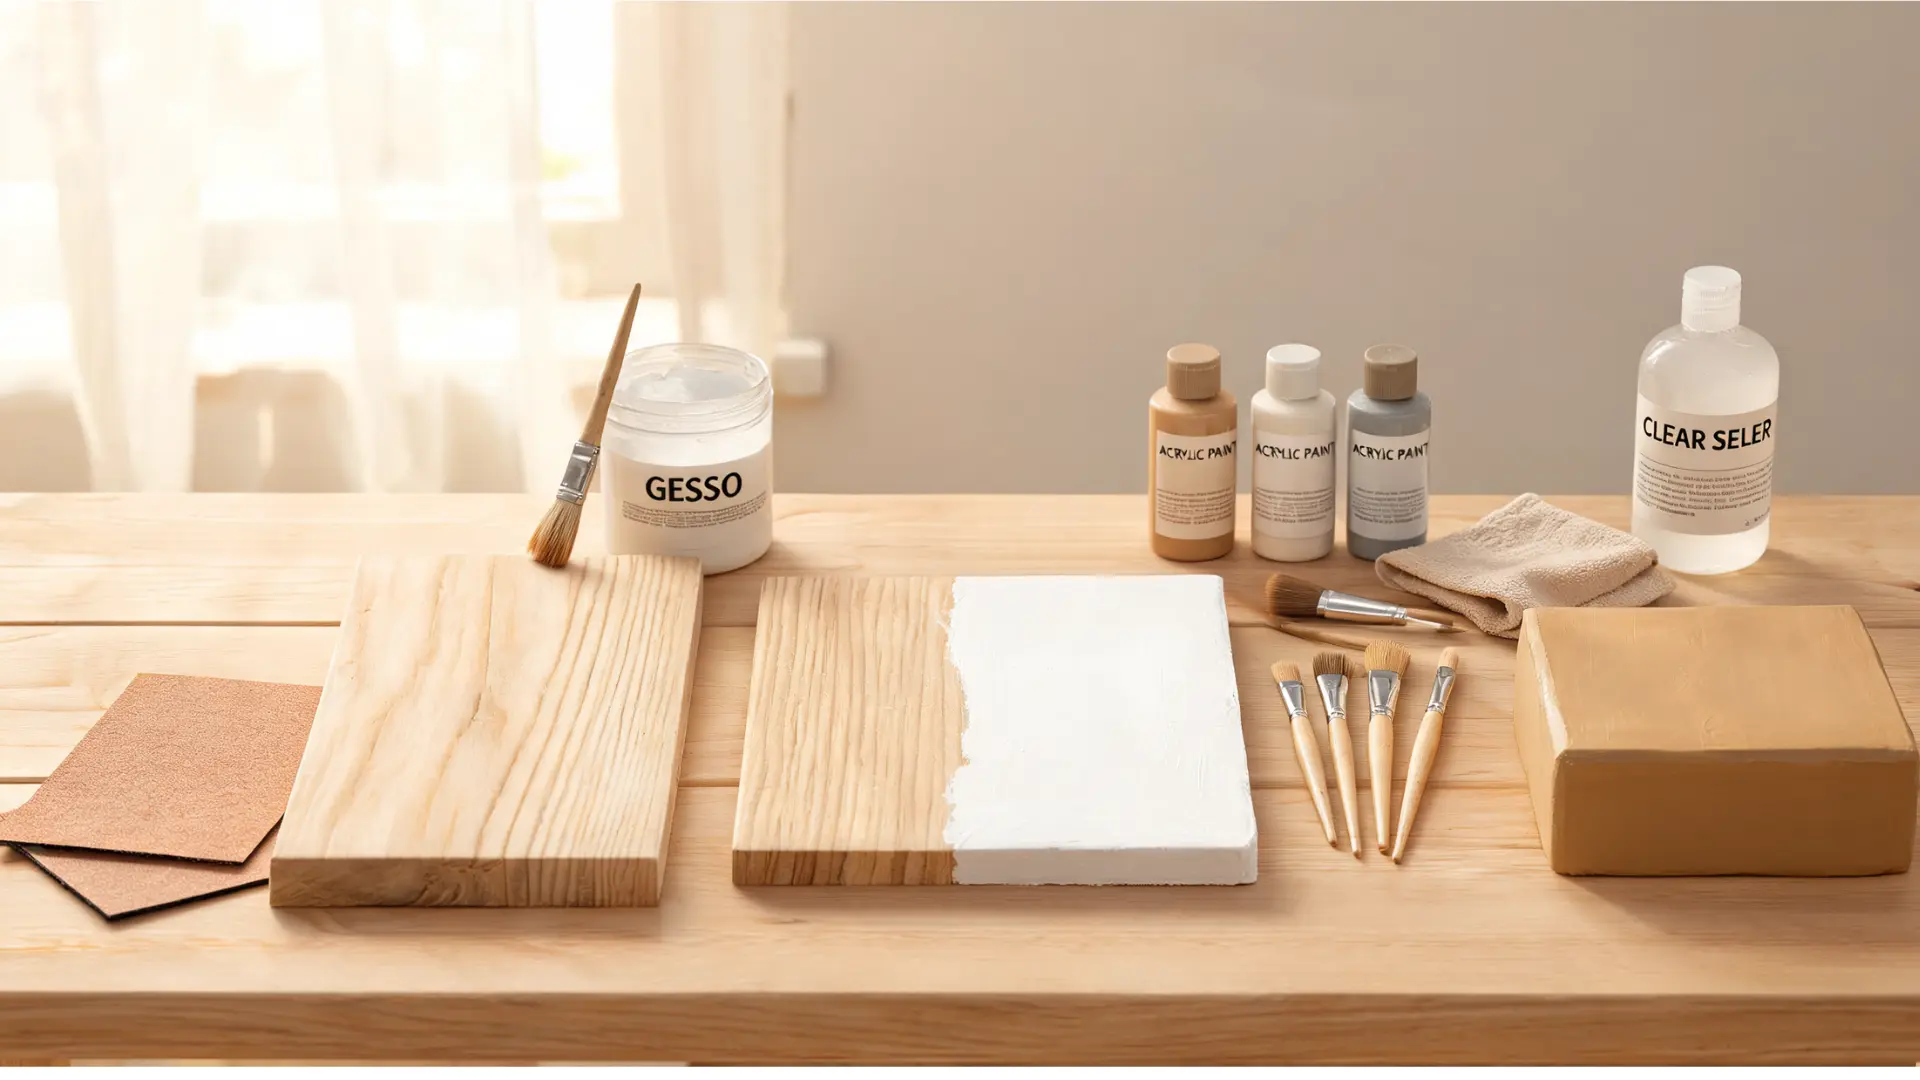


Have you ever stared at a beautiful piece of raw wood, envisioning a vibrant, custom masterpiece, only to hesitate because you weren’t sure the color would stick? Wondering if you can use acrylic paint on wood is incredibly common, especially when you want to avoid ruinous peeling or muddy, uneven surfaces.
Wood is uniquely porous, meaning it absorbs moisture and shifts over time, which can easily ruin a paint job if handled incorrectly.
Fortunately, achieving a flawless, long-lasting finish is entirely doable. This comprehensive guide breaks down exactly how to prepare different wood surfaces, choose the right primers, and apply flawless coats so your creative projects stand the test of time
Can You Use Acrylic Paint on Wood?
Acrylic paint works on wood. The finish holds, or it doesn’t, and that outcome is decided almost entirely before you open the paint. Get the prep right, and acrylic paint on wood lasts for years. Skip it, and you’ll be peeling dried paint off the surface by spring.
Acrylic paint is a solid choice for indoor crafts, signs, art panels, wood slices, boxes, trays, and lightly used furniture pieces. It dries quickly, has a lower odor than oil-based alternatives, and cleans up with water before it sets. For lettering, layered colors, and detailed decorative work, it’s hard to beat.
That said, the project’s location and how often it gets handled determine exactly how much prep work the surface needs before painting.
| Acrylic Paint Works Well When | Acrylic Paint Needs Extra Help When |
| The wood is clean, dry, and sanded | The wood is raw, glossy, oily, or dusty |
| The project stays indoors | The project will sit outside |
| The piece is decorative or lightly used | The piece is touched, cleaned, or used often |
| You apply primer or gesso first | The wood is dark, stained, or very porous |
| You seal the finished paint | The surface needs scratch or water resistance |
The core problem is porosity. Raw wood absorbs moisture unevenly, which means paint applied directly to an unprepared surface soaks in at different rates across the face. You end up with a dull, patchy result that won’t stay put. On high-use pieces or anything going outdoors, unsealed acrylic paint scratches, fades, and peels without heavier protection underneath and on top.
Sand the wood, wipe away the dust, use primer or gesso where the surface calls for it, apply thin coats, and seal when you’re done. That sequence is what separates a finish that lasts from one that doesn’t.
How Acrylic Paint Behaves on Different Wood Surfaces
Wood type determines your prep steps before anything else. MDF takes paint differently than raw found wood, and the gap between them matters. Here’s how the most common surfaces stack up for acrylic painting projects:
| Wood Surface | Paint Adhesion | Main Problem | Minimum Prep | Best Sealer |
| MDF | Good on face, poor on edges | Edges absorb moisture and swell | Light sand + edge primer | Polycrylic or water-based polyurethane |
| Plywood | Moderate, grain shows through | Surface grain and edge gaps | Sand + full primer coat | Satin or polycrylic |
| Basswood | Good, fine, even surface | Soft, dents, and scratches easily | Gentle sand + gesso | Matte or satin clear sealer |
| Birchwood | Very good, smooth and stable | Still needs light sand for adhesion | Sand + gesso for art, primer for functional pieces | Satin, gloss, or polycrylic |
| Raw or Found Wood | Poor without prep | Oils, sap, moisture, and uneven grain | Clean, dry fully, sealer before primer | Exterior sealer for outdoor, matte for indoor |
The table gives you the minimum. Understanding why each surface behaves the way it does is what keeps you from learning these lessons on a finished piece.
1. MDF
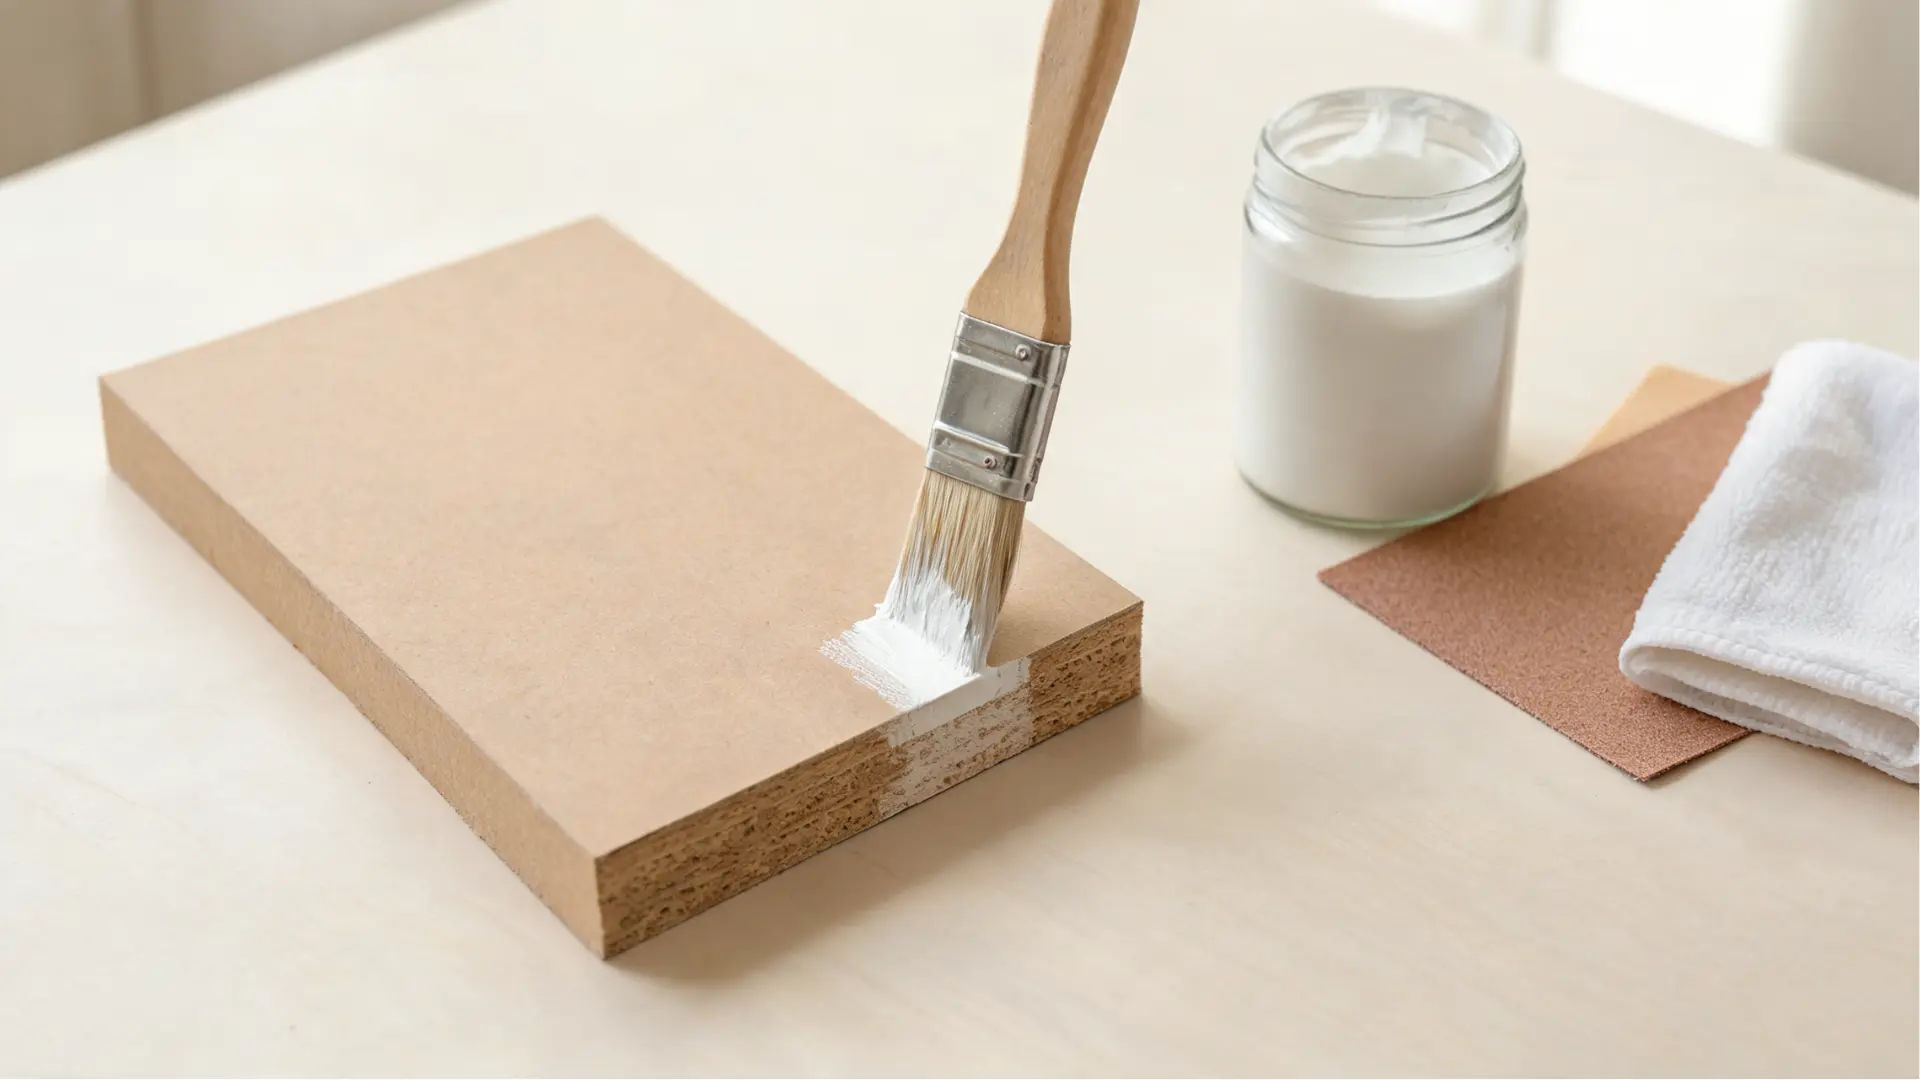
MDF is smooth, has no visible grain, and takes acrylic paint well once you handle the edges first. The flat face bonds readily after a light sand and a coat of primer or gesso. The edges are the problem every time.
MDF is compressed wood fiber. Cut edges act like a sponge the moment moisture hits them. Leave them unsealed, and they’ll swell, the primer won’t bond properly, and the paint peels at the border.
Seal the edges before anything else. A brush-on primer does this job better than a spray because you can work it into the edge fibers. Once the edges are sealed, the rest of the surface is straightforward to prep and paint.
2. Plywood
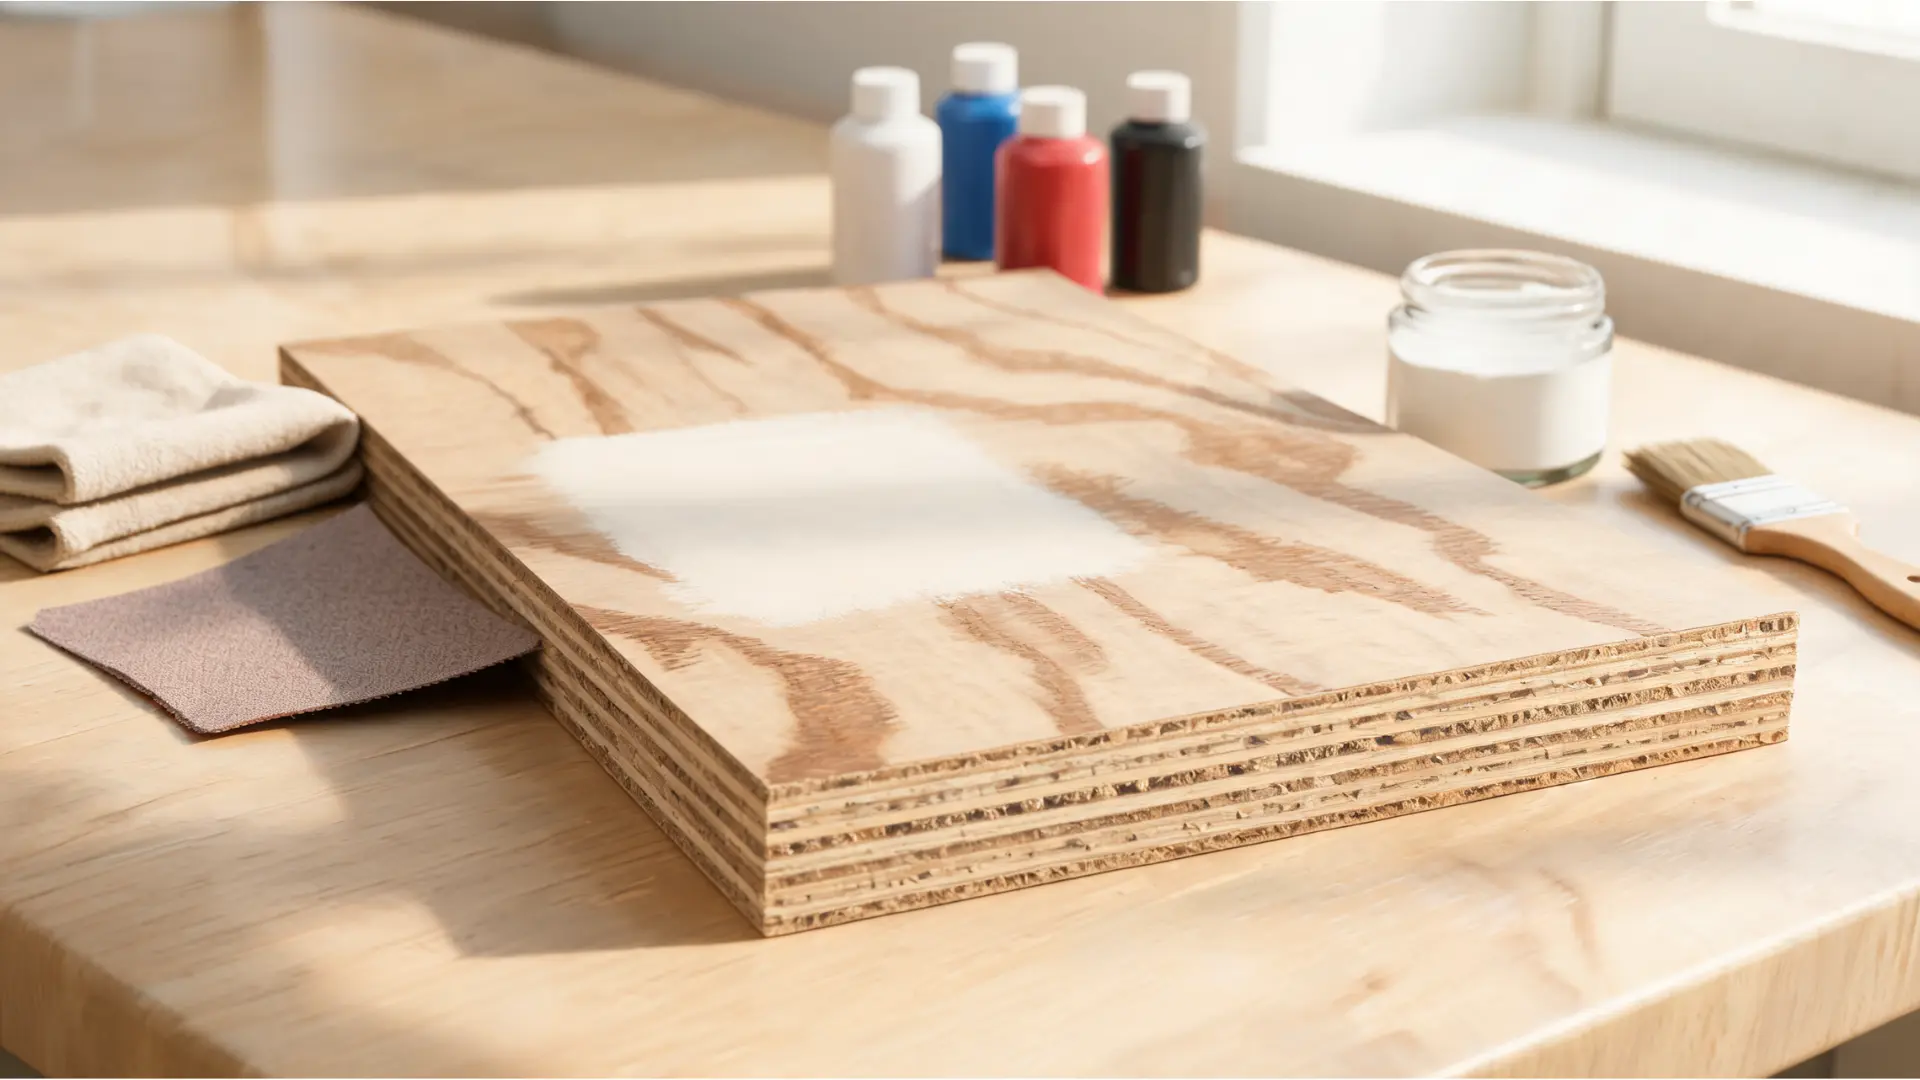
Plywood needs more prep than MDF because the surface is less uniform. Grain lines, small gaps between layers at the edges, and patches where wood density changes are all standard. Paint over those variations without sanding and priming first and they show through the finished coat.
Sand the face with 120-grit, follow with 220-grit before priming, and seal the exposed edge layers. Those edges absorb paint unevenly and can bubble if moisture gets in after the fact. A good primer fills surface irregularities and gives the acrylic a consistent base to bond to.
3. Basswood
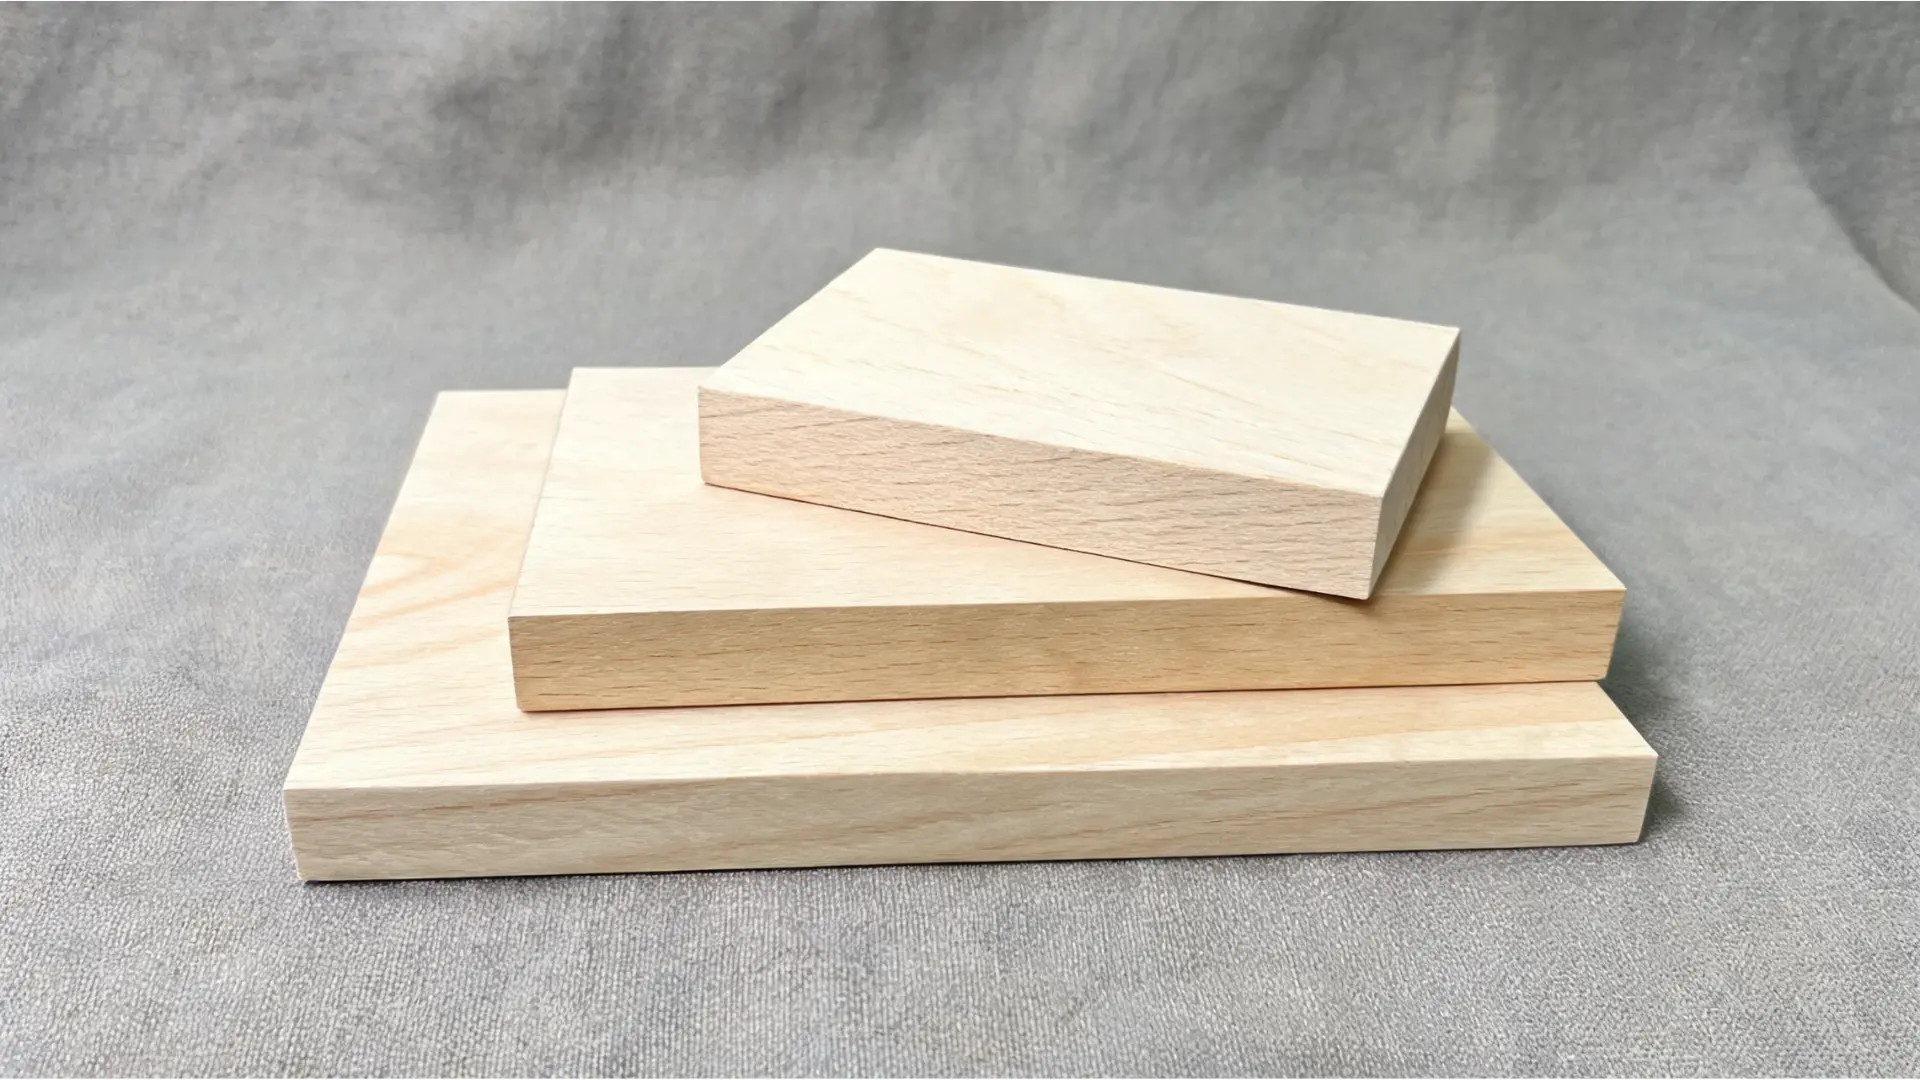
Basswood is the standard for craft pieces, ornaments, and carving projects. It’s light, fine-grained, and takes detail work well. Acrylic paint sits well on it without extensive prep.
The trade-off is softness. Basswood dents from normal handling, and if you sand it aggressively, you can roughen the surface in a way that shows under paint. One pass with 180-grit is usually enough, followed by gesso to brighten the base for color and fill any minor surface variation. Go gentle here.
4. Birchwood
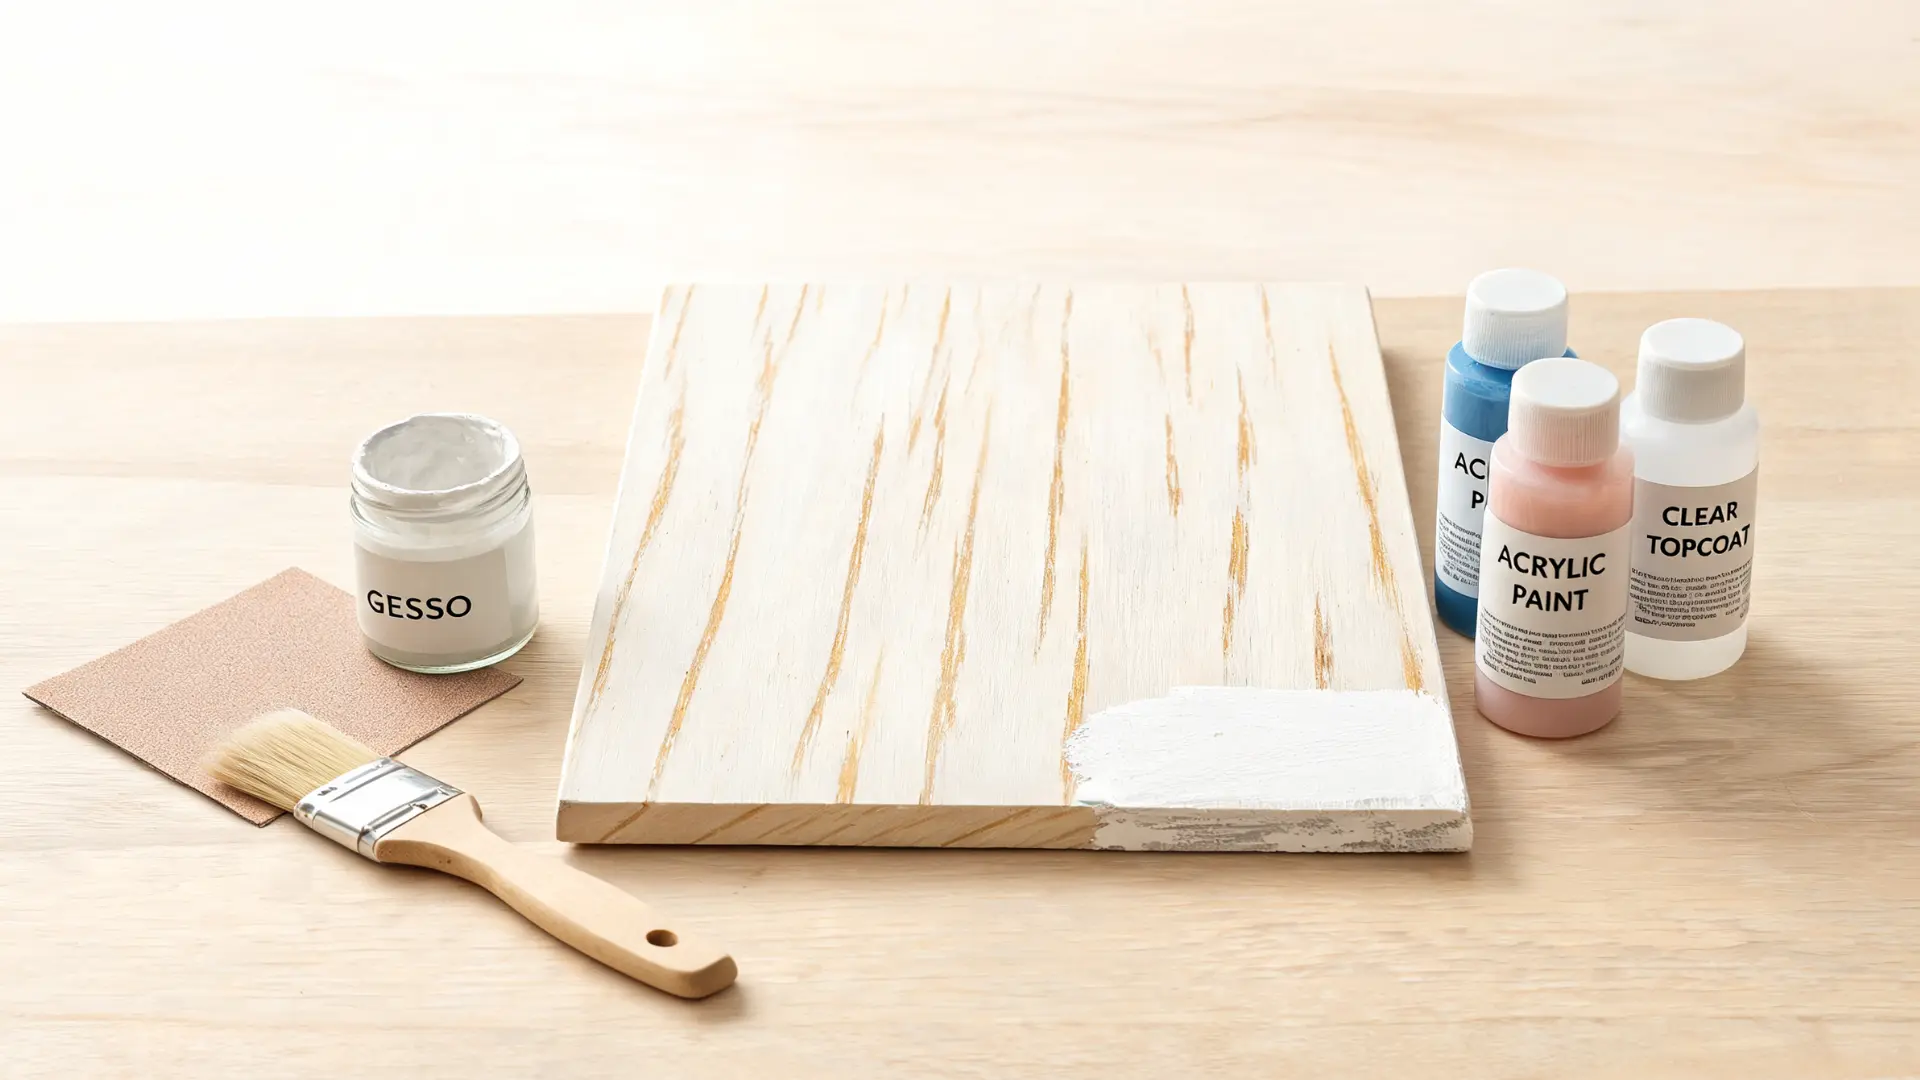
Birchwood panels are the best starting surface for acrylic painting. Smooth, stable, and harder than most softwoods, they resist denting and hold their shape well. The surface takes paint evenly once you give it a light scuff with fine-grit sandpaper.
For art panels and decorative work, gesso is the right primer. For functional pieces like shelves or trays that will see handling, use a standard bonding primer before painting. Either way, a protective topcoat is necessary if the piece faces moisture exposure or regular use. If you are considering different wood species for furniture projects, birch consistently performs well across a range of finishes and paint types.
5. Raw or Found Wood
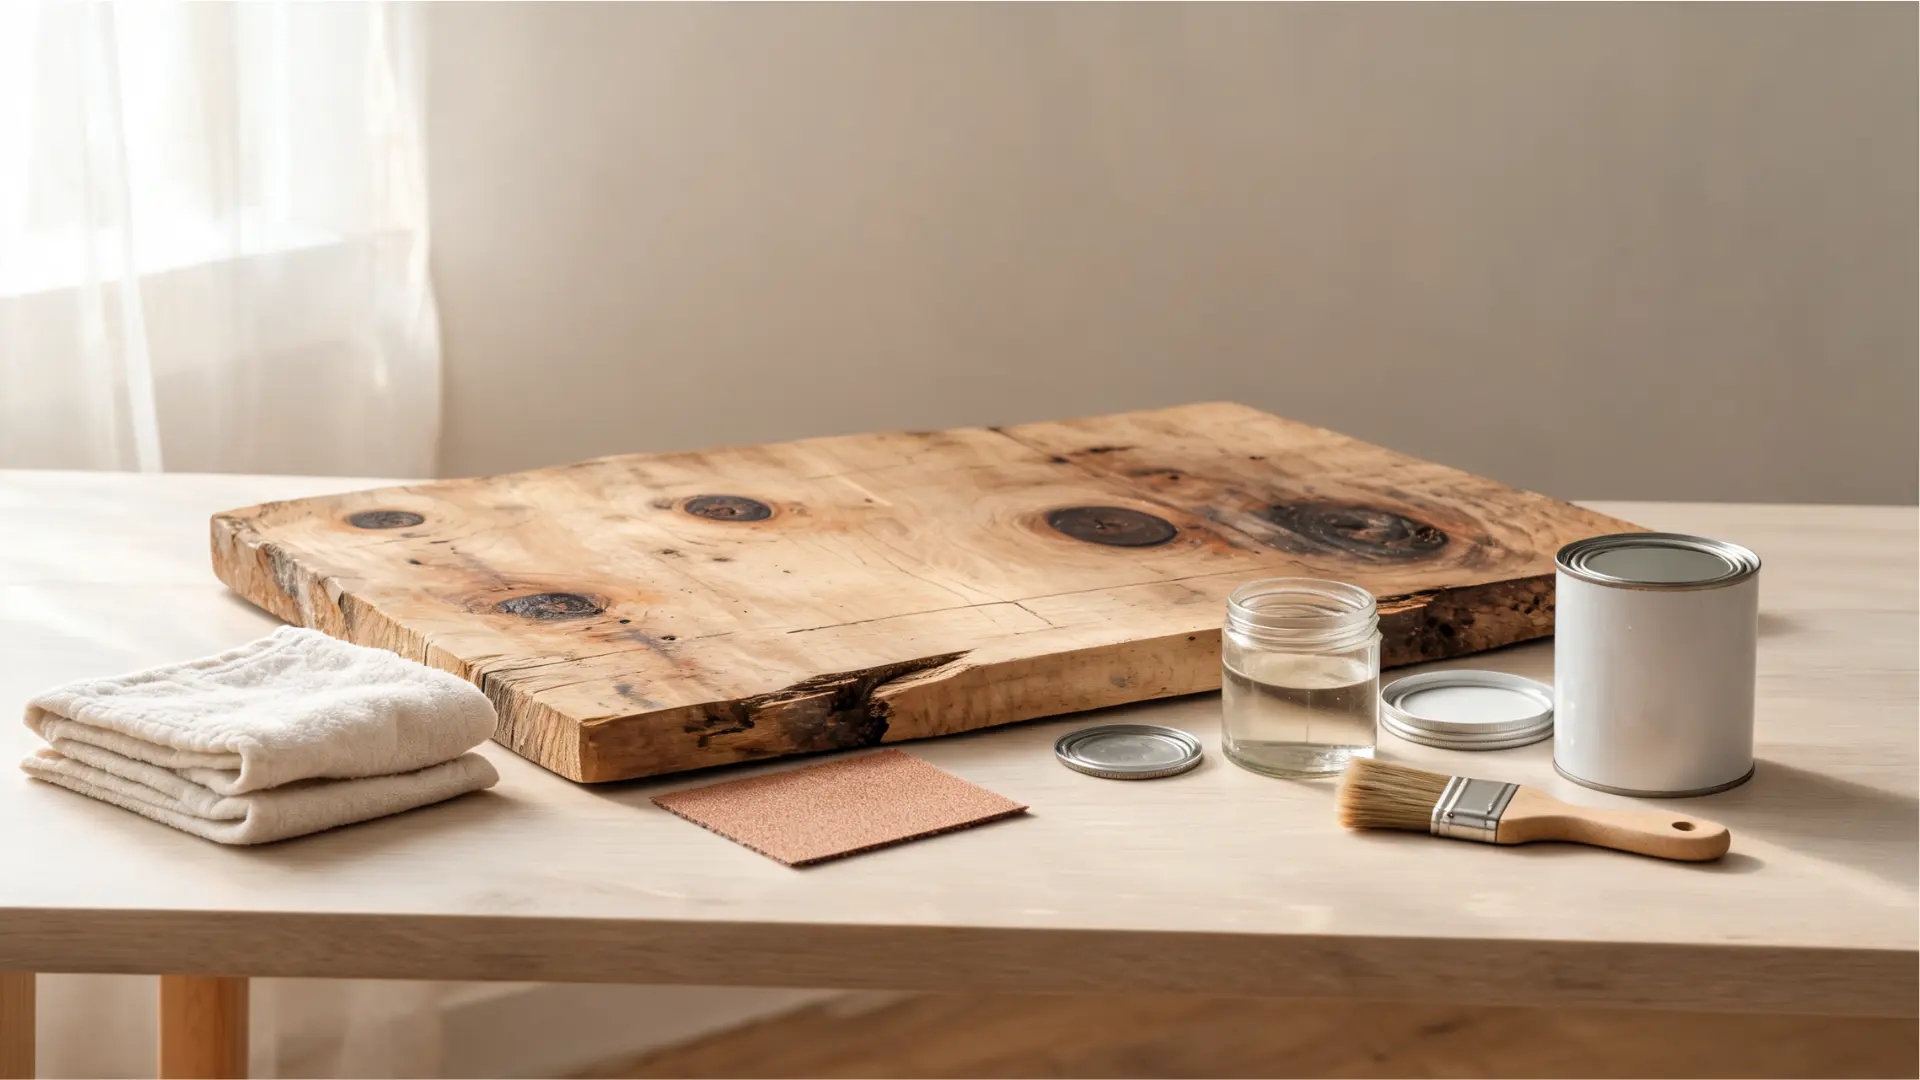
Raw and found wood creates more variables than any other surface. Oils, sap, old residue, and uneven moisture content all interfere with paint adhesion. On found wood especially, you don’t know what’s in the grain or on the surface.
The reliable sequence: clean it thoroughly, let it dry completely (at least 24 to 48 hours in a dry space), apply a penetrating wood sealer before primer, then prime before painting. That sealer step is what most people skip. It’s also the step that prevents stains from bleeding through light-colored paint six months later.
Primer vs. Gesso: Which One to Use Before Painting Wood
These two products are not interchangeable, and confusing them causes real problems on the finished surface.
Gesso is a primer. It strengthens paint adhesion and provides a ground for painting. But gesso is not a sealer. A sealer protects the underlying wood and prevents Support-Induced Discoloration (SID): the yellowing or amber shift that occurs when wood impurities migrate up through acrylic paint layers, particularly in light colors. If you skip sealing raw wood and go straight to gesso, whites and light yellows can shift noticeably over time.
| Product | What It Does | When to Use It | When to Skip It |
| Wood sealer | Blocks stains, prevents SID, reduces warping | Raw wood, found wood, porous surfaces | Pre-sealed panels, primed MDF |
| Gesso | Provides a paint-ready ground, adds tooth | Art panels, decorative work, basswood, birch | Functional furniture pieces that need a harder primer |
| Bonding primer | Mechanical adhesion of paint to the surface | Furniture, plywood, varnished or stained wood | Fine art panels where gesso gives better results |
For most woodcraft and DIY projects, the right sequence is: clean the surface, apply wood sealer if raw or porous, sand lightly once dry, apply gesso or primer, sand again with 220-grit, then paint. That extra sanding between coats is where a lot of people stop. It’s also what separates a smooth result from one that shows brush marks and grain texture through the color.
How to Apply Acrylic Paint on Wood Step by Step
Thin coats are the whole game. One thick coat of acrylic paint on wood traps air underneath, takes longer to dry, leaves brush marks, and is more likely to crack or peel as the wood moves with humidity. Two to three thin coats, each properly dried and lightly sanded between, will give you better adhesion, better color, and a cleaner finish than any single heavy application.
- Apply a thin first coat with a brush, roller, or sponge. Work with the grain on raw or natural wood surfaces.
- Spread paint evenly. If you’re loading too much onto the brush, it pools at the edges of your strokes. Less is more on every pass.
- Let the first coat dry until it no longer feels tacky — usually 20 to 30 minutes at room temperature, longer in humid conditions.
- Sand lightly with 220-grit sandpaper to knock down raised grain or brush texture and give the next coat something to grip.
- Wipe away all sanding dust with a clean, dry cloth. Paint over dust creates visible bumps in the final surface.
- Apply a second thin coat. Coverage and color depth improve significantly at this stage.
- Add a third coat if the base coat or wood grain still shows through. Most light colors over darker wood need three coats minimum.
- Let the final paint coat dry completely before sealing — at least one hour, or per the product’s stated drying time.
| Pro Tip: Between coats, don’t rinse your brush and come back wet. Water dilutes the next coat and can raise the wood grain. Squeeze out excess moisture and keep brushes slightly damp rather than wet. |
Choosing the Right Sealer for Acrylic Paint on Wood
The sealer determines how long your work actually lasts. Acrylic paint on wood without a topcoat handles light indoor use, but it scratches, fades faster, and picks up water damage. The sealer you choose should match the project’s actual conditions, not just the finish appearance you want.
| Sealer Type | Best For | Durability | Finish Options |
| Clear acrylic varnish | Indoor crafts, signs, decorative panels | Moderate | Matte, satin, gloss |
| Polycrylic | Furniture, trays, shelves, high-touch pieces | Good, water-resistant | Matte, satin, semi-gloss |
| Water-based polyurethane | Furniture and surfaces that take real wear | Very good | Satin, semi-gloss, gloss |
| Exterior-grade sealer | Outdoor wood, garden signs, birdhouses, planters | Best for weather exposure | Satin or gloss |
Apply the sealer the same way you applied paint: thin coats, fully dried between applications. Two coats are standard for most indoor pieces. For anything that sees water, cleaning products, or outdoor weather, three coats are worth the extra time.
Always allow the sealed piece to cure for at least 24 to 48 hours before heavy use. Most water-based sealers feel dry to the touch within an hour but continue hardening for days afterward.
Best Acrylic Paint for Wood Projects
Not all acrylic paint is built for the same job. Using craft acrylic on a dresser you clean weekly, or basic artist acrylic on an outdoor sign, is setting the finish up to fail early. The paint type needs to match the stress the surface will actually see. If you are still deciding between acrylic and latex for a larger project, the comparison of latex versus acrylic paint for different surfaces covers the trade-offs in detail.
| Paint Type | Best Projects | Why It Works | Where It Falls Short |
| Craft acrylic | Ornaments, signs, boxes, DIY coasters | Affordable, easy to apply | Not durable enough for furniture or outdoor use |
| Artist acrylic | Art panels, detailed work, mandala boards | Richer pigment, better blending | Expensive for large surfaces, not formulated for wear |
| Acrylic furniture paint | Dressers, chairs, shelves, cabinets | Built for surfaces that get cleaned and handled | Overkill for simple decorative crafts |
| Exterior acrylic | Garden signs, birdhouses, painted planters | Formulated to handle UV and moisture | Unnecessary cost for indoor work |
For outdoor wood, exterior acrylic is worth the step up from craft paint, even when the piece is small. Regular craft acrylic will fade and peel in a single season without serious sealing. Exterior acrylic combined with an outdoor-rated topcoat will last several years on a properly prepped surface.
Acrylic Paint on Wood: Indoor vs. Outdoor Projects

The location of the finished piece changes with every decision in the process. Indoor and outdoor wood painting are not two versions of the same job. They have different prep requirements, different paint choices, and different sealer standards.
Indoor Projects
Indoor wood that stays away from humidity and direct sunlight is the easiest application for acrylic paint. Wood signs, plaques, wall art, craft boxes, decorative trays, and shelf accents all fit here.
For simple indoor crafts, sand and gesso are usually enough prep before painting. For furniture or pieces that get handled regularly, a tray you carry, a shelf you load, use bonding primer instead of gesso, apply paint in thin coats, and finish with polycrylic or water-based polyurethane.
Those two steps, primer and sealer, are what keep paint on a chair arm or shelf edge for years instead of months. This approach also applies when painting over previously stained wood, where the surface needs deglossing and a stain-blocking primer before any acrylic goes on.
Outdoor Projects
Outdoor wood is exposed to sunlight, humidity, rain, and temperature swings. Any of those forces will degrade unsealed acrylic paint over the course of a season. Start with wood that is completely dry. Sand the surface, apply an exterior primer, and use exterior acrylic paint rather than craft acrylic.
After the paint dries fully, apply an outdoor-rated clear sealer over the entire piece, including the back and edges. Moisture enters wood from every exposed surface. A piece sealed on the face but raw on the back will still absorb enough moisture to cause paint failure at the edges within a year.
Common Mistakes That Cause Acrylic Paint to Peel Off Wood
Most paint failures on wood come from the same handful of skipped steps. Here’s what causes peeling and how to avoid it before you pick up a brush.
- Skipping sanding: Smooth or glossy wood gives paint little grip. Light sanding with 180-grit sandpaper helps the paint stick properly to the surface.
- Painting over dust: Dust blocks paint from bonding to the wood. Wipe the surface after every sanding step before applying any coat.
- Using too much water to thin paint: Too much water weakens acrylic and causes patchy, uneven coverage. Use only a few drops if thinning is needed at all.
- Skipping primer on raw wood: Raw wood absorbs paint unevenly. Primer seals the surface and helps color look smoother and brighter across the face.
- Applying thick coats: Thick paint cracks, bubbles, or dries with an uneven texture. Two to three thin coats always outperform one heavy coat.
- Not sealing the finished paint: Unsealed acrylic scratches, fades, and picks up water damage. A clear sealer is not optional on anything that will see regular use.
Frequently Asked Questions
Does acrylic paint peel off wood?
Yes, when the surface wasn’t properly prepped. Peeling is almost always caused by skipping sanding, painting over a glossy or dusty surface, or not sealing the finished piece. Correct prep makes peeling far less likely even on pieces that see regular handling.
Can you use acrylic paint on varnished wood?
Yes, but not directly over a shiny surface. Acrylic won’t grip a slick finish. Scuff the varnish lightly with fine sandpaper, wipe away dust, and apply a bonding primer before painting. That mechanical scuff is what gives the acrylic something to hold onto.
How do you seal acrylic paint on wood?
Apply a clear sealer — polycrylic, water-based polyurethane, or acrylic varnish — in two thin coats after the paint is fully dry. For furniture or outdoor pieces, three coats give better durability. Let each sealer coat dry completely before adding the next.
Can you use acrylic paint on outdoor wood?
Yes, but use exterior-grade acrylic paint rather than standard craft paint, and finish with an outdoor-rated sealer. Regular acrylic fades and peels in one season when exposed to UV and moisture without the right protection underneath and on top.
What is the difference between gesso and primer for wood painting?
Gesso is a primer that prepares the surface for paint, but it is not a sealer. On raw or porous wood, use a wood sealer first to prevent stain bleed-through and warping, then apply gesso or bonding primer on top before painting. Skipping the sealer step is the most common source of color shift in light paints.
Can you paint over stained wood with acrylic?
Yes. Lightly scuff the surface, wipe away dust, and apply a stain-blocking primer before using acrylic paint. If the stain is dark or oily, a shellac-based primer gives better coverage than a standard bonding primer. You can find a complete breakdown of how to paint over stained wood with the right primer sequence for each situation.
Is acrylic paint good for wood furniture?
Yes, if you use the right acrylic type. Craft acrylic will not hold up on furniture that gets cleaned or touched regularly. Acrylic furniture paint is formulated for surfaces that see handling, and a polycrylic or water-based polyurethane topcoat is necessary to protect the finish long-term.
What happens if you don’t sand wood before painting with acrylics?
Paint adheres poorly, color looks patchy, and the finish chips or peels earlier than expected. Sanding opens the grain, removes oils and debris, and gives the primer and paint a surface to mechanically grip. It takes ten minutes and it’s not optional for a lasting result.
Final Verdict
Mastering how to use acrylic paint on wood comes down to respecting the porous nature of the material.
By taking the time to sand the surface, seal raw grain, and apply multiple thin coats rather than rushing through a single thick layer, you ensure a brilliant finish.
Matching your topcoat sealer to how your project will actually be handled ensures your creativity remains vibrant and protected for years to come. I would love to hear about what you are creating.
Are you planning an indoor art panel or a decorative outdoor sign? Drop your thoughts, questions, or project experiences in the comments below.
Sources
- Golden Artist Colors, “Support Induced Discoloration (SID) in Acrylic Painting.” goldenpaints.com
- Ampersand Art Supply, “Priming Wood Panels with Acrylic Gesso.” ampersandart.com
- Benjamin Moore, “Acrylic Paint Technology Overview.” benjaminmoore.com





