

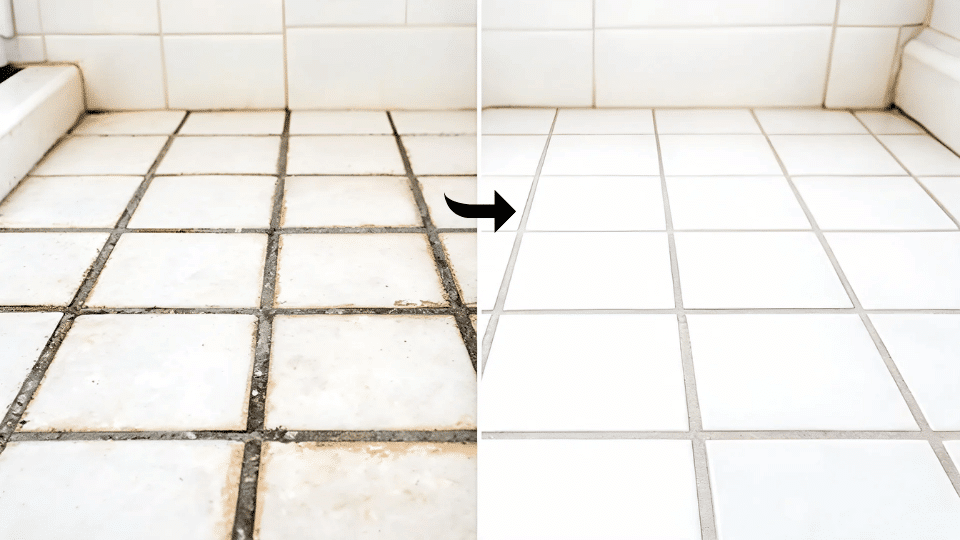


| Difficulty | 2 out of 5, straightforward scrubbing, no tools beyond a brush |
| Time | 30–90 minutes, depending on floor size and stain depth |
| Cost | $0–$15 for DIY methods; $10–$25 if you need a store-bought cleaner |
| Tools Needed | Nylon grout brush, microfiber cloths, small bowl, broom, or vacuum |
| Skill Required | Beginner, the method matters more than the effort |
Dirty grout can make clean tile look older than it is, and I know how frustrating that feels after mopping. The trick to cleaning grout lines is not starting with the strongest cleaner.
It is figuring out what kind of dirt is sitting in the grout first. Bathroom moisture, kitchen grease, floor grime, and cleaner residue all need different fixes.
My goal is to make cleaning grout feel easier by matching each grout issue with a clear method, the right materials, and a realistic cleaning process that doesn’t turn into a full-day project.
The Mistake That Makes Grout Cleaning Twice as Hard
The most common failure I see, and the one I made myself the first time, is adding moisture before removing dry debris. If you wet dirty grout before sweeping, the dust and crumbs turn into a muddy slurry that gets pushed deeper into the porous surface. You end up cleaning what you just cleaned.
Always sweep or vacuum first. Always. That one step cuts scrubbing time in half on floor grout.
The second mistake is using a cleaner that’s too broad for the problem. Bleach on greasy kitchen grout doesn’t cut grease; it brightens the surface while the oil stays underneath, and the grout darkens again within days.
Dish soap on mildewed bathroom grout misses the mildew entirely. Before you mix anything, look at where the grout is and what it smells like. That tells you more than the color alone.
Match Your Grout Problem to the Right Fix
Before reaching for any cleaner, spend 30 seconds identifying what’s actually going on. This table is the shortcut I wish I’d had on day one.
| What You See | Likely Cause | Best Method |
|---|---|---|
| Light gray floor grout | Dust, mop residue, surface dirt | Baking soda and warm water paste |
| Dark bathroom grout | Moisture, soap scum, mild mildew | Baking soda and hydrogen peroxide |
| Yellow or sticky kitchen grout | Grease and cooking residue | Baking soda and dish soap |
| Very dark floor grout | Years of dirt in porous grout | Store-bought grout cleaner |
| Grout looks dull after cleaning | Cleaner residue left behind | Warm water rinse and dry |
| Grout gets dirty again fast | Unsealed or worn grout surface | Clean, dry fully, then seal |
Find your row and jump straight to that method. You don’t need to read all six, just the one that matches your floor.
How to Clean Grout Lines Based on the Problem
Choose the section that matches your grout issue. Each method gives the materials and steps together, so you do not have to piece together advice from different places.
1. For Light Gray Floor Grout
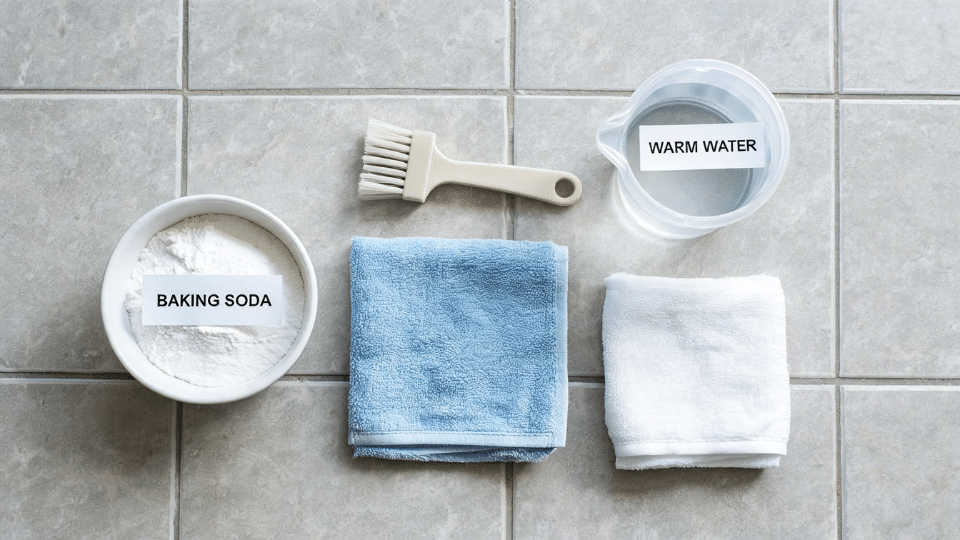
This method works best when the floor grout looks dusty, gray, or lightly dirty but not deeply stained. It is a gentle starting point for ceramic or porcelain tile floors.
Materials: Baking soda, warm water, nylon grout brush, microfiber cloth, clean towel.
- Sweep or vacuum the floor first: Remove dry dust, hair, and crumbs before adding any moisture. If loose dirt mixes with water, it can turn into muddy streaks that settle deeper into the grout lines.
- Make a simple paste: Add warm water to the baking soda until it forms a soft paste. It should spread easily over the grout without running across the tile.
- Apply the paste to the grout lines: Use your finger, a small spoon, or the brush tip to place the paste directly on the dirty lines.
- Scrub in short strokes: Move the brush along the grout line instead of scrubbing wide circles across the tile. This keeps the pressure where the dirt is sitting.
- Wipe with clean warm water: Rinse the cloth often so you lift away the paste, not spread it across the floor.
- Dry before checking the result: Grout can look darker while wet. Let it dry before deciding whether the floor needs another pass.
2. For Dark Bathroom Grout
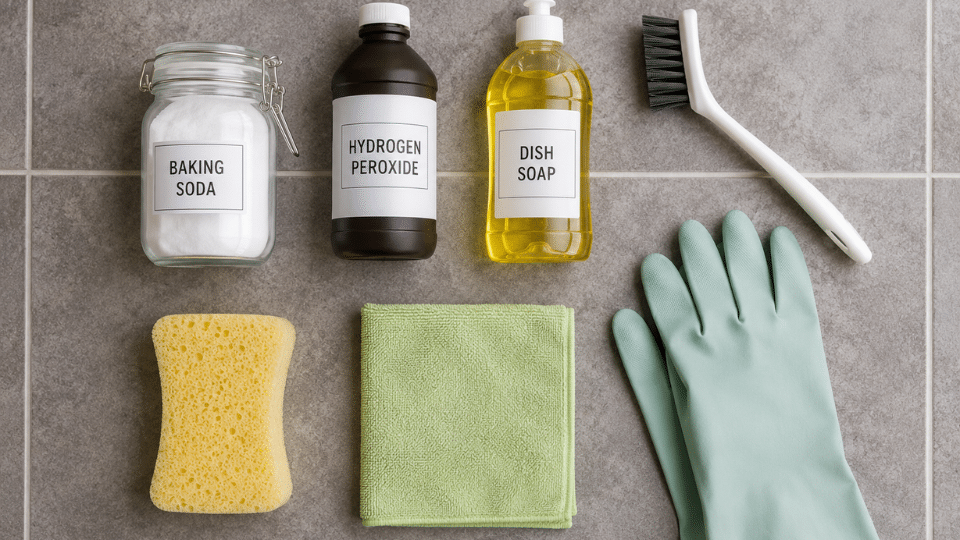
Use this method for bathroom floors, shower grout, and grout lines that look gray, dark, or lightly mildewed.
It works well when plain baking soda and water are not enough, but you still want to start with a homemade cleaner before using anything stronger.
Materials: Baking soda, 3% hydrogen peroxide, dish soap, nylon grout brush, sponge, microfiber cloth, and gloves.
- Test a hidden grout line first: Hydrogen peroxide can lighten some colored grout. Try it behind a door, near a back corner, or under a vanity edge before using it across a visible area.
- Mix the paste: Combine two parts baking soda with one part hydrogen peroxide. Add only a tiny drop of dish soap if the grout feels slick from soap or body oil.
- Spread it over the stained grout: Cover the lines without coating the full tile surface. This keeps cleanup easier and prevents extra residue.
- Let it sit for 10 to 15 minutes: Give the paste time to loosen soap scum, light mildew stains, and bathroom buildup before scrubbing.
- Scrub with steady pressure: Use small strokes and keep the brush inside the grout line. Do not press so hard that the old grout starts to crumble.
- Rinse twice: Wipe once with warm water, rinse the cloth, then wipe again. Baking soda can leave a white film if it is not removed fully.
- Dry the area well: Use a towel or microfiber cloth, especially in showers where moisture can quickly settle back into the grout.
3. For Greasy Kitchen Grout
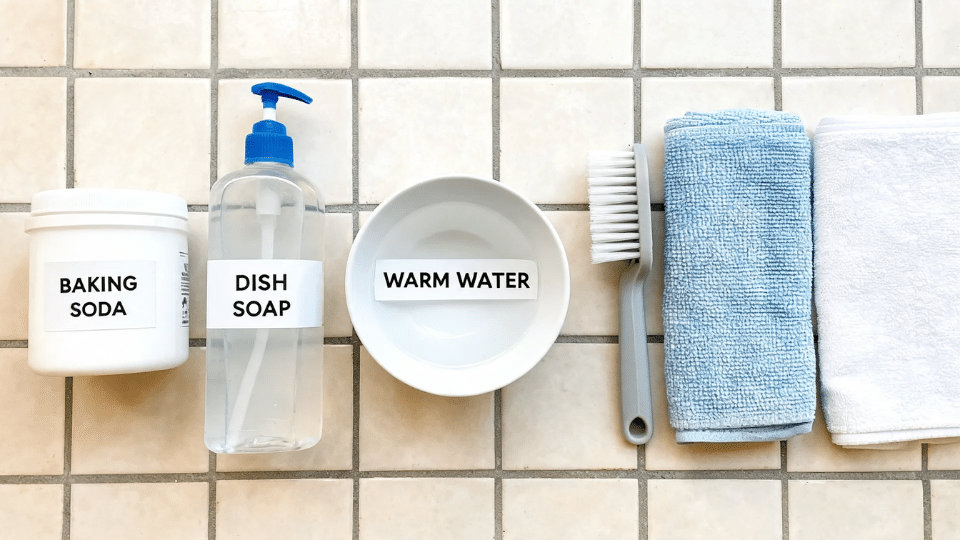
Kitchen grout often needs grease-cutting more than brightening. Use this method for backsplashes, tile near the stove, and floor grout that feels sticky instead of dusty.
Materials: Baking soda, dish soap, warm water, small bowl, nylon brush, microfiber cloth, and clean towel.
- Wipe the tile surface first: Remove crumbs, splatter, and surface dust so the cleaner can reach the grout rather than sitting on kitchen grime.
- Mix a soft cleaning paste: Combine baking soda with warm water, then add a small drop of dish soap. Too much soap makes rinsing harder.
- Apply the paste where grease collects: Focus on grout near the stove, sink, food-prep area, or any area that feels slightly sticky.
- Let it sit for 5 to 10 minutes: Grease needs a little time to loosen before scrubbing. Do not let the paste dry completely.
- Scrub a few lines at a time: Work in small sections so the soap stays manageable and does not spread over the whole backsplash or floor.
- Rinse until the surface feels clean: If the grout or tile still feels slippery, there is soap left behind.
- Dry and buff the tile: A clean towel helps remove dull streaks, especially on glossy backsplash tile.
4. For Old or Neglected Floor Grout
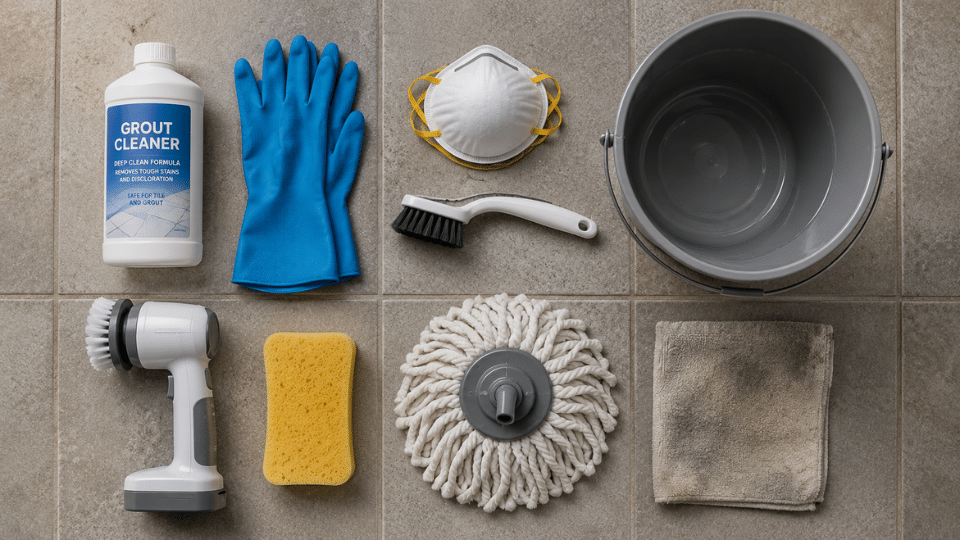
Use this method when grout is deep brown, heavily stained, or still dirty after gentler cleaning. A store-bought grout cleaner can save effort, but it needs careful testing and rinsing.
Materials: Commercial grout cleaner, gloves, face mask, nylon grout brush, electric scrub brush, bucket, warm water, sponge, mop, and old towel.
- Read the product label first: Check whether the cleaner is safe for your tile type. Be extra careful with natural stone, colored grout, or older floors.
- Test a hidden area: Strong grout cleaners can discolor grout or dull sensitive tile finishes. Wait until the test spot dries before continuing.
- Protect nearby surfaces: Keep an old towel near cabinets, baseboards, thresholds, or metal trim so splashes can be wiped quickly.
- Work in a small section: Apply cleaner to about a 2 ft. x 2 ft. area instead of coating the entire floor. The Ashley French method also uses small sections to keep the process controlled.
- Scrub according to the label: Some cleaners work quickly and do not need a long wait time. Use a grout brush or electric scrub brush to loosen the buildup.
- Rinse with warm water: Use a sponge or mop, then rinse again with fresh water. Strong cleaner left behind can dull tile or attract new dirt.
- Dry the floor with a towel: Once dry, check whether the grout needs one more small pass. Avoid repeating cleaning on areas that already look clean.
- Wait before sealing: If you plan to seal the grout, let it dry fully. The reference method suggests waiting 24 hours before applying the sealer.
5. For Hazy or Dull Grout After Cleaning
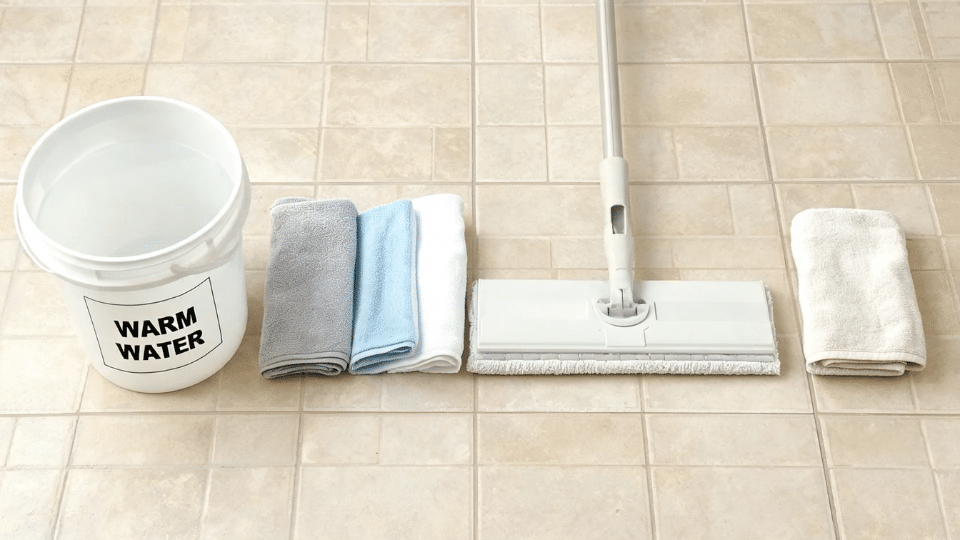
If grout looks better while wet but dries dull, chalky, or cloudy, leftover cleaner may be the issue. This can happen after using baking soda, dish soap, or stronger grout cleaners.
Materials: Warm water, microfiber cloths, a clean mop, a bucket, and a dry towel.
- Do not add another cleaner yet: More product can make the residue worse and leave the grout looking cloudy again after it dries.
- Wipe with warm water: Use a damp microfiber cloth and work in small sections. Focus on lifting the residue rather than scrubbing aggressively.
- Change the rinse water often: If the water turns cloudy, it is picking up leftover cleaner. Fresh water prevents residue from re-entering the grout.
- Mop the floor with clean water: For larger areas, a final mop helps remove cleaner from the tile surface around the grout lines.
- Dry the area completely: If the grout dries clearer, the residue was the problem. If it stays dark, the issue may be staining rather than a lack of light.
- Repeat the rinse once if needed: Two careful, clean-water rinses are usually better than adding another chemical too soon.
6. For Grout That Gets Dirty Again Fast
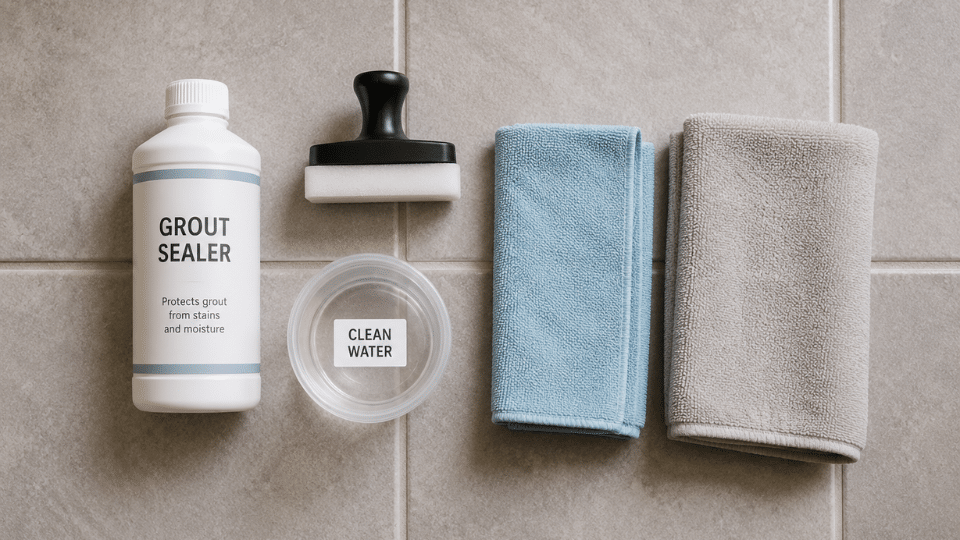
If the grout cleans up fine but turns gray or patchy within a week or two, the surface isn’t sealed, or the old sealer has worn through. Cleaning without sealing just resets the clock.
This is the step that actually makes the job last. It matters most in high-moisture areas: shower floors, tiled shower walls, and bathroom floors where grout lines stay damp regularly.
If you’re working in a tiled shower and thinking about the space more broadly, the small bathroom shower designs show how tile choice and grout line width affect long-term maintenance. Smaller tiles mean more grout lines, which means sealing matters even more.
Materials: Matching cleaner from above, clean water, microfiber cloth, towel, grout sealer, and sealer applicator.
- Clean the grout first: Use the method that fits the stain. Sealer should go over clean grout, not dirt, soap, or leftover paste.
- Rinse until the grout is residue-free: Any cleaner left behind can get trapped under the sealer, making the lines look uneven.
- Let the grout dry fully: Wait at least 24 hours, or follow the sealer label if it asks for more time.
- Apply sealer only to the grout lines: Move slowly and keep the applicator on the grout, not on the tile.
- Wipe excess sealer from the tile: Do this before it dries, especially on glossy tile where sealer marks can show.
- Let the sealer cure: Follow the label before showering, mopping, or walking heavily on the floor.
This section does the main job of the blog. You can identify the grout issue, choose one method, and follow a complete process without bouncing between steps.
The Tools That Make Grout Cleaning Easier
The cleaner matters, but the tool decides how tiring the job feels. A good brush can save more effort than a stronger formula.
| Tool | Best For | Why It Helps |
|---|---|---|
| Grout brush | Most floors and showers | Fits into the line better than a sponge or mop |
| Old toothbrush | Corners and small touch-ups | Gives control in tight areas, but is slow for floors |
| Electric scrub brush | Large floors or wrist fatigue | Reduces hand scrubbing and speeds up bigger areas |
| Steam cleaner | Chemical-free cleaning | Uses heat to loosen dirt without mixing cleaners |
| Microfiber cloth | Rinsing and drying | Picks up residue instead of pushing it back into the grout |
| Mop | Final floor rinse | Clears leftover cleaner after detailed scrubbing |
This helps you choose a realistic tool before starting. It also gives room for product choices without turning the job into a shopping list.
When a Store-Bought Grout Cleaner Makes More Sense
A commercial grout cleaner is a backup, not a starting point. It makes sense when grout has years of dirt embedded in porous cement-based joints, or when DIY methods have been tried and genuinely haven’t worked.
Products like Zep Grout Cleaner can handle that level of buildup, but they need to be tested first, used with gloves and ventilation, and rinsed thoroughly twice.
They are not the right choice for natural stone tile, colored grout, or grout that hasn’t been checked for cleaner compatibility first. Strong cleaners that aren’t rinsed completely can leave a residue that attracts new dirt faster than the original buildup did.
If you’re also considering refreshing the paint on your bathroom tile floor, clean the grout first; paint won’t adhere to grout with cleaner residue or old soap scum in the joints.
What Not to Use on Grout
Some shortcuts can make grout look cleaner for a day, but create damage later. These are the methods I would treat carefully.
- Toilet bowl cleaner: It may create a dramatic before-and-after, but it is too harsh for regular grout cleaning and can damage grout over time.
- Bleach as a routine cleaner: Bleach may temporarily brighten stains, but frequent use can weaken grout and leave a residue that attracts dirt.
- Ammonia-based cleaners: These can be too aggressive for grout and should never be mixed with bleach or other cleaning chemicals.
- Metal scrapers or sandpaper: These can scratch tile and damage the grout filler, especially if the grout is already worn or cement-based.
- Vinegar on natural stone: Vinegar can etch marble, limestone, travertine, and other stone surfaces, even if it seems safe for ceramic tile.
- Strong acidic cleaners without testing: Acidic formulas may work on some grout stains, but they can discolor grout or dull sensitive tile finishes.
- Cleaner left to dry in the grout line: Any cleaner that dries in the grout line can leave residue, dullness, or a sticky surface that attracts new dirt.
Knowing what not to reach for first is just as useful as knowing the right method, especially on tile you can’t easily replace.
If your grout cleaning project is part of a larger bathroom update, the same logic applies to painting shower tile; prep and material compatibility matter more than product strength.
Frequently Asked Questions
Can I clean grout lines without getting on my knees?
Yes. A long-handled grout brush gets into the joint better than a mop and keeps you upright. For large floors, a steam cleaner with a detail nozzle or an electric scrub brush attachment reduces bending significantly and speeds up the whole job.
Why does my grout stay dark even after cleaning?
Check whether the grout is still wet; wet grout looks darker than it is. Let it dry fully first. If it’s still dark when dry, the staining is below the surface. At that point, grout colorant, resealing, or replacing damaged sections works better than repeating the same cleaner.
Is hydrogen peroxide safe to use on colored grout?
Not without testing first. Hydrogen peroxide can lighten some colored grout, especially with longer contact times or repeated use. Test a hidden line and check the dry result before applying it to a visible area. If the color shifts, switch to a pH-neutral cleaner labeled safe for colored grout.
How often should grout be deep-cleaned?
It depends on location and foot traffic. A dry hallway may need a deep clean once or twice a year. Shower grout, kitchen backsplashes, and busy floors often need it more frequently. Clean sooner if you see mildew, sticky grease buildup, or dirt settling back into the lines within days of a regular mop.
Should I use a grout pen after cleaning?
Only on clean, dry, undamaged grout. A grout pen adds color, but it doesn’t fix cracked, loose, or moldy grout underneath. If the grout is damaged below the surface, a pen hides the problem instead of addressing it.
What’s the best homemade grout cleaner for tile floors?
For most floor grout, two parts baking soda to one part hydrogen peroxide works well. For greasy kitchen floors, replace the peroxide with warm water and add a small drop of dish soap. Match the recipe to the stain type rather than using one formula across the whole house.
Does steam cleaning damage grout?
Standard steam cleaning is safe on most sealed grout. The risk is that steam can strip old or worn grout sealer, which means you’ll need to reseal sooner. Check whether your grout is sealed before steam cleaning, and plan to reapply sealer once the floor dries.
Wrap Up
The easiest way to clean grout is to match the method to the problem. Light floor dirt needs a gentle paste, bathroom buildup often needs hydrogen peroxide, greasy kitchen grout needs dish soap, and old floor grime may need a stronger cleaner.
Once the cleaner fits the stain, the job becomes more manageable: scrub with the right brush, rinse well, dry fully, and seal if the grout keeps staining.
If you are deciding how to clean grout lines at home, my advice is to start with the gentlest fix that matches the issue. Share what worked in your space.





