

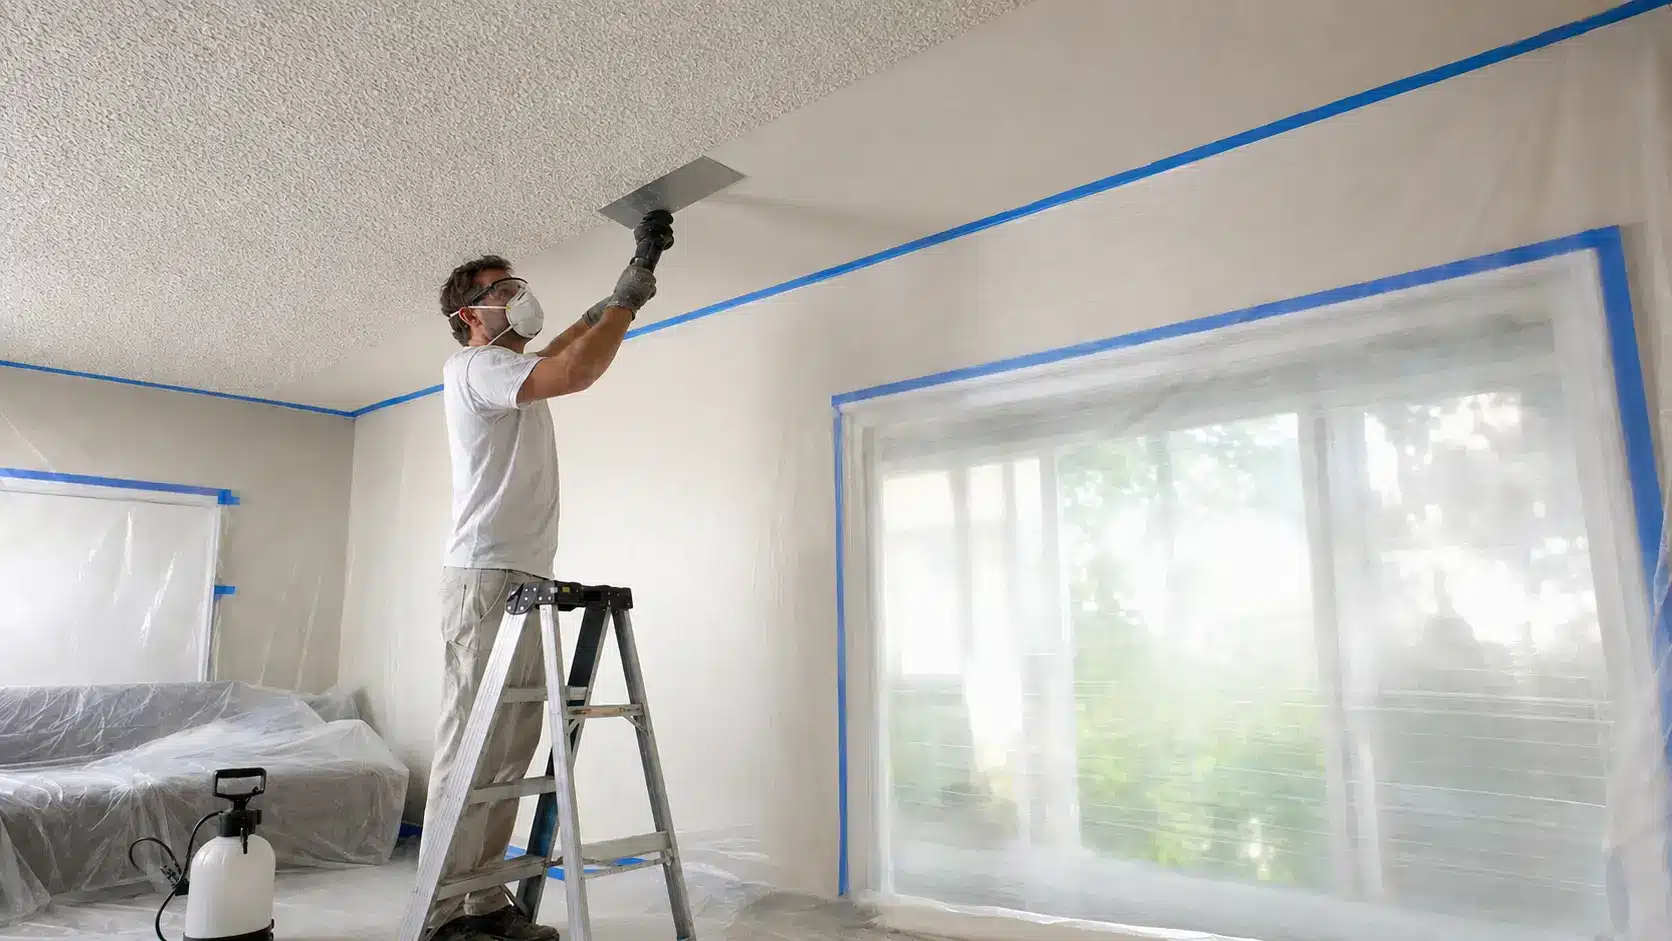


Removing a popcorn ceiling can give a room a cleaner, more updated finish, but the process involves more than simply scraping away the texture.
Safety checks, proper preparation, careful removal, and surface repairs all play a role in achieving a smooth result without unnecessary damage.
This blog explains how to remove a popcorn ceiling step by step, including asbestos testing, the tools you’ll need, DIY versus professional removal, expected costs and timelines, common mistakes, and alternatives if you prefer to cover the texture instead.
Test Your Ceiling for Asbestos Before You Start
This step determines everything else about your project, so it comes first for a reason.
Older homes are more likely to have asbestos in the ceiling texture, so it is best to test first rather than guess. Testing is simple:
- Use an EPA-approved test kit, costing about $30 to $50
- Results usually come back within about a week
- If positive, stop right away, do not scrape or sand, and call a certified asbestos abatement contractor
- If negative, you are safe to move forward with removal yourself
Tools and Materials You Will Need
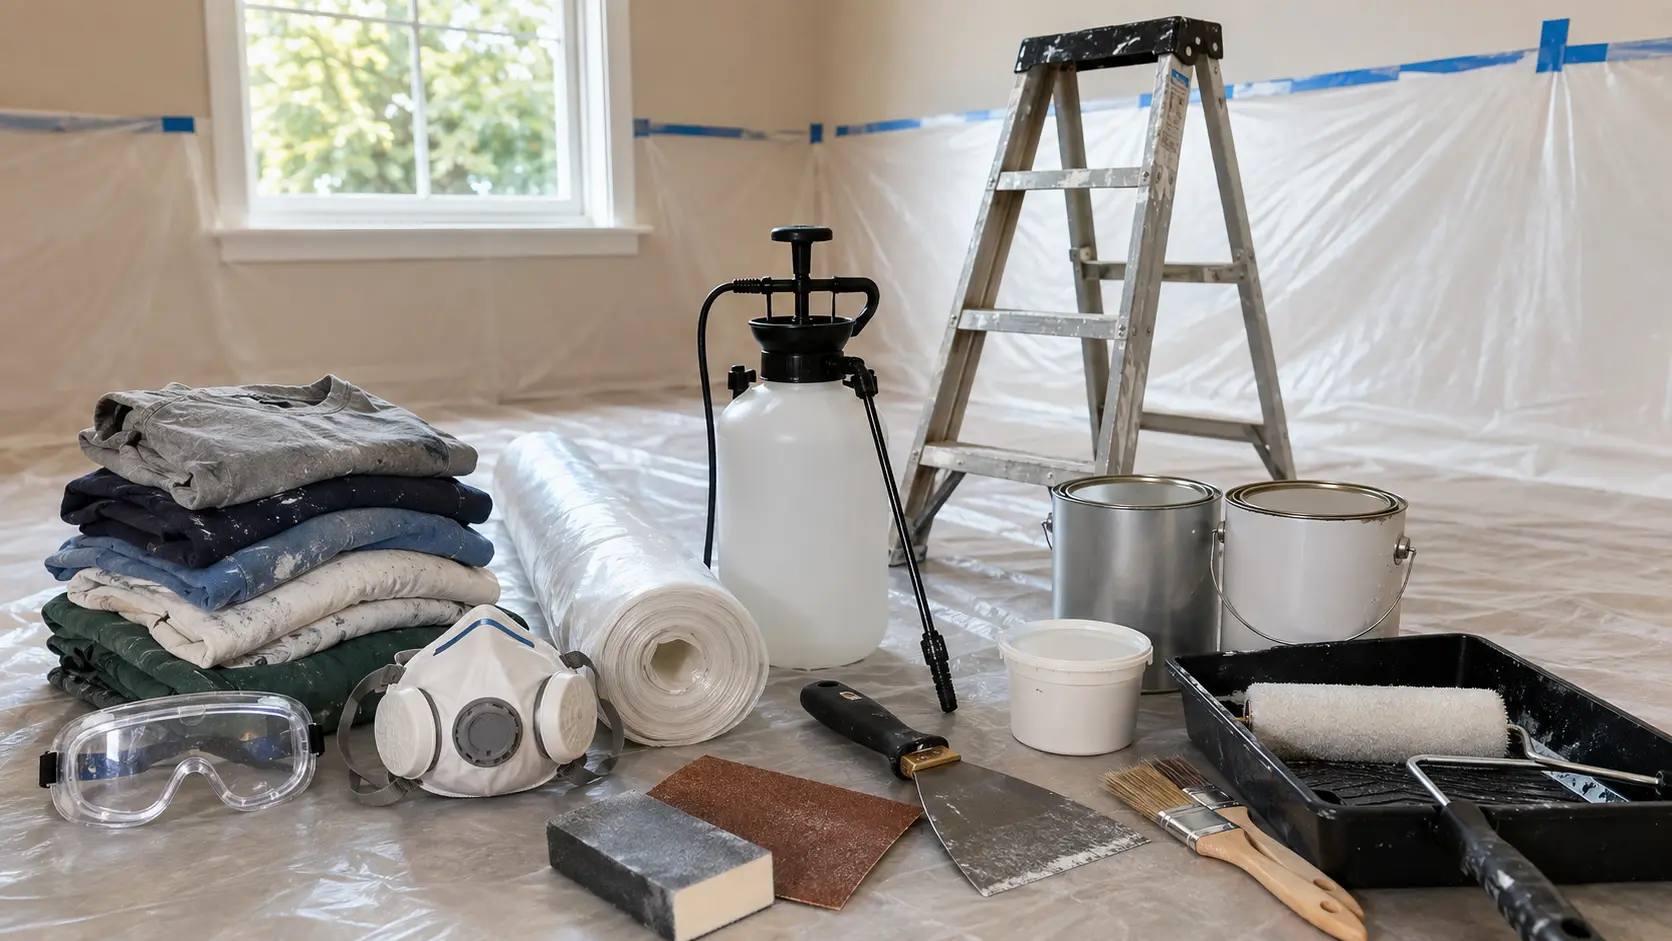
Gather everything before you start so you don’t stop mid-job to run to the hardware store.
- Protective gear: Goggles, a dust mask or respirator, and old clothes you don’t mind ruining.
- Plastic sheeting: Enough to cover floors, walls, and furniture in the work area.
- A garden sprayer: For wetting down the texture in sections.
- A wide scraper and a sturdy ladder: For safely removing softened texture and reaching the ceiling.
- Joint compound, sandpaper, primer, and paint: For repairing and refinishing the ceiling once the texture is off, especially when preparing a smooth finish that complements a cathedral ceiling.
How to Remove a Popcorn Ceiling Step by Step
Working in small sections keeps the texture manageable and prevents the ceiling from drying out before you can scrape it.
1. Test a Small Area with Water
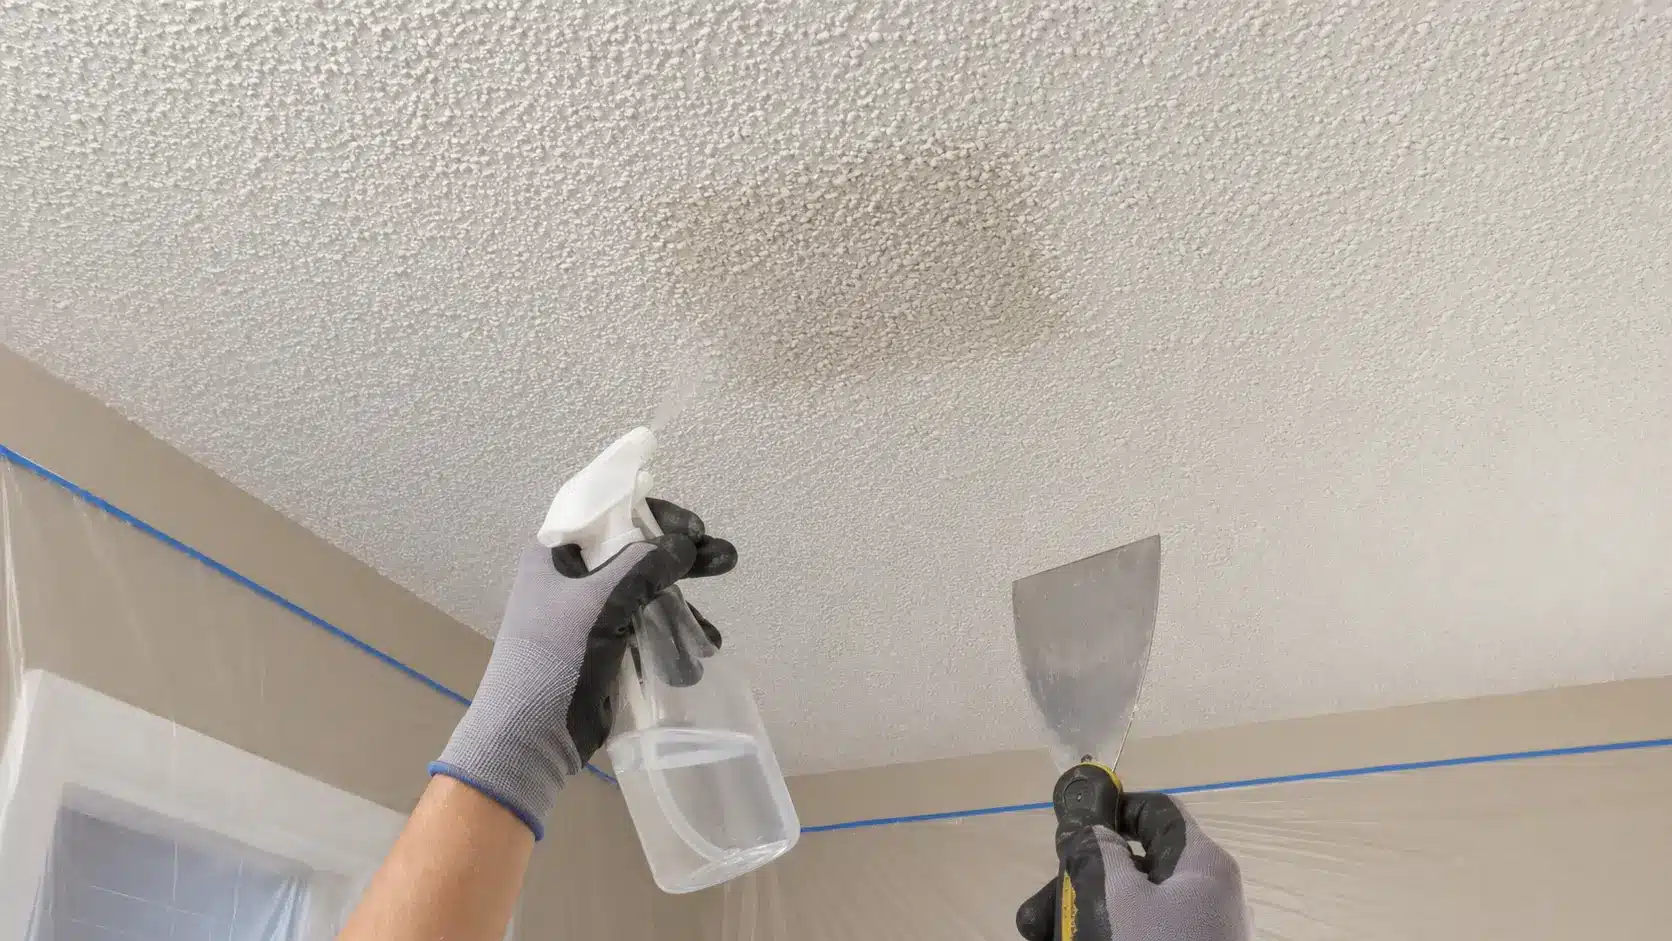
Spray a small patch first to confirm the texture softens and comes off without damaging the drywall underneath.
This test run tells you how long the texture needs to soak and whether your scraper is the right tool before you commit to the full ceiling.
Reminder: Wait a few minutes after spraying before you test scrape, since rushing the test can give you a false read on how the texture behaves.
2. Spray the Ceiling in Small Sections
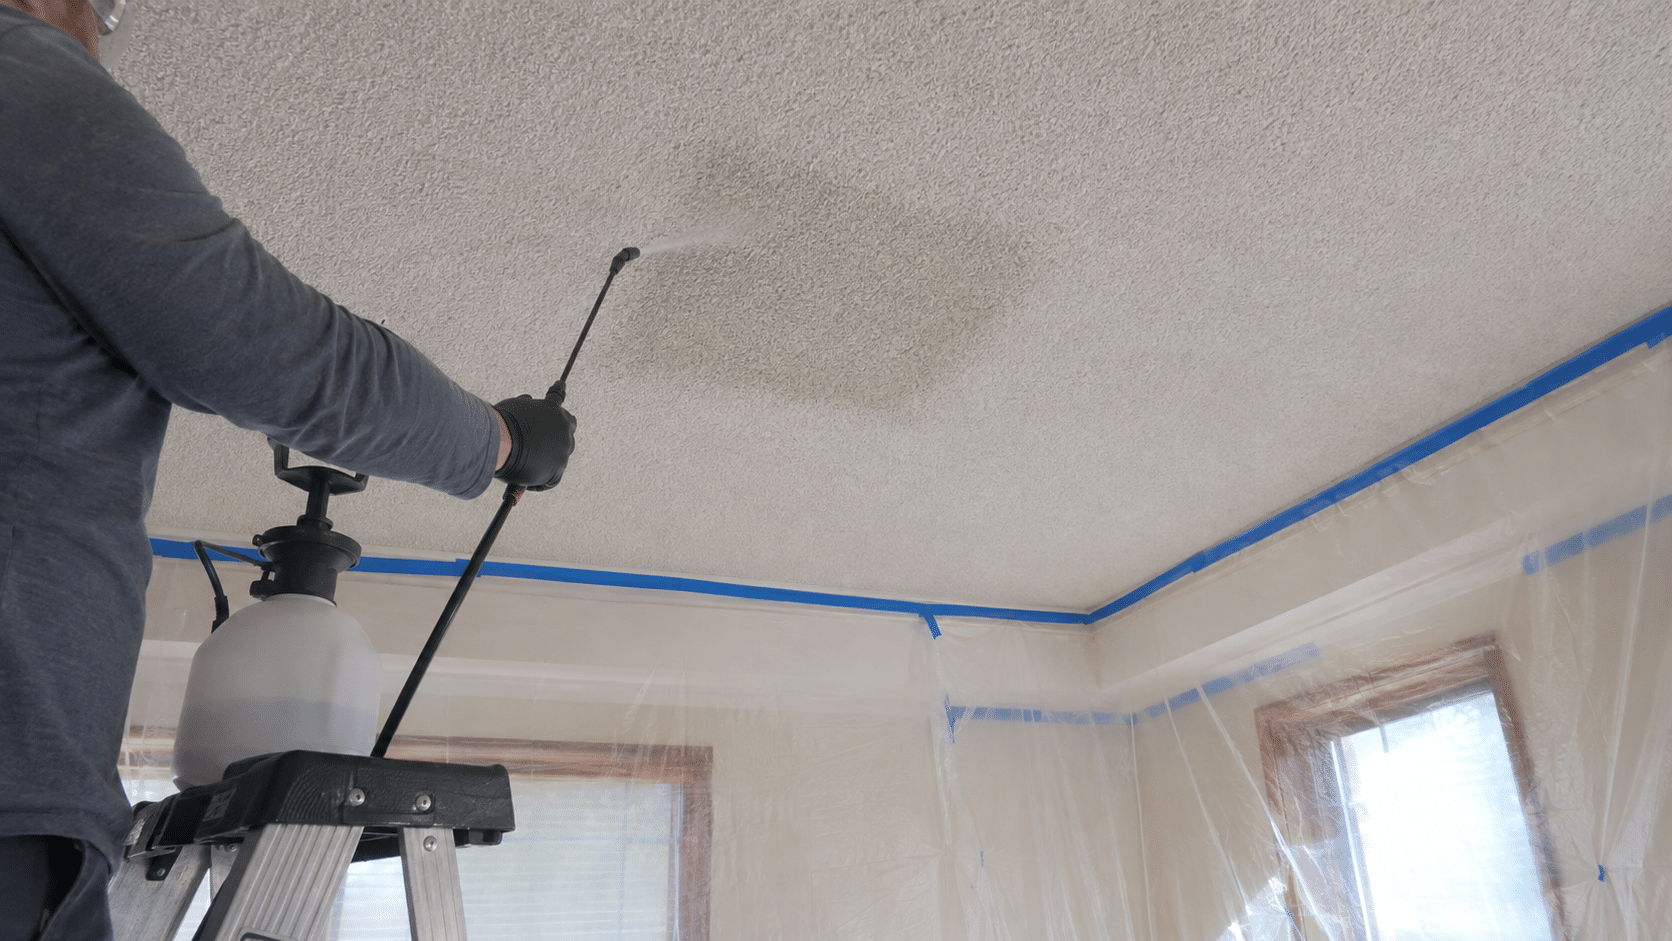
Mist a three-foot by three-foot section with water from the garden sprayer, avoiding oversaturation that can soak into the drywall.
Working in small patches keeps the texture wet enough to scrape while you finish each section before it dries out again.
Reminder: Keep a light, even mist instead of soaking the surface, since heavy spraying is what leads to drywall damage down the line.
3. Let the Texture Soften
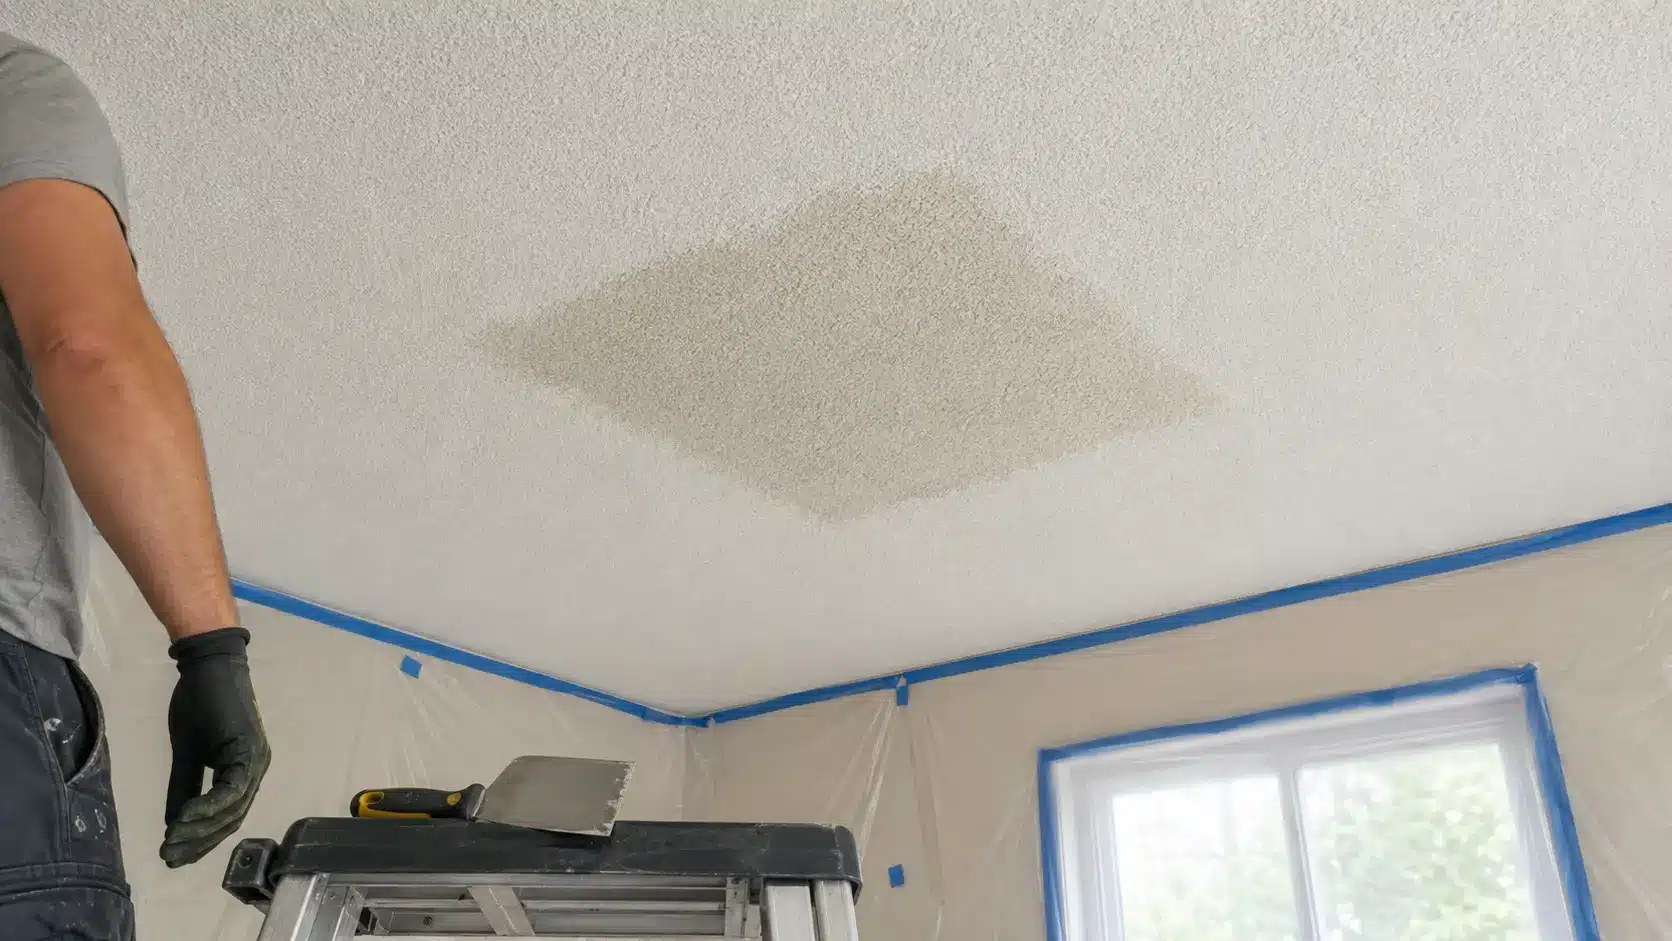
Give the water a few minutes to soak in until the texture looks darker and feels soft to the touch.
Softening time varies depending on texture thickness, so check a small spot with your scraper before working across the whole section.
Reminder: Don’t let a sprayed section sit too long, since texture that dries back out will need another pass of water before it scrapes clean.
4. Scrape without Damaging the Drywall
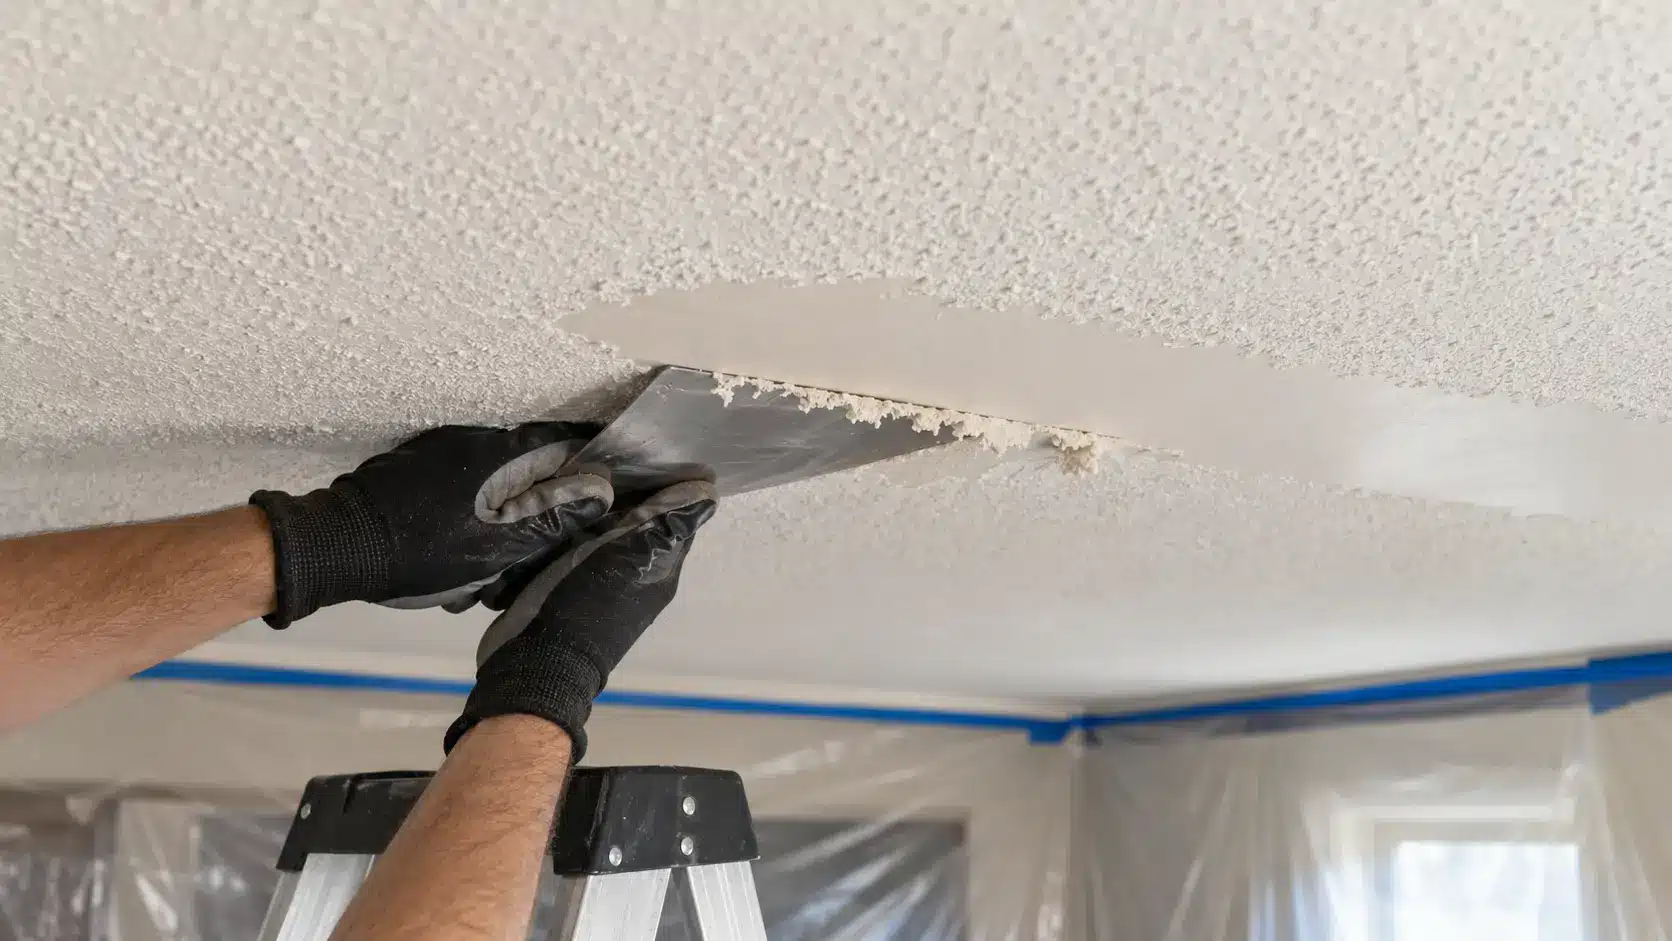
Hold the scraper at a low angle and work in gentle, even strokes to lift the softened texture without gouging the surface underneath.
A wide, flexible scraper distributes pressure more evenly than a narrow one, helping protect the drywall as you go.
Reminder: Stop and re-wet any spot that feels like it’s fighting back, since forcing a dry patch is what causes gouges and extra repair work.
5. Collect and Dispose of the Debris
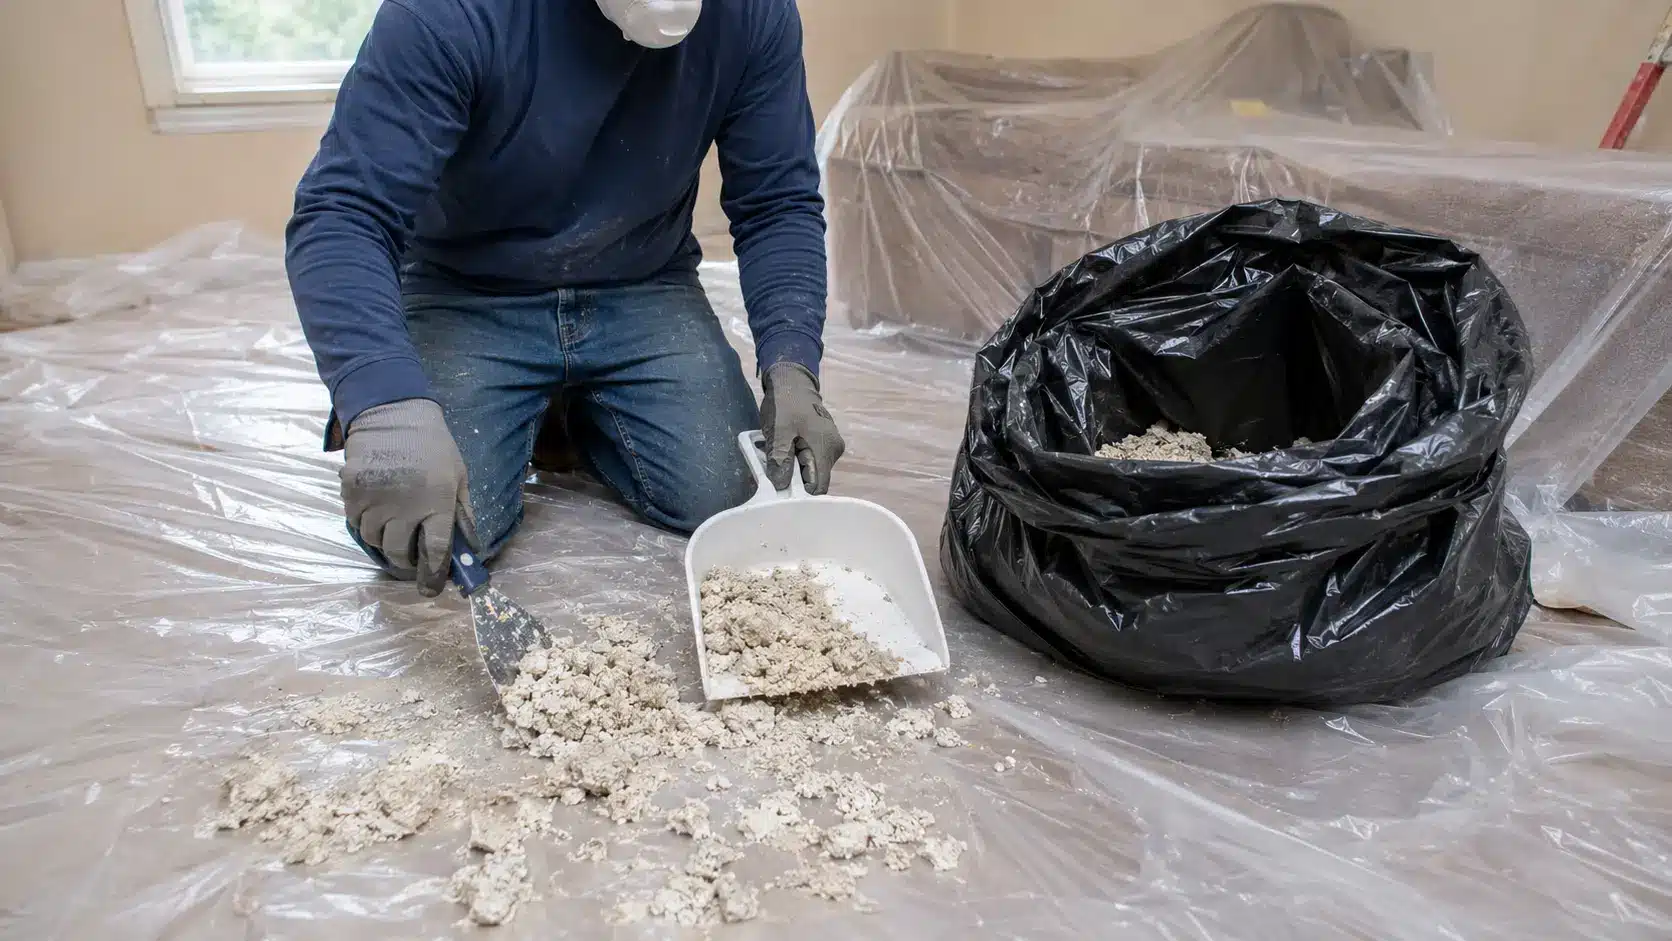
Scoop the wet debris into a trash bag as you go, then wrap up the plastic sheeting once the room is clear. Wet popcorn debris is heavier than it looks, so double-bag it before hauling it out to avoid tears or spills.
Reminder: Check local disposal rules first if there’s any chance the texture contains asbestos, since regular trash pickup may not allow that material.
DIY vs Professional Popcorn Ceiling Removal
The right choice depends on how much time you have, how comfortable you are with the mess, and the condition of the ceiling.
| Factor | DIY | Professional |
|---|---|---|
| Cost | Lower, materials only | Higher, includes labor |
| Safety | Depends on asbestos status | Trained for hazardous materials |
| Time | Longer, especially for beginners | Faster with experienced crews |
| Mess | Contained but hands-on | Managed with less homeowner effort |
| Ceiling condition | Best for simple, unpainted texture | Better for damaged or painted ceilings |
| Finish quality | Varies with skill level | Consistently smooth results |
If your ceiling is simple and asbestos-free, DIY can save real money. Anything more complicated is usually worth handing off to a pro.
How Long Does Popcorn Ceiling Removal Take
The timeline depends on the room size, how well the texture absorbs water, and the amount of follow-up repair work.
Preparing and covering the room can take a couple of hours, while spraying and scraping a single average bedroom often takes a few more hours.
Drying time between repair coats, sanding, and painting usually stretches the full project across two to four days from start to finish.
Painted or heavily textured ceilings tend to push that timeline toward the longer end, since extra scraping, skim coating, or minor concrete repair around adjoining surfaces can add more time.
How Much Does Popcorn Ceiling Removal Cost
Cost varies significantly depending on whether you do the work yourself or hire someone to do it.
| Option | Typical Cost | Notes |
|---|---|---|
| DIY removal | Often under $100 per room | Covers an asbestos test kit, scraper, sprayer, and finishing supplies |
| Professional removal | $932 to $3,086 on average | Contractors typically charge $1 to $6 per square foot |
| Higher-end costs | Toward the top of the professional range | Driven by water damage, cracking, or unusually high ceilings needing extra repair and equipment |
Get a quote from at least two contractors before committing, since pricing can vary based on local labor rates. Factor in the cost of an asbestos test either way, since it protects you regardless of which route you choose.
Popcorn Ceiling Removal Mistakes to Avoid
A few small missteps can turn an easy weekend project into extra repair work, so it helps to know what to avoid.
- Oversaturating the drywall lets water soak through and damage the paper backing, while scraping too hard gouges the surface and creates more repair work than the texture removal itself.
- Skipping an asbestos test in an older home can expose you to fibers that are dangerous to breathe, and leaving fixtures uncovered puts them at risk of water and debris damage.
- Painting over damp joint compound is another common mistake, since it often bubbles, peels, or shows uneven texture once dry.
- Failing to protect floors and walls with plastic sheeting or drop cloths can leave behind a difficult cleanup, as wet texture tends to stick to nearby surfaces.
Ways to Decorate Over a Popcorn Ceiling

Removing the texture is not the only option, and decorating over it can work well if you would rather skip the mess entirely.
- Wood plank ceiling: Adds warmth and fully hides the texture once installed over furring strips. Works well in living rooms and bedrooms where a rustic or coastal look fits the space.
- Drop ceiling tiles: A straightforward option that also gives easy access to wiring or plumbing above. Popular in basements and utility spaces where future access matters more than a seamless finish.
- Textured wallpaper or ceiling paper: Covers the popcorn look with a fresh pattern without removing anything. A budget-friendly choice that can be swapped out again later if your style changes.
- Tin or faux tin ceiling tiles: Add a decorative, vintage look while fully covering the old texture. Common in kitchens and dining rooms, where a pressed-metal pattern adds character.
- Beadboard panels: Create a clean, cottage-style look and can be installed directly over the existing texture with minimal prep. A good fit for bathrooms and entryways seeking a classic, textured wall-to-ceiling look.
Frequently Asked Questions
Can I Just Put Drywall Over a Popcorn Ceiling?
Yes, you can install drywall over a popcorn ceiling as long as the existing surface is stable and there are no signs of moisture damage or structural problems.
Does Removing a Popcorn Ceiling Increase Home Value?
Removing a popcorn ceiling can make a room look cleaner and more modern, which may improve buyer appeal, though the effect on resale value depends on the home and local market.
Is It Safe to Sleep in a Room with a Popcorn Ceiling?
Yes, sleeping in a room with an intact popcorn ceiling is generally safe, but you should avoid scraping, sanding, or damaging it if asbestos may be present.
When Should I Worry About a Popcorn Ceiling?
You should be concerned if the ceiling is crumbling, stained, water-damaged, or showing signs of disturbance, especially in homes built before the mid-1980s.
Will 30 Minutes of Asbestos Exposure Hurt You?
A brief exposure does not guarantee illness, but no asbestos exposure is considered completely safe; contact a professional if exposure occurred.
Final Thoughts
A smooth ceiling comes down to following the sequence: test first, prepare the room, soften the texture, scrape carefully, repair the surface, then prime and finish.
Skipping a step creates more work later, so take it one stage at a time, and the results will hold up.
Give yourself a full weekend if it’s your first time, and don’t rush the drying stages between repairs and paint. Once that last coat goes on, you’ll have a ceiling that finally matches the rest of the room.





