


Messy pantry shelves slow everything down. You buy food you already have, lose ingredients behind boxes, and find expired items after it is too late to use them.
I know a pantry can get out of hand fast, especially when busy weeks turn into quick drop-offs and half-used bags. Learning how to organize kitchen pantry spaces gives you a cleaner setup that makes cooking, shopping, and meal planning easier.
This article gives you a simple pantry reset, clear storage zones, smart layout tips, and easy upkeep habits. You’ll get a pantry that is easier to use, quicker to restock, and simpler to maintain during busy weeks.
Why an Organized Kitchen Pantry Matters
A pantry is easy to ignore until it starts making daily cooking harder. When shelves are crowded or mixed up, you waste time searching, buy the same items again, and forget about food before it expires.
A clear pantry setup helps you see what you have, plan meals faster, and keep grocery trips more focused, the same principle behind a minimalist kitchen design where every element earns its place. It also makes cleanup easier because every item has a place to return to.
Before you start buying bins or labels, it helps to understand that pantry organization is not just about looks. It is about making your kitchen easier to use every day.
How to Organize Kitchen Pantry Shelves Step by Step
Pantry organization works best when you follow a clear order. If you start by buying bins or moving items around without a plan, the shelves can look better for a few days but will fall apart quickly again.
This step-by-step pantry reset keeps the process simple. You will clear the shelves, sort what you have, create useful zones, and set up a system that is easier to keep tidy after grocery trips.
Step 1: Empty the Pantry and Clean It
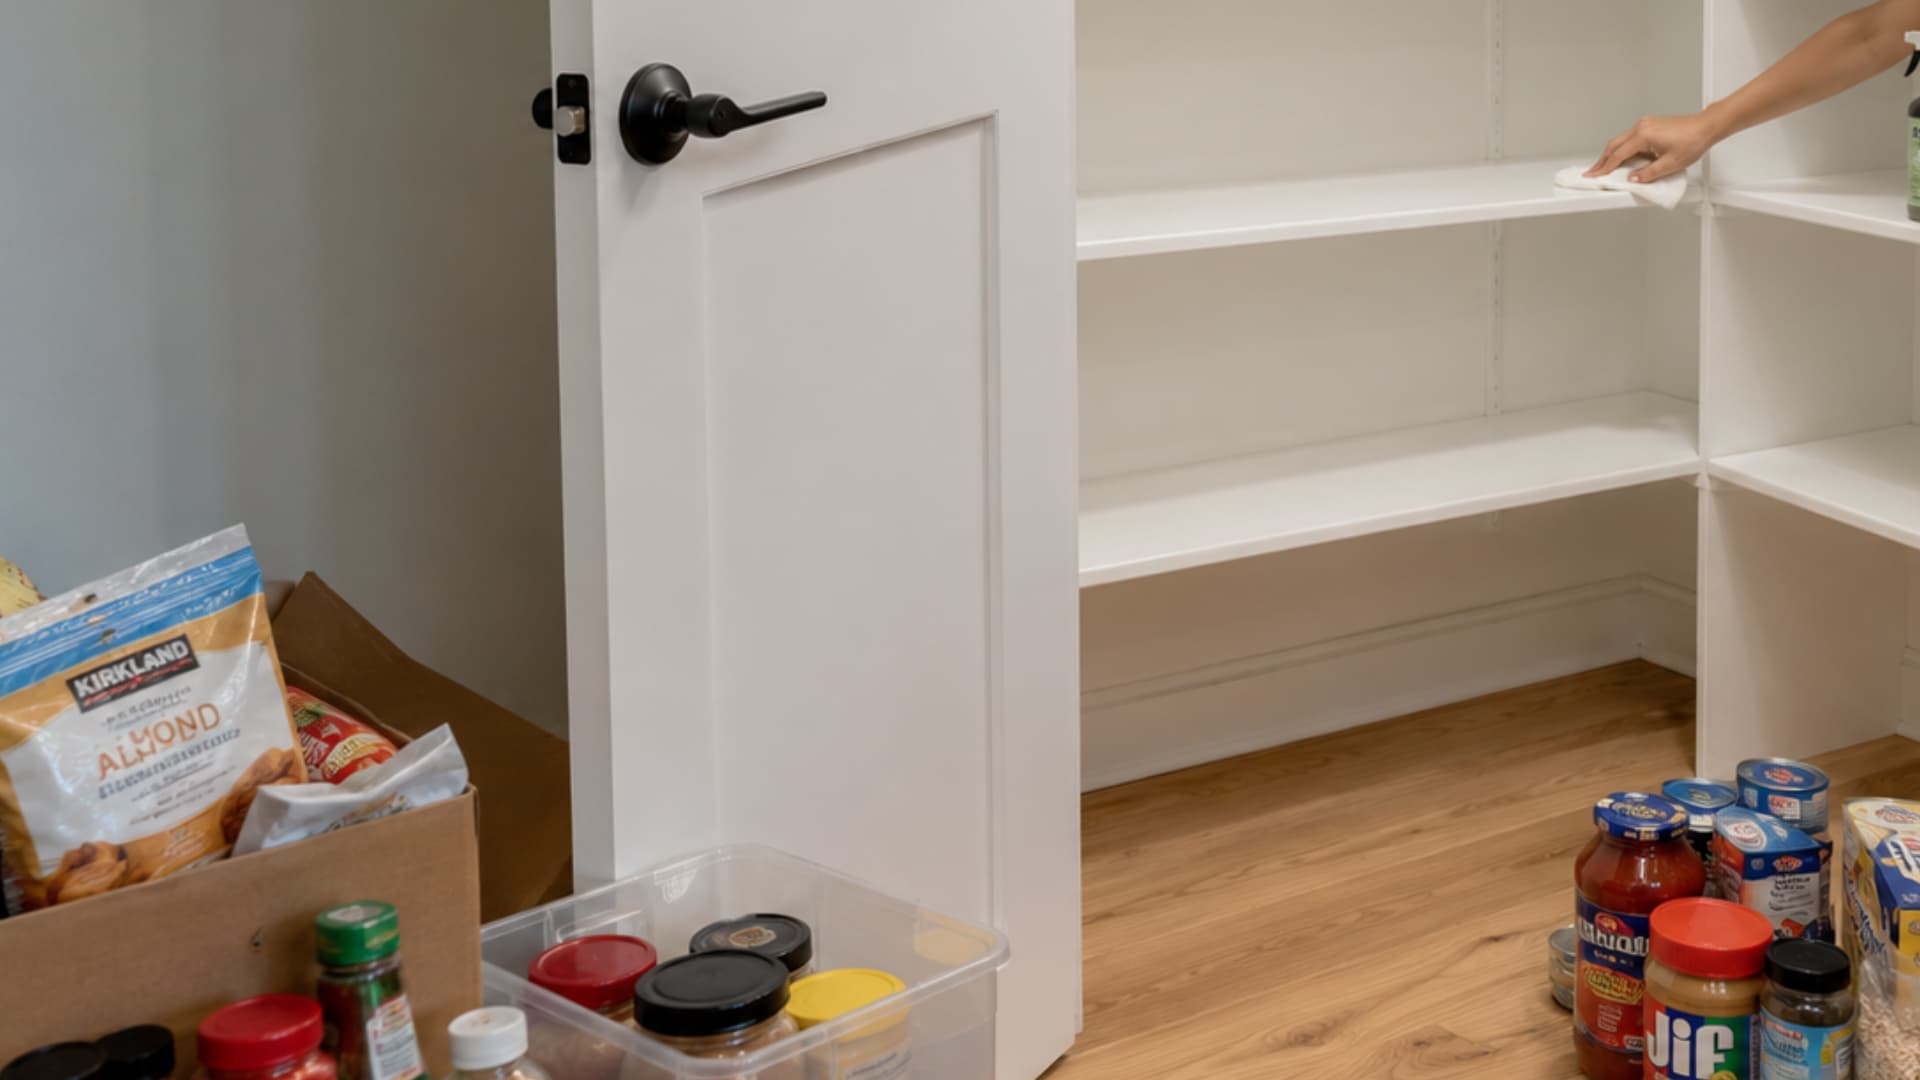
Take everything out of the pantry and place it on a counter, table, or clean floor area. This helps you see the full amount of food, containers, and supplies you have before anything goes back in. Keep a trash bag, a recycling bag, a donation bag, and a cleaning cloth nearby before you start.
Once the shelves are empty, wipe them down, clean the corners, and sweep or vacuum the floor if needed. Let the shelves dry fully before you restock the pantry.
| Pro Tip: Before wiping down shelves, check the shelf depth with a tape measure. Shelves deeper than 16 inches almost always need a pull-out bin or handled basket to make the back row usable, without one, that space gets abandoned within a few weeks of reorganizing. |
Step 2: Check Every Item and Remove What Does Not Belong
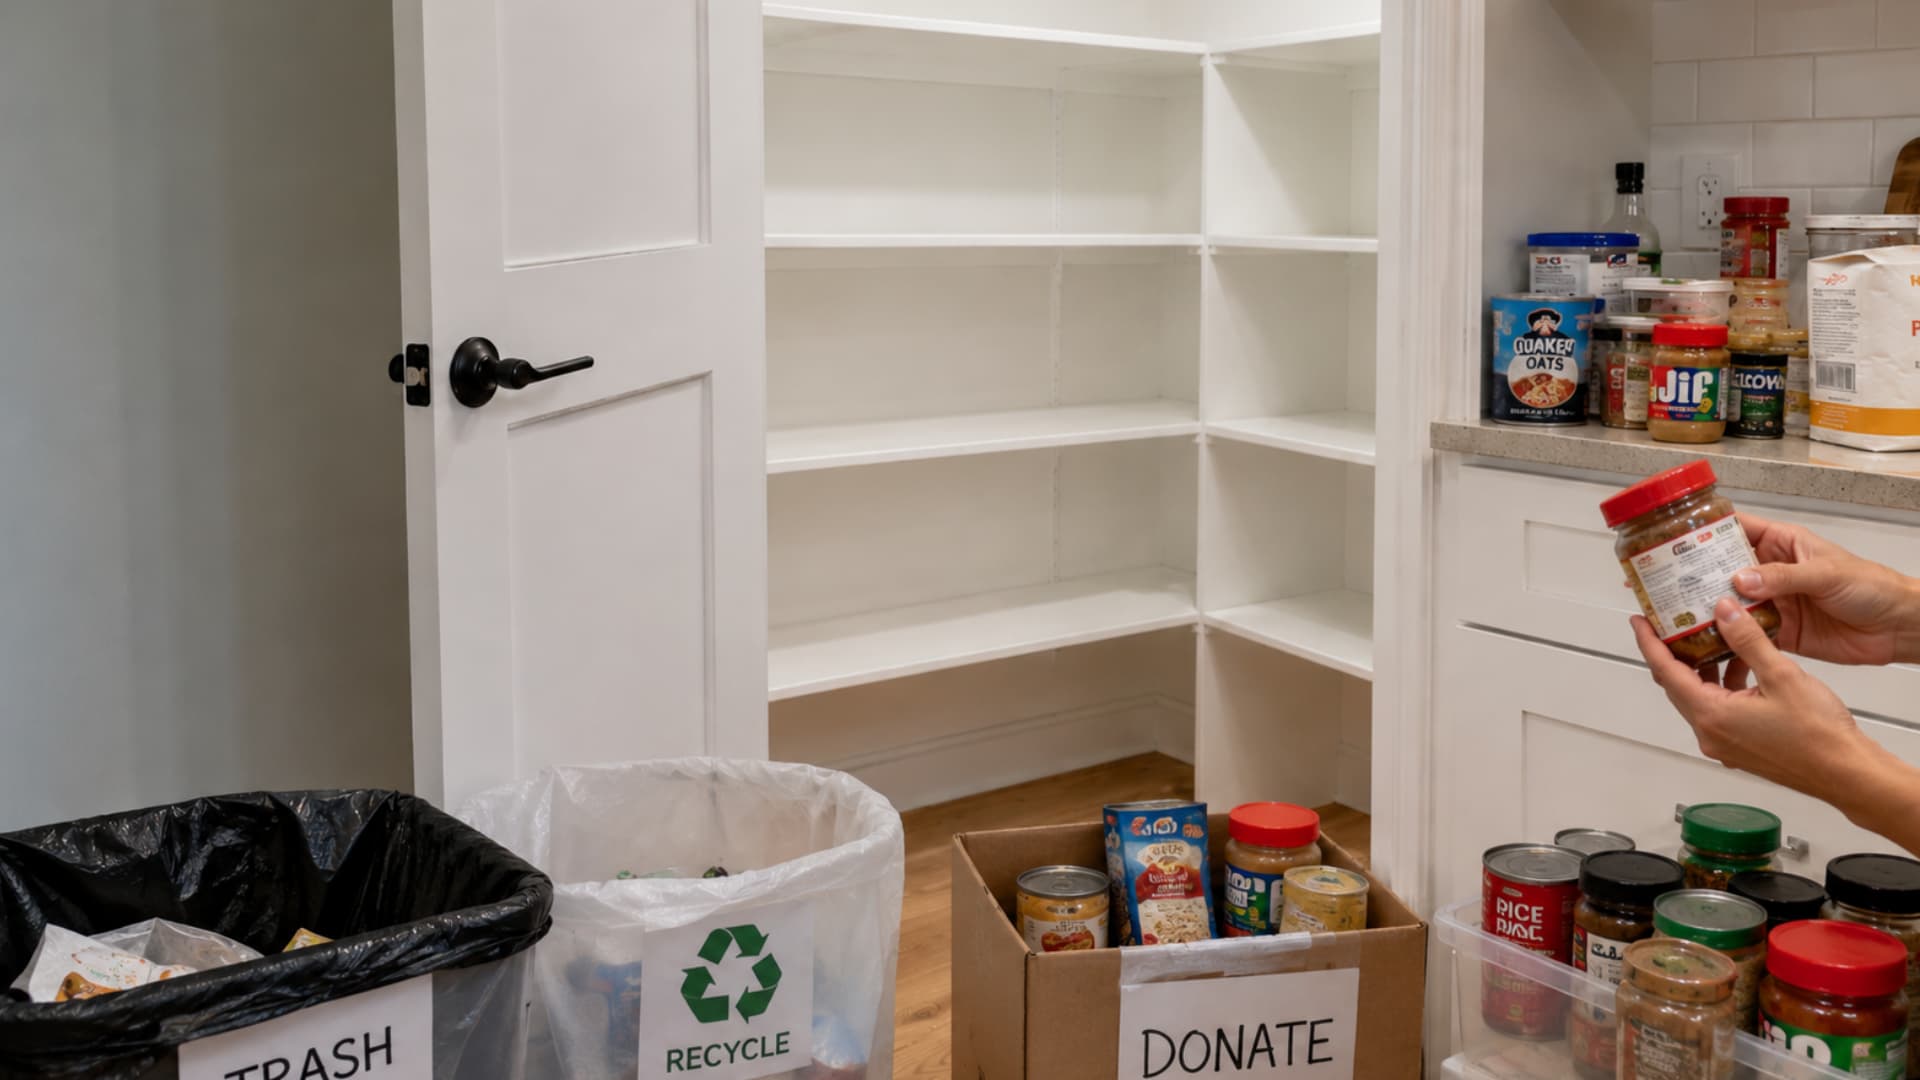
Go through each item one by one before you start sorting. Throw away expired food, stale snacks, broken packets, and anything your household will not use. You can also combine duplicate packets if they are the same food and still fresh.
If you find unopened extras that are still safe and sealed, set them aside for donation. This clears space without wasting food that someone else can use.
Step 3: Sort the Remaining Food Into Clear Groups
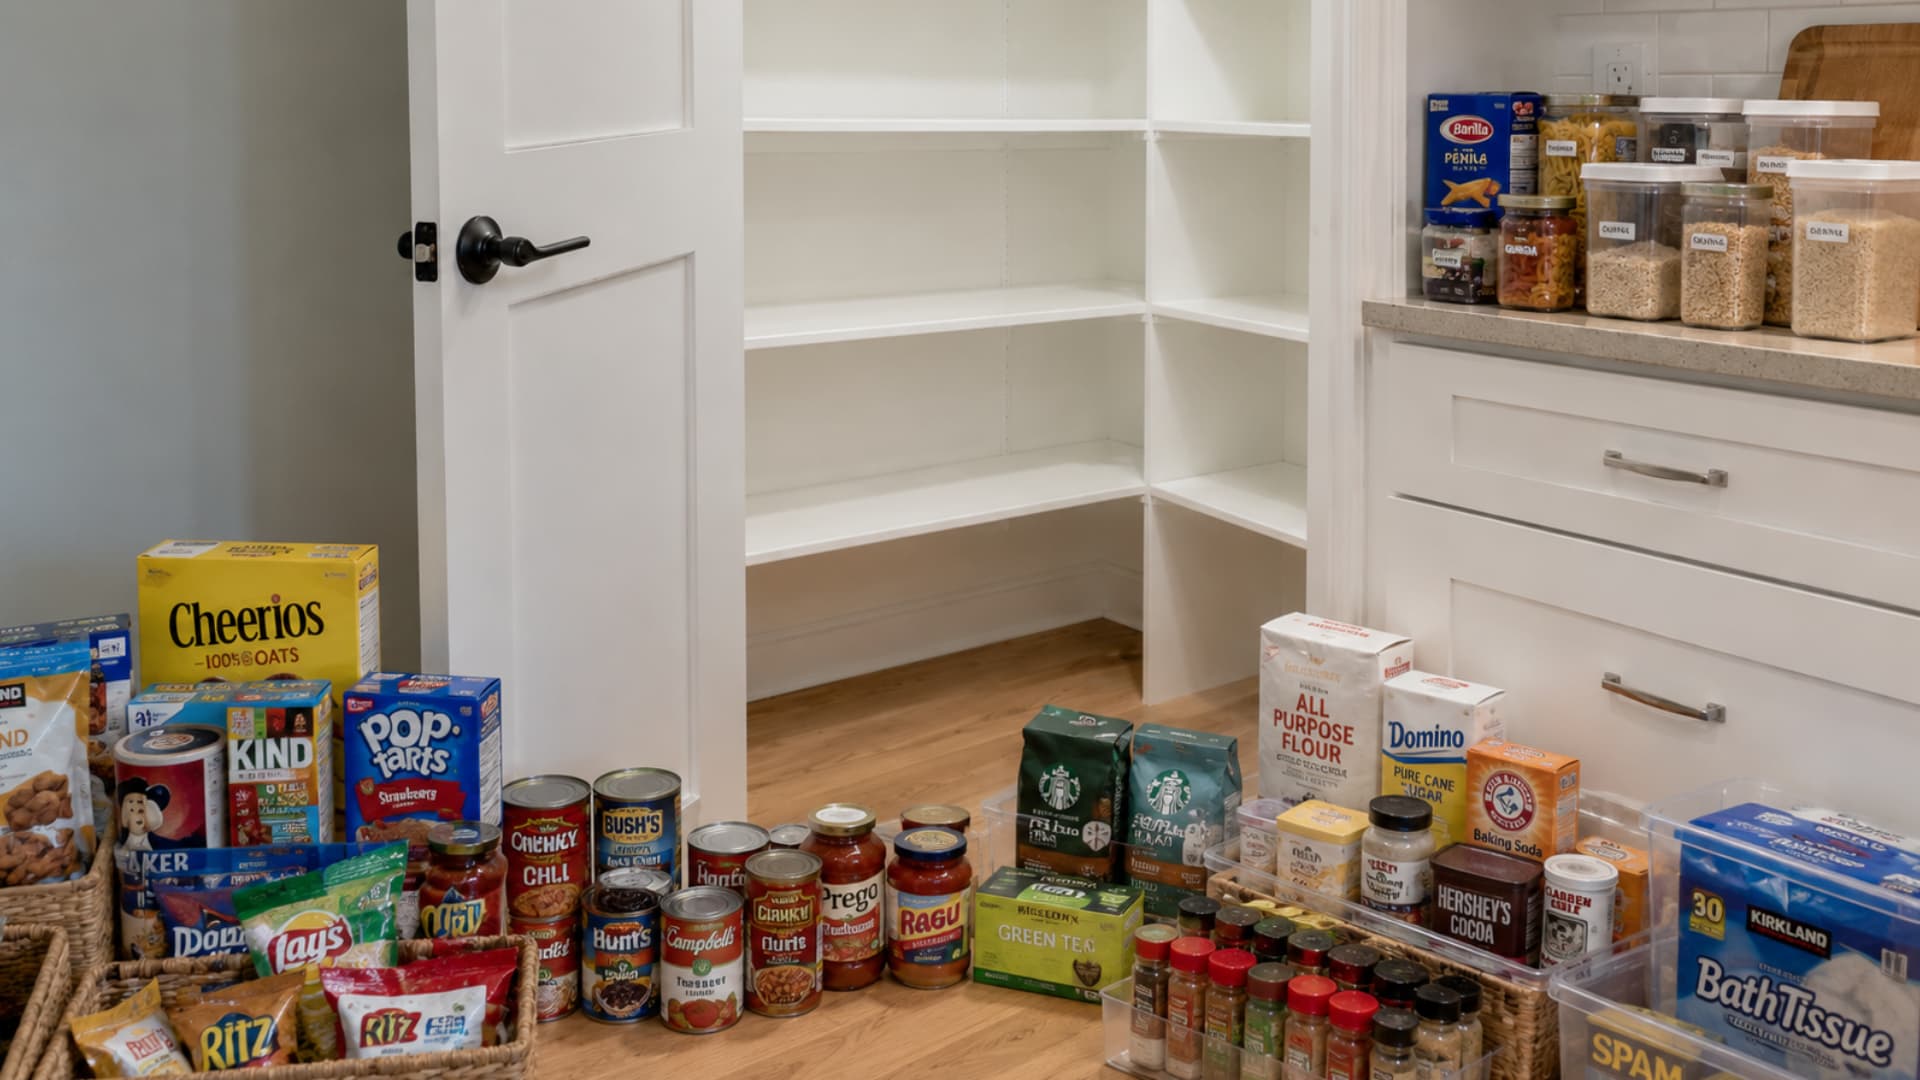
Place similar items together outside the pantry before you restock the shelves. This makes it easier to see which categories need the most space.
Create groups such as breakfast, snacks, baking, canned goods, rice and grains, pasta, spices, sauces, tea and coffee, and backup items. Use groups that match your cooking habits, and do not create a baking section if you only own one bag of flour.
Step 4: Move Dry Goods Into Containers and Prepare Bins
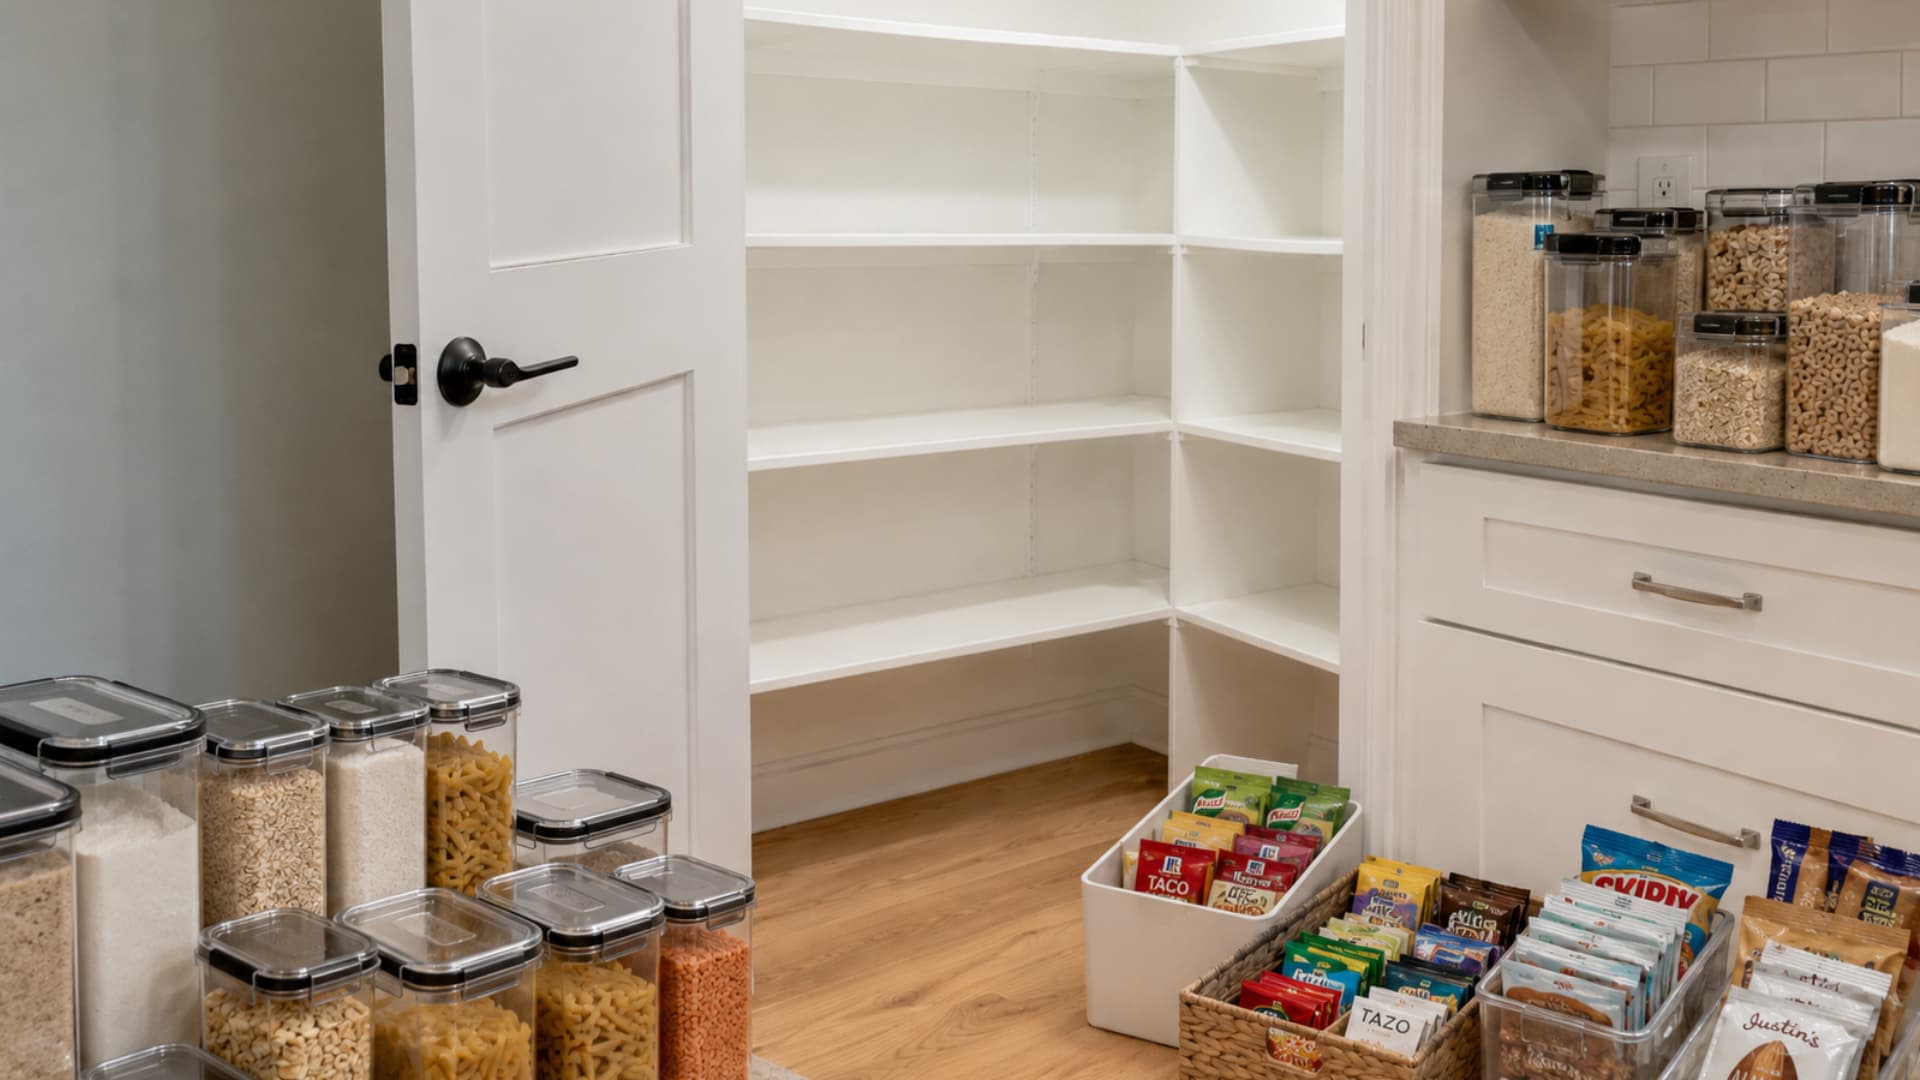
Before anything goes back into the pantry, transfer daily dry goods into airtight containers. This works well for rice, pasta, flour, sugar, lentils, cereal, oats, and snacks. Clear containers are especially useful because you can see what is running low without opening them.
Use bins or baskets for loose packets, spice mixes, tea bags, small snack packs, and items that tend to fall over. This keeps smaller foods from getting lost at the back of the shelf.
Step 5: Label the Containers and Bins
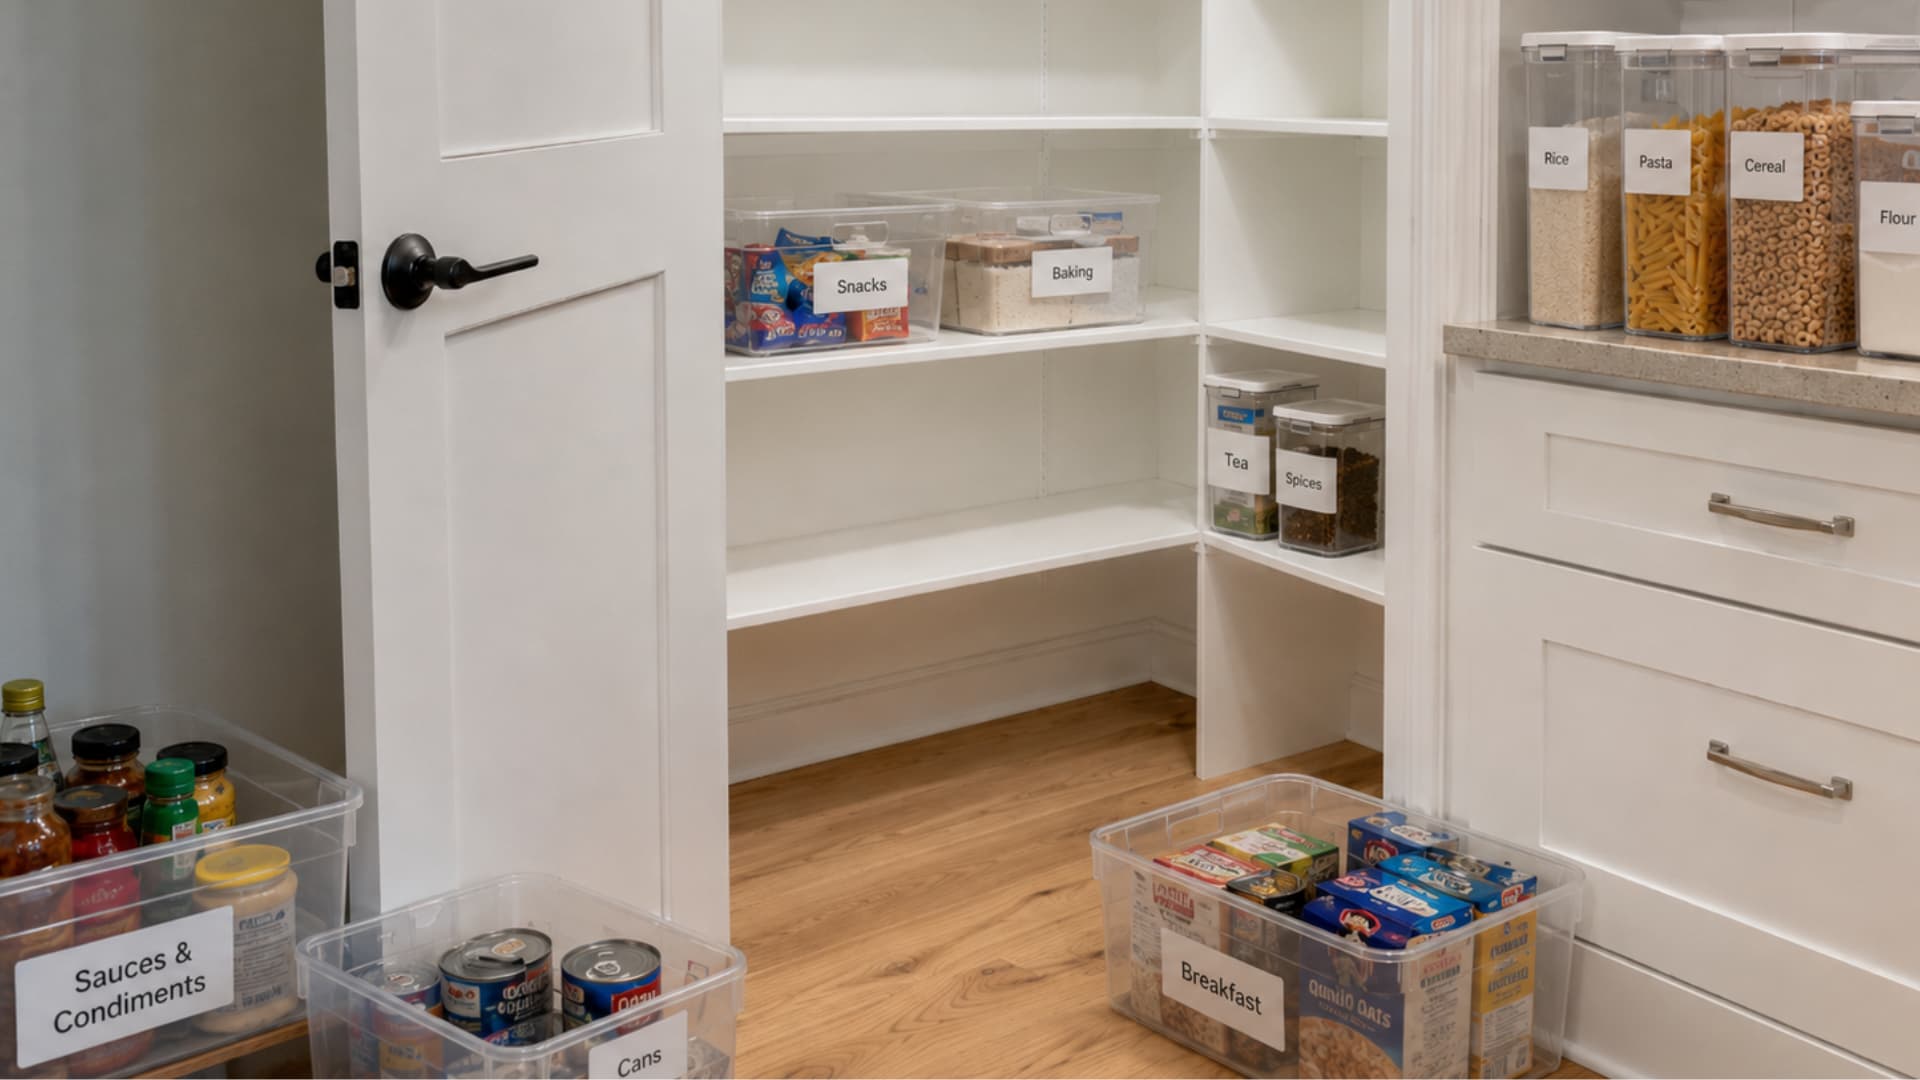
Label each container and bin before placing them on the shelves. Keep the labels simple so everyone can understand where items belong.
Use clear labels such as Rice, Pasta, Snacks, Baking, Tea, Spices, Cans, and Breakfast. Label after you know your categories, but before restocking, so the pantry does not get messy again while you arrange it.
Step 6: Assign Shelf Zones and Place Everything Back
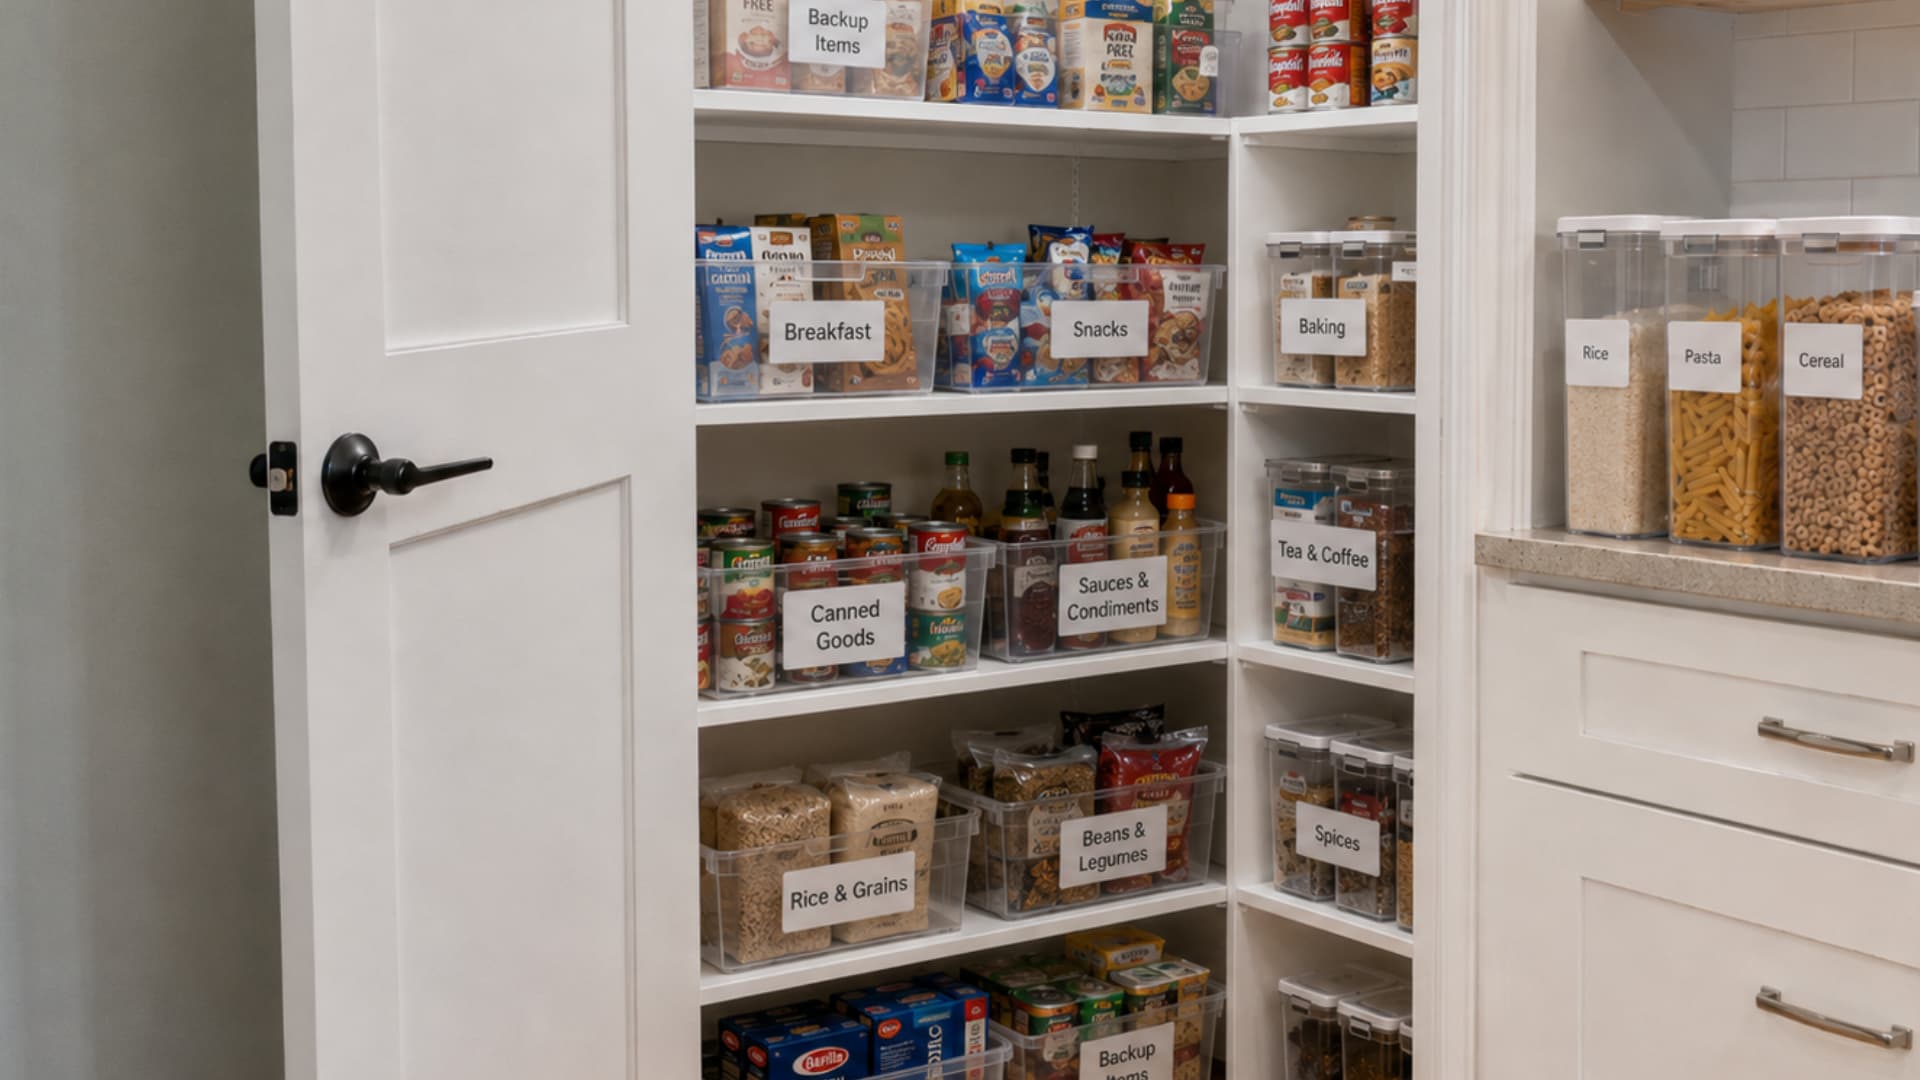
Decide where each group will go, then place items back into those zones. Keep daily-use items at eye level, heavy staples on lower shelves, snacks within easy reach, and rarely used items on higher shelves.
Try to give each shelf a clear purpose so the pantry is easier to use, much like decorating shelves elsewhere in your home, where grouping and spacing do the heavy lifting. Put older items at the front and newer items behind them so food gets used in the right order.
Step 7: Add a Simple Restock System
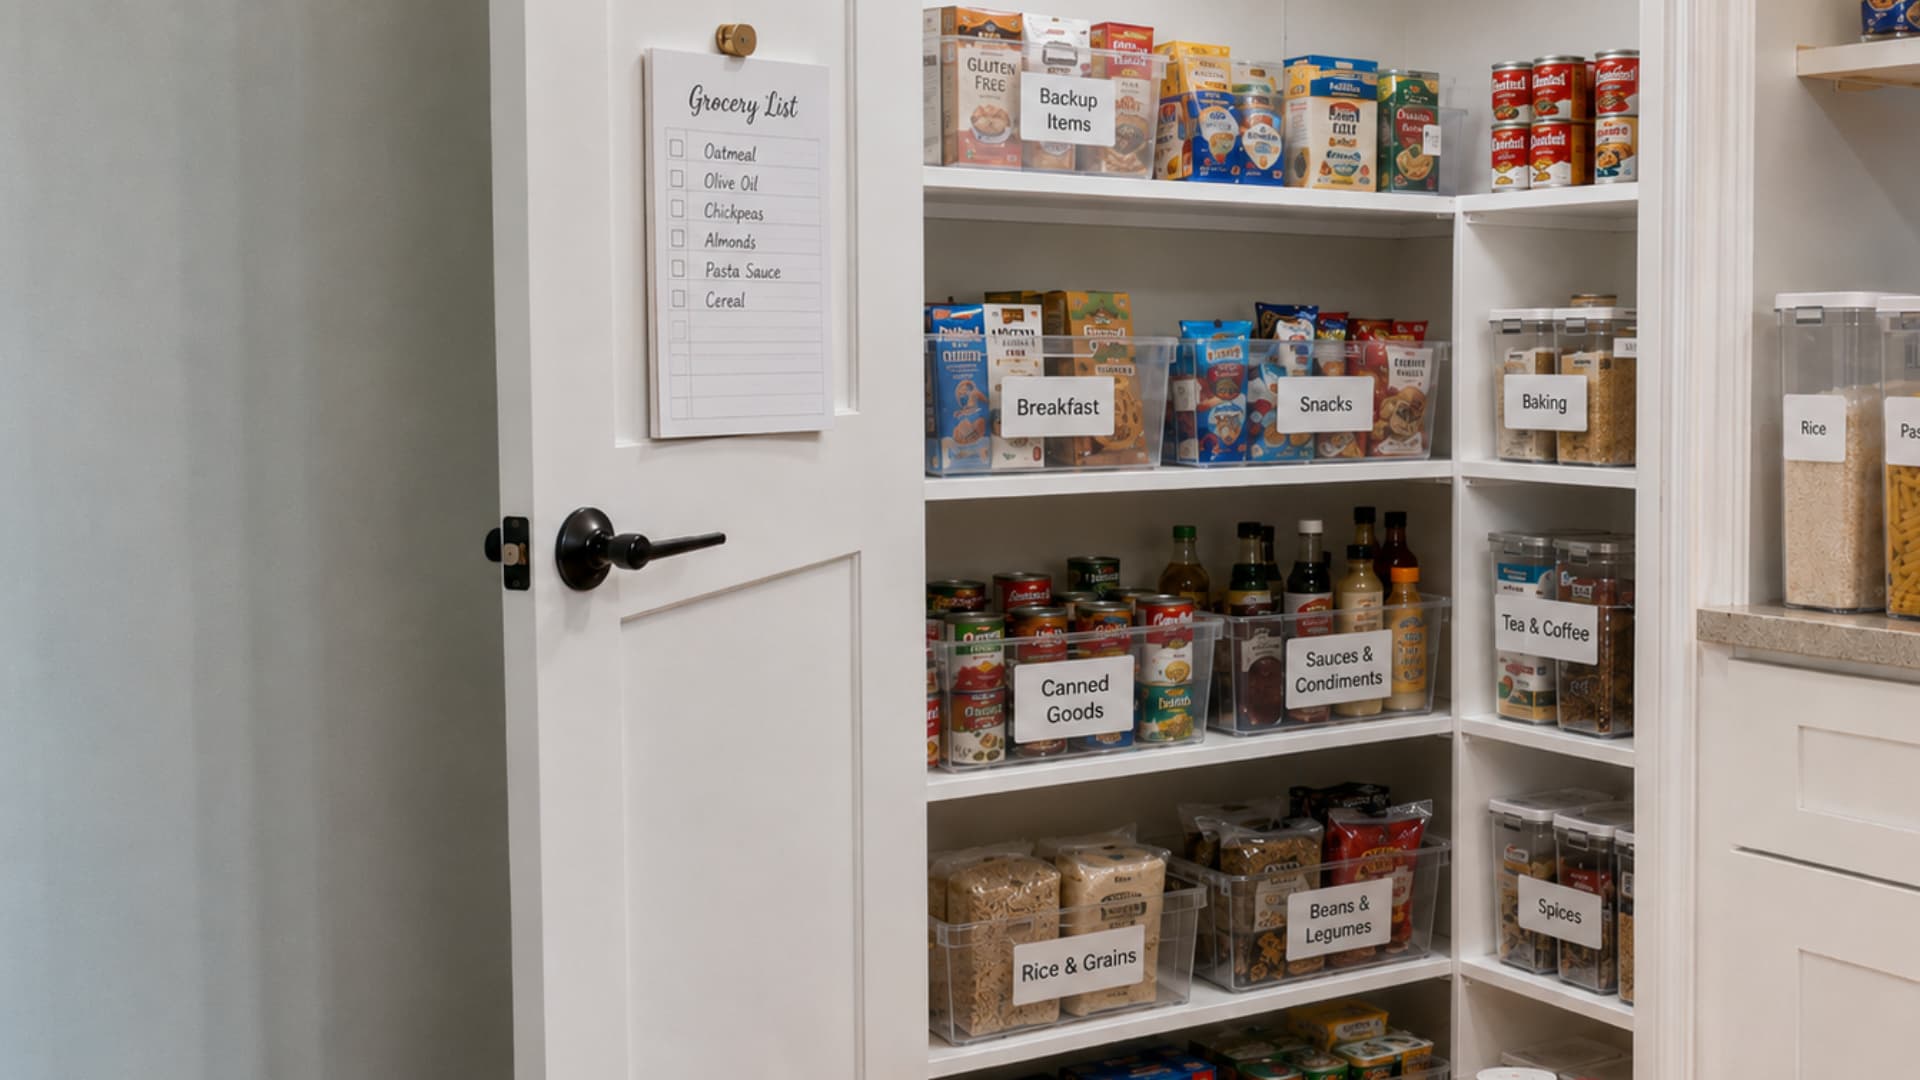
Create one small place to track items that are running low. This can be a notepad inside the pantry door, a phone grocery list, or a small “buy soon” bin.
A restock system helps you avoid guessing during grocery trips and lowers the chance of buying duplicates when you already have food tucked away. This step is useful, but optional; if it feels like too much, a phone list is enough.
Pantry Storage Tools Worth Using
If packets fall over, use a bin. If bottles get lost in the back, try a lazy Susan, the same tools that work well inside kitchen cabinet styles built around deep or blind-corner storage. If cans block each other, a shelf riser may help. The best choice is the one that makes the shelf easier to use every week.
| Storage Tool | Best Use | Skip It When |
|---|---|---|
| Clear bins | Loose snacks, packets, baking extras, and backstock | The bin is too deep to pull out easily |
| Airtight containers | Daily dry goods like flour, rice, oats, cereal, and pasta | The item is rarely used or is already well stored |
| Lazy Susan | Oils, sauces, vinegars, spreads, and small bottles | The shelf is too narrow for it to spin |
| Shelf risers | Cans, jars, spices, and short containers | The shelf height is already tight |
| Over-the-door rack | Small packets, wraps, spices, snacks, and bottles | The pantry door cannot close properly |
| Pull-out baskets | Deep shelves and lower cabinets | The basket blocks taller food items |
The best organizers are the ones you can use without extra effort every week. If a tool makes food harder to reach, blocks the shelf, or creates more steps, it probably does not belong in your pantry.
Pantry Layout Tips for Different Kitchen Sizes
The best layout starts with the main problem in your space. Once you know what makes the pantry hard to use, you can choose storage that improves visibility, reach, and restocking.
1. Small Closet Pantry

A small closet pantry can get crowded fast because items often sit on top of one another. Snacks, cans, baking supplies, and breakfast foods may end up stacked in layers, making it hard to see what you already have.
This type of pantry works best when every shelf has a clear job. Use one shelf for daily breakfast items, another for snacks, and another for canned goods, grains, or baking supplies.
Try to leave a little breathing room on each shelf instead of filling every inch. Even a small gap makes it easier to pull out a bin, check what is inside, and put groceries away without creating another pile.
2. Deep Shelves
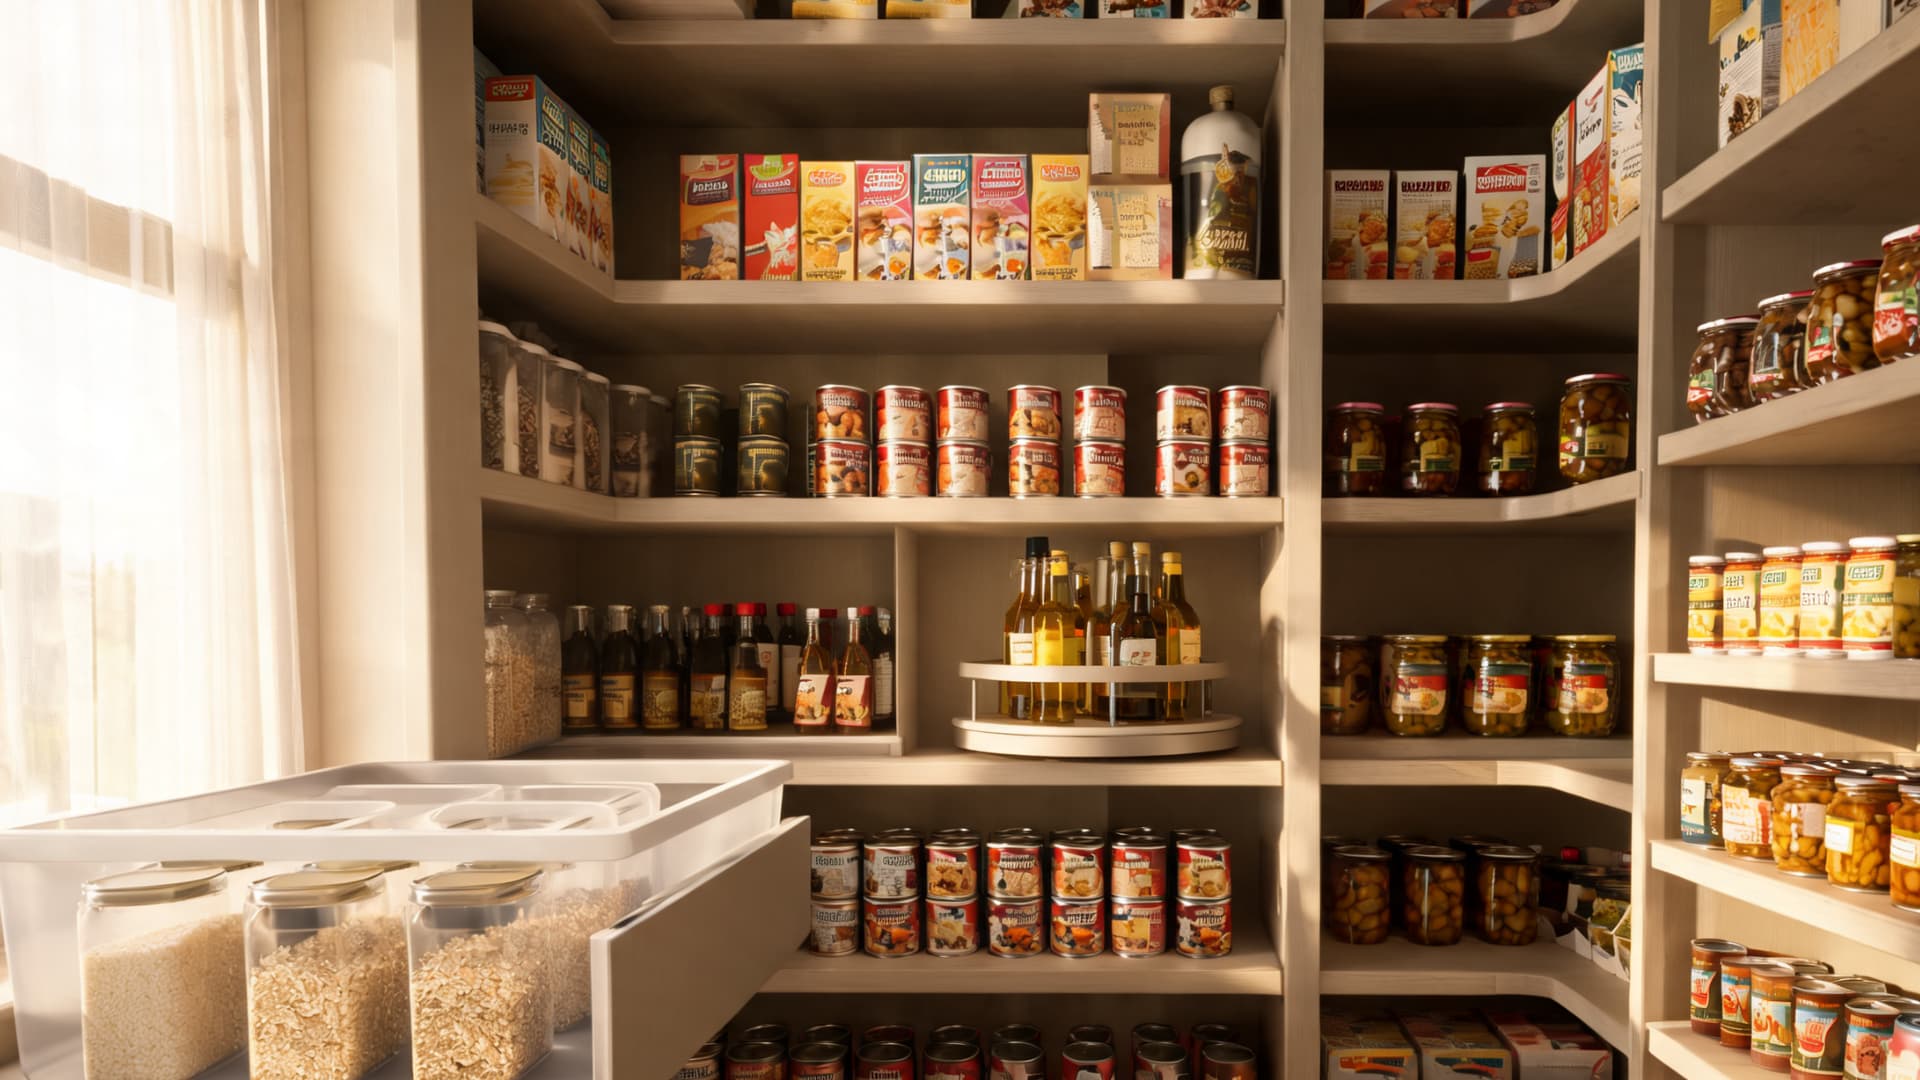
Deep pantry shelves often hide food in the back. This can lead to duplicate purchases, expired items, and half-used packets that are forgotten until the next big cleanout.
This layout works best when you make the back of the shelf easier to reach. Long bins, handled baskets, and pull-out organizers can help you bring the whole group forward instead of moving items one by one.
Use pull-out bins, lazy Susans, or front-to-back rows so items do not disappear. Keep the foods you use most often near the front, and store backstock or less-used items in clearly marked zones toward the back.
3. Cabinet Pantry
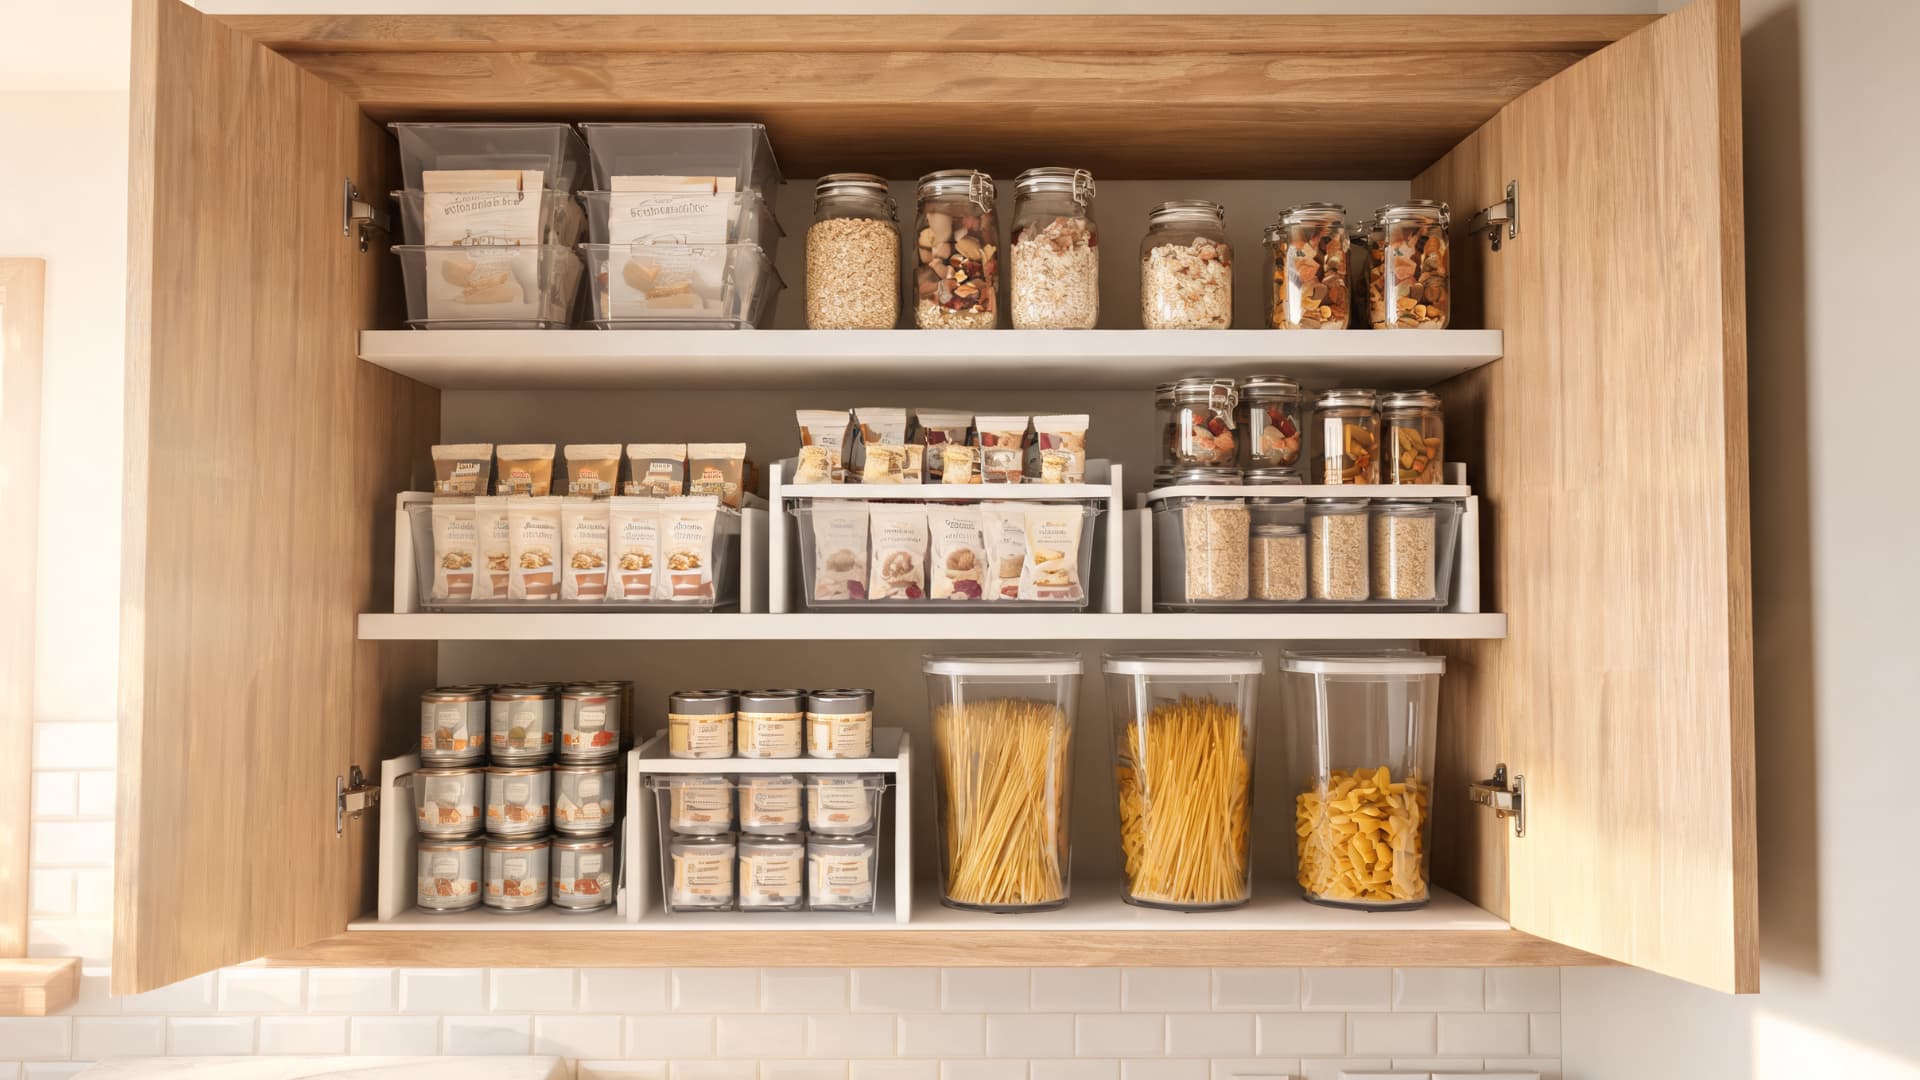
A cabinet pantry usually has limited vertical space, so short items can waste shelf height. Small boxes, jars, packets, and cans may sit in one flat layer, leaving unused space above them.
This type of pantry works better when you create levels inside the cabinet. Shelf risers can lift cans, jars, and spices so the back row is easier to see, while stackable bins can hold snacks, packets, or backup items.
Try not to overload the cabinet with too many containers. A simple setup with clear zones usually works better than stacking items so high that they become hard to pull out.
4. Wire Shelf Pantry
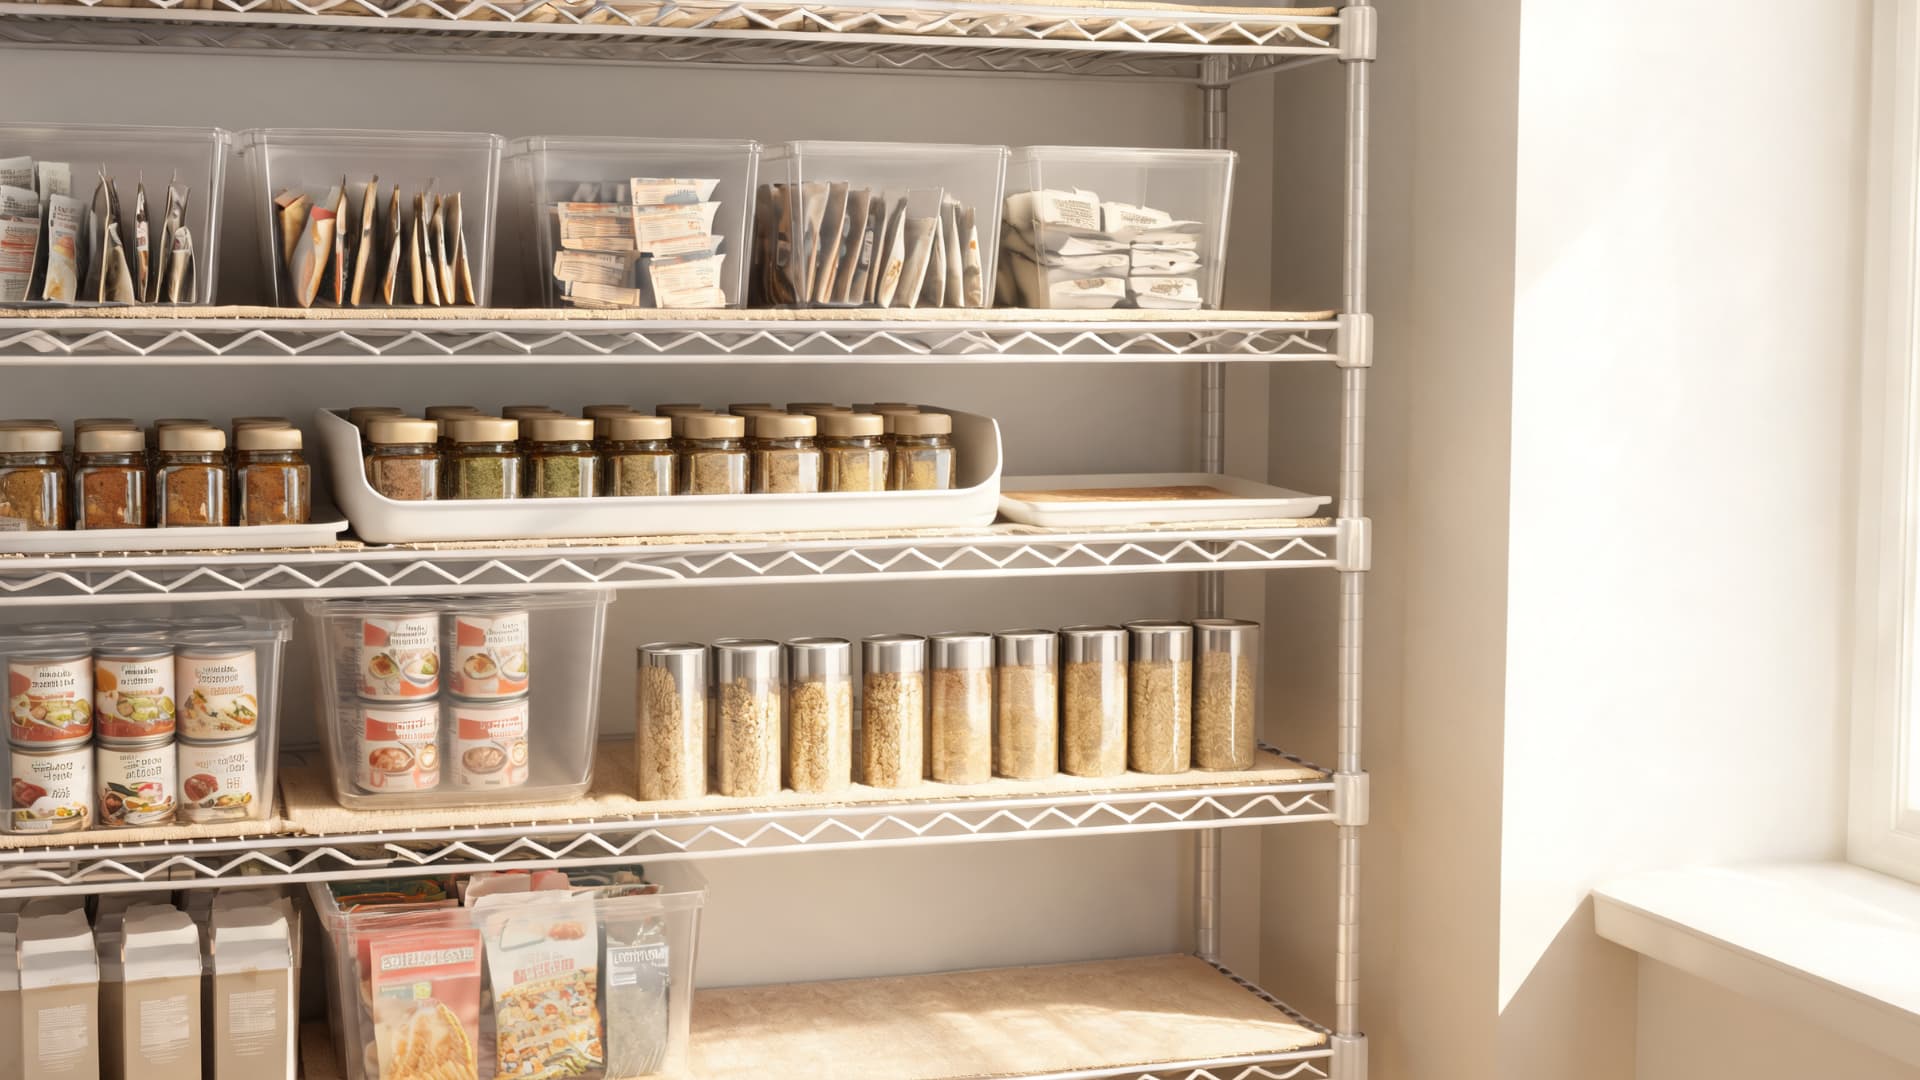
Wire shelves can be tricky because small items tip over or fall through the gaps. Packets, spice jars, small cans, and narrow containers can become messy even when you try to keep them grouped.
Use solid-bottom bins, trays, or shelf liners to create a steadier surface. This gives small items a flat base and makes shelves easier to wipe, straighten, and restock.
Choose bins that slide easily across the shelf and do not catch on the wire. That small detail can make everyday restocking much smoother.
5. No-Pantry Kitchen
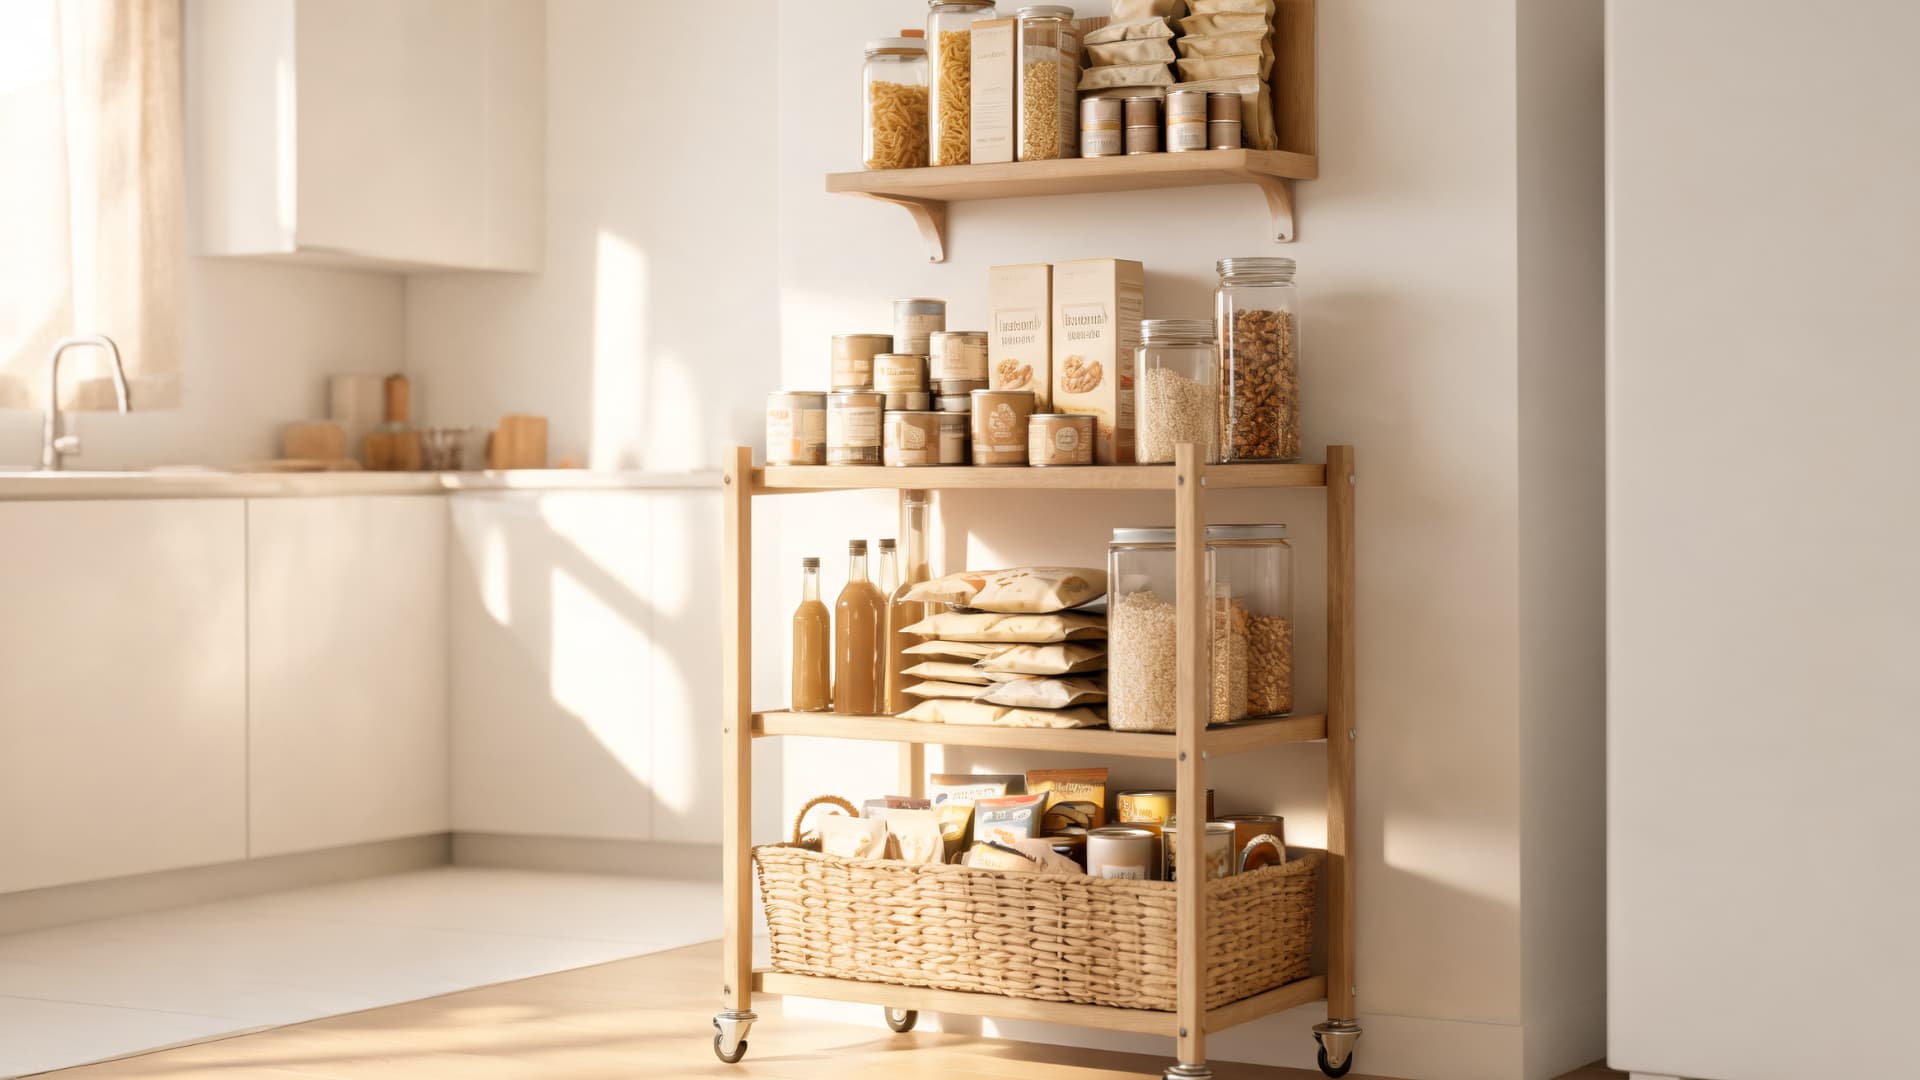
A no-pantry kitchen can feel scattered because food may be split across several cabinets, drawers, or shelves. When pantry items do not have one clear home, grocery planning and meal prep become harder.
This setup works best when you create one main food zone, even if it is small. A single cabinet, rolling cart, open shelf, or over-the-door rack can hold the foods you reach for most often. Create one main food zone using a cabinet, cart, open shelf, or over-the-door rack.
Even an awkward pantry can work better when each shelf or storage area has a clear job. Focus on visibility, easy reach, and simple restocking before adding extra organizers.
What Not to Buy Before You Organize
Before spending money, clear the pantry, sort your food, and measure the space. This helps you avoid buying tools that look nice but do not solve the real problem.
- Matching Containers: Decanting works best for foods you use often, such as cereal, rice, oats, flour, sugar, or pasta. It can become extra work when every single package has to be opened, poured, labeled, and refilled.
- Deep Bins: Avoid bins that leave too much unused space behind them or become too heavy to pull out. A bin should help you reach food faster, not turn the shelf into another place where items get buried.
- Tiny Labels: Small, detailed labels are easy to ignore, especially in a busy kitchen. Use simple category labels that family members can read quickly, such as snacks, baking, breakfast, pasta, canned goods, and backstock.
- Oversized Bulk Items: Bulk buying only helps when you have a clear place to store the extras and a plan to use the food. Without a backstock area, large packages can crowd daily shelves and make duplicates harder to track.
The goal is not to avoid all pantry products. It is to buy the right ones after you understand your space, your food habits, and the items that keep causing clutter.
How to Reduce Food Waste With Pantry Organization
A few small habits can help you waste less food and avoid opening new packages too soon. Keep older and open items easy to see so they get used first.
- Keep open, older, or soon-to-expire food in one visible bin.
- Group open crackers, pasta, cereal, chips, and baking items together.
- Store older food in front and newer food behind it.
- Add purchase or best-by dates to decanted staples with removable labels.
These quick checks work best during your regular grocery routine. Rotate food as you restock, and your pantry will stay easier to shop from each week.
How to Keep Your Pantry Organized After Grocery Shopping
Pantry organization can fall apart quickly after a grocery trip if new items are pushed onto any open shelf. A simple restocking routine helps you keep the system working without doing a full reset every week.
Start by unboxing bulky items when the inner packaging is sealed and easy to store. Next, restock each pantry zone before adding new food wherever there is room.
This keeps your pantry easy to shop from later. When you add new groceries, place newer items behind older ones. This keeps open, older, or soon-to-expire food visible at the front so it gets used first. A good maintenance routine should feel quick and realistic.
Frequently Asked Questions
How often should you clean out a pantry?
A quick pantry reset once a week works well for most homes. Do a deeper clean every season to check dates, wipe shelves, and fix zones that no longer work.
Should spices go in the pantry or near the stove?
Spices are best stored in a cool, dry spot away from heat and light. A pantry, drawer, or cabinet near the prep area usually works better than right beside the stove.
What foods should not be stored together in a pantry?
Keep potatoes away from onions because they can spoil faster together. Also, separate strong-smelling foods from dry goods that can absorb odors, such as flour, cereal, crackers, and rice.
What should go on the top pantry shelf?
Use the top shelf for light items you do not need every day. Extra paper goods, party supplies, seasonal baking items, and backup snacks can work well there if they are easy to lift safely.
How do you organize a pantry for kids?
Place kid-friendly snacks, breakfast bars, and lunch items in a low open bin. Keep messy, breakable, or parent-only items higher so children can help themselves without pulling everything apart.
The Bottom Line
Here’s the honest measure: a well-organized kitchen pantry is one you can restock in under five minutes without creating new piles, and where you can confirm whether an ingredient is in stock without moving anything out of the way.
If the reset you’ve done passes both tests next grocery day, it’s working. If it doesn’t, the fix is almost always one of two things: zones that don’t match how you actually cook, or bins that are too deep to use daily.
Start with whichever one is breaking down first. Move one category, adjust one bin size, and see if the behavior sticks.
Pantry organization that works isn’t built in a day; it’s calibrated over a few grocery cycles until the system fits the way the kitchen actually runs.


