


I’ve seen a lot of people run into the same issue. You buy pressure-treated wood, start planning the finish, and then realize things aren’t as straightforward as they seem.
If you’re asking, Can you paint treated wood, you’re probably trying to avoid a result that looks good at first but doesn’t hold up.
A big part of that comes down to picking the right paint, especially when comparing latex vs acrylic paint differences . It looks ready, but something feels off. The surface behaves differently, and what should be a simple step suddenly turns into confusion.
That’s where most mistakes happen. Small details get ignored, and the results don’t turn out the way you expected. If you want a clean, long-lasting finish, understanding what’s happening beneath the surface makes all the difference.
Understanding of Pressure-Treated Wood?
Pressure-treated wood is basically regular lumber that’s been given superpowers. I remember helping my dad build a fence, and he explained how manufacturers force special chemicals deep into the wood using high pressure , kind of like giving it a protective shield.
These chemicals prevent rot, insects, and moisture damage that would otherwise destroy regular wood in just a few years. That’s why you’ll see it used for decks, fences, raised garden beds, and outdoor furniture.
The wood usually has a greenish or brownish tint from the treatment. While untreated wood rots quickly when buried in soil or exposed to rain, pressure-treated lumber can last for decades outdoors.
Most modern pressure-treated lumber uses copper-based compounds , specifically micronized copper azole (MCA) or copper quaternary (CA-C), which replaced the older arsenic-based CCA formula phased out for residential use in 2003.
This matters for painting because these newer copper compounds are water-based , which is exactly why a water-based primer and paint bonds to them far better than oil-based products.
Can You Paint Treated Wood?
Yes, you can paint treated wood, but timing and prep matter. Freshly treated wood holds moisture from the treatment process, which can stop paint from sticking properly.
The most important factor is moisture content, not just time. Aim for 15% or less before painting. Some boards start at 40% or more, so the common “wait six weeks” rule isn’t always accurate. In humid areas, it may take longer, while kiln-dried wood may be ready sooner.
Before painting, clean the surface to remove dirt and mildew, then sand it lightly. Apply a high-quality primer made for treated wood, followed by durable exterior paint.
Done right, this gives you a finish that looks good and lasts longer.
Why Should You Paint Pressure-Treated Wood?
Painting pressure-treated wood provides both aesthetic and functional benefits. It enhances appearance, provides additional protection, and extends the lifespan of wood.
- Improved Appearance: Adds color and creates a polished, refined look.
- Weather Protection: Guards against moisture, UV damage, and wear from the elements.
- Extended Durability: Keeps wood looking fresh and durable for a longer time
Proper preparation and maintenance are essential for achieving the best and longest-lasting results.
Paint vs. Stain: Which Should You Choose?
Choosing between paint and stain can feel confusing at first. I’ve faced this myself, and the right option really comes down to how you want your wood to look and perform over time.
| Feature | Paint | Stain |
|---|---|---|
| Coverage | Full, opaque color that hides imperfections | Semi-transparent, shows natural wood grain |
| Finish Type | Sits on top of the surface | Penetrates into the wood |
| Durability | Can peel or crack over time | Less likely to peel |
| Best Use Areas | Fences, siding, vertical surfaces | Decks, outdoor flooring, high-traffic areas |
| Maintenance | Needs recoating every 2–3 years (on decks) | Lasts 3–5 years with proper application |
| Look | Clean, uniform, bold color | Natural, textured appearance |
Now, beyond looks and durability, there are also a few practical risks you should keep in mind.
- Peeling or Fading: Happens when proper preparation or regular maintenance is skipped.
- Adhesion Problems: Paint may not stick well if the wood isn’t fully dry or properly primed.
- Slippery Surface: Painted decks can become slick when wet, especially on walking areas.
One important thing I’ve learned from experience is this: if you’re painting a surface you walk on, always mix in an anti-slip additive. It’s cheap, easy to apply, and makes a big difference in safety.
In simple terms, go with paint if you want a bold, uniform look for vertical surfaces.
Choose stain if you want something lower maintenance and better suited for decks or high-use areas. This becomes even more important if you’re dealing with older finishes and thinking about painting over stained wood .
Steps to Painting Pressure-Treated Wood
Follow these steps to properly paint pressure-treated wood: prepare, clean, dry, prime, and use suitable paint for lasting results.
Materials Needed for Painting
Before starting your project, gather all your supplies so you’re not running to the store mid-job. Trust me, nothing kills momentum like realizing you forgot something important halfway through:
- Pressure washer or deck and wood cleaner
- Duct tape
- 3-mil plastic sheeting
- Drop cloth
- Exterior oil-based paint or stain
- Metal bucket
- Stir stick
- High-quality paint brush (such as a wide exterior brush)
- Nail (to test wood dryness)
- Water (for cleaning brush)
Having everything ready beforehand makes the job smoother and helps you finish faster with better results, plus you’ll avoid those frustrating trips back to the hardware store.
Step 1: Clean and Prep the Pressure-Treated Wood
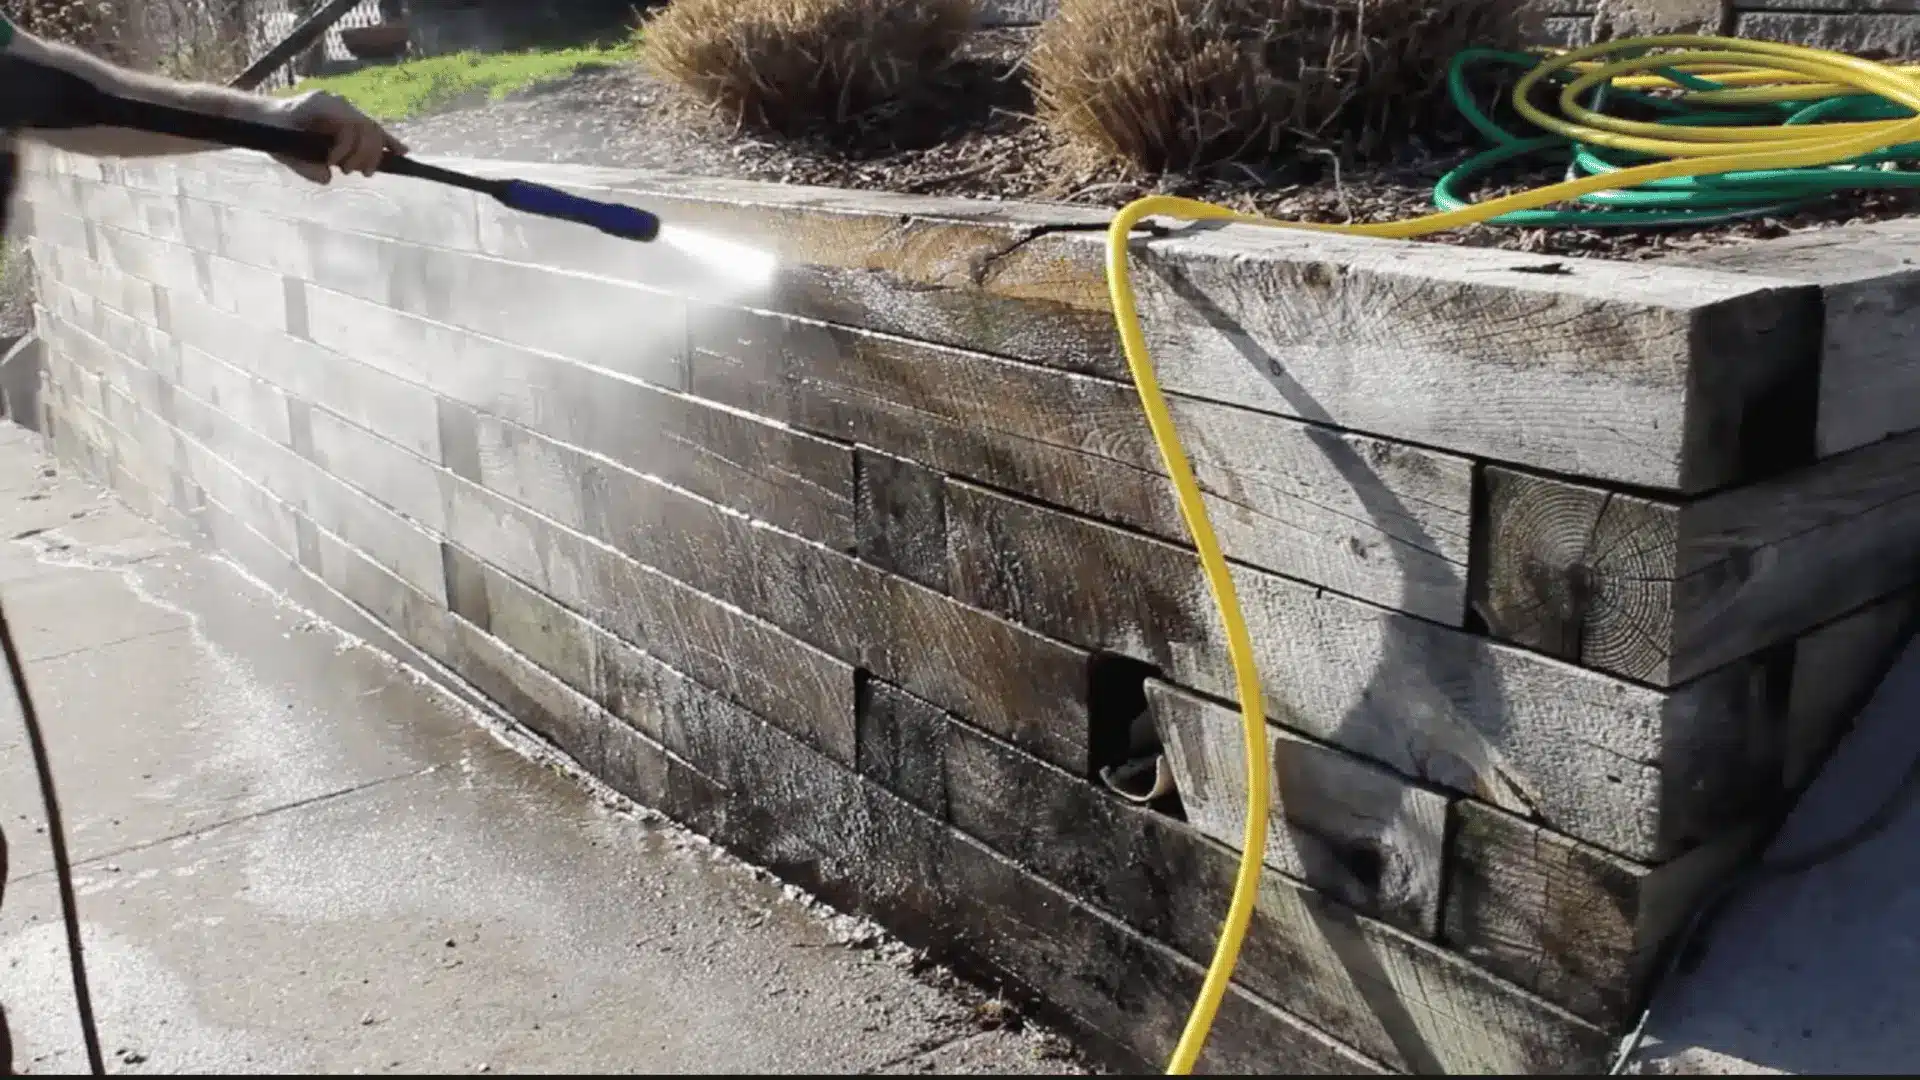
Before painting, you need a spotless surface. Always start by pressure-washing the wood to blast away dirt, mildew, and grime. You can also use a deck cleaner for stubborn spots.
Let everything dry completely. This usually takes a few days. Here’s a trick: press your fingernail into the wood. If moisture appears, wait longer. Clean, dry wood helps paint stick better and last way longer without peeling.
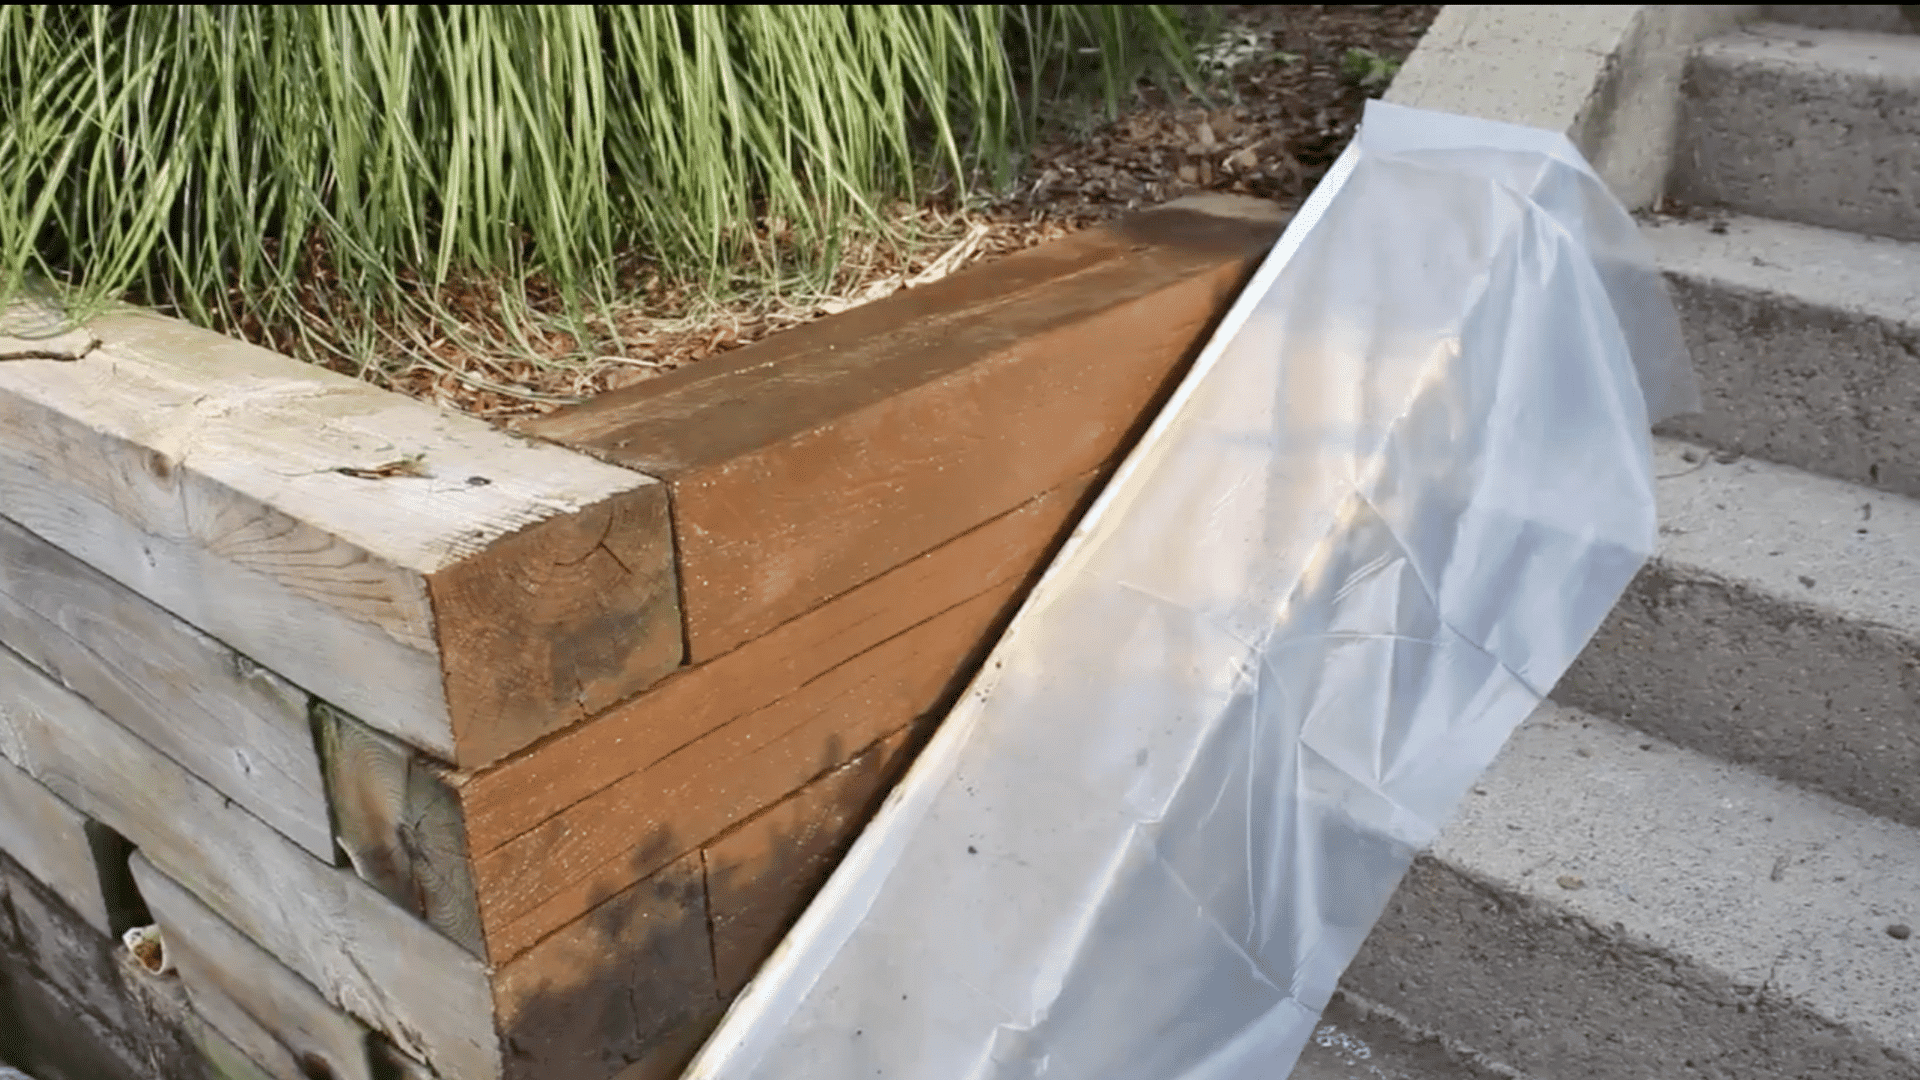
Step 2: Protect Nearby Surfaces
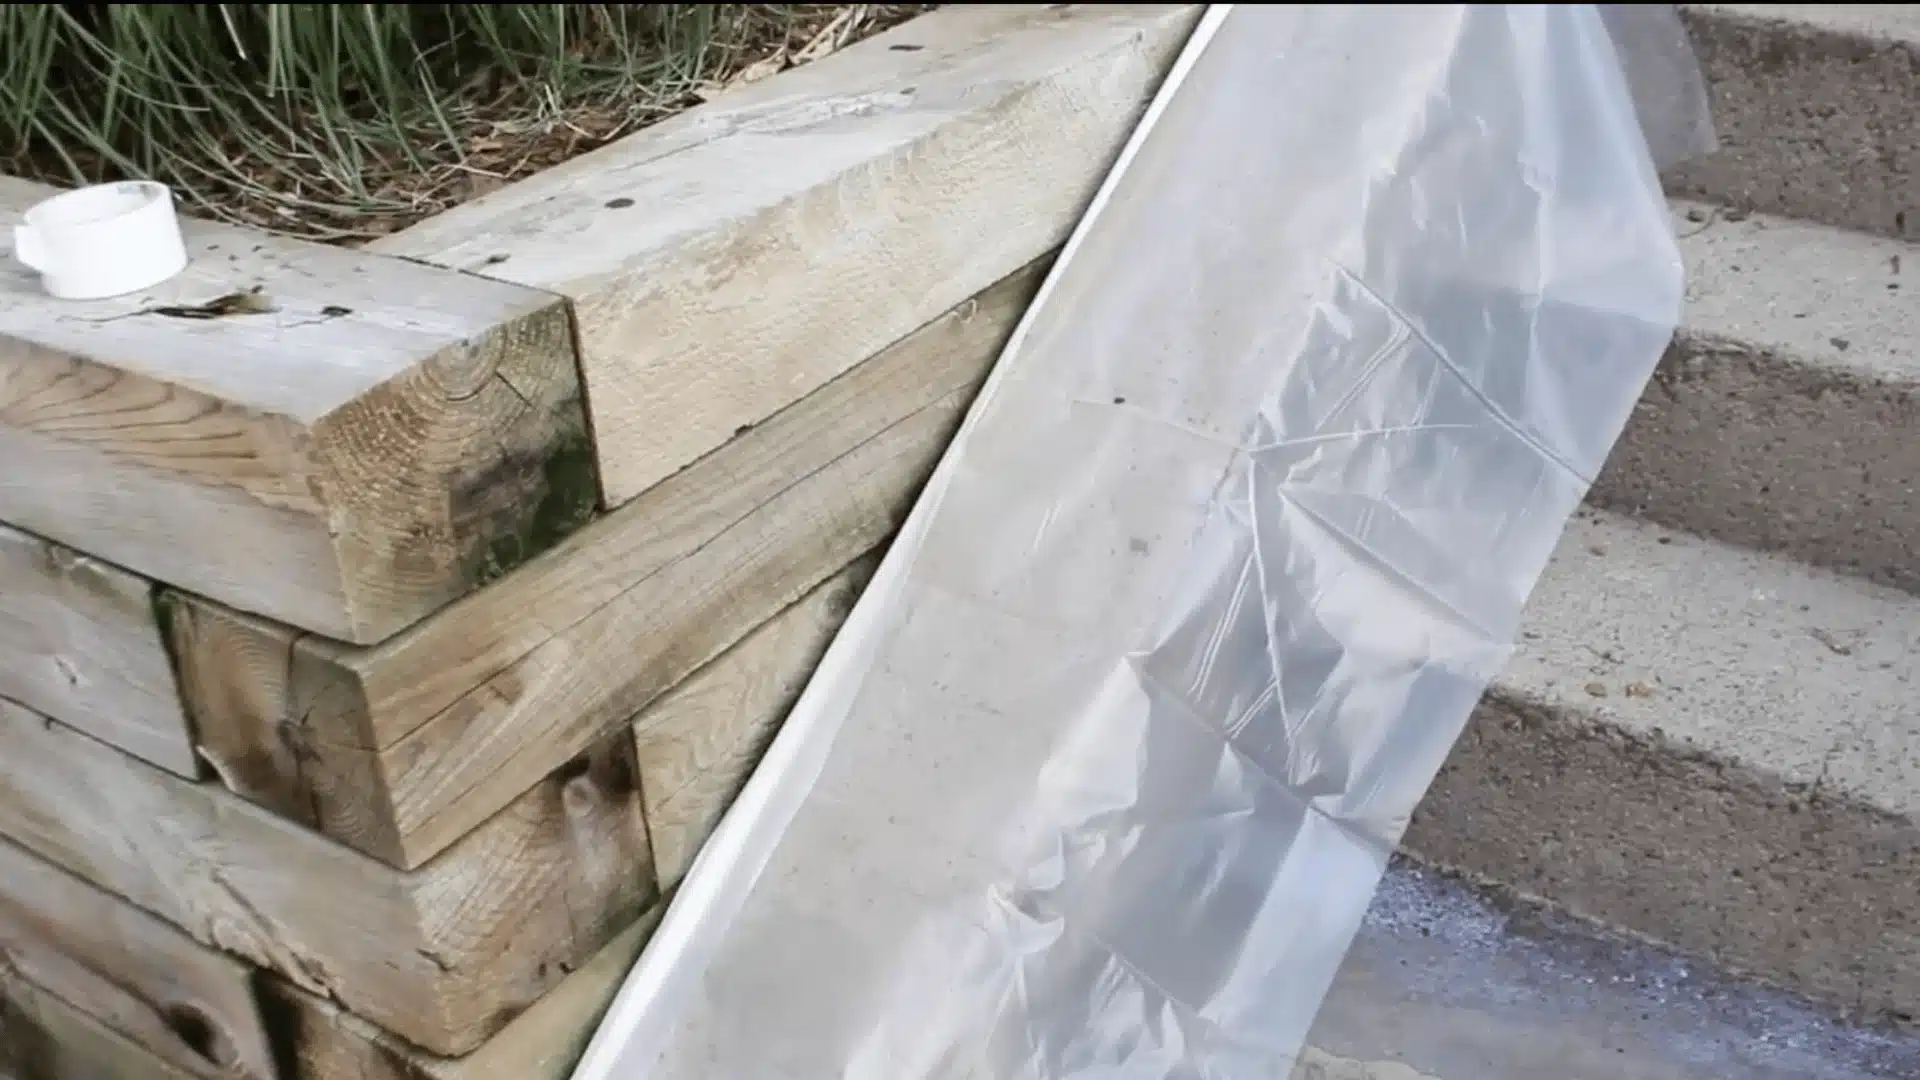
Paint loves to splatter onto concrete, sidewalks, and nearby plants when you least expect it. learned this after accidentally staining my neighbor’s driveway.
Tape plastic sheeting along walls and fence bases using strong duct tape. Lay drop cloths on the ground below your work area. Spending ten extra minutes protecting surfaces now saves you hours of scrubbing later.
Step 3: Mix and Test the Paint
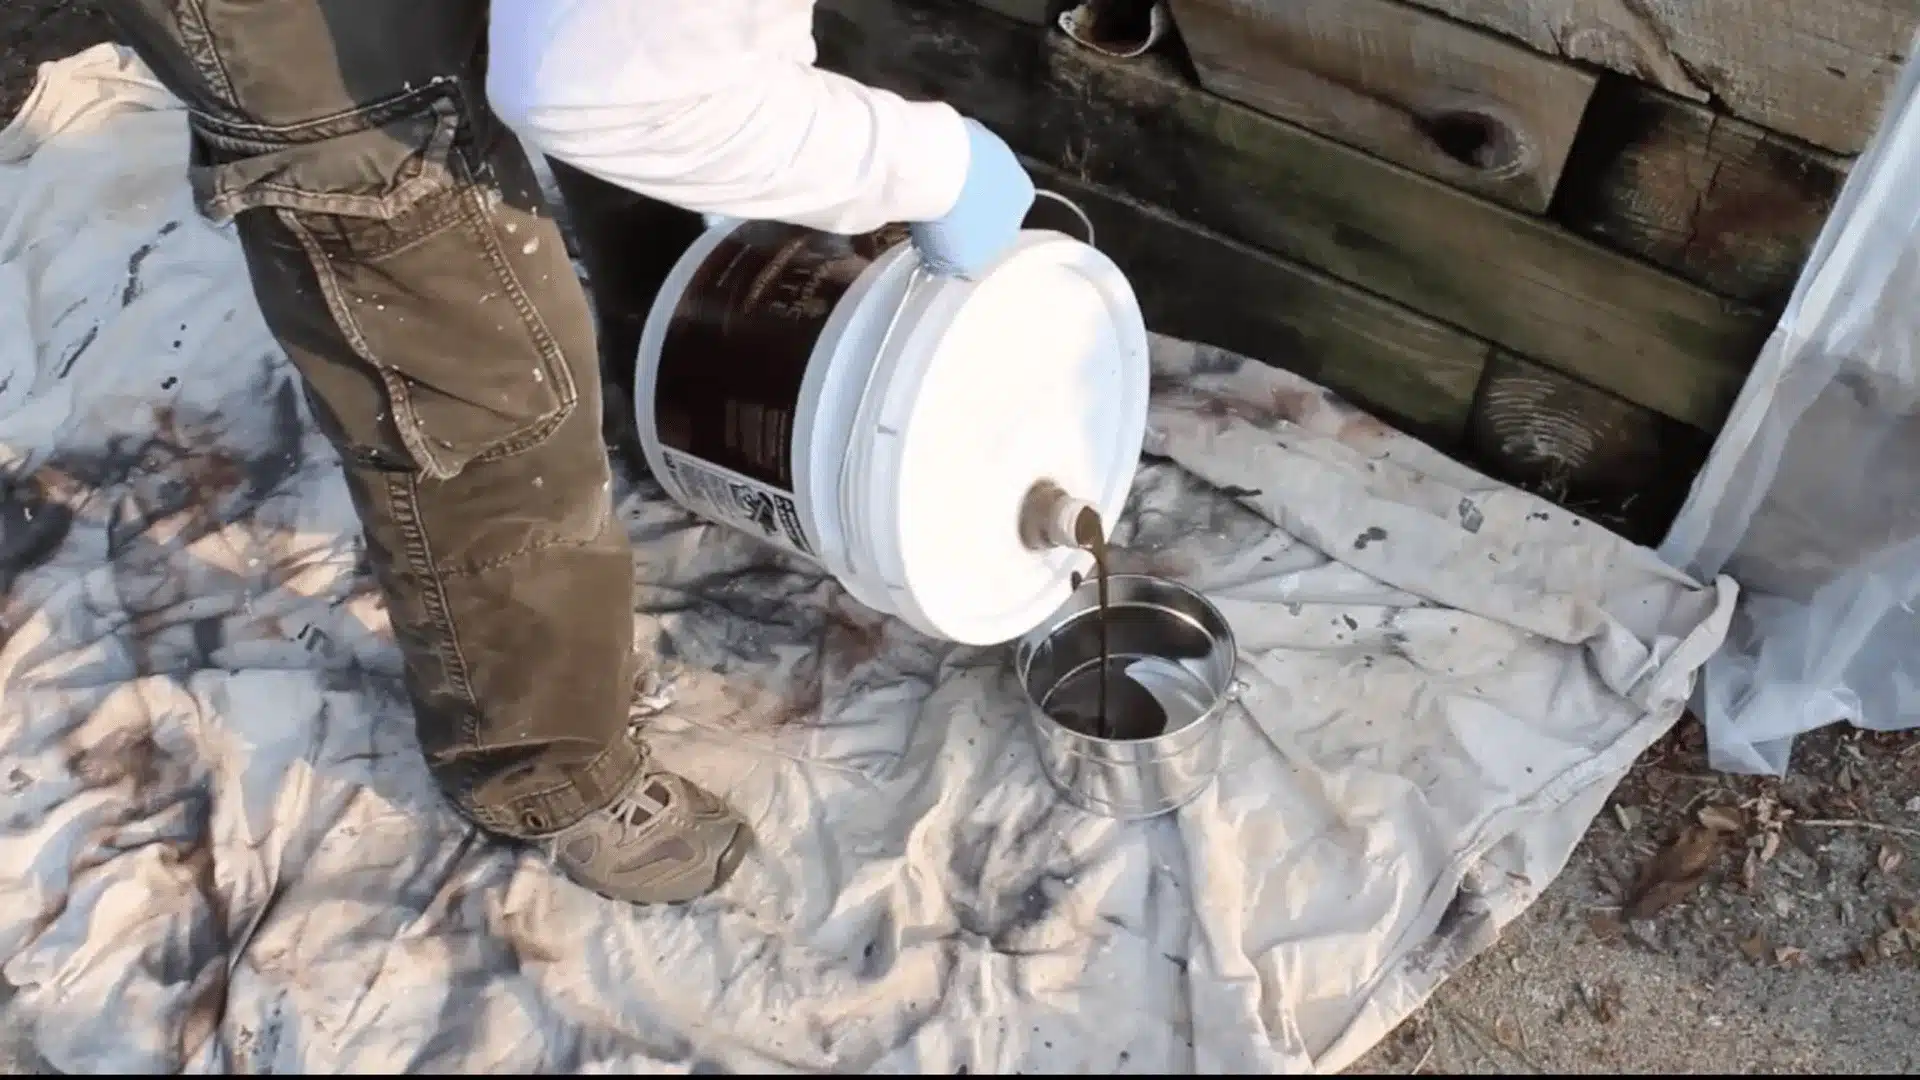
Always mix your paint thoroughly before starting; the pigments settle at the bottom. Pour mine into a metal bucket for easier handling and keep stirring throughout the project so colors stay consistent.
Test your paint on a hidden spot first, like a board edge or back corner. If it absorbs nicely without beading up, you’re ready.
This quick test prevents nasty surprises and ensures your finish looks professional wherever you use it.
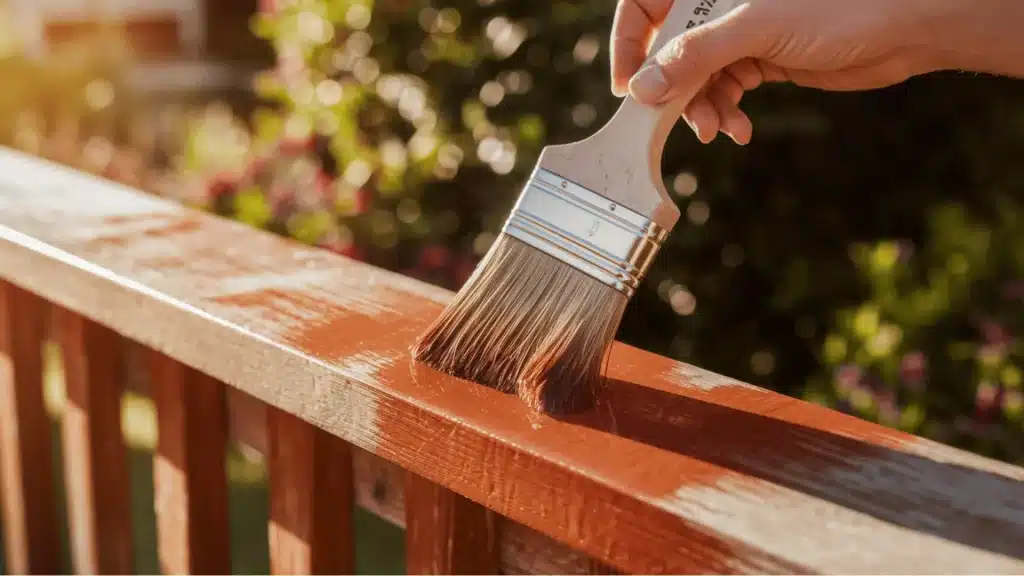
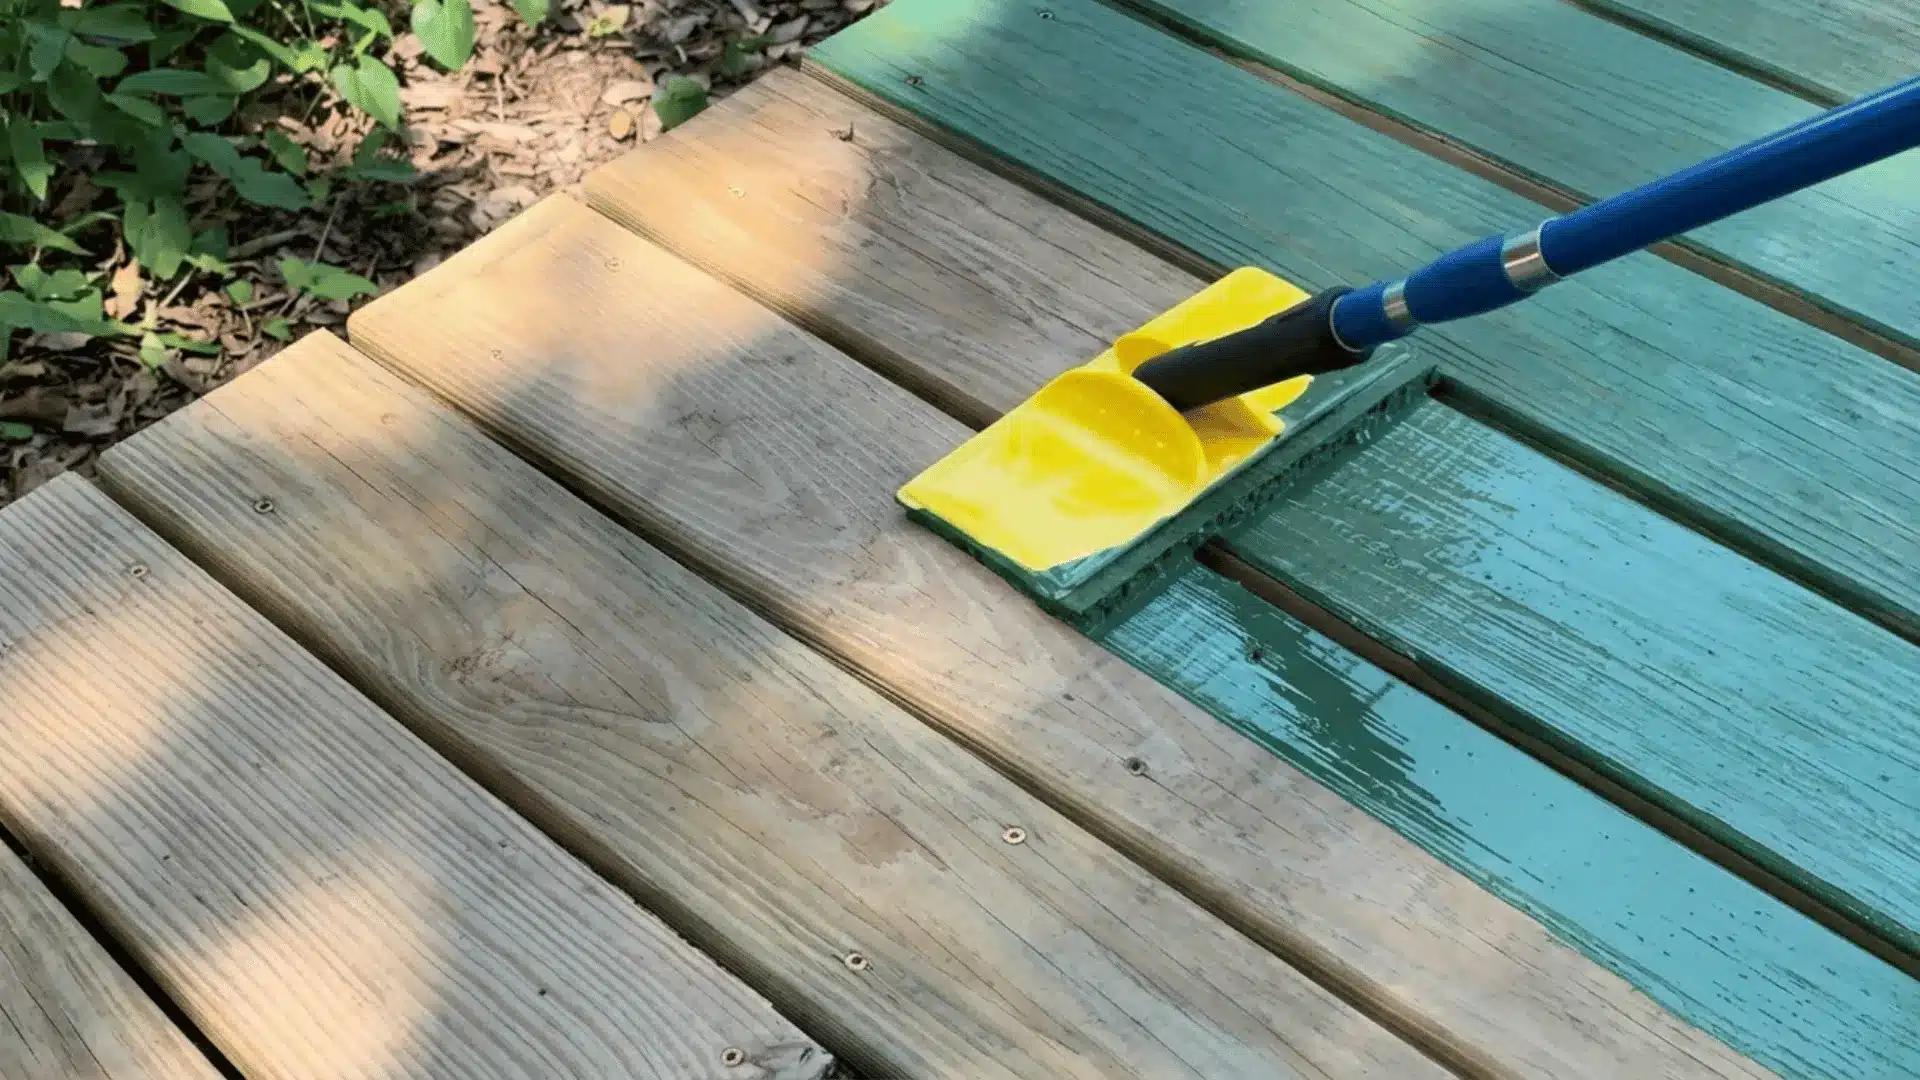
Step 4: Apply the Paint Properly
Use a high-quality brush for the best coverage. Cheap brushes leave streaks and shed bristles everywhere. Prefer wide brushes because they cover more area faster.
Start at the top and work downward to catch drips as you go. Brush paint on generously, then spread it evenly into cracks, edges, and corners.
Pay special attention to cut ends since they’re super absorbent and need extra coats for protection.
Step 5: Let It Dry and Maintain It
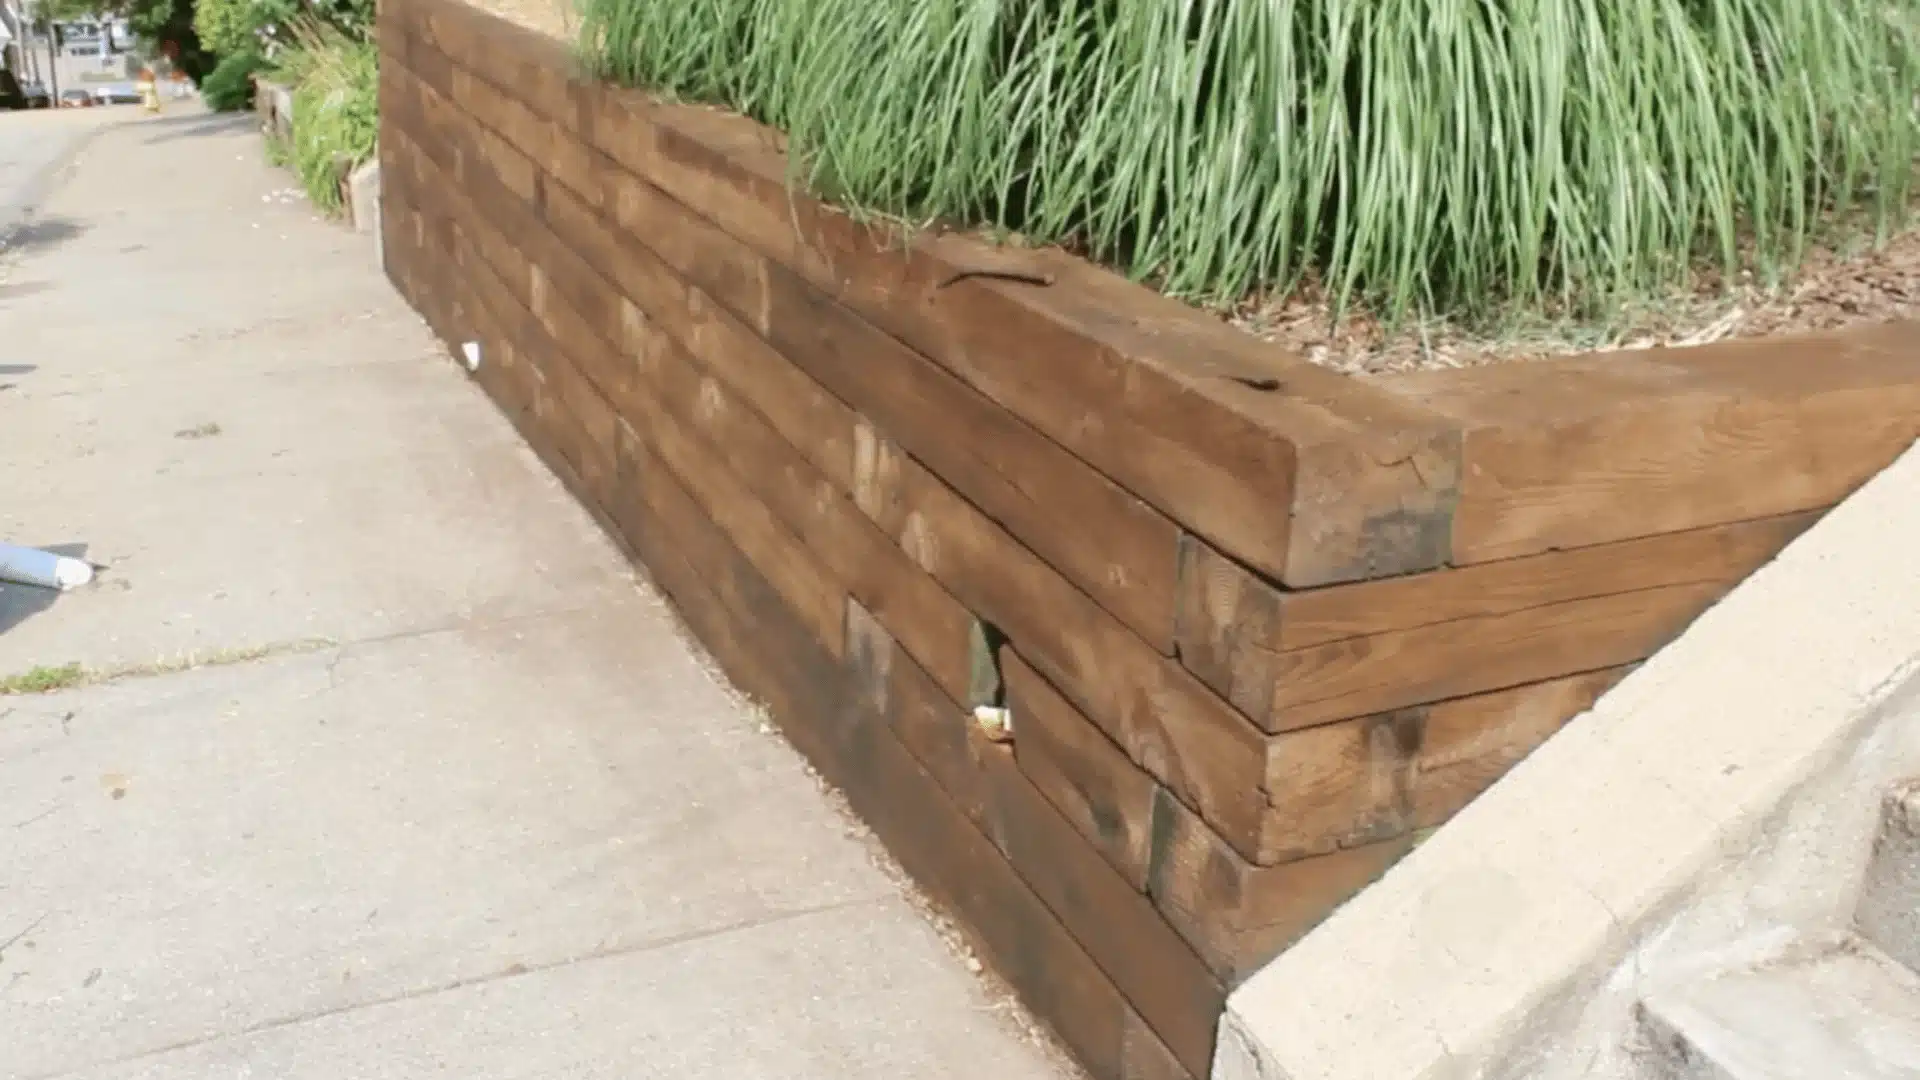
After finishing, check the weather forecast; you need at least 24 to 48 hours without rain. Some spots might look lighter at first, but that’s just because they dry faster.
The beauty of quality exterior paint is that when it fades over time, you don’t need to strip everything.
Just clean the surface with a deck cleaner, let it dry, and apply a fresh coat to bring back that gorgeous color.
Want to see these techniques in action? Head over to the YouTube “Home Repair Tutor” channel for video demonstrations and extra insights.
Considerations When Painting Pressure-Treated Wood
When painting pressure-treated wood, it’s important to consider moisture levels, paint type, and ongoing maintenance. These factors ensure your paint adheres properly and lasts for a long time.
| Consideration | Details |
|---|---|
| Moisture and Humidity | Wait until the moisture content is 15% or below. Use the water-drop test or a moisture meter. Standard treated lumber takes 2–6 months; KDAT lumber dries much faster. |
| Paint Type and Compatibility | Use exterior water-based latex paint and latex primer. Oil-based paints do not adhere properly to treated lumber and can trap moisture, causing peeling. |
| Surface Orientation | Paint lasts longer on vertical surfaces (fences, siding) than horizontal ones (deck boards). For horizontal surfaces, consider a solid stain or add an anti-slip additive. |
| Maintenance | Regular touch-ups and care help maintain the paint job and prevent wear, peeling, and fading over time. |
Proper preparation and careful selection of materials will ensure a lasting finish and protect your wood over time.
Common Mistakes to Avoid When Painting Pressure-Treated Wood
Avoiding common mistakes will save time and money, ensuring your paint job lasts. Here’s what to watch for:
- Painting Too Soon: Painting before wood has dried properly traps moisture, causing bubbling and peeling. Wait 6 weeks to 3 months.
- Using Oil-Based Paint: Oil-based paints do not bond well to pressure-treated lumber and trap residual moisture. Always use exterior latex (water-based) paint.
- Wrong Paint Choice: Never use interior paint outdoors. Always use exterior acrylic latex, oil-based paint, or solid stains.
- Ignoring Weather Conditions: Paint only when temperatures are between 50°F and 85°F, with humidity below 70%. Wait for 48 hours of dry weather.
- Skipping Primer: Primer is not optional on treated wood. Without it, even excellent topcoat paint will peel prematurely because the wood surface lacks adhesion.
- Painting in Bad Weather: Avoid painting during blazing sun, morning dew, or strong winds. Waiting for ideal weather ensures a lasting finish.
Wrap Up
Painting pressure-treated wood comes down to two things: patience and the right products. Wait until moisture content drops to 15% or below, confirm it with the water-drop test or a moisture meter, and never reach for oil-based paint.
In over twenty years of working with wood, I’ve seen more paint jobs fail from impatience than from any other cause. The second most common culprit is skipping the primer. Get those two things right, and the rest follows naturally.
Once painted, check horizontal surfaces and cut ends every spring. A quick touch-up now saves a full repaint later.
Have questions or tips from your own project? Drop them in the comments below.
Frequently Asked Questions
Can you paint pressure-treated wood right away?
No. Fresh wood holds moisture that blocks paint from sticking. Wait until moisture drops to around 15%, which can take a few weeks to a few months depending on conditions.
What type of paint works best on treated wood?
Use exterior water-based latex paint with a compatible primer. It bonds better with treated wood and allows moisture to escape, helping prevent peeling and long-term damage.
How do you know if treated wood is ready to paint?
Use a moisture meter or the water-drop test. If water absorbs into the surface, it’s ready. If it beads up, the wood still has too much moisture.
Do you need to prime pressure-treated wood before painting?
Yes. Primer helps paint stick and creates a stable base. Skipping it often leads to peeling and uneven coverage, especially in outdoor conditions.
Is it better to paint or stain pressure-treated wood?
Paint works best for vertical surfaces and gives full coverage. Stain is better for decks and high-traffic areas since it penetrates the wood and holds up longer.


