




Teak doesn’t fail the way most outdoor wood does. After a rainy season, the surface goes gray, not damaged, just weathered.
The oils that make teak resistant to rot are still there. The grain is still sound. What’s changed is the surface color, and that changes what you need to do before you touch it with any cleaner or finish.
If you know how to clean teak wood before you reach for a protector or oil, you’ll save yourself the most common mistake: applying finish to a dirty or damp surface and trapping the problem rather than fixing it.
I’ve seen sets come in that were oiled annually for five years and looked worse than a set that hadn’t been touched. The cleaning step matters more than the product you use after it.
| Species | Teak (Tectona grandis) |
| Janka Rating | 1,070 lbf, hard enough for outdoor use, machines and sands cleanly |
| Natural oil content | High, resists moisture and rot without finishing, but absorbs less than dry hardwoods |
| Grade to look for | Grade A (heartwood only, tight grain, fewest knots, best durability) |
| Outdoor lifespan untreated | 25–50 years with basic cleaning; will gray naturally after 6–12 months of UV exposure |
| What fails first | Surface finish if applied over damp or dirty wood; mildew in joints if moisture is trapped |
That reference box is the short version. The rest of this guide walks through how to clean teak wood furniture by condition, light dirt, gray weathering, mildew, and stubborn stains, and what to do with the surface afterward.
Know What Your Teak Needs First
Before choosing a cleaner, take a quick look at the teak. A dusty chair, a gray bench, and a table with dark spots should not all be treated the same way. The goal is to clean the surface without roughening the grain, trapping dirt, or adding finish too soon.
Light dust, pollen, and loose outdoor dirt usually need only mild dish soap, warm water, and a soft-bristle brush. This is the safest starting point if the furniture still looks even in color.
Gray teak is usually weathered by the sun and rain, not damaged. Teak ages into that silver-gray tone naturally, and it’s one reason teak stays a strong choice when weighing the best wood for outdoors against alternatives like ipe or acacia.
If you like the silver-gray look, clean it and leave it alone. If you want the warmer brown back, clean first, then use a teak brightener only if needed.
Dark spots may come from mildew, wet leaves, planters, spills, or dirt sitting in the grain. Wash the furniture first, let it dry fully, and check the marks again before sanding.
If the surface feels rough, wait until the wood is dry before sanding lightly. If it feels sticky, clean off old oil or buildup before adding any new oil, protector, or sealer.
Choose the Right Cleaner for the Job
The cleaner should match the condition of the teak. For regular care, mild dish soap and warm water are enough. Use stronger options only when the furniture has mildew, gray buildup, or deep outdoor grime.
| Cleaner or product | Best for | Use with care when |
|---|---|---|
| Mild dish soap and water | Dust, pollen, light grime | The piece has heavy gray buildup |
| Diluted white vinegar | Light mildew or musty smell | The wood is very dry or cracked |
| Teak cleaner | Weathered, gray, or dirty outdoor pieces | The furniture only needs a light wash |
| Teak brightener | Bringing back a warmer tone after cleaning | Dirt is still on the surface |
| Bleach-based mix | Stubborn mildew | Routine cleaning or food-contact pieces |
Start with the mildest option that fits the problem. Use teak cleaner for heavy buildup, brightener for color correction, and bleach-based mixes only for stubborn mildew.
How to Clean Teak Wood Furniture Step by Step
Cleaning teak furniture works best when you keep the process gentle. Before you start, gather the basics: mild dish soap, warm water, a bucket, a soft-bristle nylon brush, a sponge or clean cloth, and a garden hose or clean rinse water.
For heavier buildup, keep teak cleaner and teak brightener nearby. If the surface feels rough after drying, 220-grit sandpaper can help. Use gloves if you plan to use stronger cleaners.
Most outdoor teak does not need harsh chemicals, heavy sanding, or strong water pressure. Start with a mild wash, then use a teak cleaner only if the wood still looks gray, stained, or patchy after the first clean.
Step 1: Clear the Surface and Wet the Wood
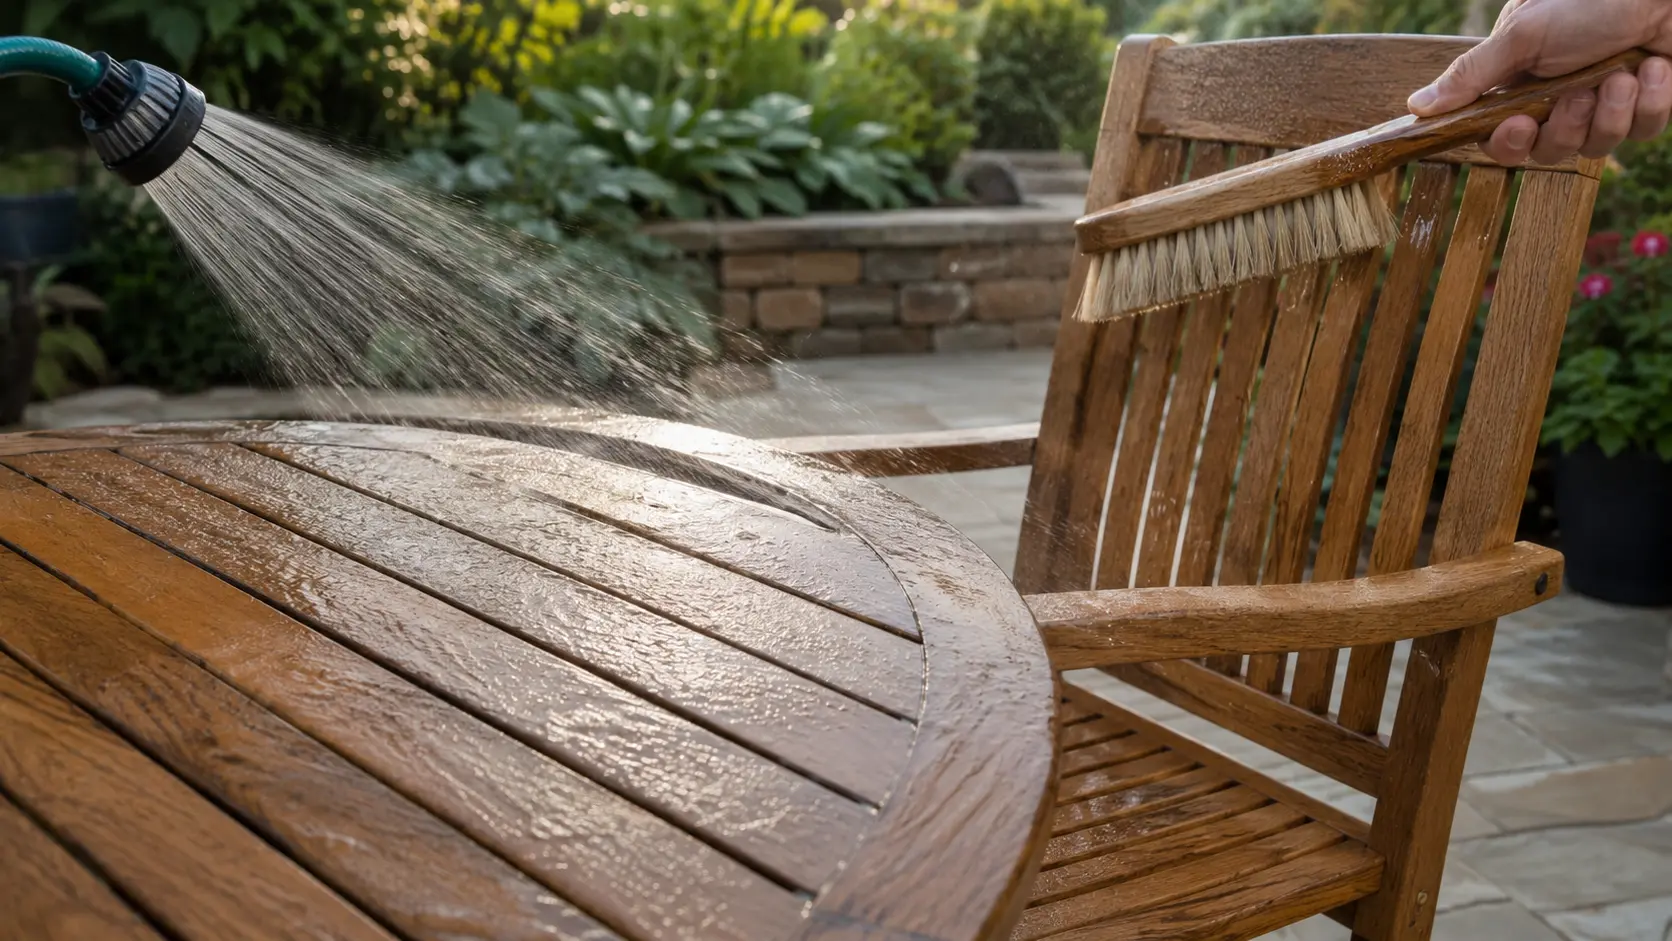
Start by removing dry leaves, pollen, dust, sand, and loose debris from the furniture. Small bits of grit can scratch the surface once you begin scrubbing, especially on tabletops, chair arms, and bench seats.
After the loose dirt is gone, wet the teak with clean water. A garden hose works well for outdoor furniture, while a bucket and sponge are better for indoor pieces or balcony setups.
The wood should be damp, not soaked. This helps the soap spread evenly and keeps dry teak from absorbing the cleaner too quickly in one spot.
Step 2: Wash Gently With Mild Soap
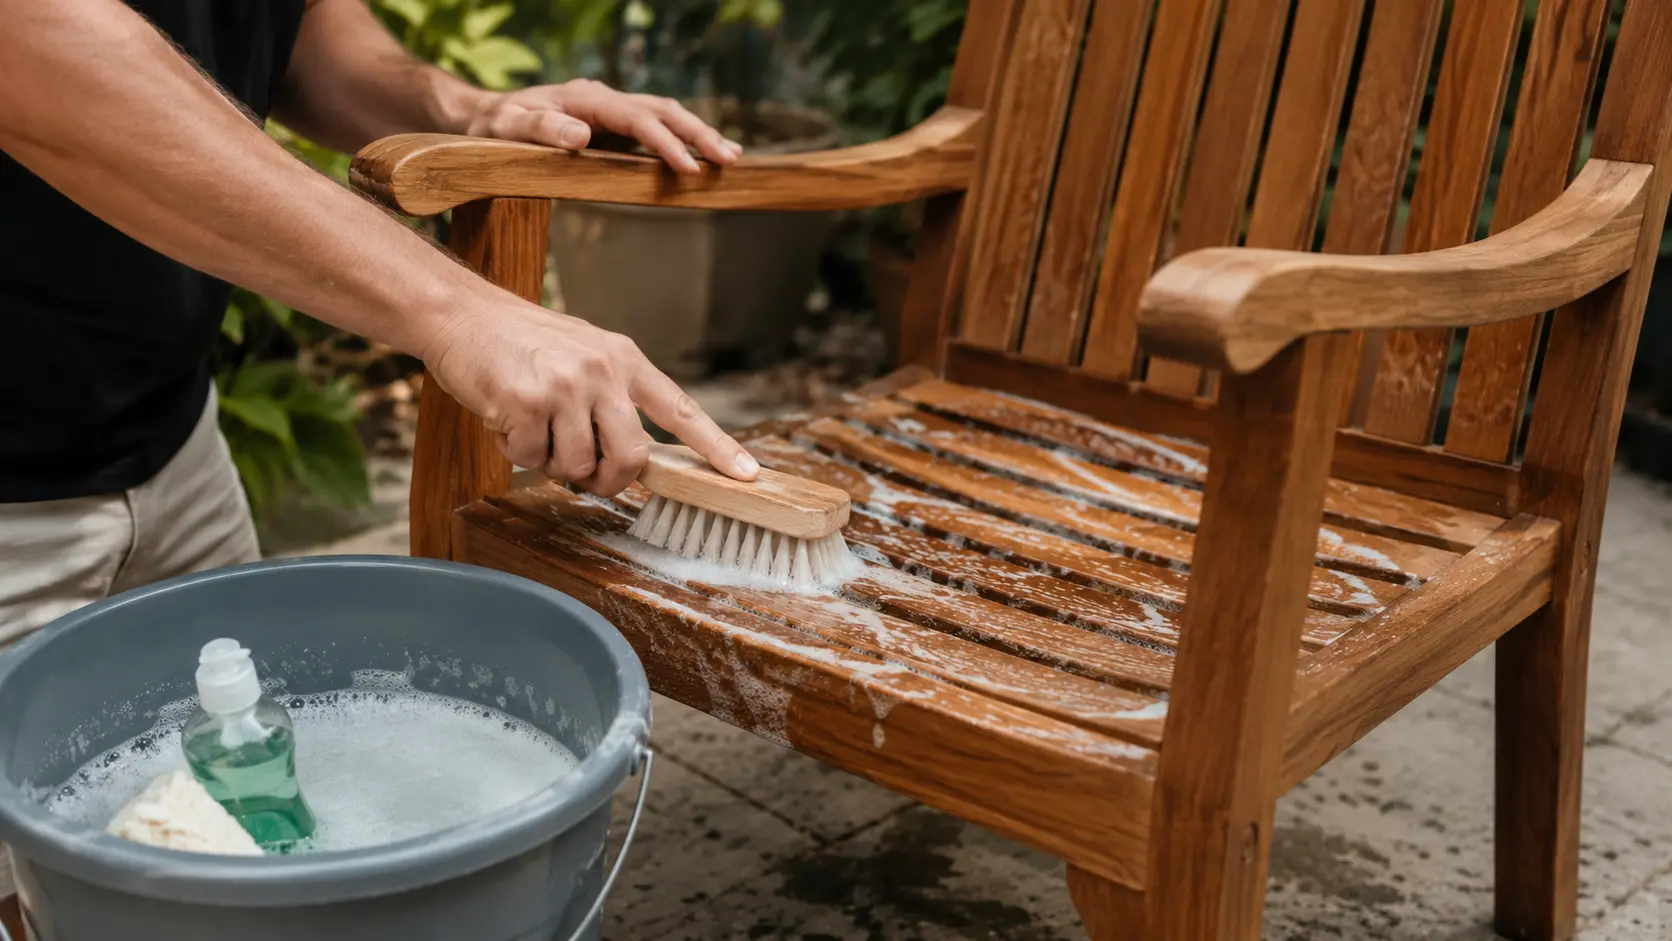
Mix mild dish soap with warm water in a bucket. You do not need a strong soap mix. The goal is to loosen dirt from the surface without leaving residue in the grain.
Use a soft-bristle nylon brush or sponge and scrub with the grain. This keeps the surface smoother and lowers the chance of scratch marks. Avoid steel wool, wire brushes, rough pads, and pressure washing because they can damage the surface.
For slatted chairs, benches, and dining tables, clean one small area at a time. This keeps the soap from drying on the teak before you rinse it.
Step 3: Use Teak Cleaner Only for Heavy Buildup
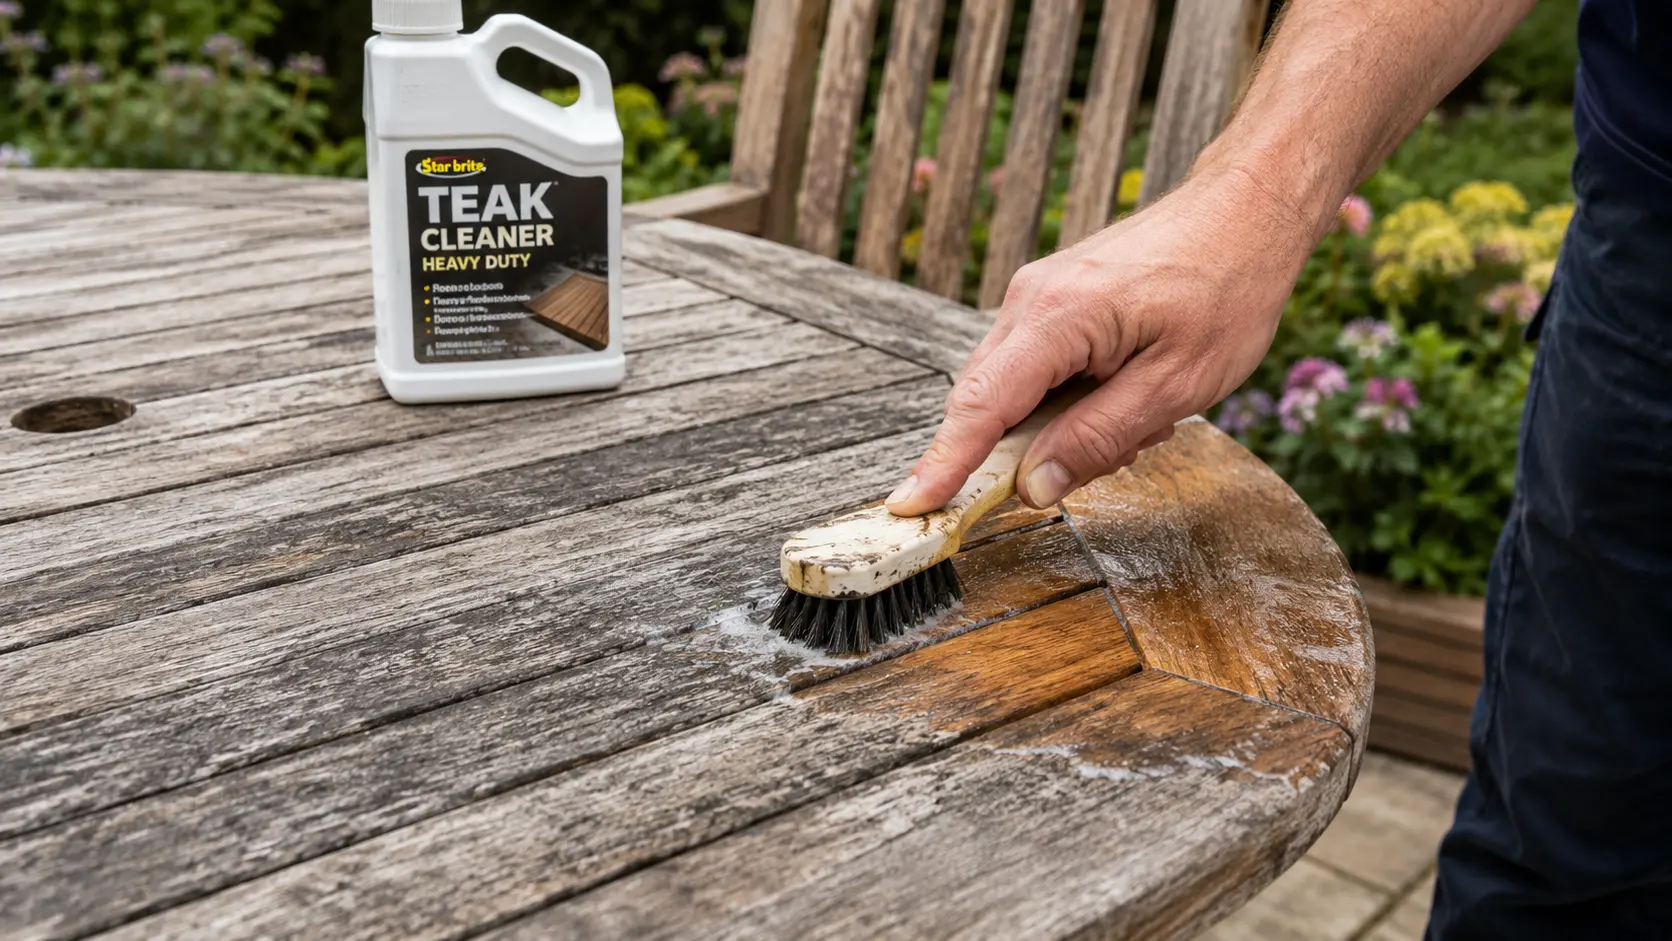
If mild soap does not remove gray buildup, mildew, or deep outdoor grime, use a cleaner made for teak. This step is not needed every time you wash the furniture. It is mainly for pieces that still look weathered or uneven after a normal clean.
Follow the product label closely. Let the cleaner sit only for the suggested time, then scrub gently with the grain. Use teak brightener after cleaning only if you want to bring back a warmer tone.
Step 4: Rinse Well and Let It Dry Fully
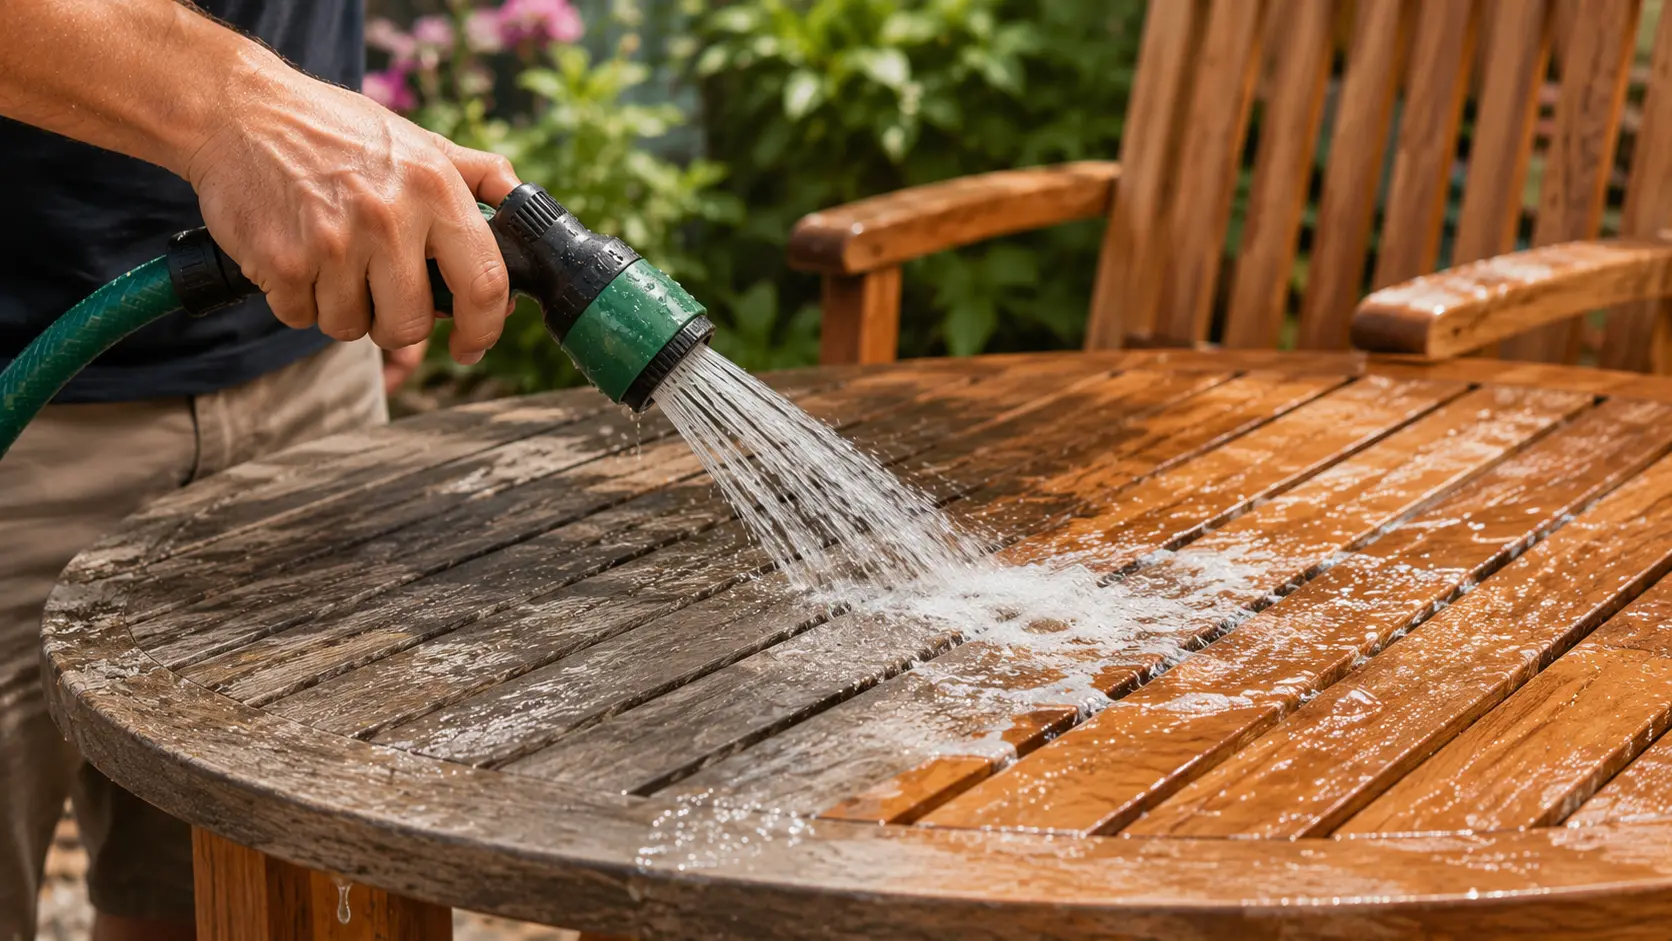
Rinse the furniture with clean water until all soap or cleaner is gone. Leftover residue can dry into the grain and leave the surface looking dull, streaky, or patchy.
Use a regular hose, sponge, or clean bucket of water. Do not use a pressure washer. Strong pressure can raise the grain, roughen the wood, and leave marks that may need sanding later.
After rinsing, let the teak dry in open air for 24 to 48 hours. Do not sand, oil, seal, or cover the furniture while it is damp. If the wood feels cool, dark, or damp in some areas, give it more time.
Step 5: Sand Only If the Surface Feels Rough
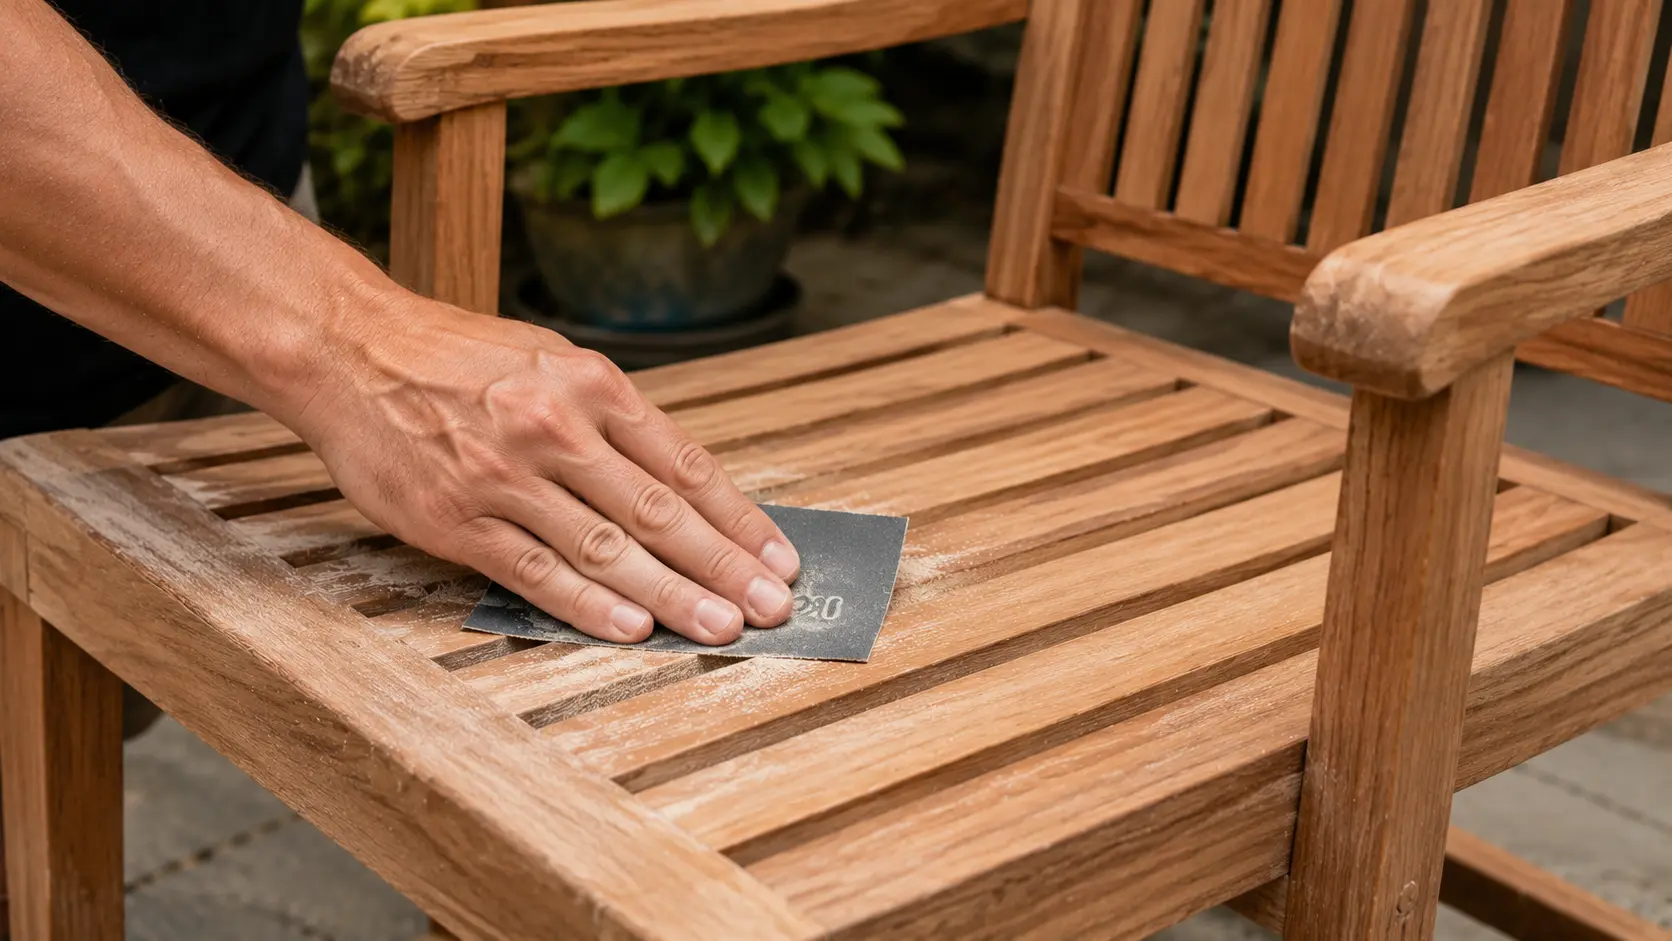
Once the teak is fully dry, run your hand over the surface. If it feels smooth, you can skip sanding. If it feels rough or fuzzy, sand lightly with fine-grit sandpaper, such as 220 grit.
Always sand with the grain and wipe away dust afterward. The goal is to smooth the raised grain, not remove a thick layer of wood. If you plan to use oil, protector, or sealer, apply it only after the teak is clean, dry, and dust-free.
Choose a Finish: Natural Gray, Oil, Protector, or Sealer
Once the furniture is clean and fully dry, decide how you want the teak to age. You can let it turn silver-gray naturally, or you can use oil, protector, or sealer to keep a warmer brown color.
Teak behaves differently from most species once a finish is applied; its natural oil content means it absorbs less than drier hardwoods, which affects how each finish performs.
If you are still deciding on which outdoor species to buy, the full breakdown on types of wood furniture is suited for comparing teak, acacia, and ipe side by side.
The best finish choice depends on how much upkeep you want and how much the furniture gets exposed to the weather.
| On teak oil: “Teak oil” is typically linseed oil mixed with solvents. It is not extracted from teak trees. Applied too heavily or too often, it sits on the surface and turns sticky, collecting dirt and promoting mildew, particularly in humid climates. If you use it, apply very thin coats and wipe off the excess completely. Many teak specialists recommend water-based sealers over teak oil for outdoor pieces because they last longer and don’t carry the same buildup risk. |
| Finish | Best for | Upkeep | Watch out for |
|---|---|---|---|
| Natural gray (no finish) | Low-maintenance outdoor pieces | Low, annual soap wash | Still needs cleaning; mildew forms on dirty wood regardless of finish |
| Teak oil | Restoring warmer brown tone | Medium to high, reapply every 3–4 months in sun-exposed settings | Turns sticky if applied too heavily; can feed mildew in humid climates |
| Teak protector | Slowing the gray transition | Medium, reapply once or twice yearly | Works only on clean, fully dry teak; surface prep is non-optional |
| Water-based teak sealer | Longer protection, fewer applications | Medium, one or two coats annually | Don’t apply over dirt, damp wood, or any sticky old finish, strip first |
If you use teak oil, handle oily rags with care. Do not leave them in a pile. Lay them flat outside to dry or follow the disposal steps on the product label.
Keep Teak Clean Longer: A Seasonal Routine
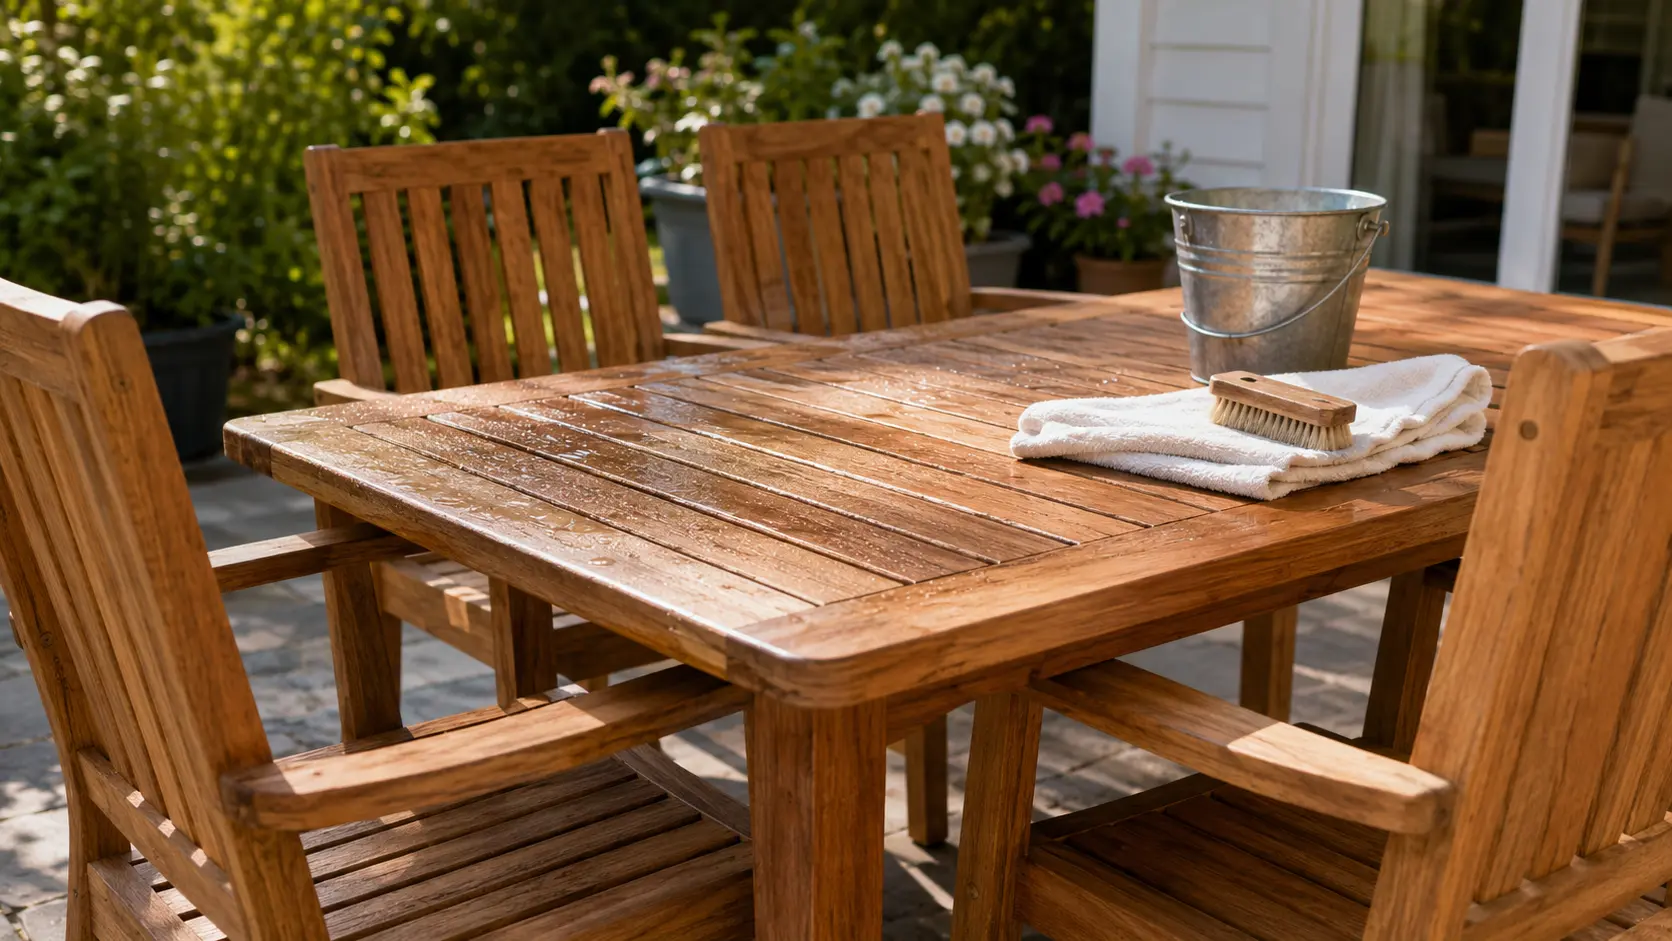
One deep clean a year stops working when teak sits under trees, near a pool, or in a damp climate. A light routine spread across the seasons prevents the buildup that turns a 30-minute wash into a half-day restoration job.
| Season | What to do | Why it matters |
|---|---|---|
| Spring | Full wash, check for mildew and rough spots, apply sealer or protector if using one | Clears winter buildup before heavy use begins |
| Summer | Wipe spills immediately, rinse pollen every few weeks, move planters to prevent moisture rings | Stops stains from setting in the grain |
| Fall | Clean and dry fully before storing or covering | Prevents trapped moisture over winter |
| Winter | Store indoors or use breathable covers; lift covers occasionally to let air circulate | Tight plastic covers trap moisture, breathable fabric covers don’t |
For indoor teak, use less water throughout. Dust regularly, wipe with a barely damp cloth, and dry the surface immediately.
Joints, edges, and veneer on indoor pieces absorb moisture differently than outdoor solid teak, soaking an indoor piece can cause swelling at the joints that takes weeks to fully reverse.
Mistakes That Damage Teak and How to Avoid Them
Most teak damage I’ve seen comes from three things: water pressure, trapped moisture, and too much finish. Each one is avoidable.
- Pressure washing: Raises the grain, strips natural oils, and leaves marks that need sanding to fix. Use a regular hose.
- Scrubbing across the grain: Leaves visible scratch marks in the wood fibers. Always scrub with the grain.
- Oiling dirty or damp wood: Traps the dirt and moisture under the finish. Clean and dry first, every time.
- Thick oil coats: Extra oil sits on the surface, turns sticky, and becomes a mildew trap in humid weather. Thin coats, wiped off completely.
- Covering damp furniture: Moisture trapped under a cover is the primary cause of mildew at joints and slat edges. Fully dry before covering.
- Steel wool or wire brushes: Metal particles lodge in the grain and rust, leaving orange stains that don’t come out. Use nylon brushes only.
One more worth flagging: applying teak brightener before cleaning. Brightener is a mild acid, it works by stripping the oxidized gray surface layer to reveal the warmer wood underneath.
If there’s dirt or mildew on the surface when you apply it, the brightener works on that instead. Cleaning first means the brightener reaches the wood.
Frequently Asked Questions
Can I use dish soap to clean teak wood?
Yes. Mild dish soap mixed with warm water is the right starting point for routine cleaning. Scrub with a soft nylon brush along the grain and rinse fully so no residue dries into the wood.
Can I use vinegar on teak furniture?
Diluted white vinegar works for light mildew and musty smell, use one cup per four liters of water. Rinse well. Avoid it on very dry or cracked teak, and don’t use it as a substitute for teak cleaner on heavily weathered pieces.
Can you use bleach on teak wood?
A diluted bleach solution (1:4 with water) handles stubborn black mildew that won’t respond to vinegar. Wear gloves, rinse thoroughly, and don’t use it on food-contact surfaces or as routine care, it’s harsh on the grain over time.
Can I pressure wash teak furniture?
Not at standard pressure settings. High PSI raises the grain, roughens the surface, and strips natural oils. If you do use a pressure washer, keep it below 1,200 PSI with a wide fan nozzle. A regular hose is better.
Is gray teak wood damaged?
No, gray teak is normal outdoor aging, not structural damage. UV exposure and rain oxidize the surface oils and produce the silver patina within 6–12 months. You can leave it gray, or clean and brighten it if you prefer the warmer brown.
Should I oil teak furniture every year?
It depends on the product. Teak oil needs reapplication every 3–4 months in direct sun, annually is too infrequent to maintain color and too frequent if buildup accumulates. A water-based sealer applied once in spring is lower-maintenance and less prone to sticky buildup.
How do I restore teak to its original color?
Clean the surface thoroughly, rinse, and dry fully. Then apply teak brightener according to the label instructions. The brightener strips the oxidized gray layer and brings back the warmer tone. After brightening, apply a sealer or protector to slow the next cycle of graying.
How often should I clean teak furniture?
Once or twice a year for most outdoor sets. If the furniture sits under trees, near a pool, or in a coastal or humid climate, check it every few months for mildew and pollen buildup and rinse as needed between deep cleans.
Final Verdict
Teak care works best when it stays simple. Wash with mild soap for normal dirt, use a teak cleaner for heavier buildup, and let the wood dry fully before any finish touches the surface.
Once the piece is clean, choose a sealer, protector, natural gray finish, or teak oil for outdoor furniture based on how much upkeep you want. If you came here to learn how to clean teak wood, the rule is clear: clean gently, dry fully, and protect only when needed.
Give your set a quick look this week. Start with one chair or table, then use that result to plan the rest. Small care now prevents bigger repair work later.





