

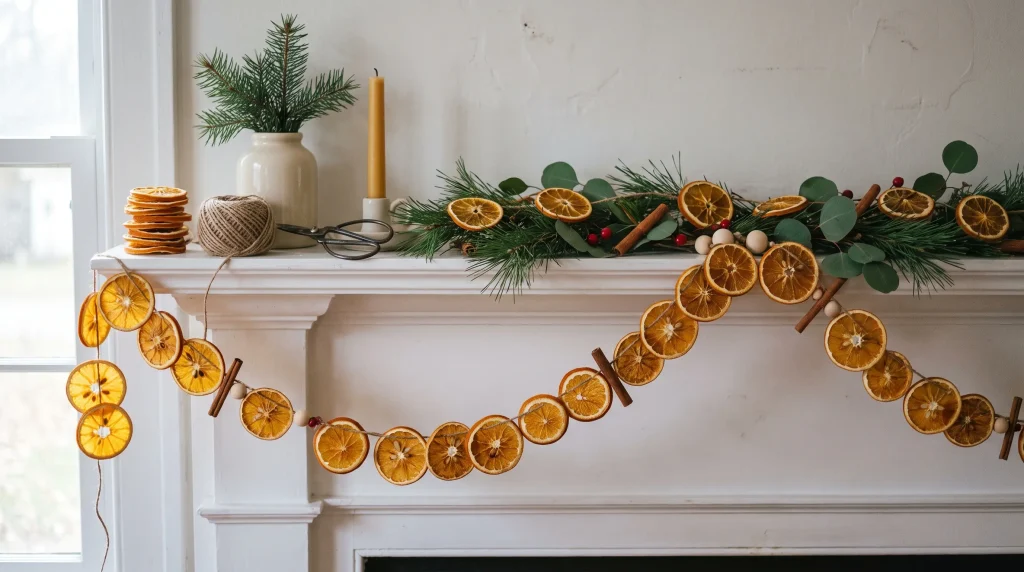


I put off making a dried orange garland for two seasons because it seemed like the kind of project that would eat an entire afternoon. It doesn’t. Once you slice the oranges, the oven does most of the work.
The slices don’t need to look perfect, either. Different shades, curled edges, and slightly uneven rounds all add to the appeal. The one thing you can’t be casual about is moisture.
A damp center can turn into mold later, so give the oranges plenty of time to dry before you reach for the twine.
Get the slicing and drying right, and stringing the garland together is the easy part.
What You’ll Need and How Many Oranges to Buy
You only need a few basics to get started. The number of oranges depends mostly on how long you want the finished garland to be.
-
3–4 oranges: for about a 3-foot garland
-
5–6 oranges: for about a 5-foot garland
-
6–7 oranges: for about a 6-foot garland
-
Sharp knife or mandoline: for thin, even slices
-
Paper towels and baking sheet: for blotting and drying
-
Parchment paper or wire rack: to prevent sticking
-
Twine, needle, and scissors: for assembling the garland
-
Optional: cinnamon sticks, wooden beads, star anise, or greenery for extra detail
Measure the spot where you plan to hang the garland first, and leave a little extra twine for the natural dip and end loops.
How to Make Dried Orange Garland Step by Step
The slicing takes minutes. Drying takes hours. That is the trade-off with this project, and trying to hurry the second part usually causes most of the problems.
Step 1: Slice Them Thin, Not Perfect
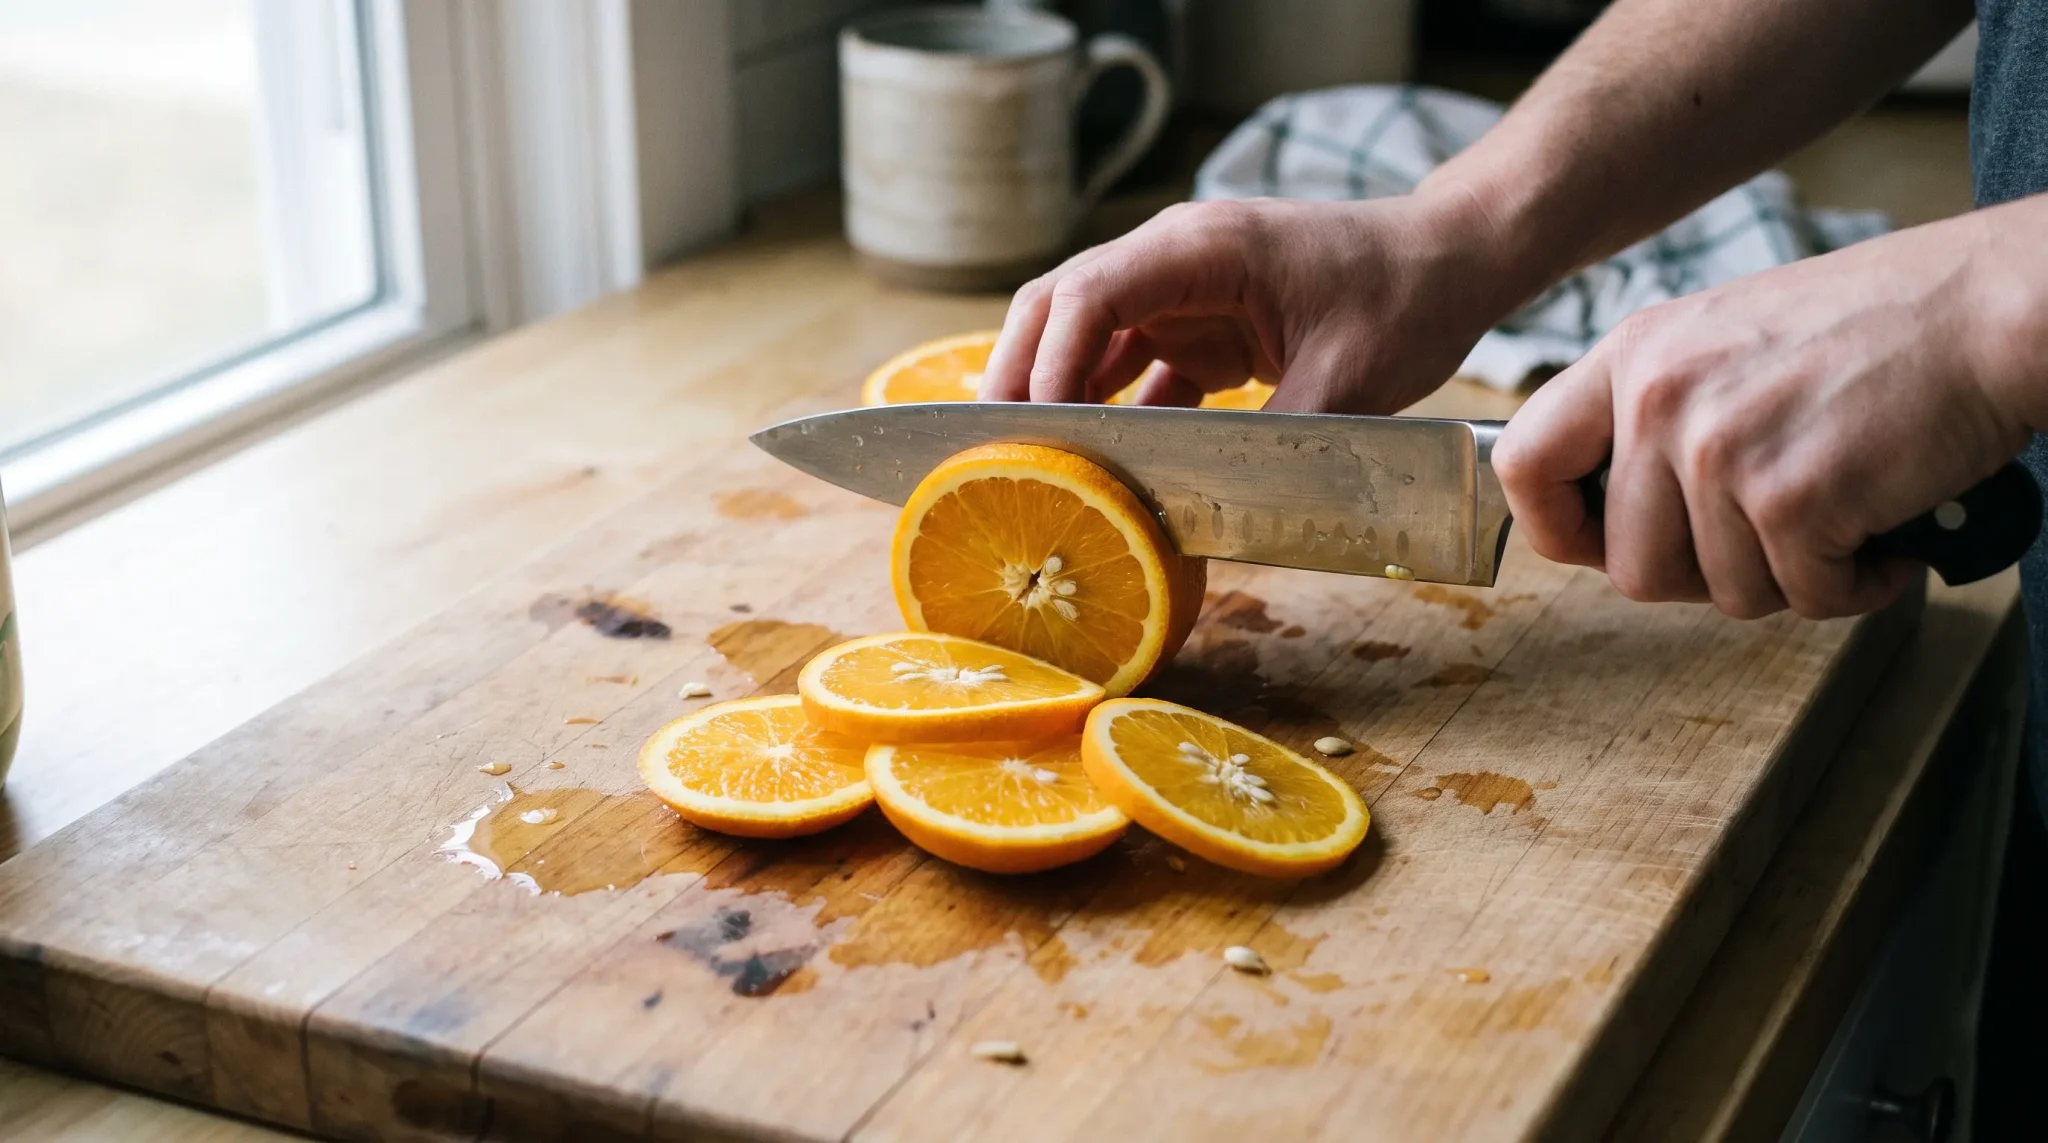
Cut the oranges into rounds about 1/8 to 1/4 inch thick. Aim for a similar thickness, but forget about perfect circles. A few wonky edges will disappear into the finished garland.
A mandoline makes quick work of this, though a sharp knife works just as well. Set aside the tiny end pieces and use the fuller rounds from the middle.
Step 2: Blot Before They Hit the Oven
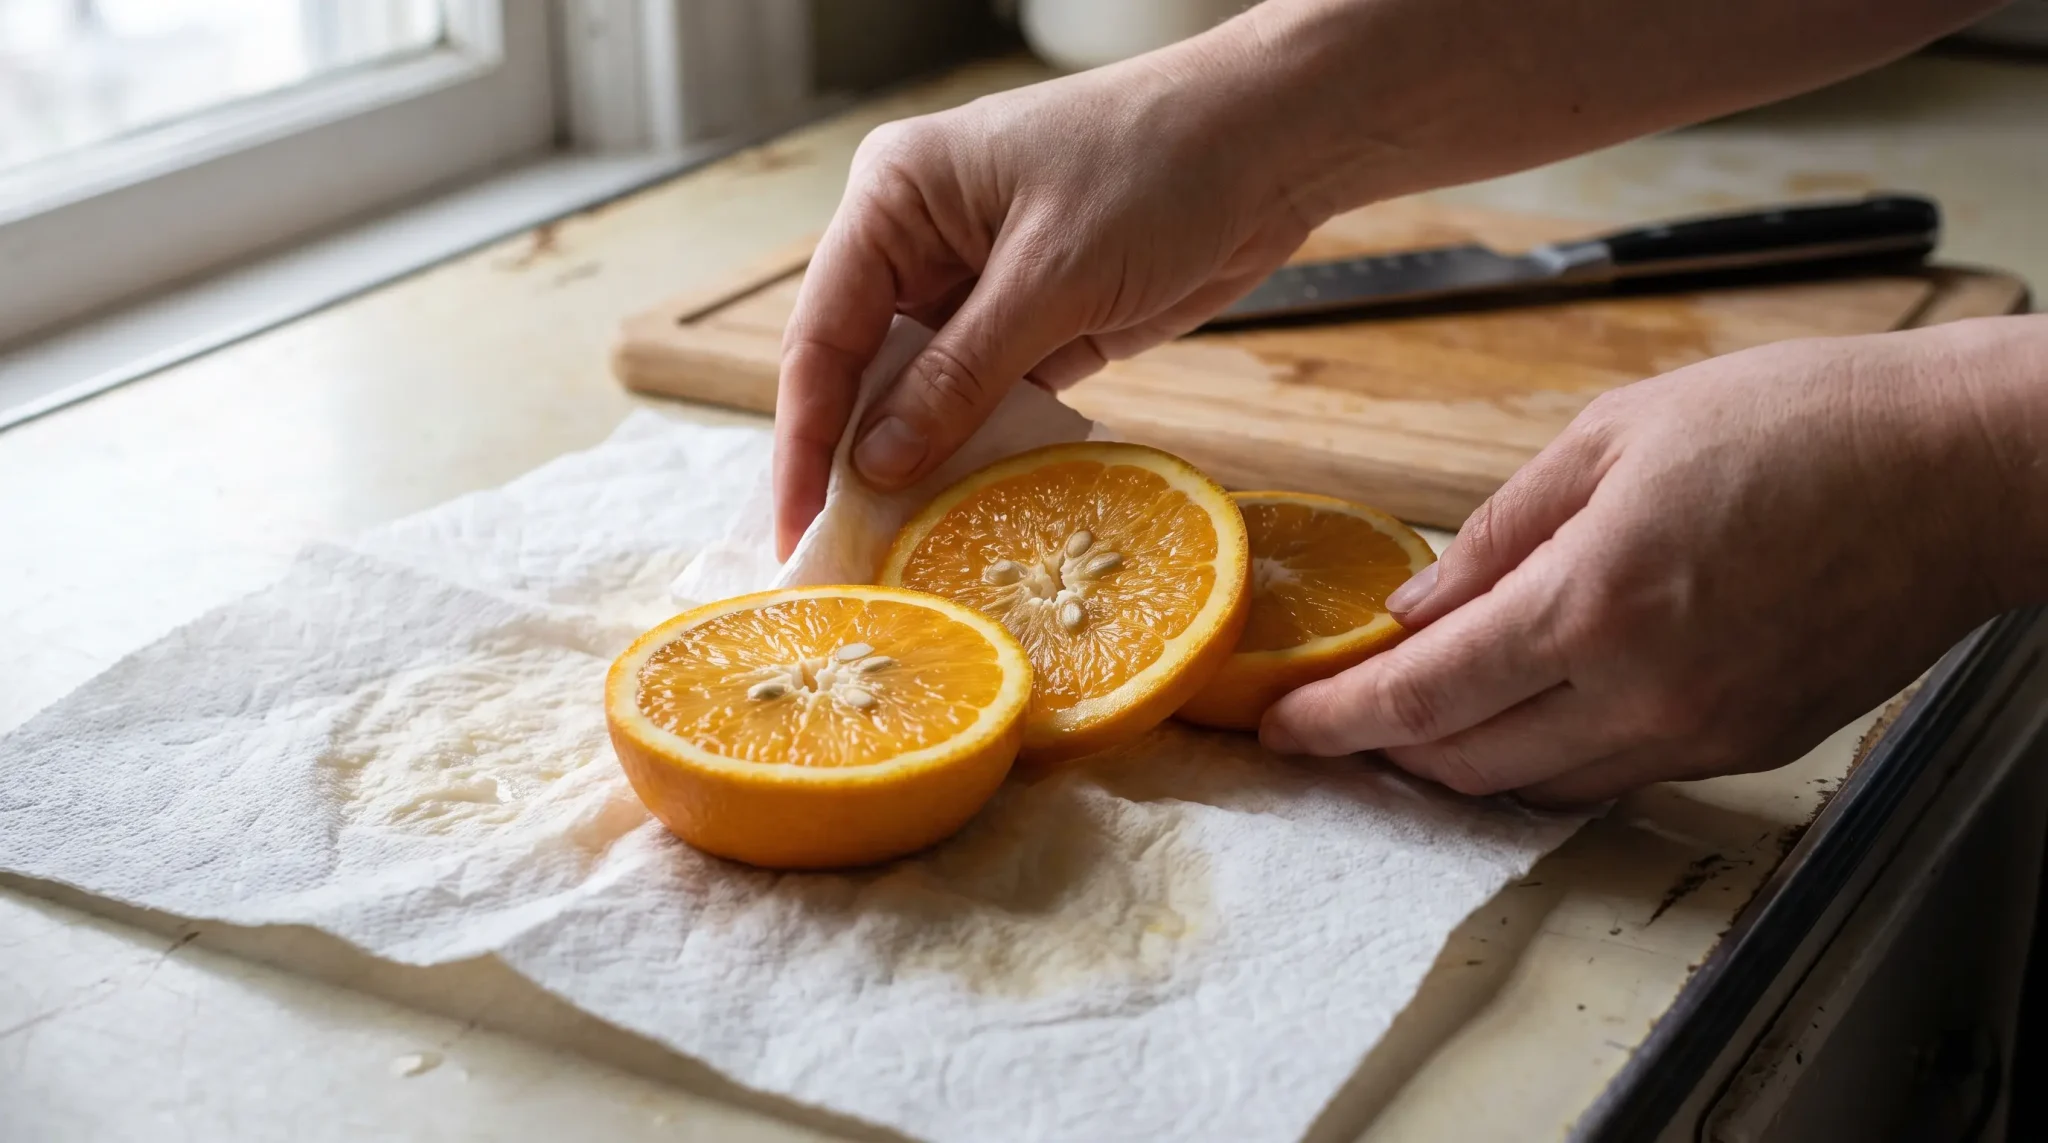
Gently press each slice between paper towels. You are not squeezing out the juice; you are just picking up what is sitting on the surface. It takes less than a minute and leaves less moisture for the oven to remove.
Step 3: Now Comes the Slow Part
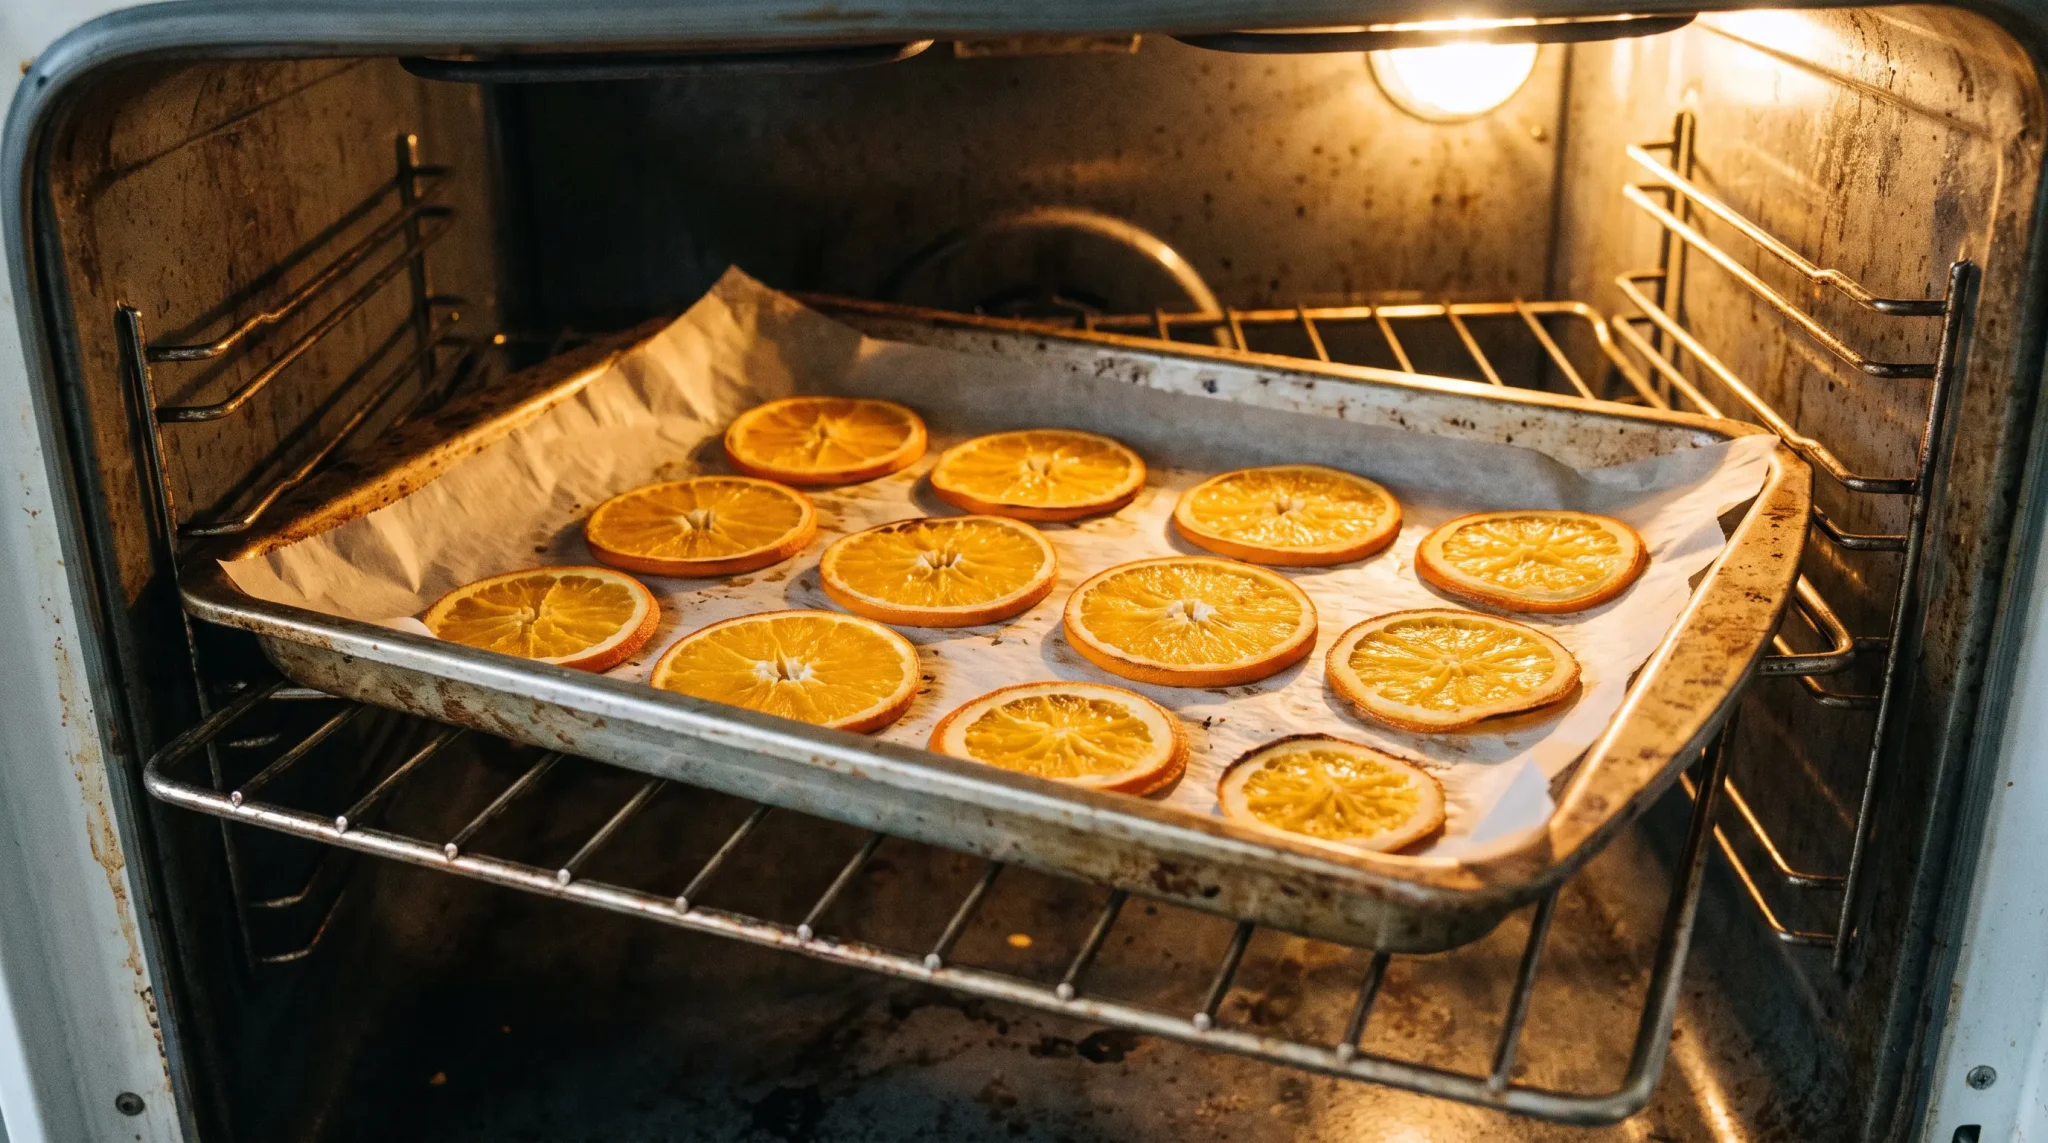
Lay the slices in a single layer on a parchment-lined baking sheet, leaving a little space between them. Keep the oven around 200 to 225°F and plan on roughly 3 to 5 hours, turning the slices about once an hour and removing thinner pieces as they finish.
Now you may wonder whether to use an oven or dehydrator. An oven is faster at around 3 to 5 hours, while a dehydrator takes about 8 to 12+ hours but provides steadier, lower heat that can help reduce browning.
Step 4: Let Them Cool Before You Decide
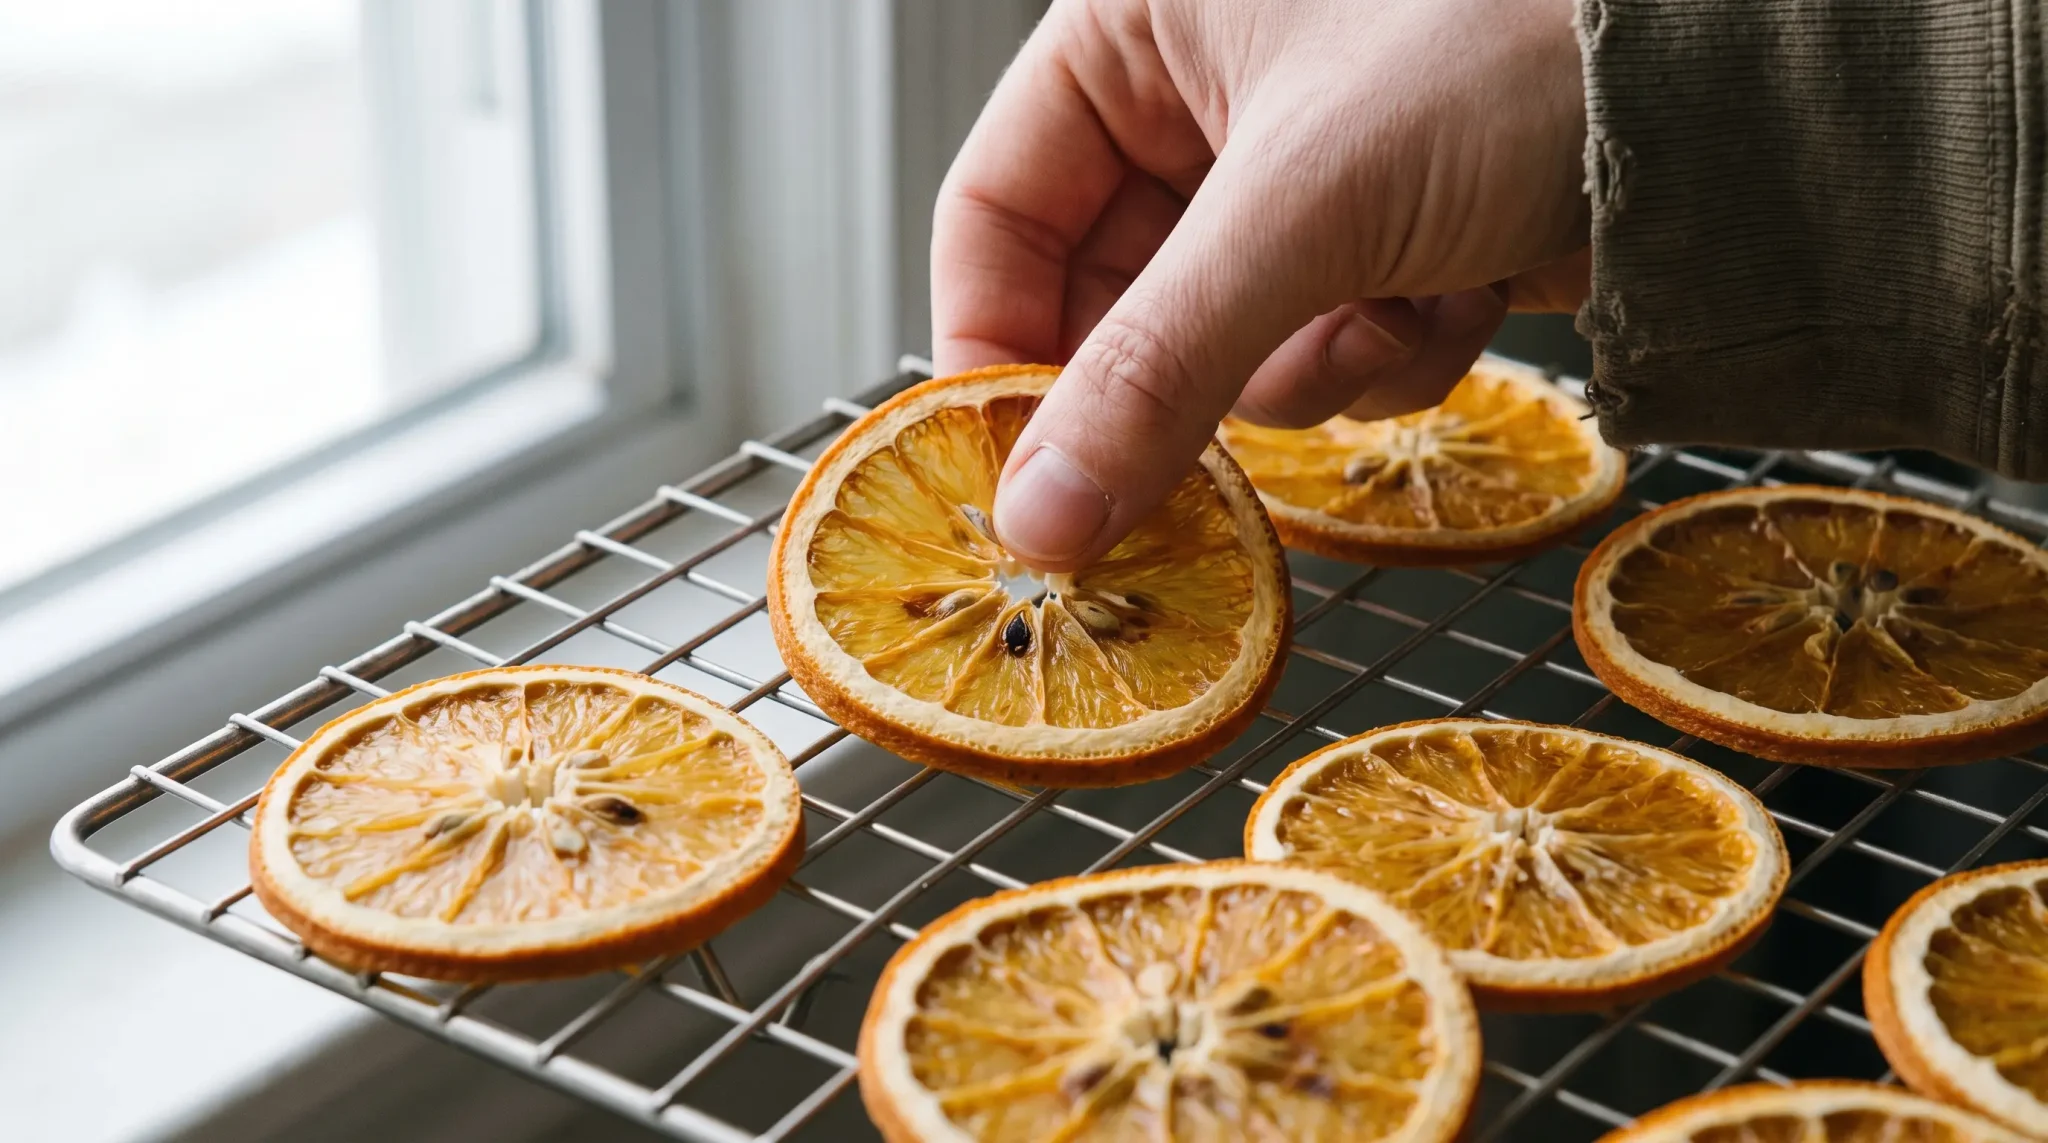
Fresh from the oven, a slice can feel drier than it actually is. Move the oranges to a cooling rack and leave them alone until they reach room temperature. Then check the centers. They should feel dry, not tacky or spongy.
Step 5: Give Them a Little More Time
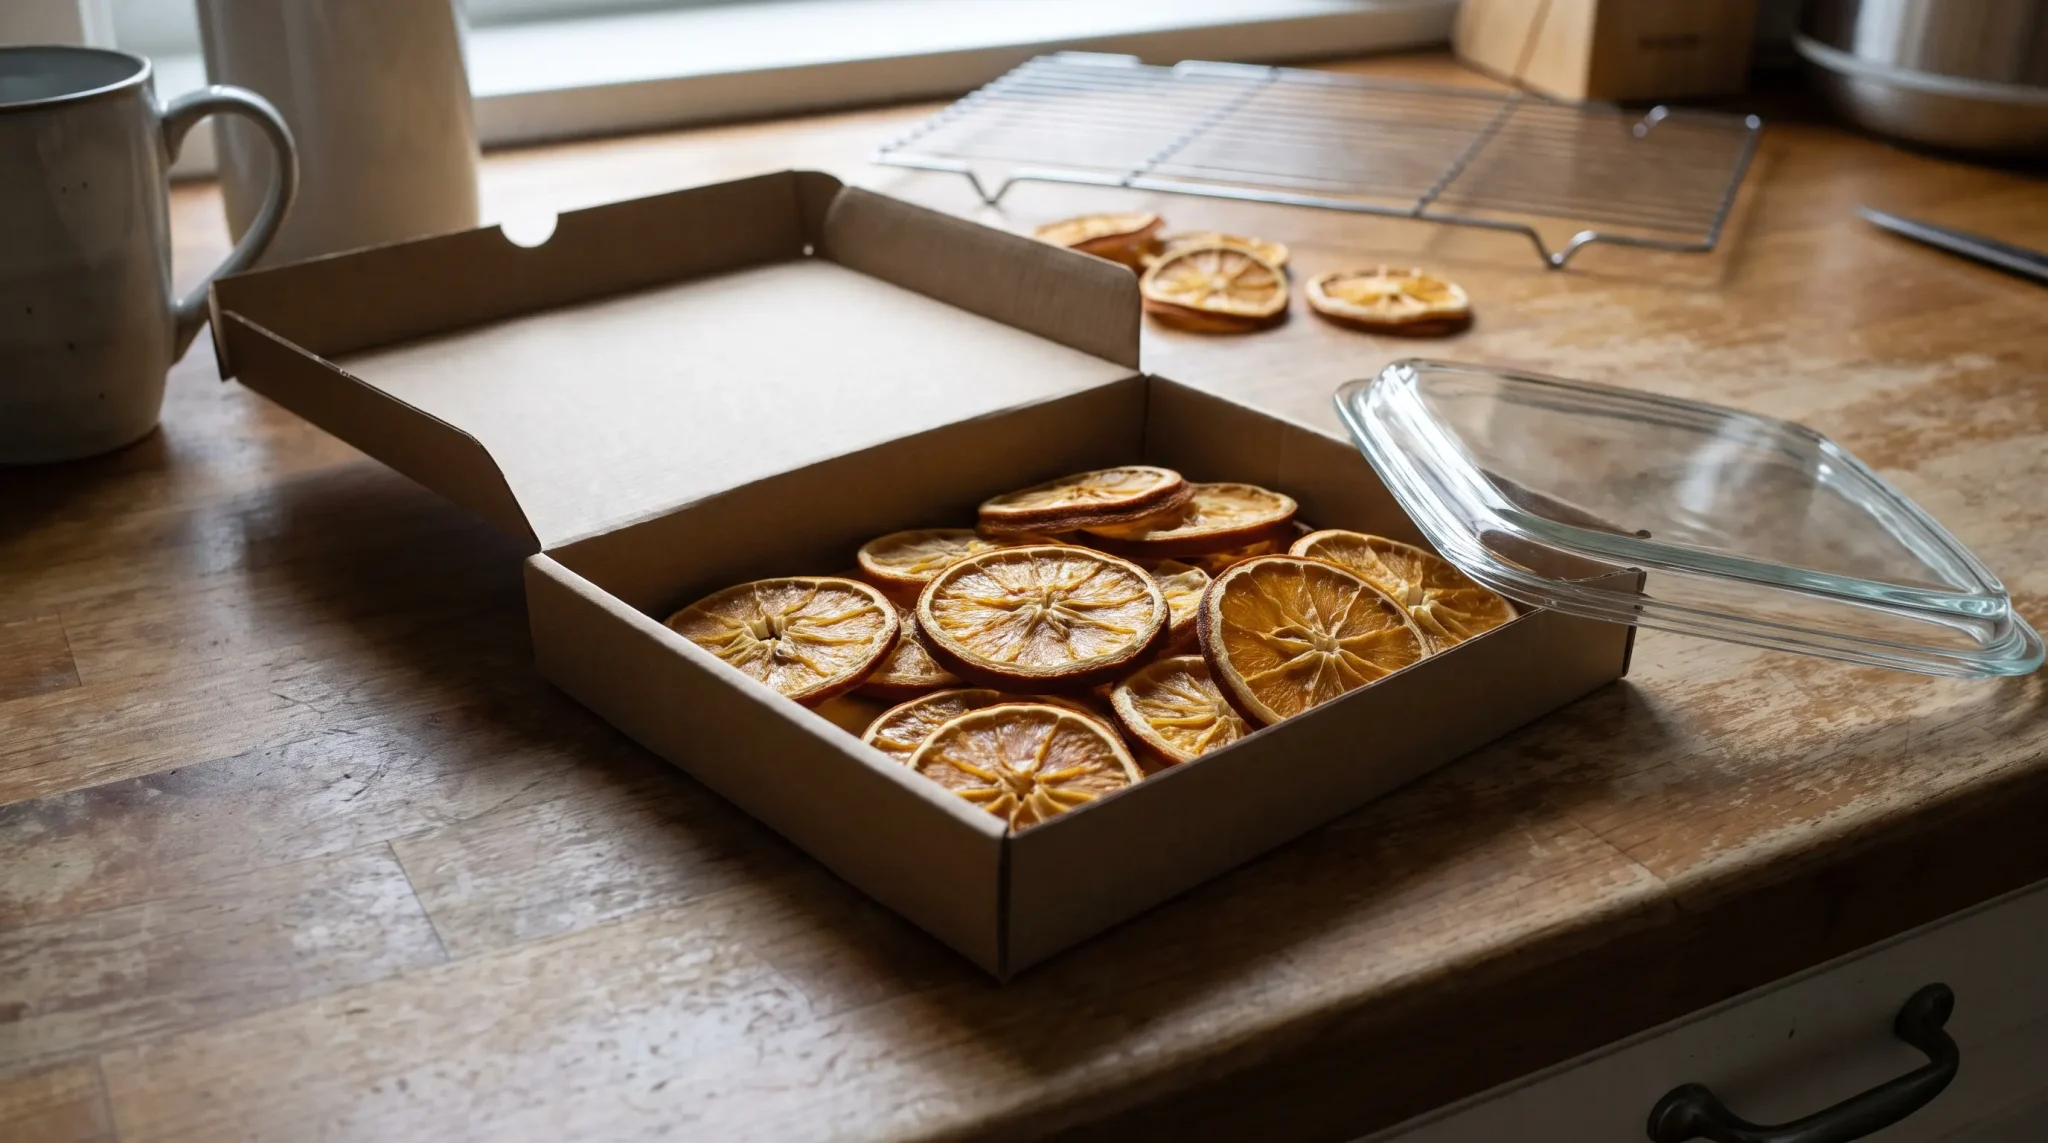
If you hope to reuse the garland next season, do not rush straight from the cooling rack to twine.
Let the slices rest in a dry place for a few days. If one softens again or you notice moisture, it was not quite finished. Give that piece another spell in the oven or dehydrator.
Step 6: Thread Without Cracking the Slices
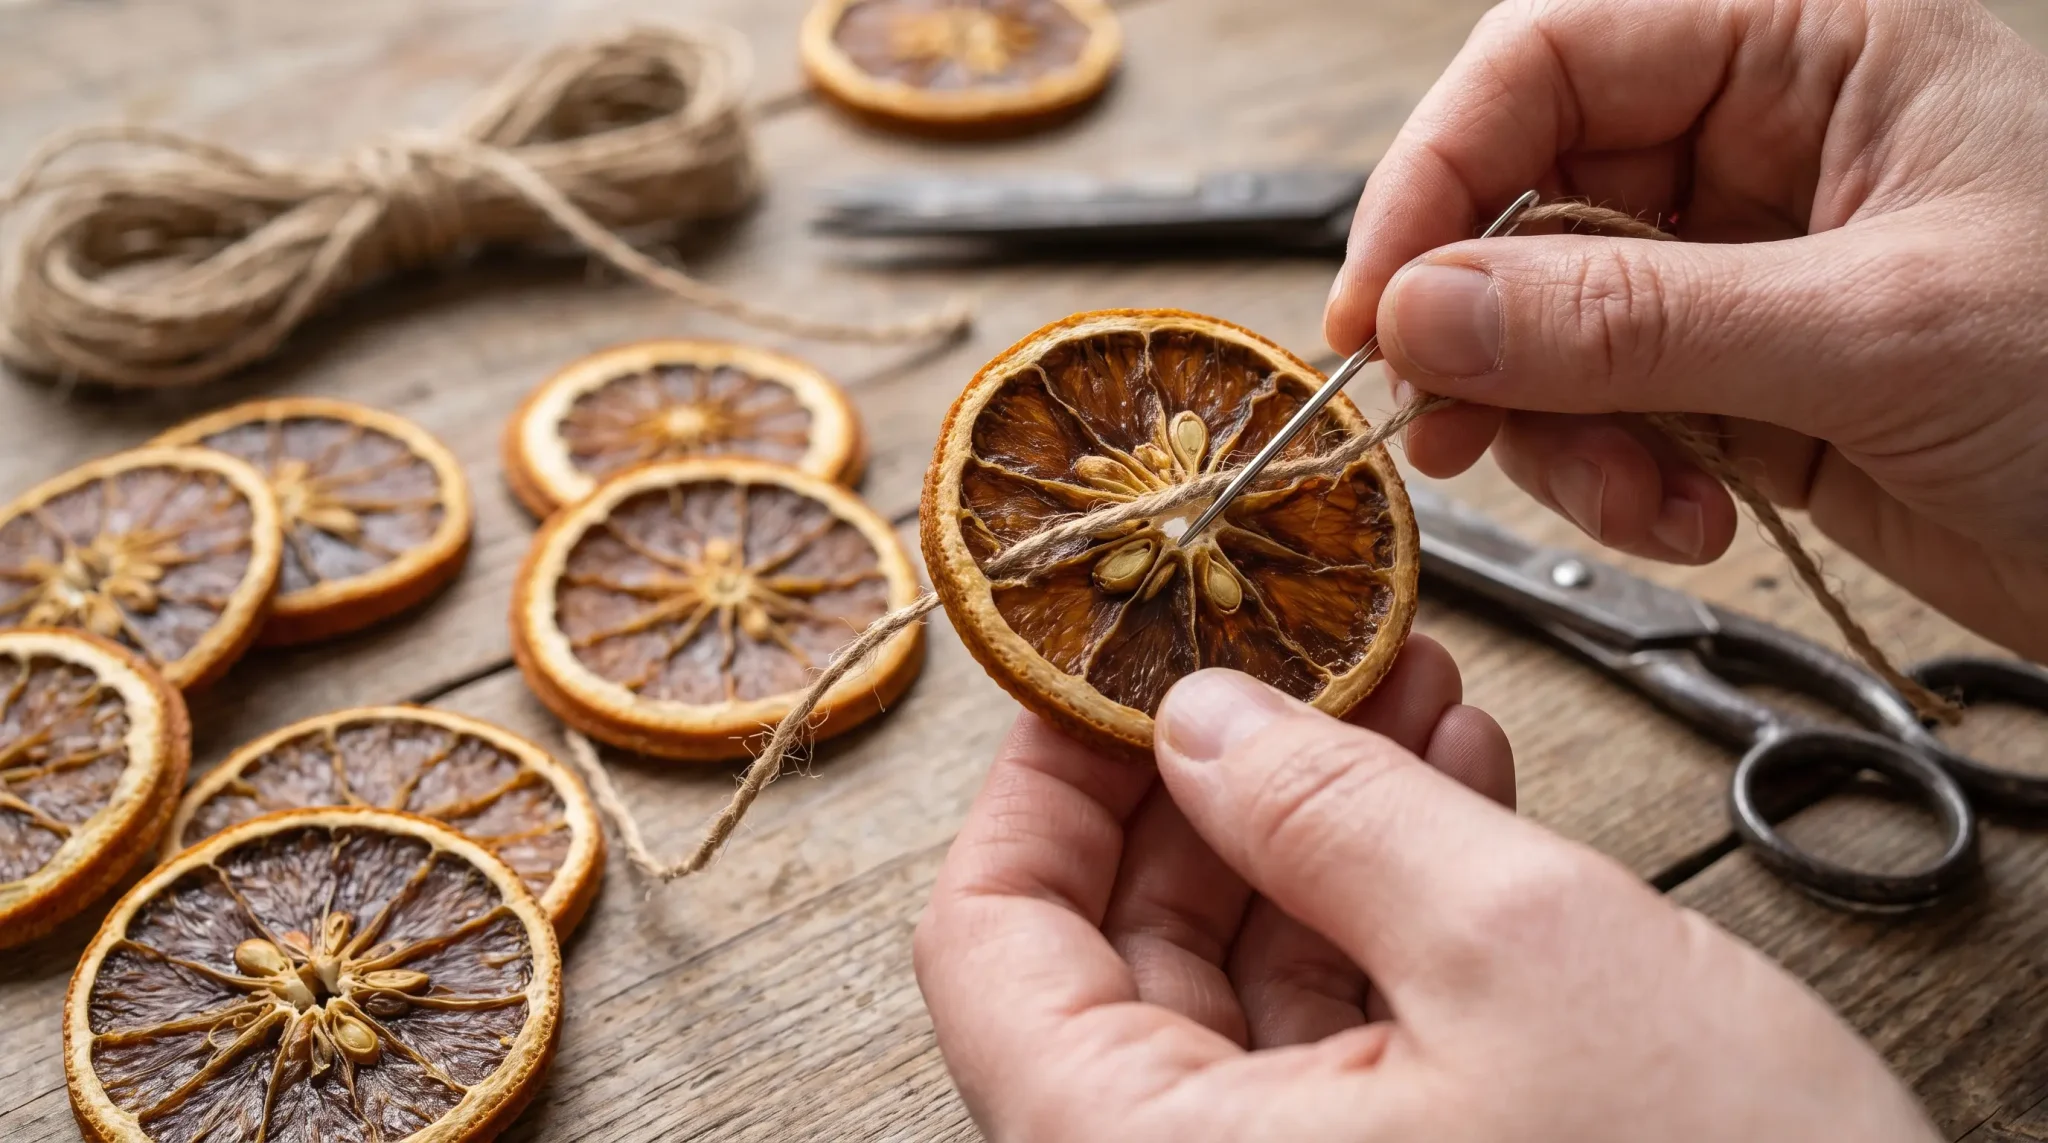
Cut more twine than you think you need. You can always trim the extra later. Make two small holes near the top of each orange, where the fruit is sturdier near the rind.
Running the twine through two points helps the slices face forward instead of constantly twisting sideways. Handle them gently here. Dried oranges are fairly sturdy until they suddenly aren’t.
Step 7: Space Them by Eye
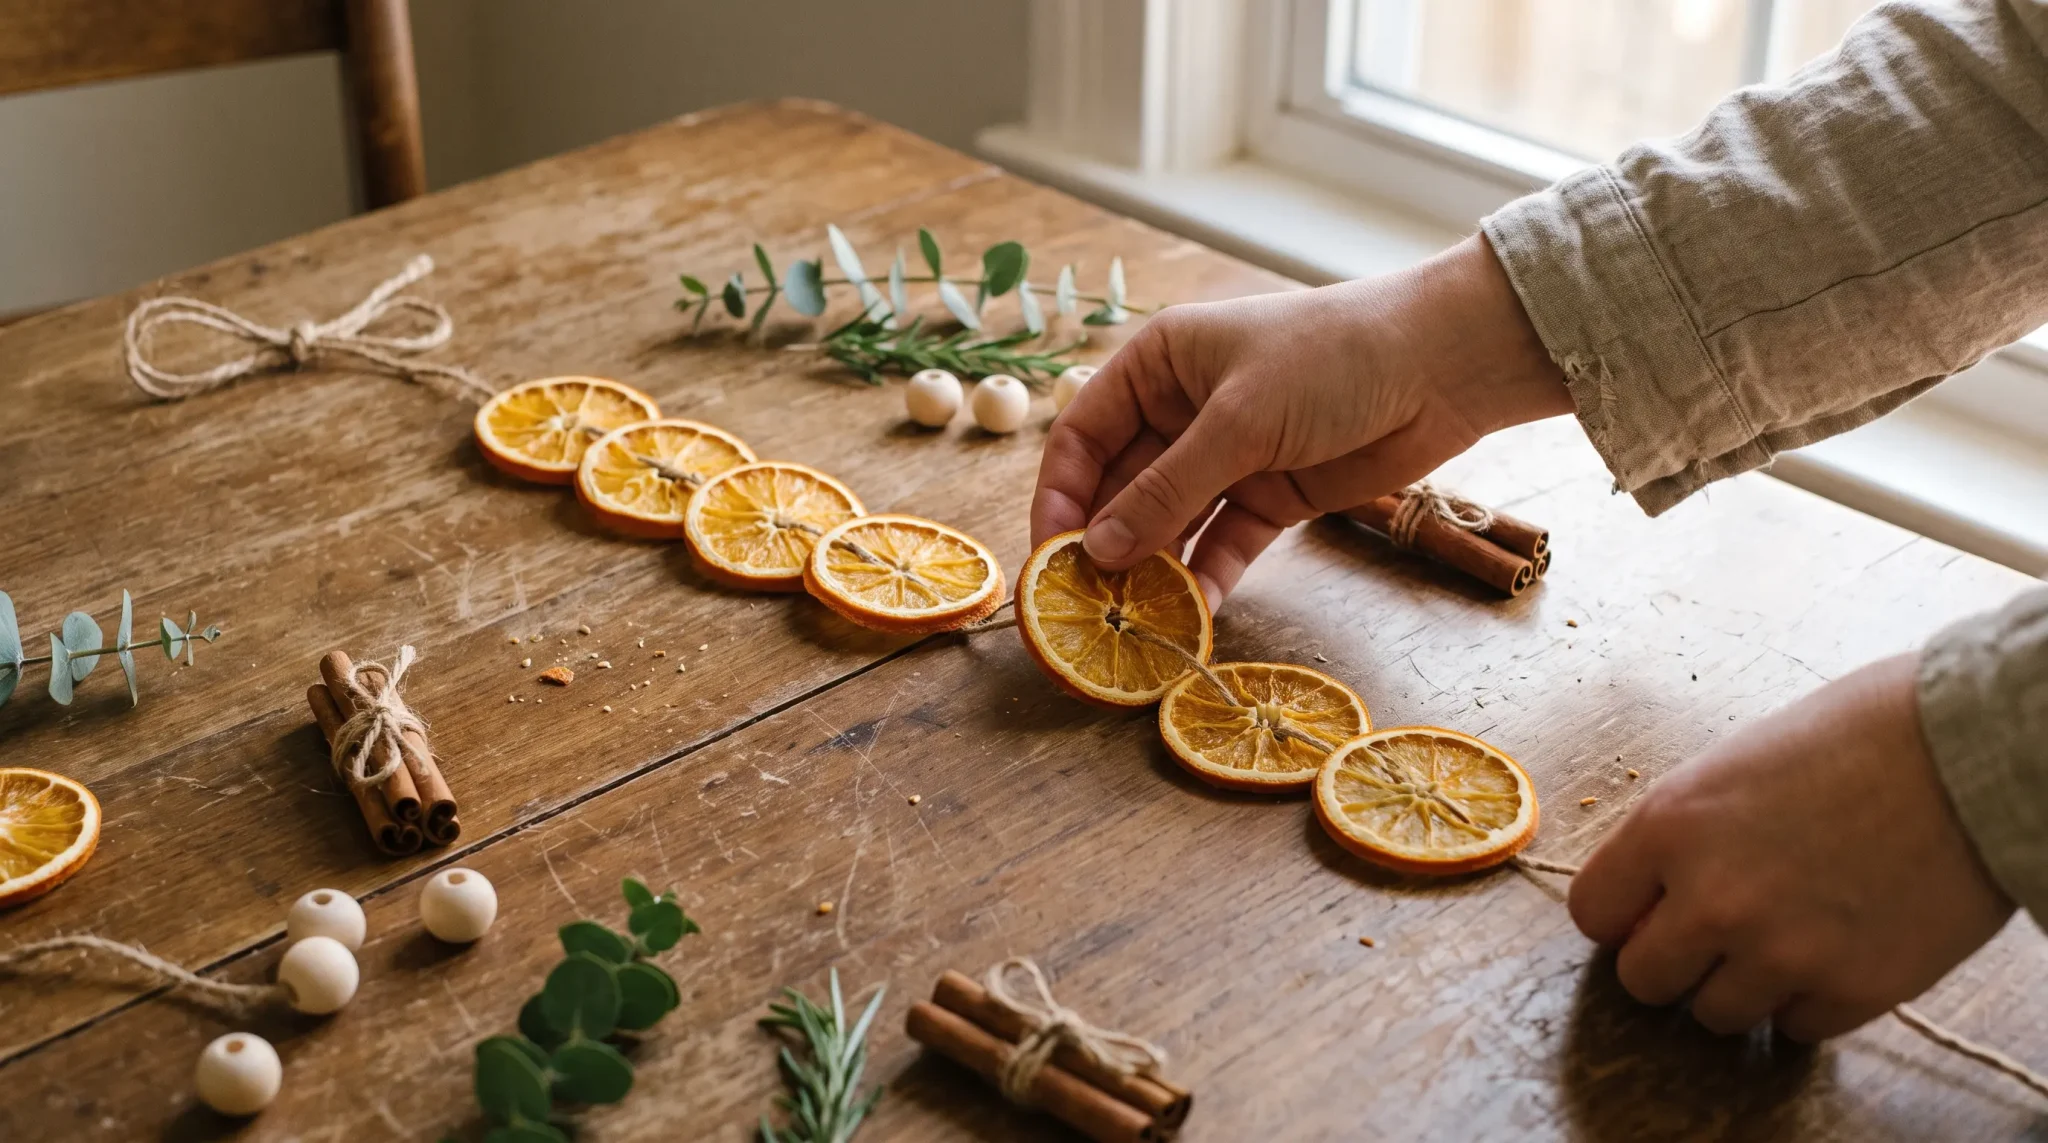
Slide the oranges along the twine until the strand looks balanced. You don’t need to measure every gap.
Leave them plain or tuck cinnamon sticks, beads, or greenery between the slices. Finish with a loop at either end and hang the strand with a little natural slack.
Give the Basic Garland a Different Look
Once you know how to make the basic version, you can change the style without starting from scratch.
1. Add Cinnamon for a Holiday Feel
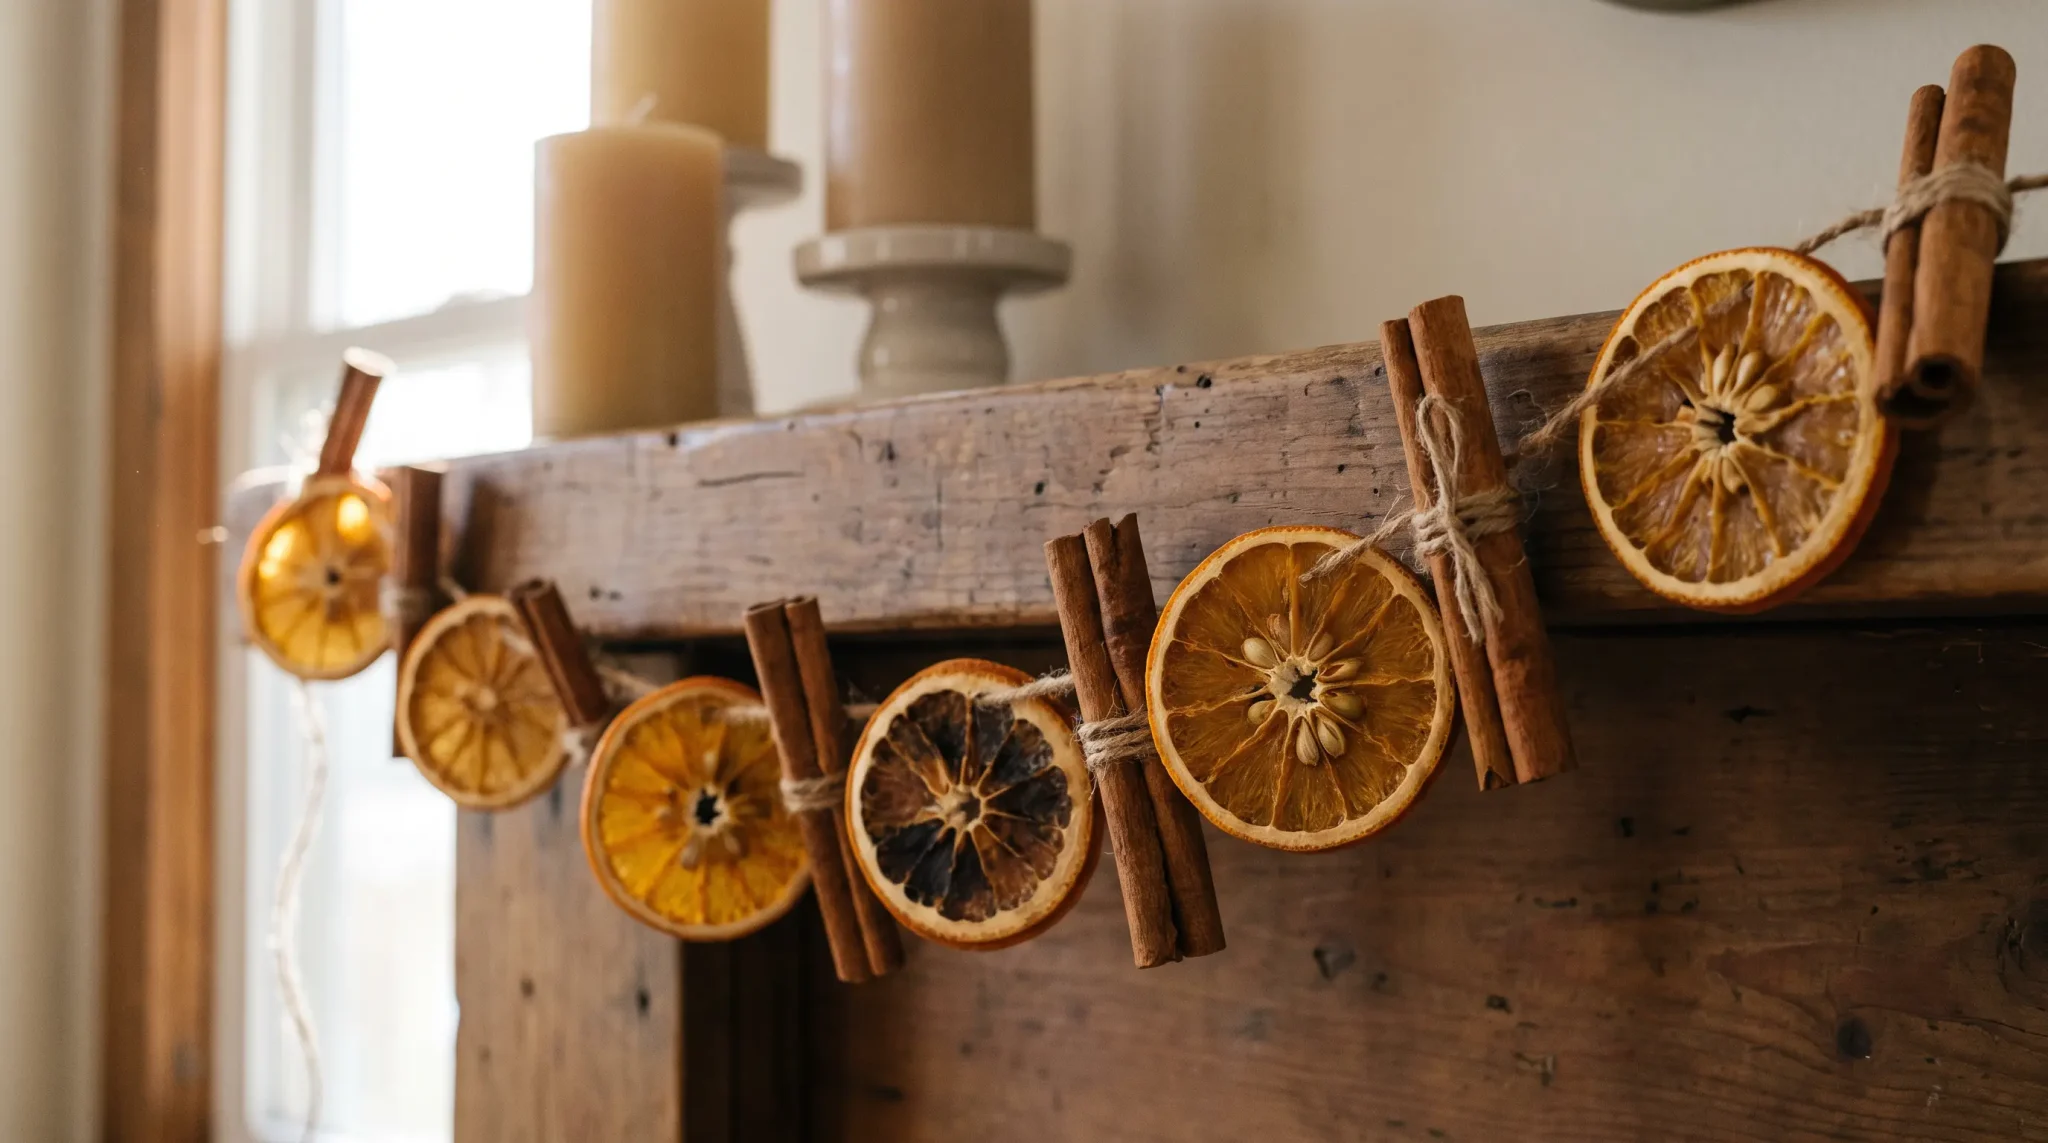
Slip small cinnamon-stick bundles between the orange slices for a more traditional holiday look. The warm brown bark adds contrast against the bright citrus and brings in a subtle seasonal scent.
Keep the bundles small so the garland stays balanced and does not sag.
2. Tuck in a Little Greenery
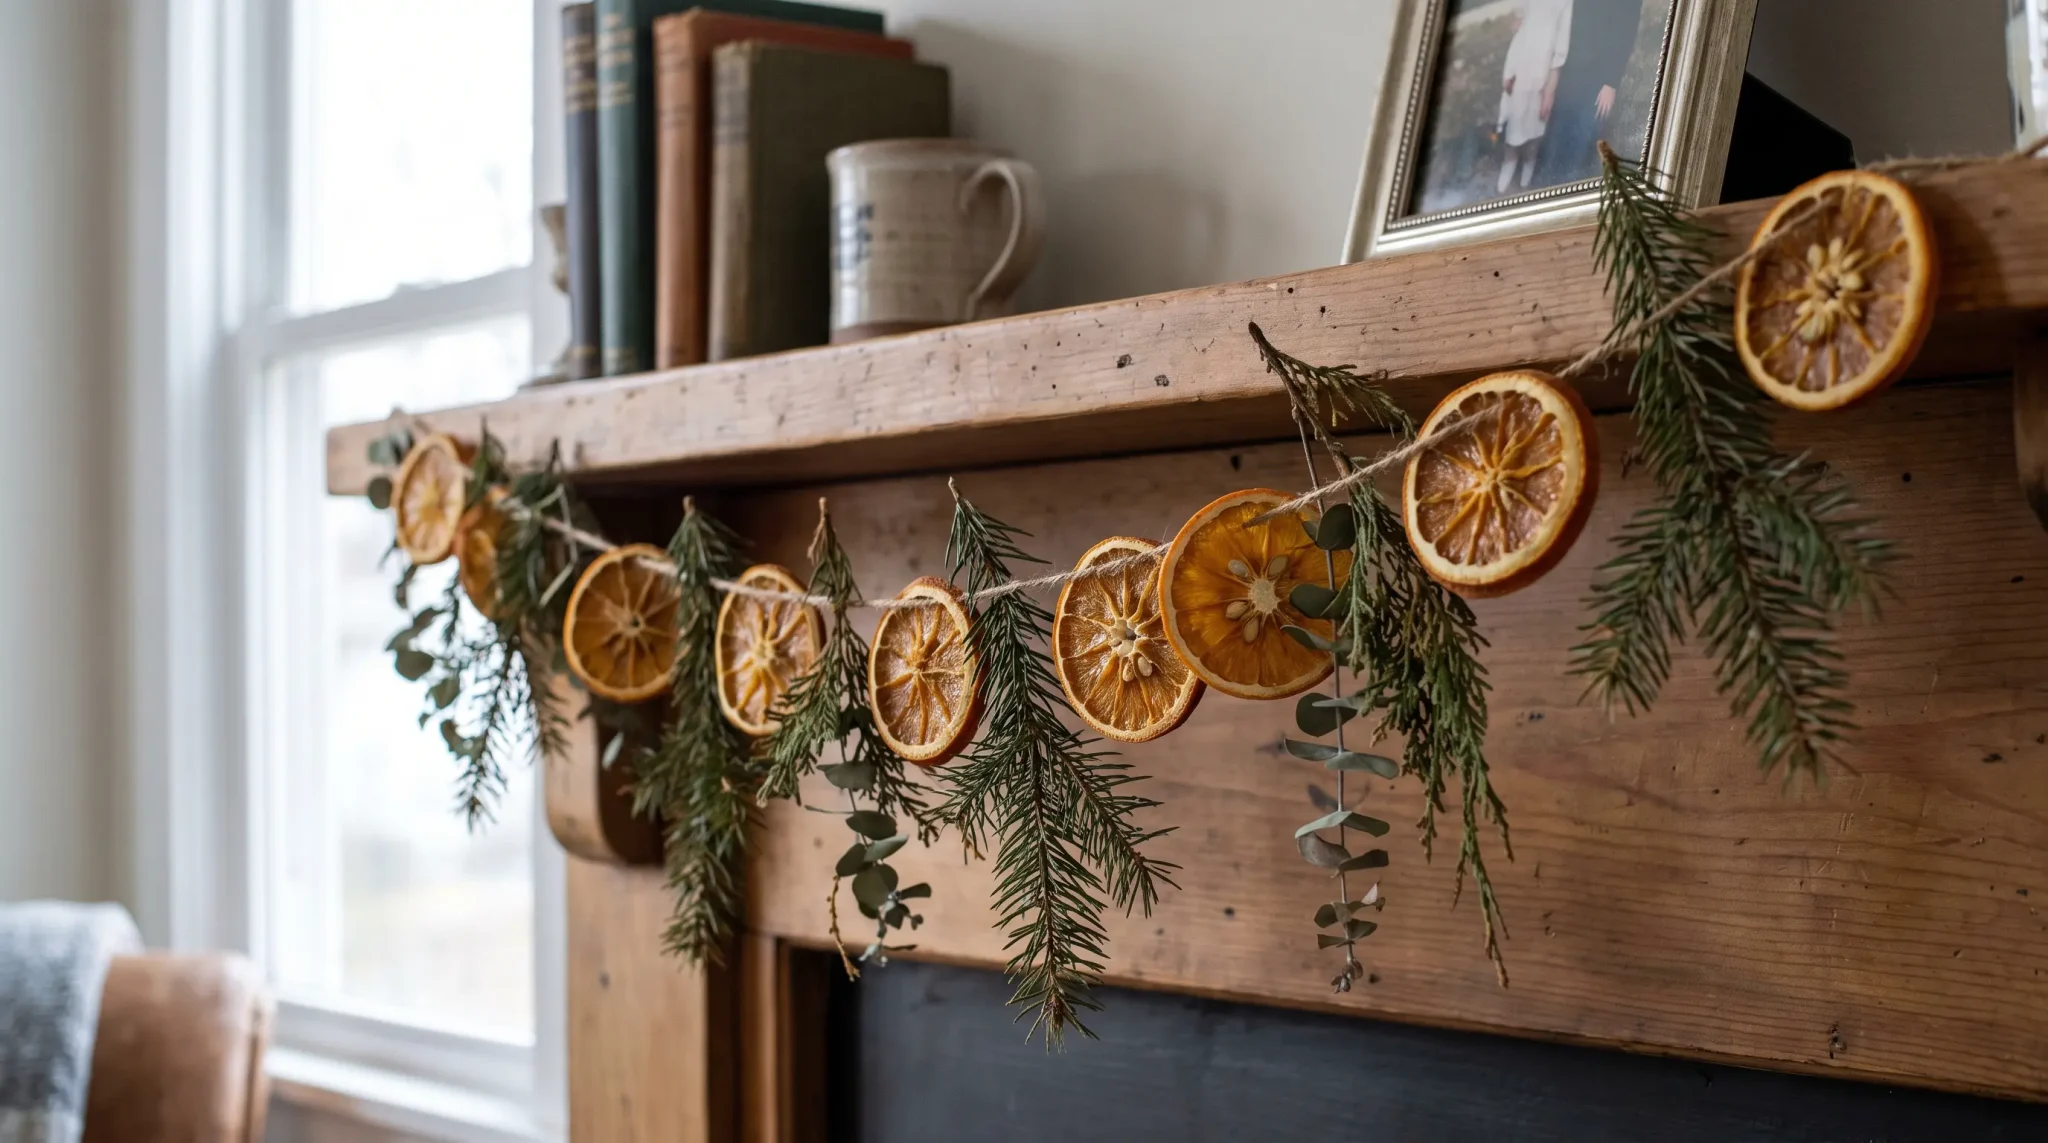
A few pieces of pine, spruce, or eucalyptus can make a simple orange strand feel fuller and more layered.
Use small sprigs rather than large branches so the greenery does not overwhelm the fruit. Fresh stems will dry gradually, which works naturally with the handmade look.
3. Break Up the Oranges With Wooden Beads
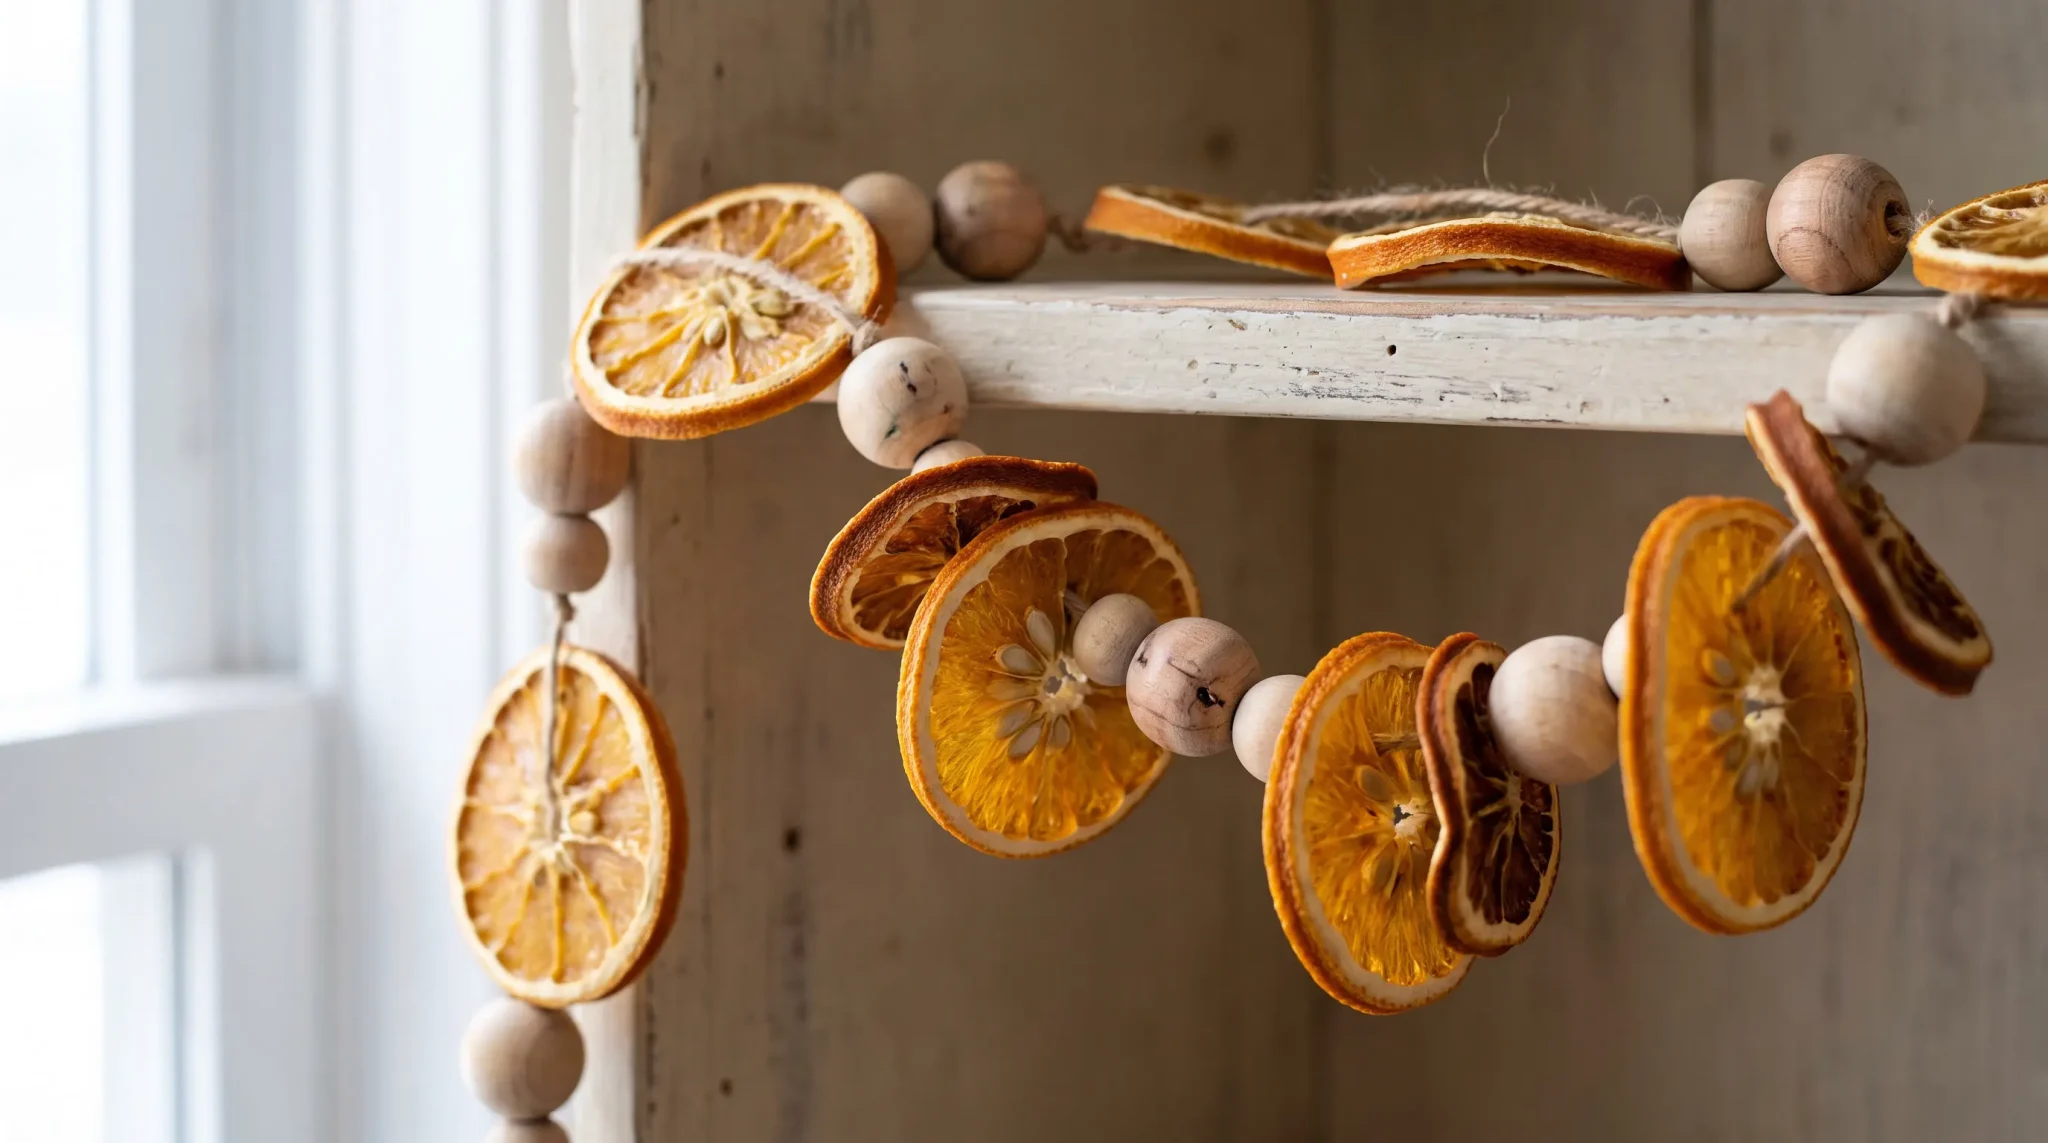
Wooden beads are an easy way to create breathing room between the orange slices and give the strand a cleaner rhythm.
Unfinished beads work especially well because their natural grain complements the dried fruit. Choose lightweight beads so they do not pull too heavily on the twine.
4. Don’t Stop at Oranges
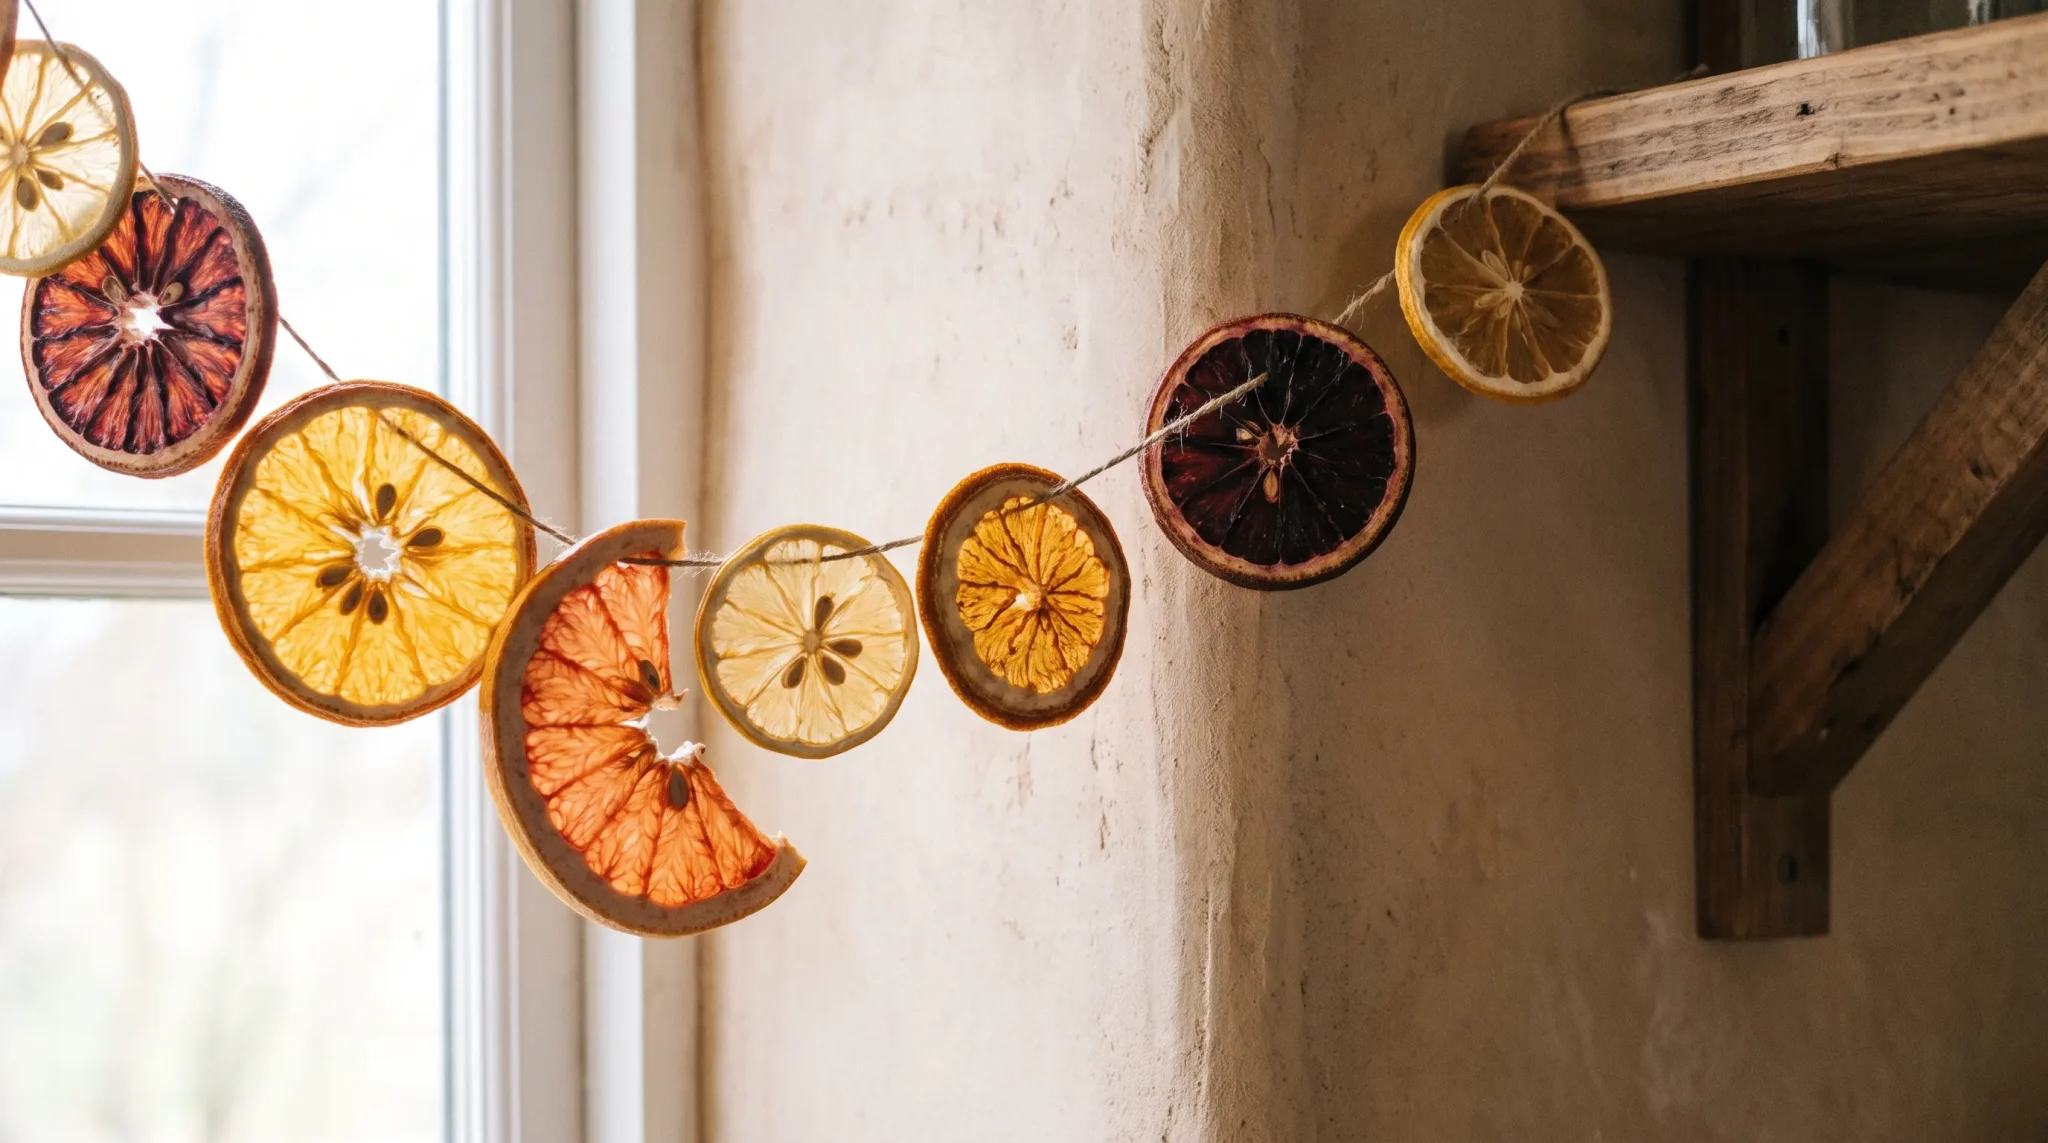
Lemon, grapefruit, and blood orange slices can add more variation in size and color to the garland. Mixing citrus makes the finished strand feel less uniform and a little more interesting.
Keep in mind that larger grapefruit slices may need extra drying time before they are ready to thread.
How to Keep Dried Orange Garland From Molding
Mold usually appears because the slices were not completely dry or the finished garland picked up moisture later.
The best prevention happens before you hang it:
-
Give thicker slices extra drying time.
-
Never thread fruit that still feels soft.
-
Let everything cool completely.
-
Keep the finished garland away from damp rooms.
-
Don’t seal questionable slices in plastic.
If mold appears later, discard that slice rather than trying to rescue it.
How to Store Dried Orange Garland Without Breaking It
Do not ball it up with the Christmas lights and hope for the best. Once dried, orange slices can handle hanging surprisingly well, but sharp bends and pressure can crack them.
When the season is over:
-
Wrap the garland loosely in tissue paper
-
Lay it flat instead of folding it
-
Use a cardboard box or another breathable container
-
Keep the box somewhere dry and away from heat
Avoid trapping the garland inside sealed plastic if you have any doubt about remaining moisture. A shallow box is especially useful because you can lay the whole strand down without forcing bends into the dried slices.
Let It Look Handmade
There’s something satisfying about decorating with something you made yourself, especially when it feels simple, natural, and a little imperfect. Dried orange garland has that kind of charm.
It works just as easily in a quiet fall corner as it does across a Christmas mantel, and every strand ends up looking slightly different.
Once it’s finished, all that’s left is finding the right spot for it and enjoying the warm, handmade character it brings to the room.
Frequently Asked Questions
How long will orange garland last?
A fully dried orange garland can last for several years when stored in a cool, dry place away from moisture.
What are the uses of a dried orange garland?
A dried orange garland can decorate mantels, Christmas trees, windows, stair rails, shelves, doorways, and seasonal table displays.
What kind of string to use for orange garland?
Use sturdy twine, jute, cotton string, or strong thread that can support dried orange slices without cutting through them.



