


Gravel is cheap. Rocks look great on day one. But I’ve seen more “Zen corners” turn into weed patches and sunken gravel beds after one wet winter than I can count.
The materials and the ground preparation are the whole game here. Get those right and a Zen garden is about as low-maintenance as outdoor landscaping gets. Get them wrong, and you’re re-raking mud and pulling grass through landscape fabric every spring.
This guide covers what a Zen garden actually is, which materials hold up in real outdoor conditions, how to plan and build one from scratch, and what to do when the space is small or the budget is tight.
| Cost Note: Figures in this article are estimates based on national averages. Actual costs vary significantly by region, contractor, materials, and project scope. Always get at least three quotes before committing to any project above $1,000. |
Zen Garden Basics: What You’re Actually Building
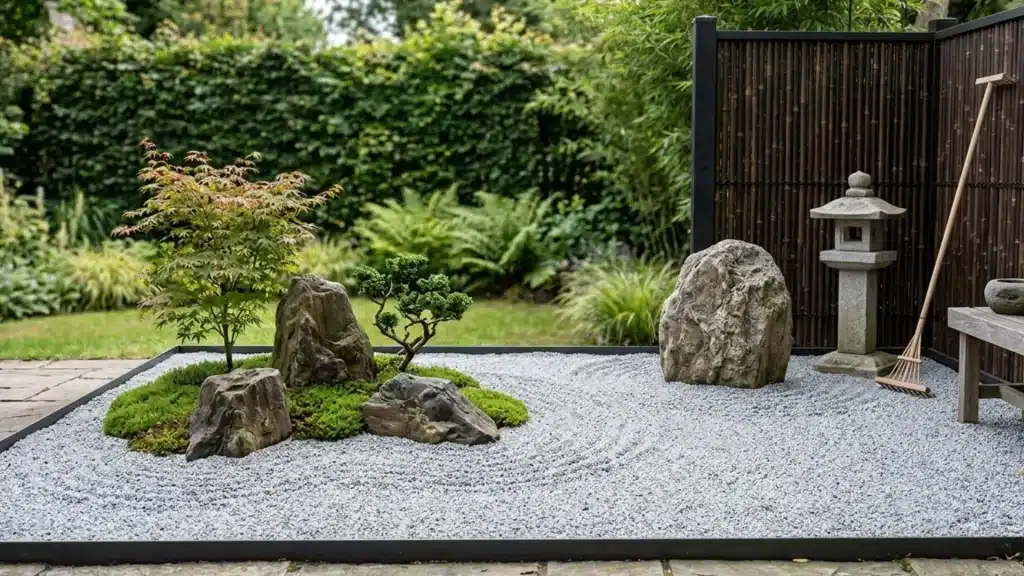
A Zen garden, known historically as karesansui, is a dry landscape built from rock, gravel, and sand, with minimal or no planting. The design came out of medieval Japanese Buddhist monasteries, where monks used raked gravel to represent water and large stones to represent mountains or islands.
The philosophy is simple: open space and natural materials create calm. You’re not filling the garden, you’re editing it down until only what matters remains.
Raked patterns in gravel or sand carry the same idea. They’re impermanent, easy to redo after wind or rain, and the act of raking them is itself part of the practice.
A Zen garden doesn’t require any of this if you’re not interested in the meditative aspect. It can just be a clean, low-maintenance outdoor space with good bones and no clutter.
Zen Garden Design Principles: What to Know Before You Start
A Zen garden works best when restraint is built into the design from the beginning. The mistake most people make is treating the space like any other garden bed and filling it with too much. Here’s what the design logic actually looks like in practice:
- Keep the layout open. Empty space is a feature, not something to fix.
- Use natural materials: rock, sand, gravel, wood, bamboo, moss. No synthetic edging or colored mulch.
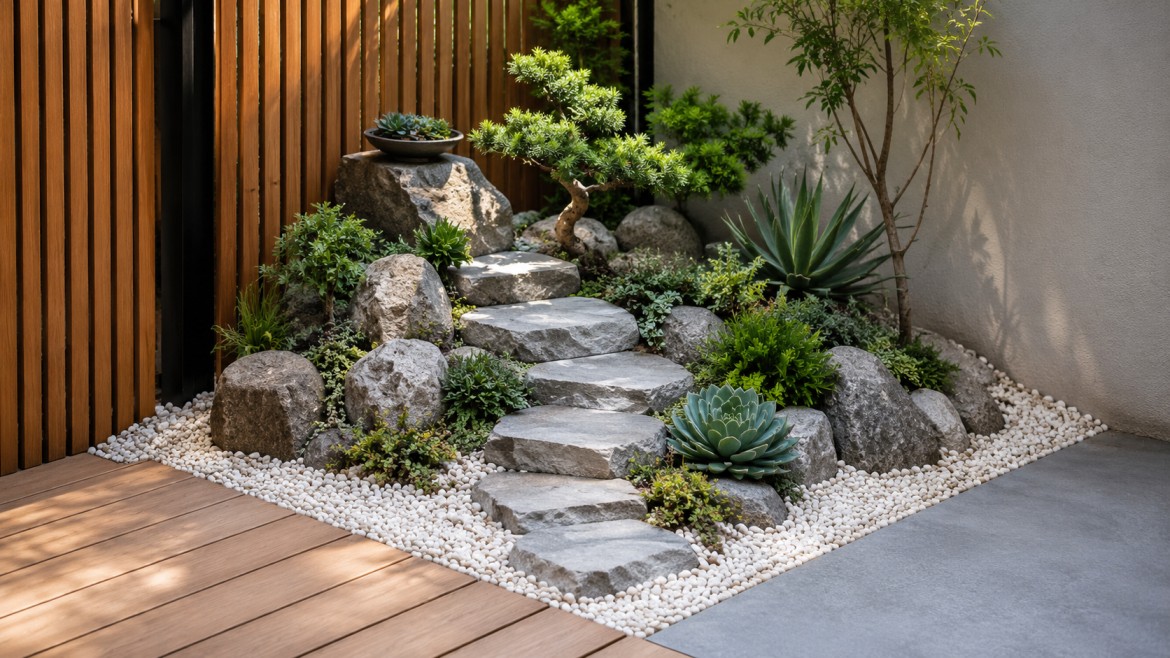
- Avoid symmetry. Odd-number groupings of rocks (3, 5, 7) look more natural than even arrangements.
- Stick to a tight color palette: gray stone, pale gravel, green moss, warm wood tones.
- Let rocks anchor the design. Plants are secondary.
- Use bamboo screens or hedges to separate the garden from surrounding noise and activity.
Each element carries meaning if you want it to. Rocks represent mountains or islands. Raked gravel represents water. Moss adds age and softness.
The same instinct toward balance and harmony shows up in other Japanese-influenced design traditions, but in a Zen garden, the tools are rock and gravel rather than furniture arrangement.
Zen Garden Material Comparison: What Holds Up and What Doesn’t
Before anything goes in the ground, the material selection determines how much work this garden will take two years from now. Here’s how the core options compare on the things that actually matter outdoors.
| Material | Cost (approx.) | Durability | Maintenance | Best Use |
| Crushed granite | $35–$55 per ton | Excellent | Low. Compacts well, holds patterns | Main raking surface, paths |
| Pea gravel | $25–$45 per ton | Good | Moderate. Scatters easily, needs edging | Accent fill, borders |
| Decomposed granite | $40–$65 per ton | Good | Low once settled. Can compact hard | Paths, low-traffic areas |
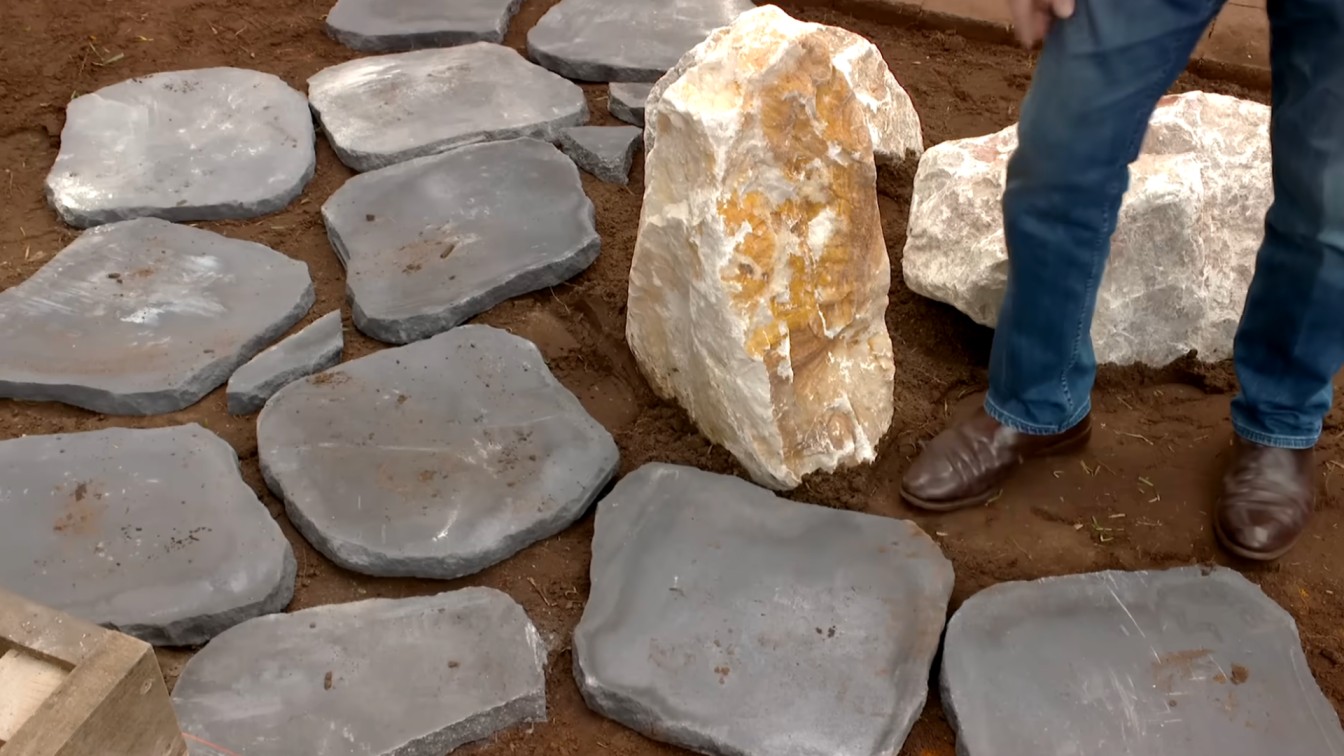
| Natural flagstone | $2–$5 per sq ft | Excellent | Low. Heavy risk in freeze-thaw climates | Stepping stones, edging |
| Timber edging | $1.50–$3 per linear ft | Fair (untreated), Good (treated) | Replace every 5–8 years, untreated | Garden borders |
| Metal edging (corten or galvanized) | $3–$6 per linear ft | Excellent | Very low. Stays put for 15+ years | Clean borders, long runs |
| Bamboo screening | $4–$8 per linear ft | Fair | Needs UV treatment; replace every 4–6 years | Privacy screens, borders |
Crushed granite is the most reliable raking surface for a backyard Zen garden in most US climates. It compacts slightly, which keeps it from scattering like pea gravel, and it holds raked lines better than coarser materials.
Pea gravel looks cleaner initially but spreads onto adjacent surfaces with foot traffic and any moderate wind. If the garden edges a lawn or paved area, use proper metal or stone edging, not plastic, it fails within two seasons in climates with freeze-thaw cycles.
What Fails Two Winters Later
Plastic edging buckles and pops out of the ground. Cheap timber edging rots from the bottom up in high-moisture areas and usually needs replacing within five years, often sooner near sprinkler lines. Untreated bamboo screening fades and splits when it is exposed to direct sunlight all summer.
Landscape fabric works well at blocking weeds initially, but if it wasn’t installed flat and pinned properly, it creeps, bunches, and eventually shows through the gravel surface. Any of these problems are fixable, but they require redoing work you’ve already paid for once.
The other common failure point is drainage. If the cleared area wasn’t leveled and tamped before gravel was laid, the surface develops low spots after the first heavy rain. Those spots collect water, the gravel sinks, and the flat, raking surface turns uneven.
On clay-heavy soils, it’s worth adding an inch of coarse sand under the landscape fabric before the gravel layer to improve drainage.
Step-by-Step: How to Build a Zen Garden at Home
The following steps apply to a typical backyard corner, side-yard, or patio-edge Zen garden in the 50–200 square foot range. Larger spaces follow the same sequence but require more material and more precise ground preparation.
| Project Size | 50–200 sq ft (typical backyard corner) |
| Difficulty | 2 out of 5 — beginner-accessible with basic tools |
| Time | 1–2 weekends depending on ground prep complexity |
| Estimated Cost | $200–$800 for a DIY build (materials only) |
| Tools Needed | Rake, garden tamper, utility knife, wheelbarrow, level, shovel |
Step 1: Choose the Right Spot
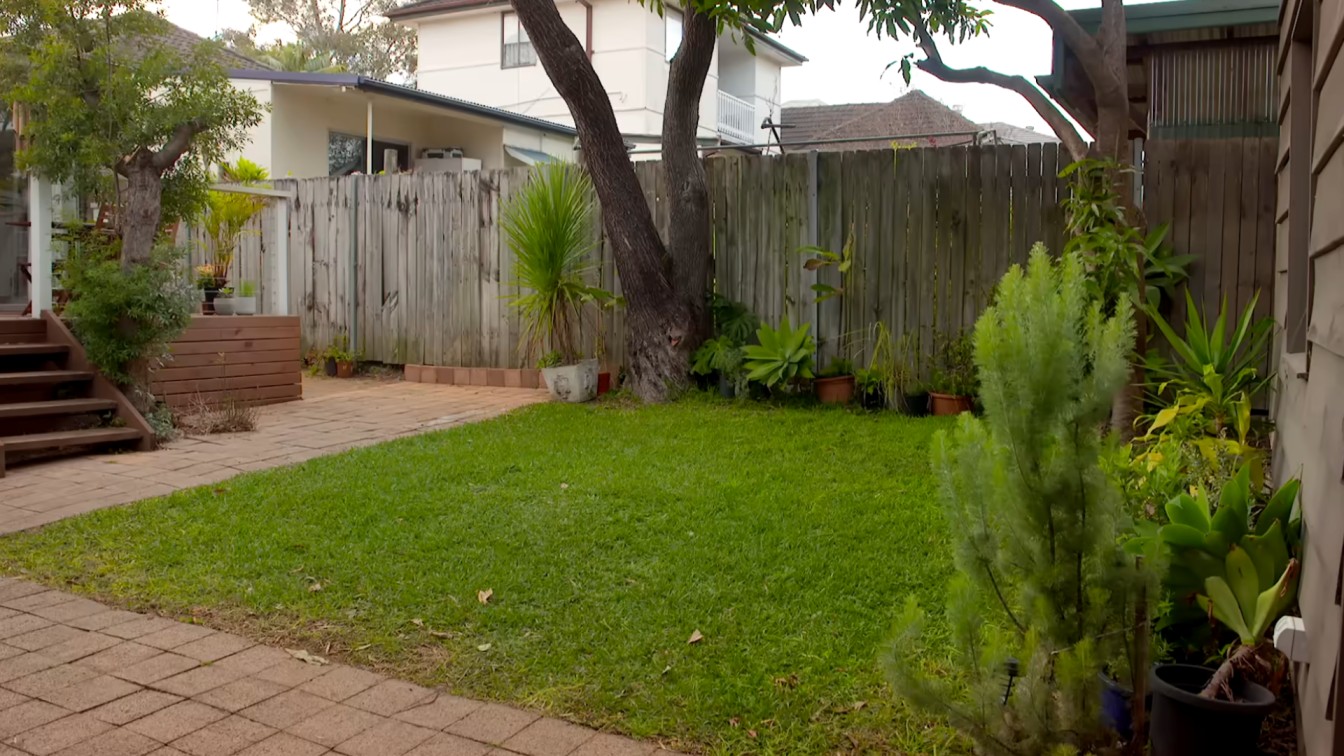
Find a location that’s naturally separated from foot traffic and daily activity. A patio edge, side yard, or backyard corner all work.
Place it where you can see it from a window or door; that sight line matters more than most people expect, since the garden gets used more as a visual anchor than as a space you actually sit in every day. Check the sun exposure before committing: moss and ferns need partial shade, while gravel-only gardens handle full sun without issue.
Step 2: Clear and Level the Area
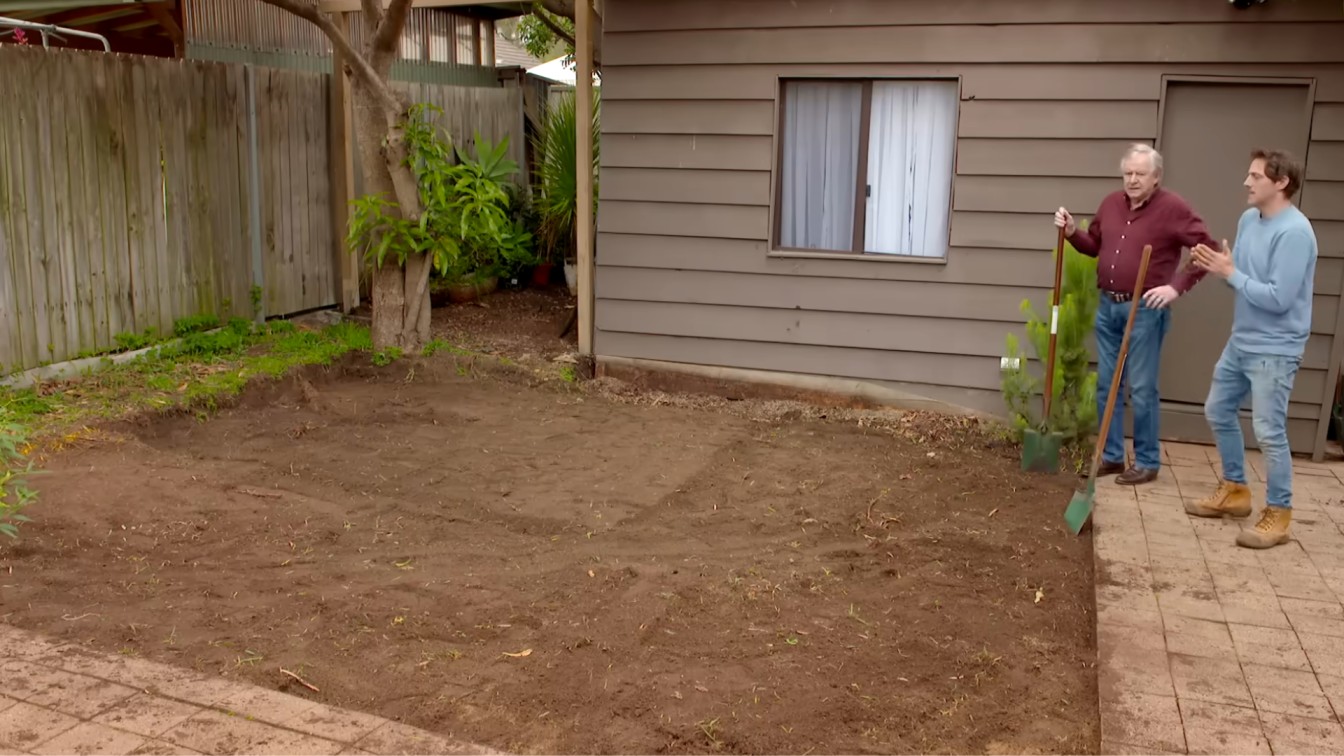
Pull every weed, remove all grass and roots, and dig out any rocks that would create high spots under the fabric. Use a rake to break up the soil surface and then a tamper to firm the ground.
A flat, compacted base is what keeps the gravel and rocks from shifting over time. Don’t skip the tamping step; it’s the most commonly skipped and the reason most DIY Zen gardens look uneven within a year.
Step 3: Sketch the Layout Before You Touch a Rock
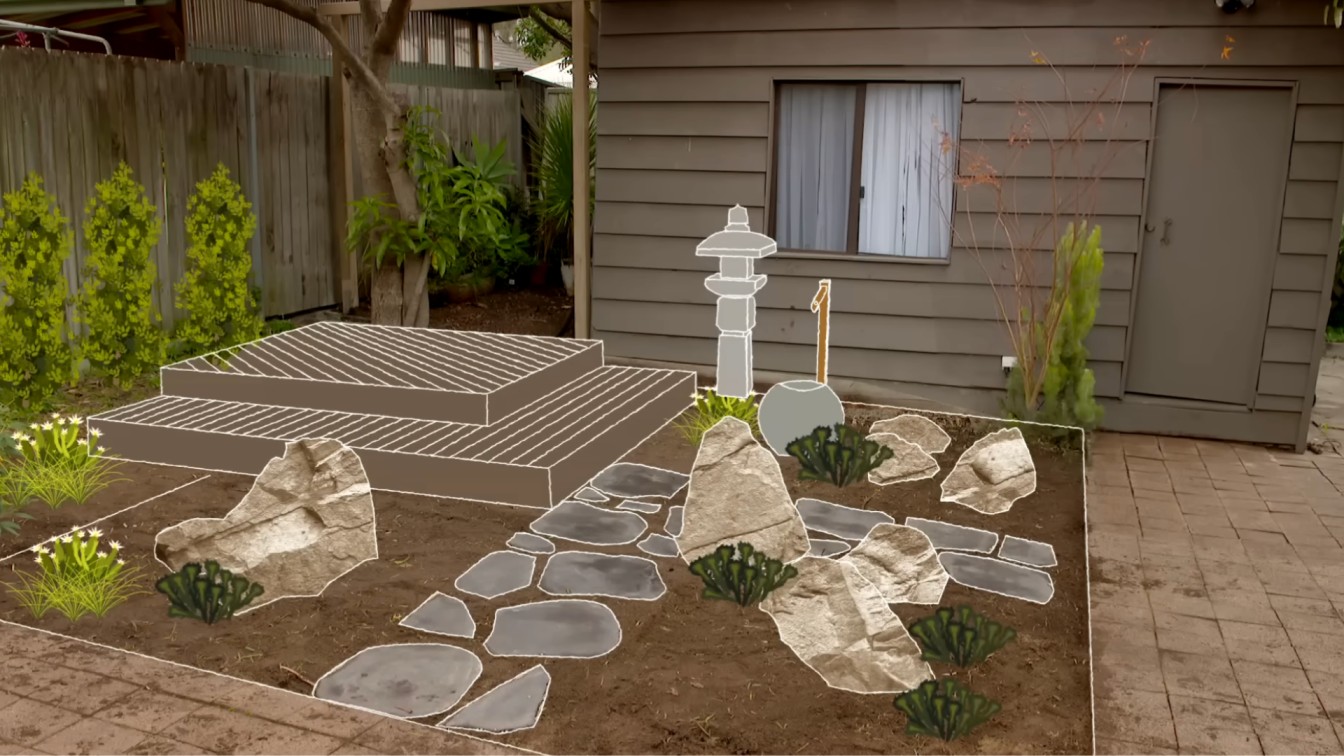
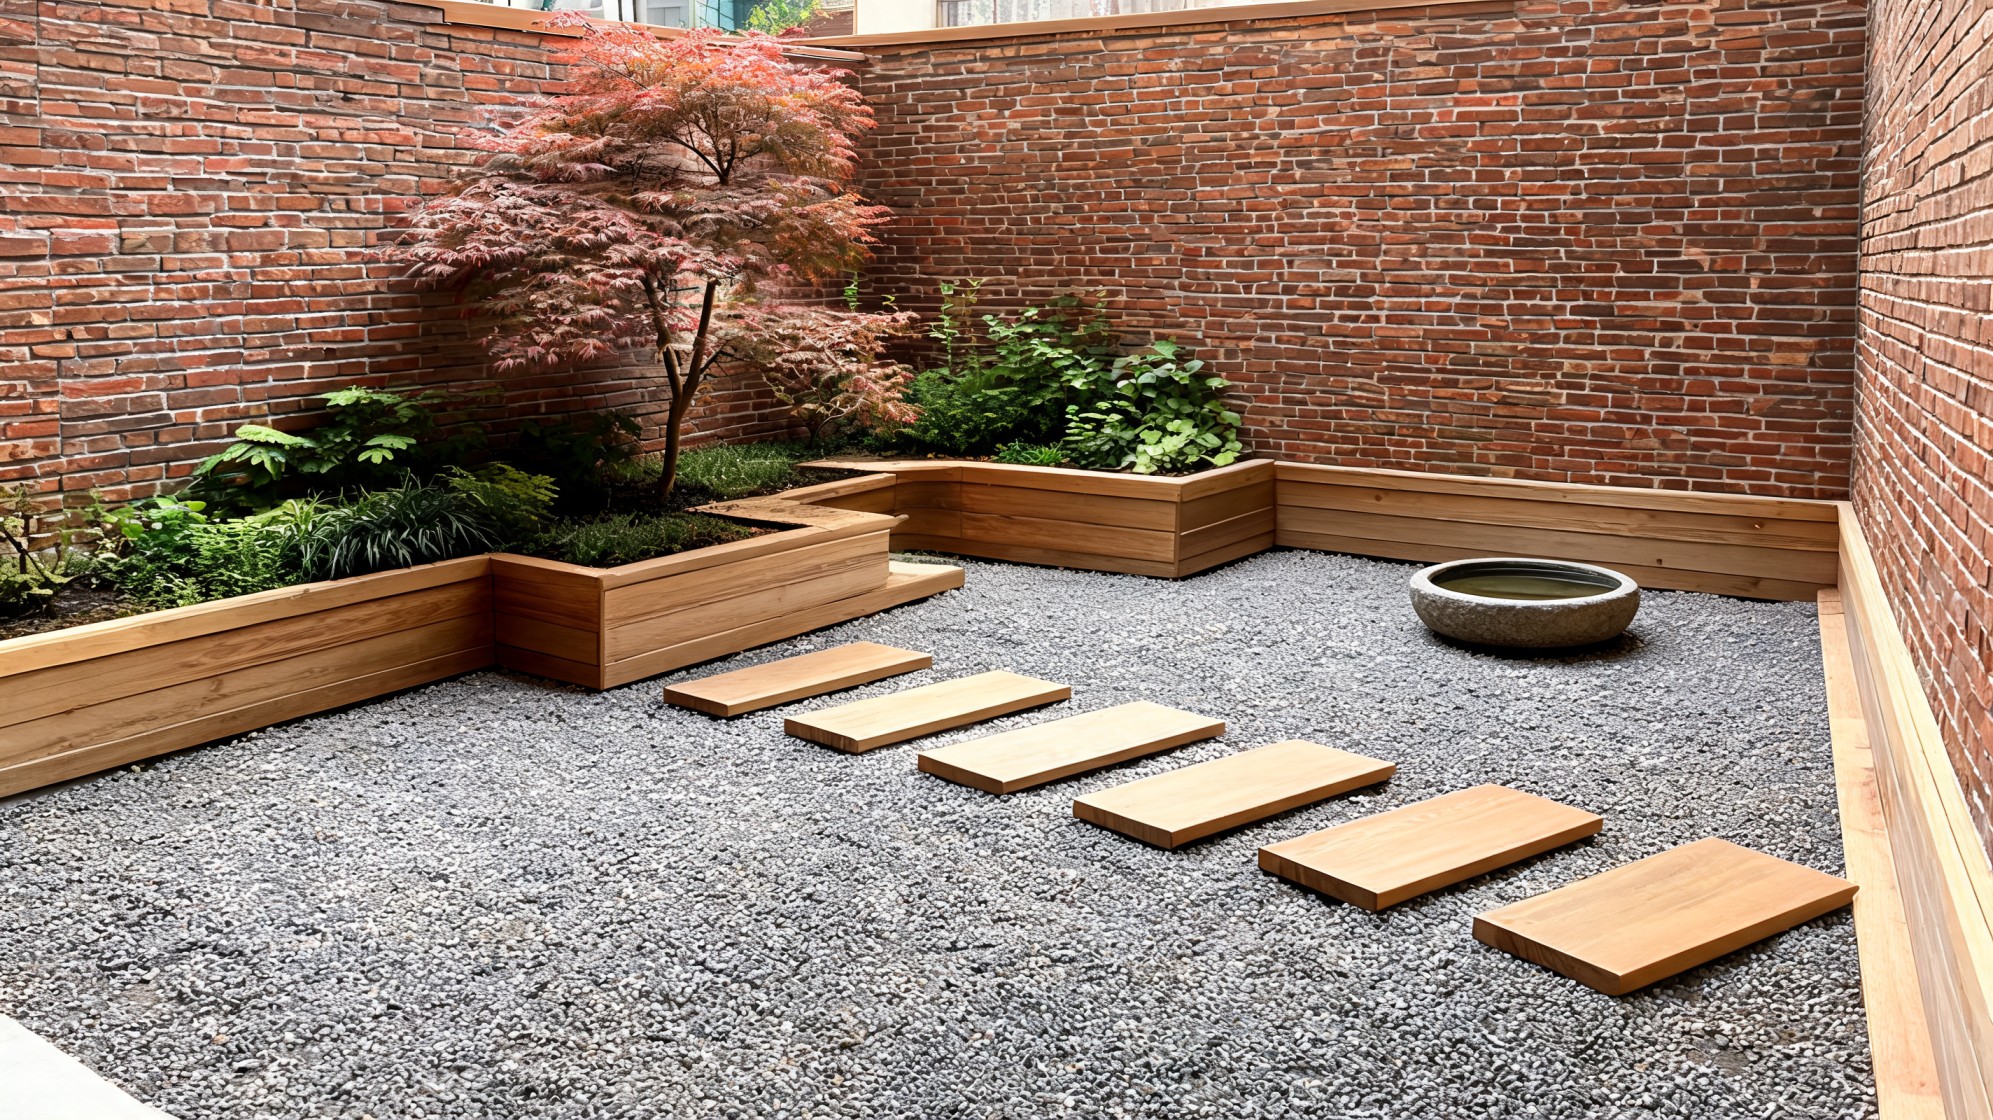
Draw the design on paper first. Mark where the feature rocks go, where stepping stones will land, where any plants are placed, and which areas will be open, raking surface.
The best Zen garden layouts are asymmetric and leave roughly 60 to 70 percent of the surface as open gravel. Avoid making every element the same size or spacing them at equal intervals; that reads as artificial, not natural.
Step 4: Install the Edging
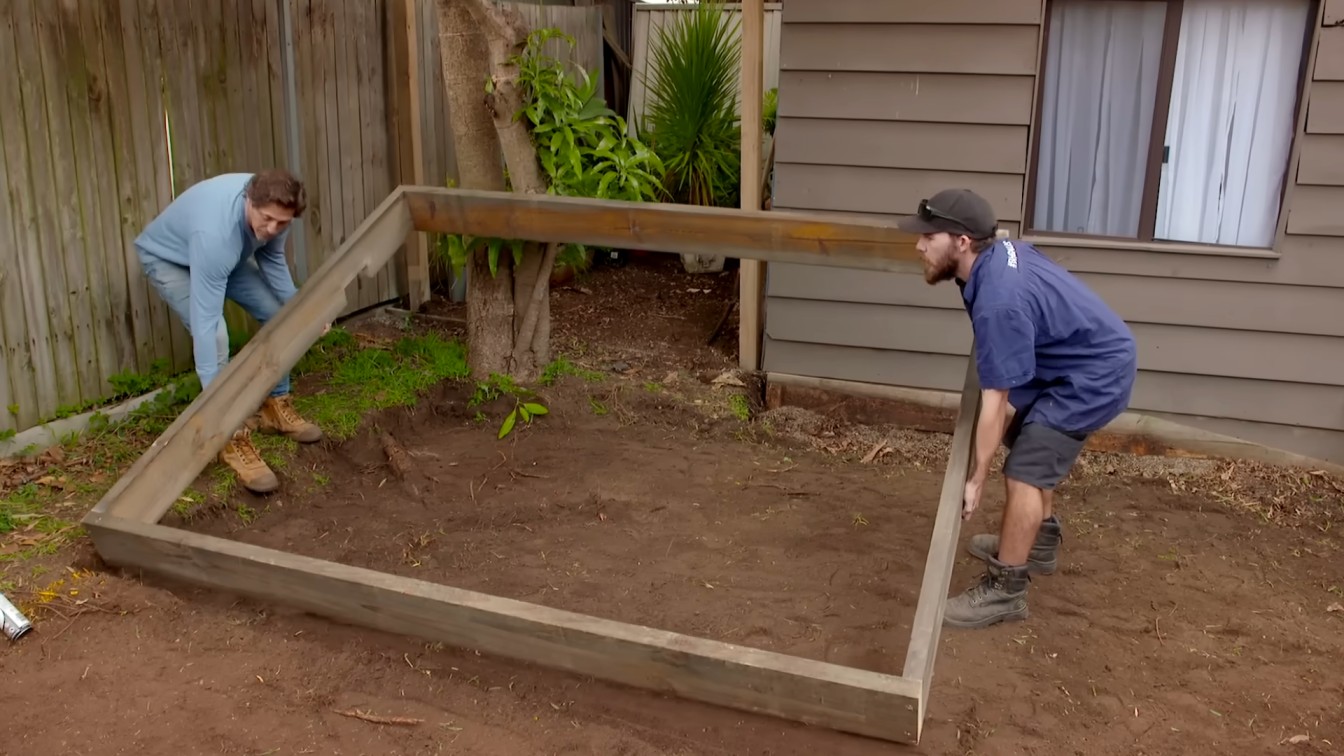
Set your edging around the full perimeter before anything else goes in. Metal edging driven 3 to 4 inches into the ground is the most durable option and stays flush with the surface.
Pressure-treated timber works if it’s staked every 3 feet, though softwood species rot faster than hardwood at ground contact. The edging keeps gravel contained and gives the garden a clean boundary against the adjacent lawn or paving. Don’t skip this on small Zen garden builds — loose edges make even good layouts look unfinished.
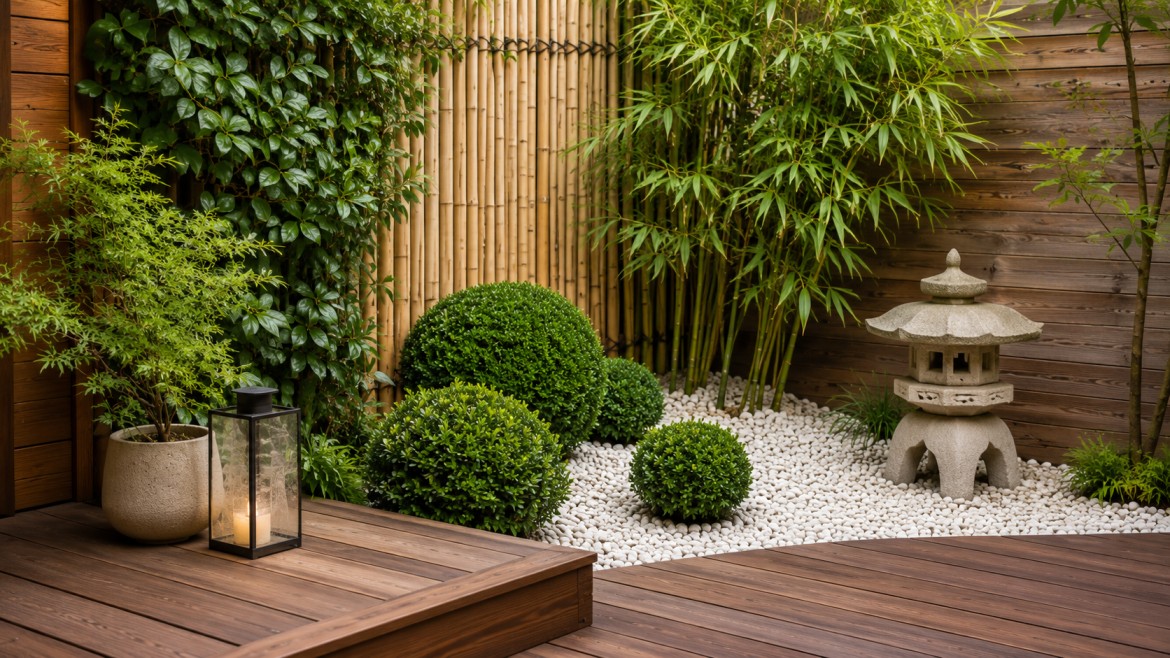
Step 5: Place Feature Rocks First
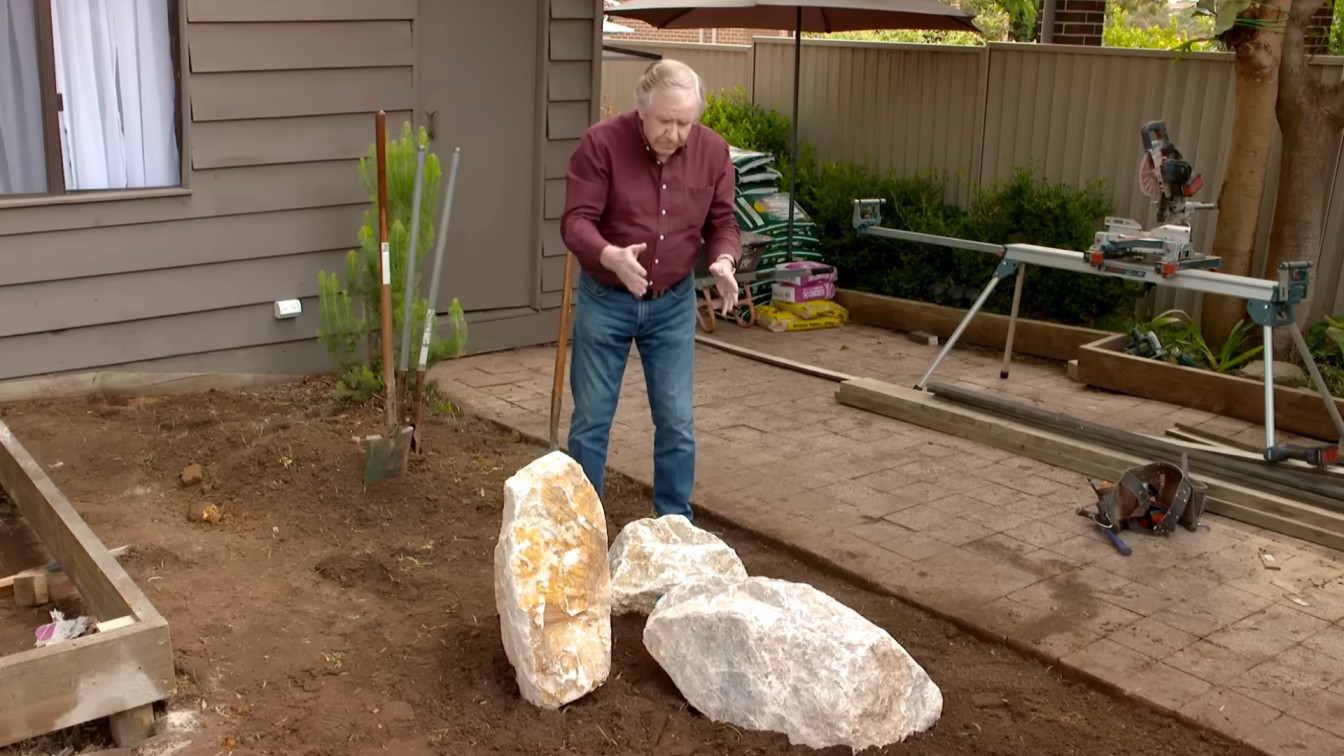
The largest rocks go in before any fabric or gravel. Partially bury them, about one-third of the rock below ground level, so they look settled rather than placed. Group in odd numbers, with the largest rock offset from the center.
Once the rocks are positioned to your liking, walk away and come back the next day. Most people move them at least once after they’ve had time to look at the layout fresh.
Step 6: Lay the Landscape Fabric
Pin the fabric flat across the cleared area, cutting openings around any rocks or plants already set. Use landscape staples every 12 to 18 inches along the edges and wherever the fabric meets a rock.
Overlapping seams by at least 6 inches prevents gaps where weeds push through. The fabric is the maintenance layer; install it sloppily, and you’ll be pulling weeds through your gravel for years.
Step 7: Spread Gravel 2 to 3 Inches Deep
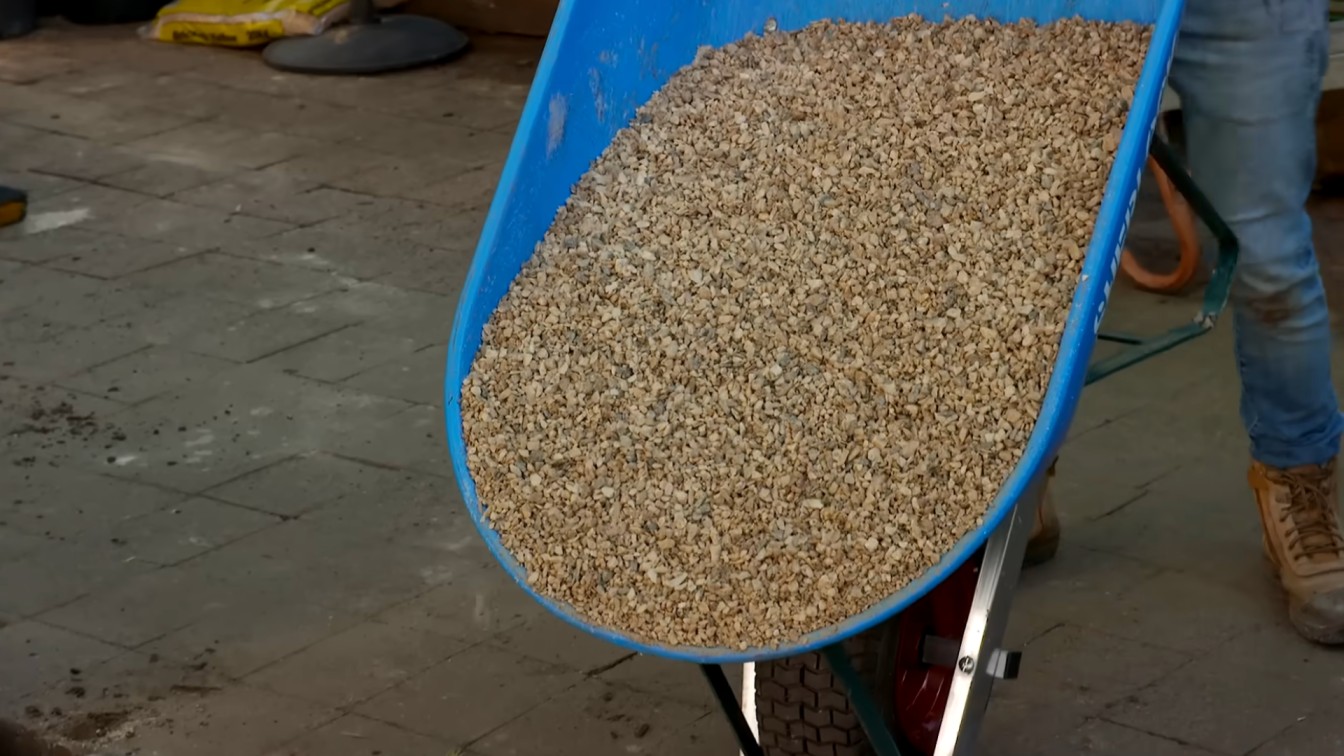
Crushed granite at 2 to 3 inches is the right depth for a raking surface. Shallower than that, and the fabric shows through when you rake. Deeper than 3 inches, and the material cost jumps without much benefit.
Spread and level with a rake, then check for low spots with a 4-foot level before finalizing. For a 100-square-foot garden, you’ll need roughly 1 to 1.5 tons of gravel.
Step 8: Add Plants Sparingly
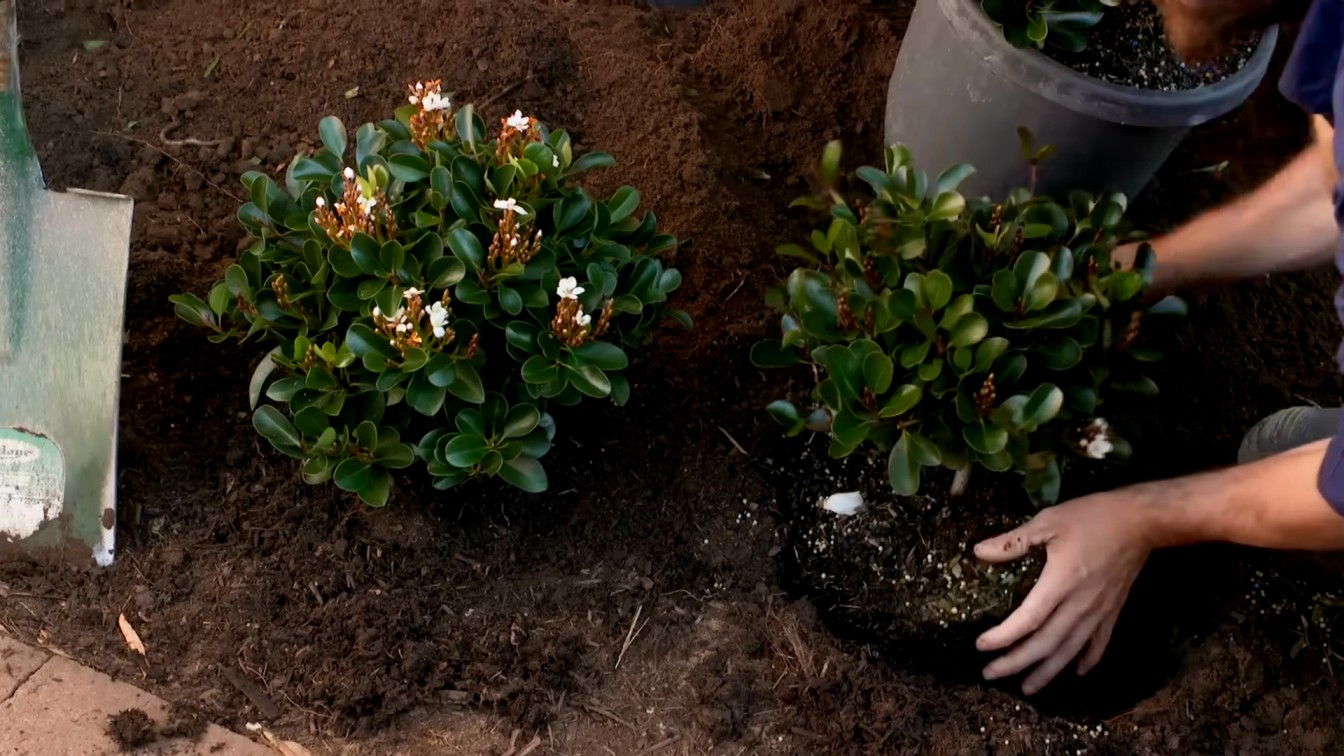
Pick two or three plants maximum. Japanese maple, dwarf pine, ornamental grass, moss, or a single bamboo clump all work well depending on your climate and light conditions.
Cut openings in the landscape fabric, add amended soil as needed for each plant’s requirements, and give them enough space from the edging and rock clusters that they don’t crowd the open surface over time.
If you want occasional color without committing to flowering plants in the gravel, seasonal cut flowers in a simple stone vessel near the bench are easier to manage than anything planted in the ground. The garden should still read as mostly gravel and stone after planting.
Step 9: Finish with One or Two Functional Details
A stone lantern, a stepping stone path, or a low bench gives the garden a usable anchor point.
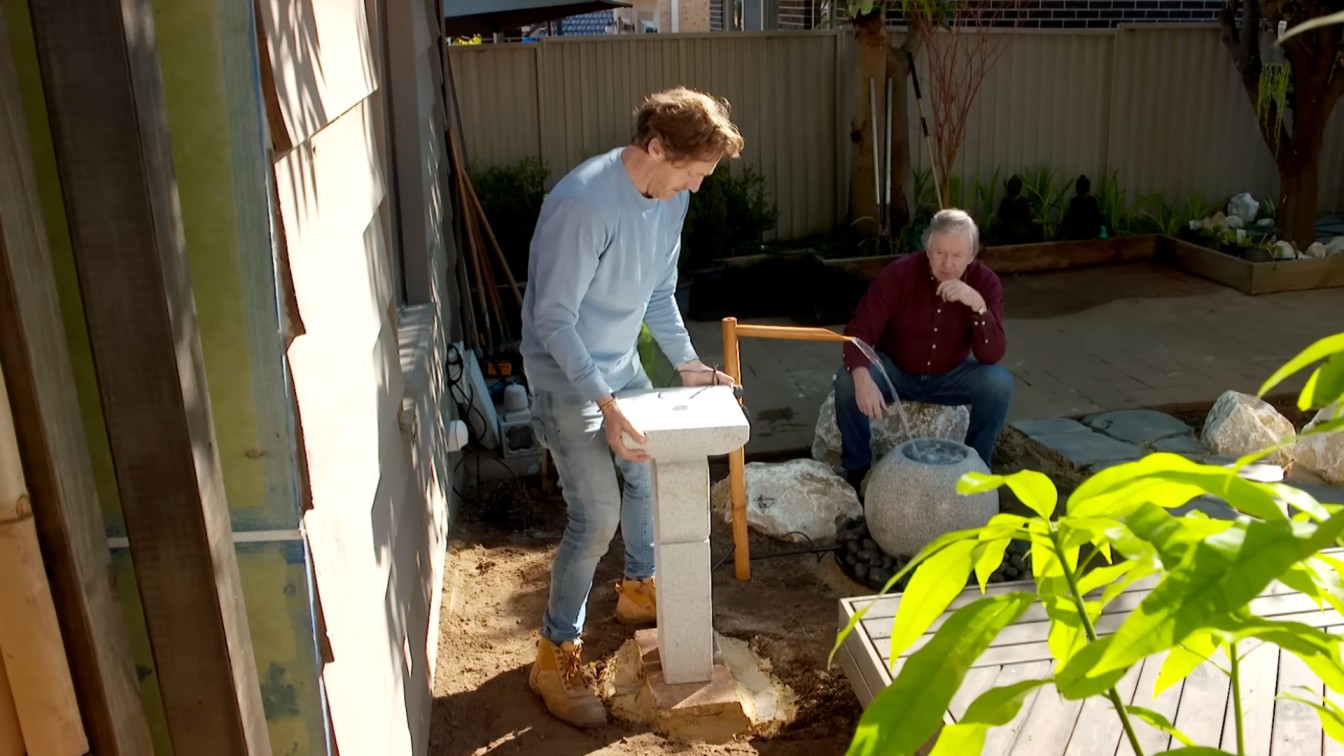
A small water feature built from a repurposed barrel is worth considering if budget allows; the sound carries a lot of weight in a tight space. Keep the total number of decorative elements under three. The restraint is the point.
Zen Garden Cost Breakdown
| Line Item | Low End | High End | What Drives Variation |
| Gravel / crushed granite (100 sq ft) | $50 | $120 | Local stone availability, delivery charges |
| Landscape fabric + staples | $25 | $60 | Fabric grade (woven vs non-woven) |
| Edging (metal, 40 linear ft) | $80 | $200 | Material (plastic vs galvanized vs corten) |
| Feature rocks (2–3 boulders) | $30 | $200 | Rock type, size, local sourcing vs delivery |
| Stepping stones | $20 | $100 | Flagstone vs cast concrete |
| Plants (2–3 specimens) | $30 | $150 | Dwarf specimens vs mature stock |
| Stone lantern or water feature | $40 | $300 | Decorative stone vs cast resin; pump cost for water |
| Total (DIY, materials only) | $275 | $1,130 | Site prep and rock selection push most builds toward the higher end |
Most DIY Zen garden builds land in the $300 to $600 range for a 100-square-foot space when sourcing materials locally. The biggest cost variable is feature rocks. Boulders that look like they’ve been in the ground for decades can run $150 or more each at a landscape supplier, while sourced field stone from a local farm or stone yard can cost almost nothing if you’re willing to haul it yourself.
Zen Garden Ideas for Different Spaces
The design logic stays the same regardless of size, but the approach shifts based on what you’re working with.
1. Small Backyard Zen Garden Ideas for Tight Spaces
In a tight yard, you don’t need sprawling acreage to establish a sense of calm. Implementing focused small zen garden ideas can transform an underutilized corner or a narrow side yard into a striking visual escape.
Use a bamboo screen or an existing fence as the rear boundary, which does double duty for privacy. One large boulder, a compact gravel surface, and a single Japanese maple or dwarf pine are enough to anchor the space. Resist the urge to add more just because there’s room.
2. Zen Patio Ideas for an Existing Outdoor Living Area
A patio edge is one of the easiest places to build a Zen-style border. Gravel between the patio surface and a rear garden bed softens the hard line between paving and planting.
Add a potted bamboo clump near a corner wall for vertical structure. River stones around planters add texture without needing any additional ground prep. The whole thing can be done in a weekend without touching the existing patio.
3. Budget-Friendly Zen Garden Ideas
If the budget is under $150, skip the water feature and the stone lantern entirely. Local field stone sourced yourself, bagged crushed granite from a home improvement store, and a single moss starter pack are all you need for a clean, functional small Zen garden.
A tabletop version using a shallow tray, fine sand, and three small river stones costs under $30 and functions the same way at desk scale.
How to Maintain a Zen Garden
The maintenance list for a well-built Zen garden is genuinely short. These are the only regular tasks that matter:
- Rake the gravel surface after heavy rain or wind to restore the pattern and level any shifted material.
- Pull weeds while they’re small. Any weed that gets through the fabric is easiest to remove in the first two weeks before the root system establishes.
- Top up the gravel layer if it drops below 1.5 inches in any area. Thin spots show the fabric and look unfinished.
- Prune plants once a year to keep their shape simple. Japanese maples and dwarf pines tolerate light shaping well; don’t hard-prune either in summer.
- Inspect the edging each spring for heave or buckling. Metal edging rarely needs attention; timber edging should be checked for rot at the base every two to three years.
Think of the raking as the ongoing maintenance, not a chore. A Zen garden maintained in 10-minute sessions every couple of weeks stays in better shape than one ignored for a month and then tackled all at once.
Common Zen Garden Mistakes to Avoid
- Too many plants: Every plant added is a maintenance commitment. Three plants maximum for most backyard Zen gardens.
- Skipping the fabric: Weeds through gravel are harder to remove than weeds in soil. The fabric is worth the 30 minutes it takes to install it properly.
- Wrong gravel depth: Less than 1.5 inches and the fabric shows through when you rake. More than 4 inches and the material cost climbs without improving function.
- Plastic edging: It buckles in freeze-thaw conditions and degrades in UV. Metal or natural stone edging is the only long-term solution.
- Choosing plants for the wrong climate: Moss needs consistent moisture and partial shade. Bamboo spreads aggressively without a root barrier. Match the plant to your actual conditions, not the design inspiration photo.
- Overdecorating: A stone lantern and a bench. That’s the ceiling. Past two elements, the garden stops reading as calm and starts reading as cluttered.
Frequently Asked Questions
What is the best gravel for a Zen garden?
Crushed granite is the most durable and easiest to rake. It compacts slightly and holds pattern lines better than pea gravel, which scatters with any foot traffic. Use a particle size between 3/8 inch and 5/8 inch for a surface that rakes cleanly and stays stable.
How do I keep weeds out of a Zen garden?
Install woven landscape fabric before laying gravel, pin it every 12 inches along all edges, and overlap seams by at least 6 inches. This eliminates most weed pressure. Pull any breakthrough weeds while small, before root systems establish through the fabric layer.
How deep should gravel be in a Zen garden?
Two to three inches is the functional range. Shallower than 1.5 inches and the fabric shows through when raking. Deeper than 4 inches wastes material without improving drainage or appearance.
What plants work best in a backyard Zen garden?
Japanese maple, dwarf pine, moss, ornamental grass, and bamboo (in a root barrier) are the most reliable choices. Pick based on your climate and light conditions. Moss needs partial shade and consistent moisture. Everything else on this list handles sun exposure reasonably well.
How much does a Zen garden cost to build?
A DIY build for a 100-square-foot space typically runs $275 to $800 in materials, depending on rock selection and edging choice. The biggest cost variable is feature boulders. Locally sourced field stone keeps costs at the low end.
Can you build a Zen garden on a patio or concrete surface?
Yes. On a concrete surface, use contained gravel beds with solid edging rather than in-ground installation. Feature rocks sit directly on the surface. Drainage becomes less of a concern, but containment matters more to prevent gravel migration onto the surrounding area.
Do Zen gardens need water features?
No. Traditional karesansui gardens have no water at all. The gravel surface represents water symbolically. A small recirculating fountain can add sound to the space if that matters to you, but it adds maintenance and is not a structural requirement.
Final Verdict: Is a Backyard Zen Garden Worth Building?
The best zen garden ideas do not have to start with a full backyard makeover. You can begin with one quiet corner, a patio edge, or a small side-yard space. I like this approach because it feels simple and doable, even if you are new to garden design.
Focus on simple materials first. Rocks, gravel, sand, moss, and a few plants can create a calm look without much fuss. Keep the layout open, avoid clutter, and let each detail have space to stand out.
Regular care matters too. Rake the gravel, remove leaves, and lightly trim plants. These small habits keep your garden peaceful.
Pick one idea, gather your materials, and create a peaceful space you’ll enjoy every day.


