


My rule for wood furniture care is simple: clean first, polish second. Skipping that order is where most mistakes start. When you rub polish into a dusty, sticky, or greasy surface, you trap the grime instead of removing it.
The wood can end up looking dull, cloudy, or streaky even after you put in the work. A good polish should refresh the finish, not cover dirt.
Today I will show you how to polish wood furniture the right way, from the first wipe-down to the final buff. You will learn how to clean, choose a polish, apply it lightly, and keep the surface smooth without overusing the product.
Identify Your Finish Before You Open Anything
The finish determines the product. Using the wrong polish on the wrong finish causes cloudiness and is hard to fix. Test with mineral spirits; residue indicates wax, while no change suggests lacquer, polyurethane, or varnish.
Oil finishes are matte; a drop of linseed oil will bead if cured.Wood polish affects the surface, not the wood. Most furniture, whether solid oak, walnut, or a veneered piece, has a clear topcoat, lacquer, or oil finish already applied.
| Finish Type | How to Identify | Best Polish Type | Avoid |
| Lacquer / Polyurethane | Hard surface; mineral spirits test shows no change | Liquid spray or cream polish, light application | Heavy wax can cloud the surface |
| Wax finish | Soft sheen; mineral spirits lifts residue onto cloth | Paste wax, pure beeswax or carnauba | Spray polishes and oil mixes, both strip wax |
| Oil finish | Matte look; linseed oil beads rather than absorbs | Feed-and-wax products; orange oil conditioners | High-gloss sprays create buildup on oiled wood |
| Antique / shellac | Amber tone; warm, hand-rubbed appearance | Pure beeswax paste only, applied very sparingly | Anything with silicone, contamination is very hard to reverse |
Note: Many budget spray polishes contain silicone, which offers instant shine but hampers future refinishing due to bonding issues. Check labels carefully.
Supplies You Need Before You Start
Keep your setup simple so the process stays clean, safe, and easy to control. These basic supplies help you clean, apply product, fix light marks, and buff properly:
- Dry microfiber cloths, at least two, one for applying, one for buffing
- Mild dish soap and warm water
- Soft cotton cloth for cleaning
- Furniture polish, wax polish, or a light homemade mix, matched to your finish type
- A wood touch-up marker for minor scratches, addressed before polishing
- Optional: gloves, pure beeswax, orange oil polish for drier wood
How to Polish Wood Furniture: Step-by-Step
Polishing works best when you prepare the surface first. Follow these six steps in order so the wood looks clean, smooth, and evenly finished without streaks or buildup.
Step 1: Dust the Surface Properly
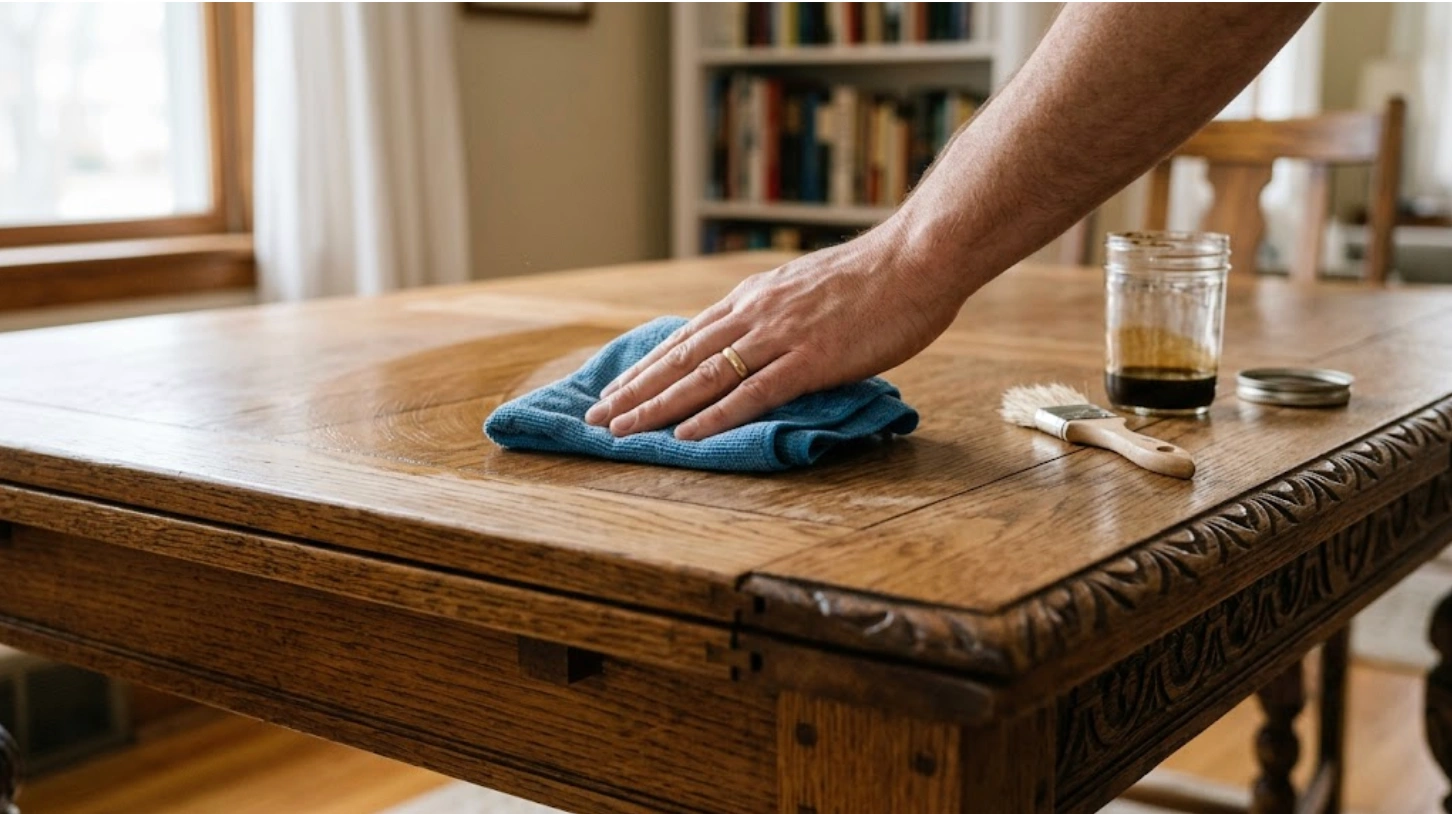
Start with a dry microfiber cloth and wipe with the grain, not across it. Dust may look harmless, but tiny grit can scratch the finish once you begin rubbing.
Pay close attention to carved details, joints, legs, and edges where dirt tends to settle. For tight spots, use a clean, dry paintbrush first. This protects the wood finish and gives your furniture polish a cleaner surface.
Step 2: Clean the Wood Before Polishing
Dusting removes loose dirt, but it does not remove fingerprints, food film, or oily buildup. Use a barely damp cloth for light cleaning, then dry the surface right away.
For sticky spots, mix a few drops of mild dish soap with warm water. Wipe in small sections and dry each one fully. Avoid soaking the surface. Clean wood furniture responds better to polish and helps prevent cloudy buildup.
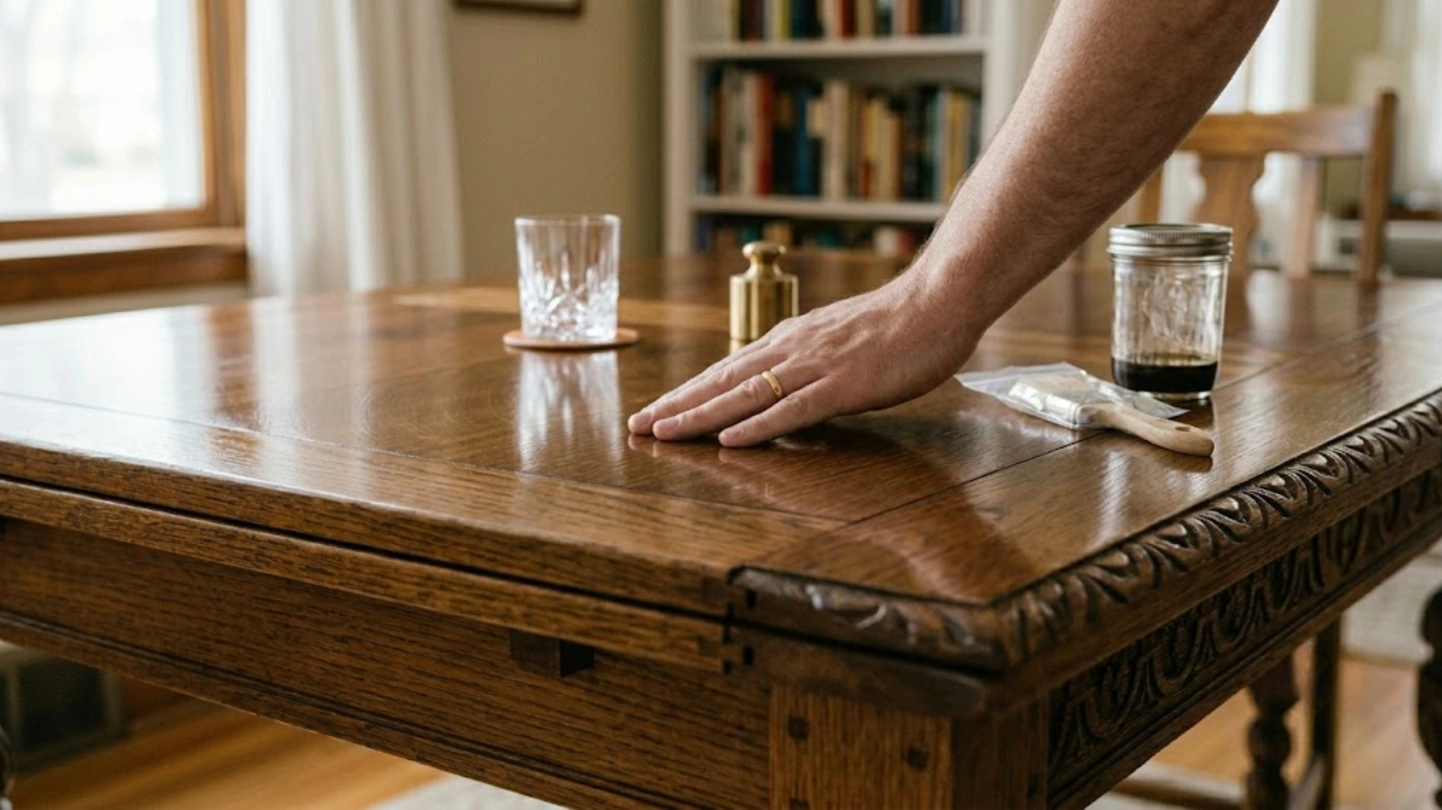
Step 3: Fix Marks Before You Polish

Do not polish over marks and sticky areas. Polish can make dull spots stand out more. For white water rings, try a small amount of non-gel toothpaste or petroleum jelly, then wipe and buff dry.
For light scratches, rub a walnut or pecan kernel along the mark. Use a matched touch-up marker for deeper lines. Fixing surface scratches first gives the wood polish a smoother result.
Step 4: Choose the Right Polish
Pick the polish based on the furniture finish and age, use the identification table above if you are not sure what you have. Spray or liquid polish works for lacquered and polyurethane-finished pieces that need a quick refresh. Wax polish suits older or antique furniture because it lasts longer and gives a deeper, softer shine.
Homemade oil mixes can work on sealed wood, but too much leaves a sticky film and attracts dust. Test any furniture polish in a hidden spot first to protect the wood surface.
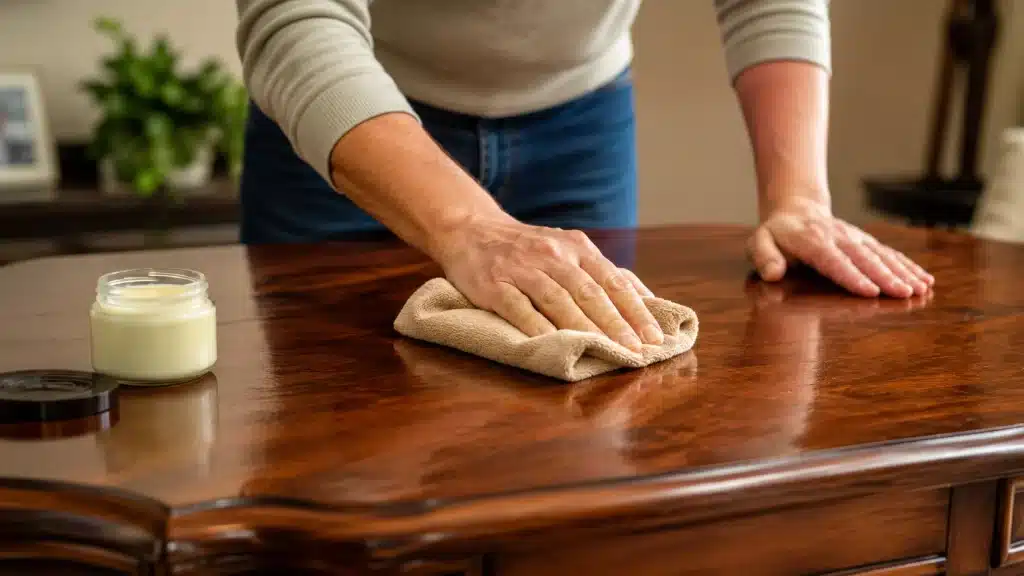
Step 5: Apply Polish the Right Way
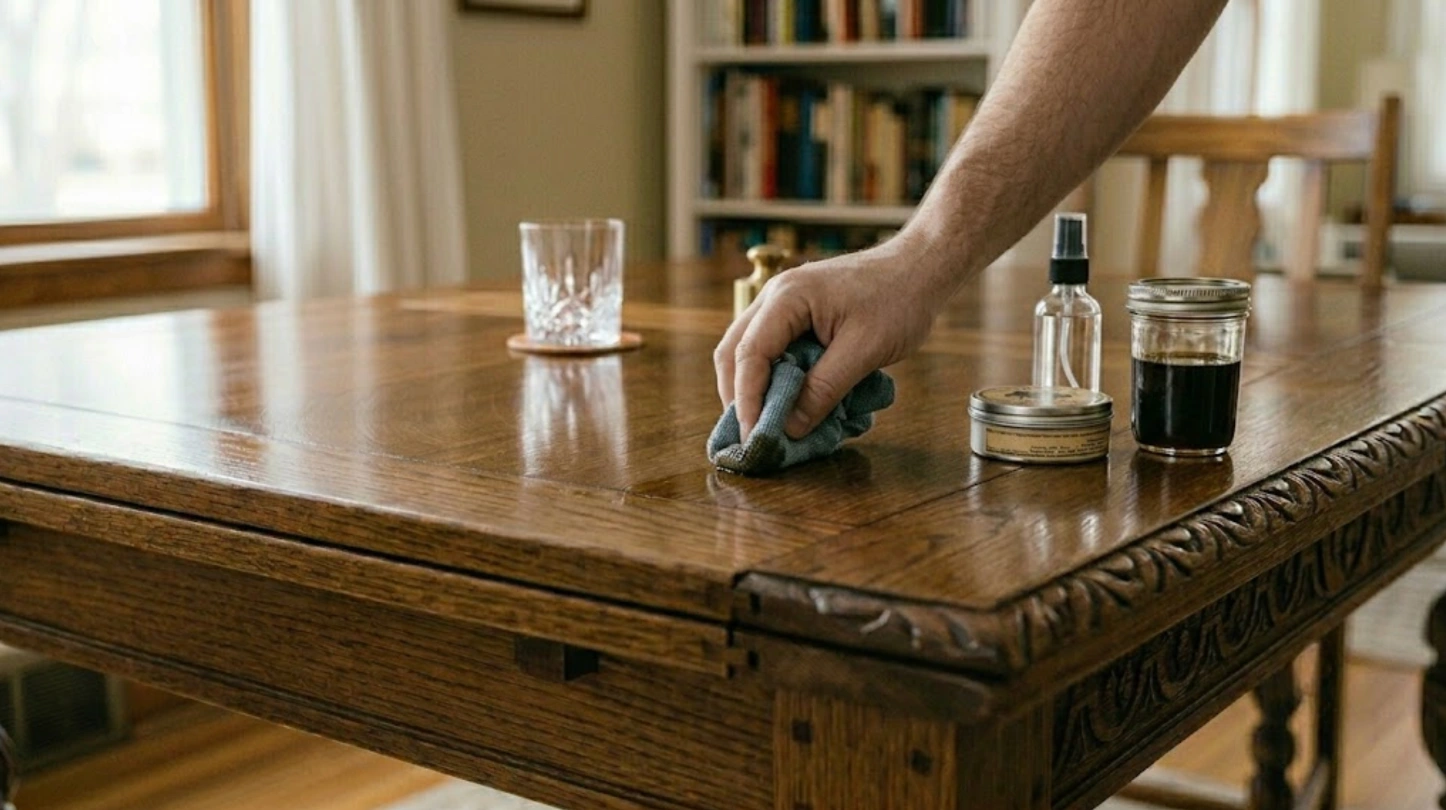
Apply polish to the cloth, not directly to the wood. Work in small areas and rub with the grain using light, even pressure. You only need a thin layer. Too much product can leave streaks or a greasy feel.
Follow the product label if it says to wait before buffing, some wax products need 2 to 3 minutes to begin setting before the cloth will pick up the excess cleanly. Careful polish application helps create an even wood shine without extra residue.
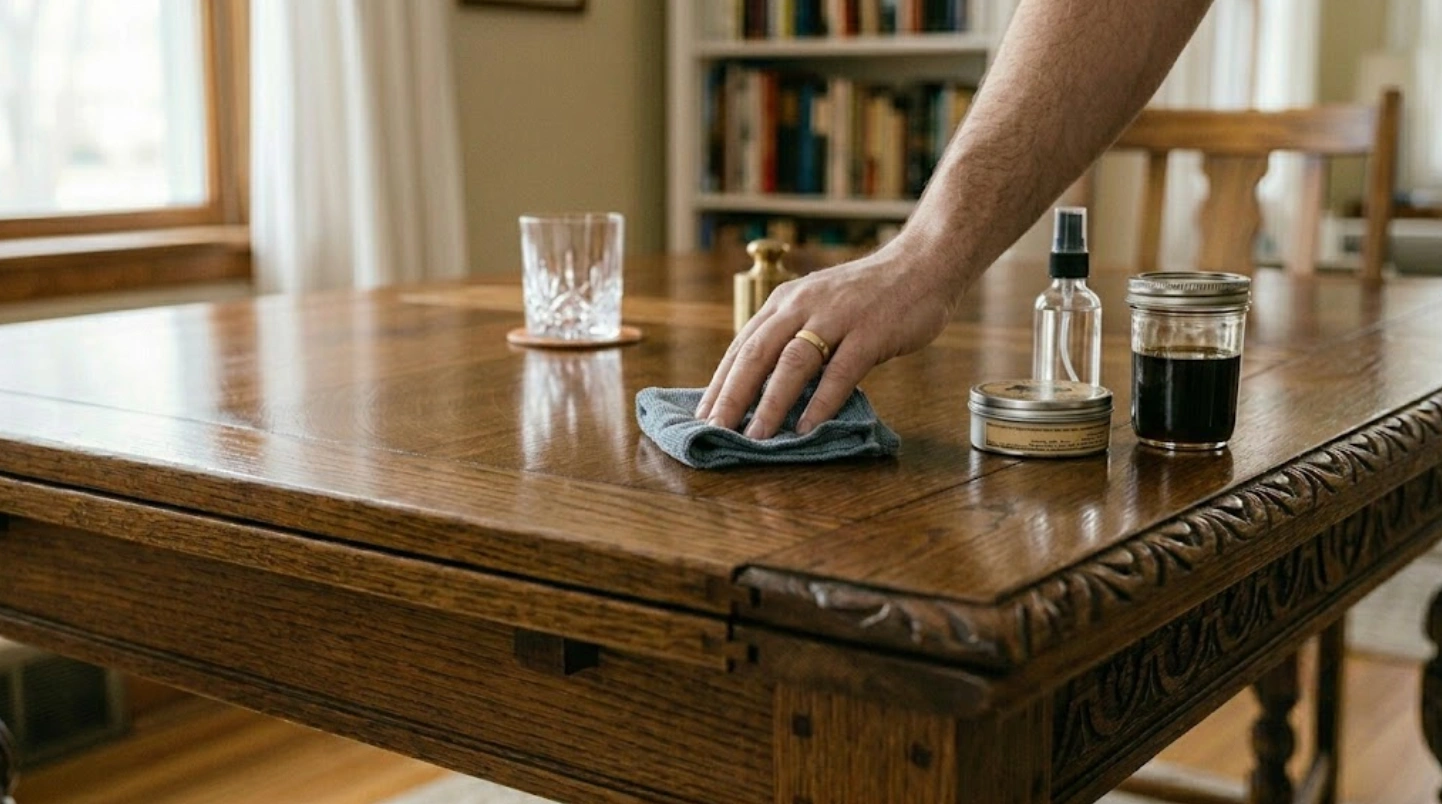
Step 6: Buff Until the Surface Feels Dry

Buffing creates the final look, so do not rush it. Use a clean, dry microfiber cloth and work over each polished area. Start with small circular motions to lift extra residue, then finish with long strokes along the grain.
Keep going until the surface feels smooth, not oily. Check from a low angle with a light source raking across the surface to catch any streaks before you move on. A surface that still looks slightly cloudy needs more buffing, not more product. Proper buffing prevents furniture polish buildup over time.
How Often Should You Polish Wood Furniture?
You should dust wooden furniture weekly because removing dust is the easiest way to protect the finish. It only takes a minute and helps stop grit from scratching the surface.
Clean spills, fingerprints, and sticky marks as soon as they appear, then dry the wood thoroughly to prevent moisture from remaining on the finish. Use furniture polish every two to three months, or only when the surface starts to look flat, dry, or dull.
Polishing too often is one of the biggest mistakes. Each use leaves a thin layer behind, and those layers can build into a cloudy or tacky film over time. Good wood furniture care means polishing when the piece needs it, not every time you clean.
How to Polish Specific Wood Furniture Pieces
Different furniture pieces need different care. A table, chair leg, carved detail, or naturally polished surface all need a lighter hand, a clean cloth, and patient buffing.
A piece with a cracked finish or deep gouges needs the finish stripped and reapplied before any surface product will be effective. The right furniture polish, used lightly and buffed fully, leaves wood looking refreshed without product buildup.
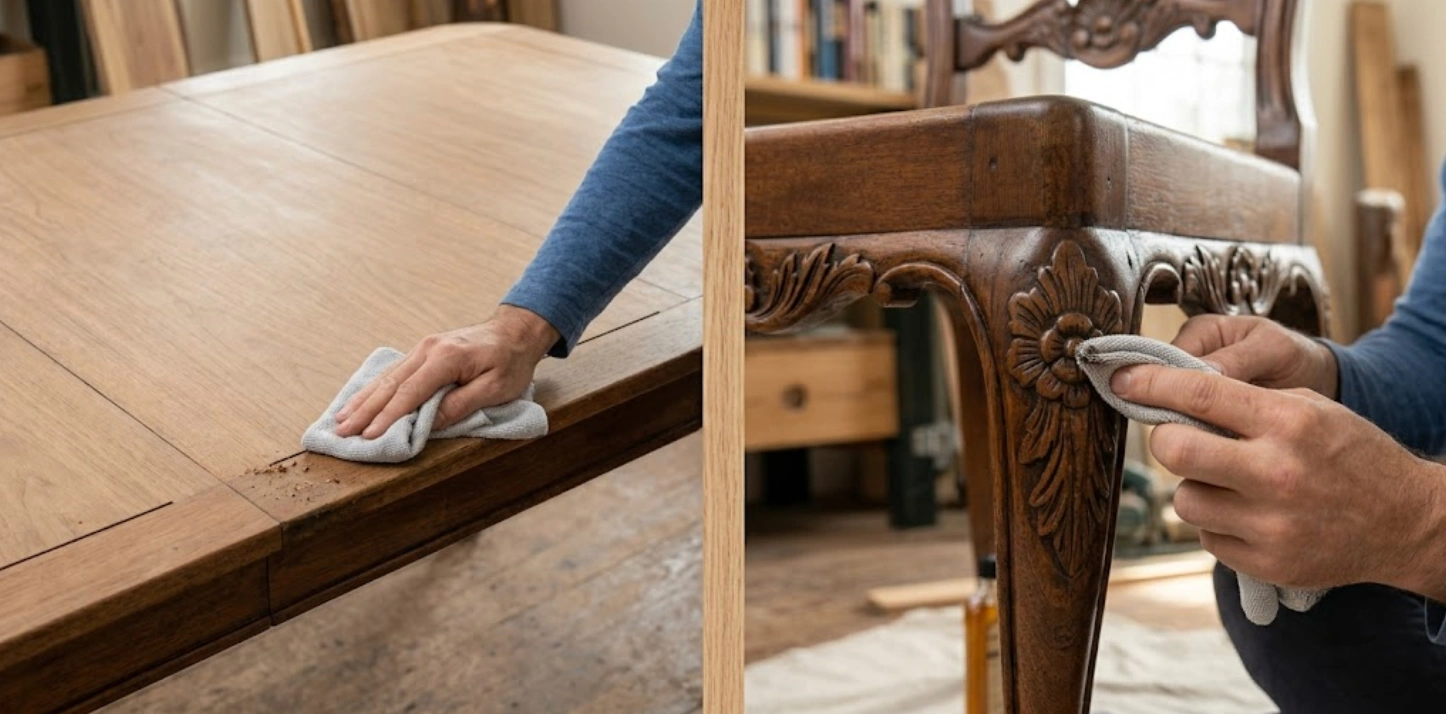
1. How to Polish a Wooden Table
Wooden tables accumulate food film, hand oils, dust, and drink rings more quickly than most furniture. A light polish works best because flat tops show streaks, haze, and buildup quickly:
- Clear surface: Remove dishes, decor, mats, and papers before cleaning or polishing.
- Clean edges: Wipe the table edge and apron where oils and crumbs often collect.
- Use less: Apply a small amount of polish to the cloth, not the tabletop.
- Follow grain: Rub with the grain using light, even pressure across the full surface.
- Buff center: Spend extra time where hands, plates, and cups most often touch.
- Wait before use: Let the table sit for 30 minutes before replacing items.
2. How to Polish Wood Chair Legs and Carved Pieces
Chair legs, grooves, and carved wood need careful work because polish can gather in tight spaces. Too much product dries white, sticky, or uneven in detailed areas:
- Dust grooves: Use a soft dry brush to remove dust from carved lines first.
- Fold cloth: Wrap a microfiber cloth tightly around your fingers for better control.
- Use sparingly: Add only a small amount of polish to avoid residue buildup.
- Work short: Polish in small strokes that follow the carving or wood grain.
- Press gently: Push the cloth into details without forcing product into cracks.
- Buff details: Use a clean corner of a cloth to remove excess polish from the grooves immediately, before it sets.
3. How to Polish Wood Furniture Naturally
Natural polish can work for sealed lacquer or polyurethane finishes when used lightly. It is not right for every finish, avoid oil mixes on wax finishes, shellac, or any piece you plan to refinish, so test first and avoid using oils too often:
- Mix lightly: Use one part white vinegar with three parts olive oil.
- Try lemon: Swap vinegar for lemon juice for a fresher scent.
- Test first: Apply a small amount on a hidden area before treating the piece.
- Use little: Put a few drops on the cloth instead of soaking the wood.
- Buff fully: Keep wiping until the surface feels dry, not oily.
- Watch haze: Stop using oil mixes if the finish looks cloudy or tacky.
Common Wood Polishing Mistakes That Dull Furniture Over Time
Small polishing mistakes can leave wood looking cloudy, greasy, or scratched. Most problems come from too much product, poor cleaning, rough cloths, or not buffing long enough:
| Mistake | Why It Dulls Furniture | Better Approach |
| Polishing dirty wood | Traps dust, oil, and grime under polish | Clean and dry the surface first |
| Using too much polish | Leaves a sticky film that collects dust | Apply a thin layer only |
| Spraying wood directly | Creates uneven wet spots and buildup | Put polish on the cloth |
| Using rough cloths | Can scratch or haze the finish | Use clean microfiber cloths |
| Using silicone-based sprays | Embeds silicone into the finish; makes refinishing very difficult later | Check labels before use; avoid products listing silicone or dimethicone |
| Mixing products | Layers can react or turn cloudy | Remove old buildup before switching |
| Skipping buffing | Leaves residue on the surface | Buff until the wood feels dry |
Good polishing is more about control than product. Use less, clean first, buff longer, and let the wood tell you when it needs another round.
Tips to Keep Wood Furniture Looking Good Between Polishes
Good daily care helps wood stay clean, smooth, and bright between polish sessions. These habits reduce fading, water marks, heat damage, scratches, and finish cracking over time:
- Limit sunlight: Keep wood furniture out of direct sunlight when possible. UV exposure can fade the finish and cause the topcoat to crack, this is one failure mode that polish cannot reverse once it starts.
- Use surface protection: Place coasters, placemats, and felt pads under cups, plates, lamps, decor, and anything that could scratch surfaces.
- Wipe spills fast: Use a dry cloth right away, and wipe with the grain so moisture does not sit on the surface.
- Avoid direct heat: Do not place hot mugs, pans, or dishes on wood. Heat can leave white marks or blister the finish.
- Control humidity: Keep room humidity steady where possible. Large humidity swings can make wood move and crack the finish at joints and edges.
Between polishes, prevention matters most. Protect the surface, clean small messes quickly, and keep heat, sun, and moisture away from the wood whenever you can.
Frequently Asked Questions
How do you tell if your wood furniture has a wax finish versus a lacquer finish?
Rub a small hidden spot with a cloth lightly dampened with mineral spirits. If the surface becomes slightly tacky or a residue lifts onto the cloth, it likely has a wax finish. If nothing changes, it is probably lacquer, polyurethane, or a conversion varnish. This step takes 30 seconds and tells you exactly which type of polish to reach for.
Can polishing fix a finish that has turned white or cloudy?
If the cloudiness is product buildup, wiping with diluted white vinegar (one part vinegar to five parts water), drying fully, and then polishing lightly often clears it. If the cloudiness is moisture trapped in the finish layer itself, polishing will not fix it; the finish needs professional attention or reapplication.
Can you polish wood furniture with olive oil?
A light application occasionally works on sealed lacquer or polyurethane finishes, but olive oil is not suitable for wax finishes, shellac, or any piece you plan to refinish. It can darken lighter finishes and attract dust over time. Always buff until the surface feels completely dry, not greasy at all.
How do you remove furniture polish buildup from wood?
Wipe the surface with a cloth dampened with diluted white vinegar (1 part vinegar to 5 parts water). Work with the grain in small sections and dry immediately after each pass. This lifts most product buildup without damaging the underlying finish. Once fully dry, apply a thin fresh coat of the appropriate polish and buff well.
Final Thoughts
Knowing how to properly polish wood furniture yields surprisingly subtle results, which is the main point. A clean, lightly polished, and fully buffed surface looks elegant without haze, sticky residue, or a greasy sheen that misguides the light.
Begin by identifying the finish before applying any product. Match the polish to the finish type, apply it to a cloth rather than directly on the surface, and check the label for silicone.
This contamination is difficult to undo. My routine is simple: dust weekly, clean as needed, and use furniture polish every two to three months or when the wood appears flat.
Use small amounts and buff thoroughly; the finish will remain clean for years without buildup from overapplication. Ensure surfaces are clean, match the product, and buff until the cloth is clean. Let me know if this was helpful.


