

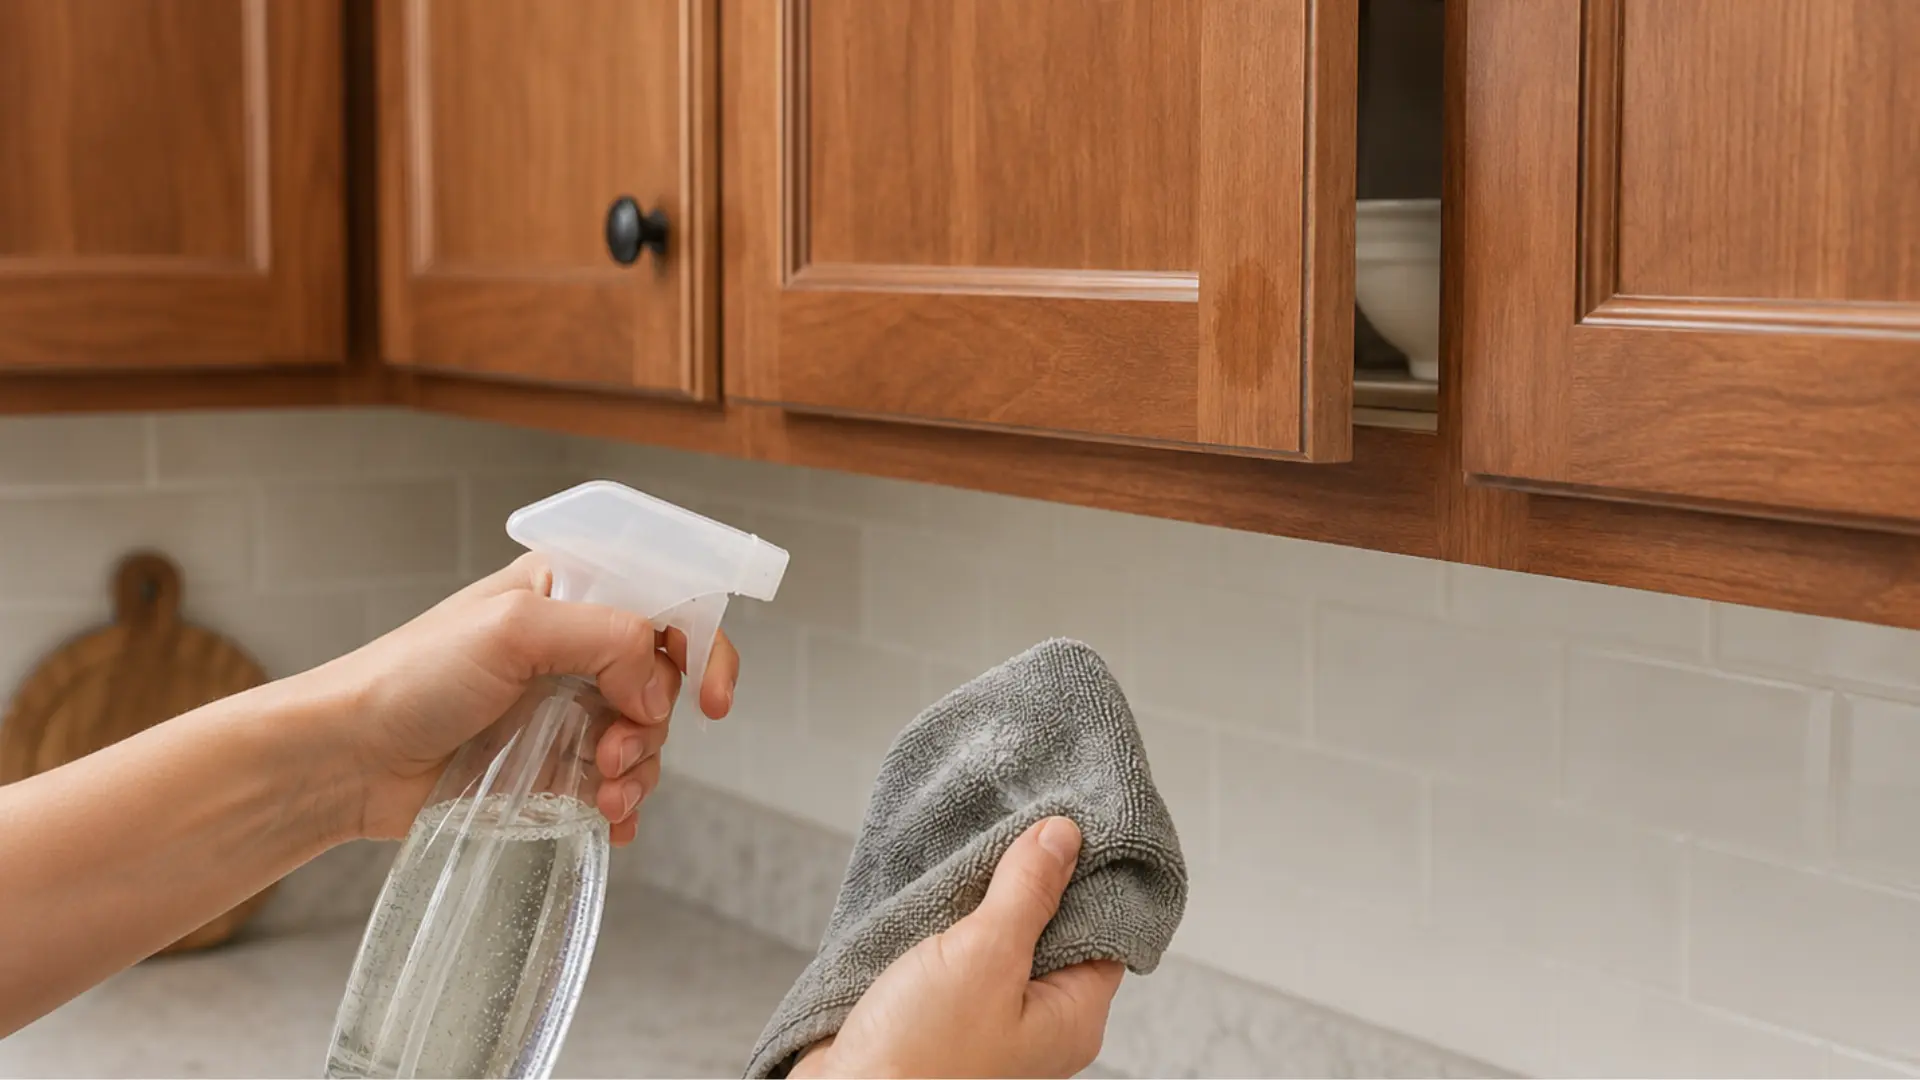


Most people reach for the wrong cleaner first. The greasy, sticky film on wood cabinets near the stove doesn’t need a harsh chemical to come off. it needs the right gentle method applied consistently.
Use too much water and the finish clouds. Use a solvent or ammonia-based cleaner and you’ll strip the surface permanently. I’ve seen both outcomes in kitchens that were cleaned with good intentions using the wrong tools.
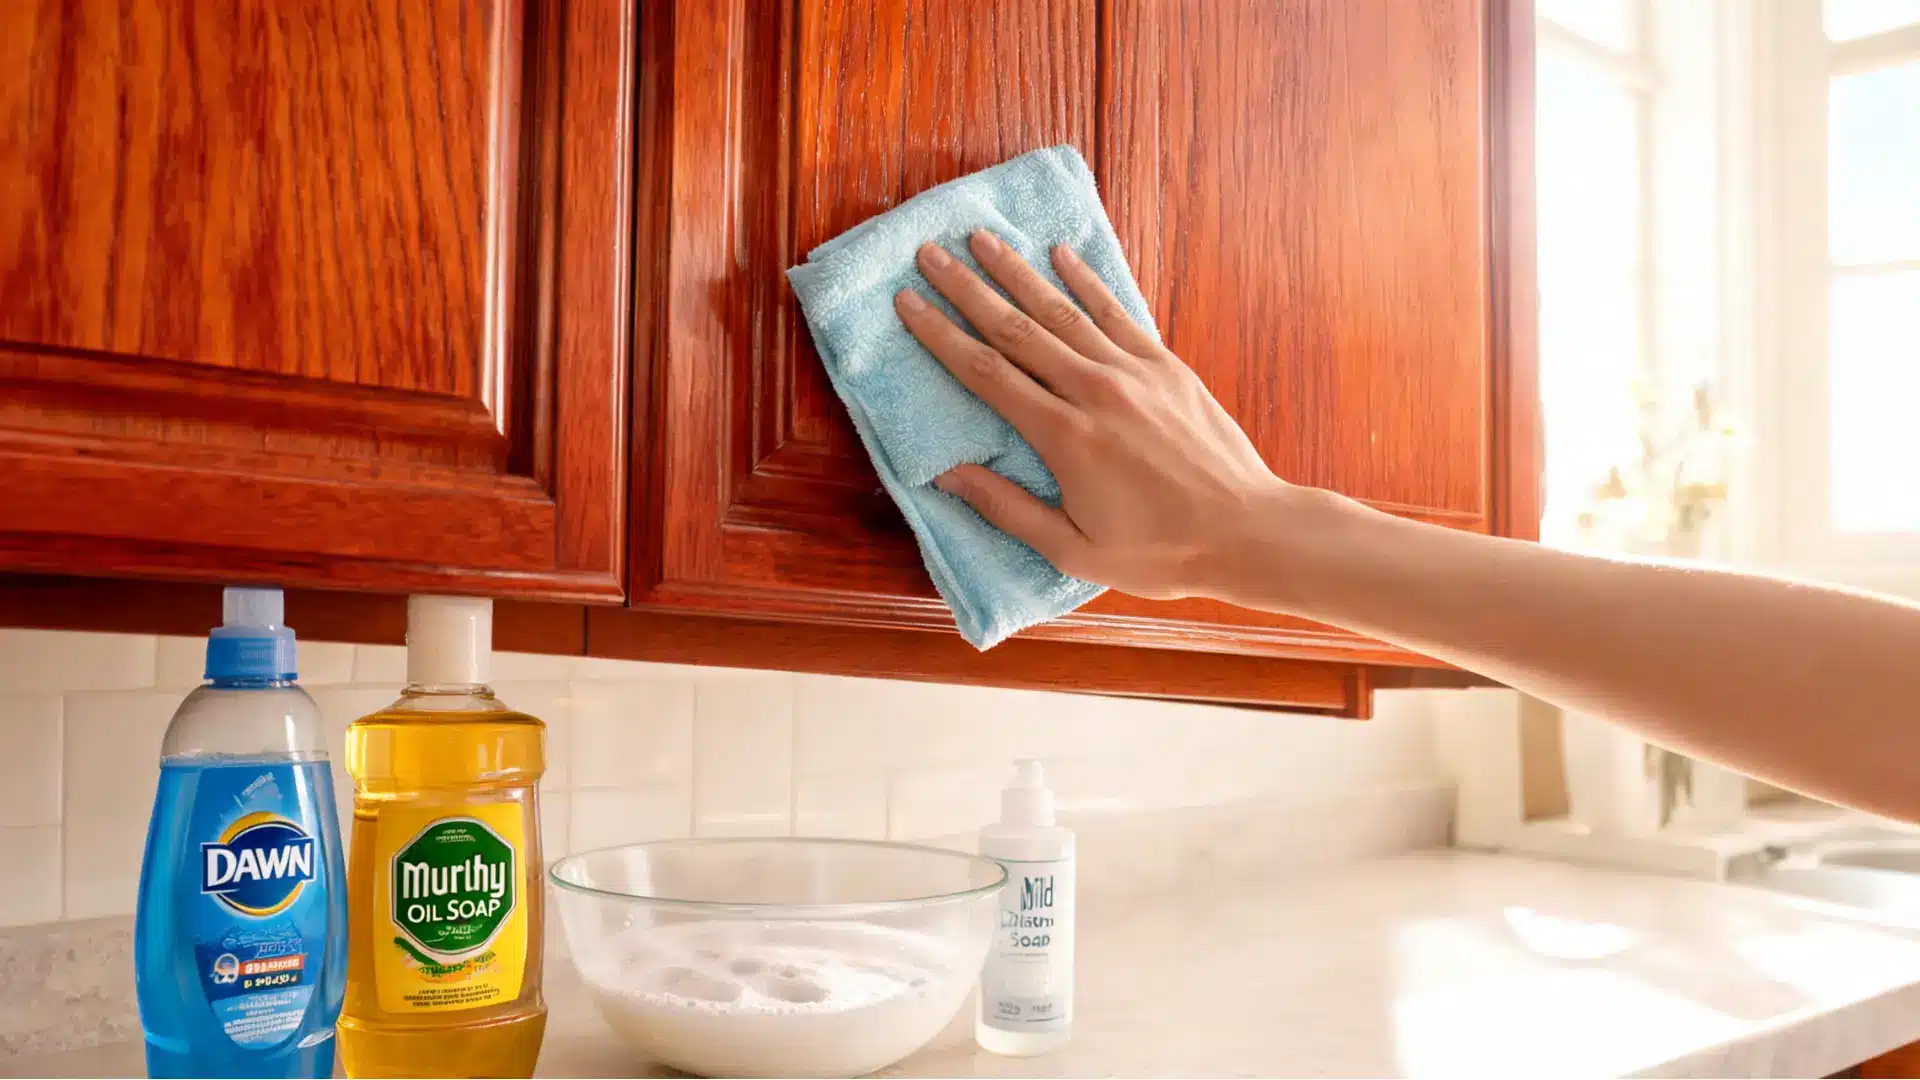
Here’s what actually works when you’re cleaning wood cabinets: mild dish soap for routine grime, Dawn or Murphy Oil Soap for grease buildup, a toothbrush for corners, and a dry towel immediately after.
Everything else in this guide is detail around that core method, including what to do with cherry wood, how to remove stubborn buildup without scratching, and which products will quietly ruin a cabinet finish over time.
| Primary Method | Mild dish soap + warm water + microfiber cloth |
| Grease Removal | Dawn dish soap or Murphy Oil Soap spray |
| Stubborn Spots | Baking soda paste, small areas only |
| What to Avoid | Bleach, ammonia, undiluted vinegar, excess water, steel wool |
| Finishing Step | Dry immediately with a soft towel, every time |
| Cleaning Frequency | High-touch areas weekly; full deep clean twice a year |
That reference is your baseline. The sections below explain exactly how to execute each step and why getting the order right matters for the finish.
What You Need Before You Start
Set everything up in one place before touching the cabinets. Stopping to search for a dry towel while soapy water sits on wood is how water damage starts. These are the tools worth having on hand for a thorough clean:
- Swiffer-style duster or vacuum with soft brush attachment
- Two buckets, one for cleaning solution, one for clean rinse water
- Murphy Oil Soap or mild dish soap
- Blue Dawn dish soap (for stove-area grease only)
- Three microfiber cloths, one for cleaning, one for rinsing, one for drying
- Soft toothbrush (for corners, grooves, and around hardware)
- Non-scratch sponge like a Scrub Mommy, dampened and warmed
- Baking soda (for stubborn sticky spots)
- Plastic tote for emptying drawers and cabinet contents
- Parchment paper or paper towels for cabinet tops (after cleaning)
The three-cloth setup is the part most people skip, and it’s the reason cabinets come out streaky or damp. One cloth washes. One rinses. One dries. Each task needs its own cloth, using the same one for all three steps just pushes grime and moisture around.
How to Clean Wood Cabinets: Step by Step
Step 1: Dust First, Always
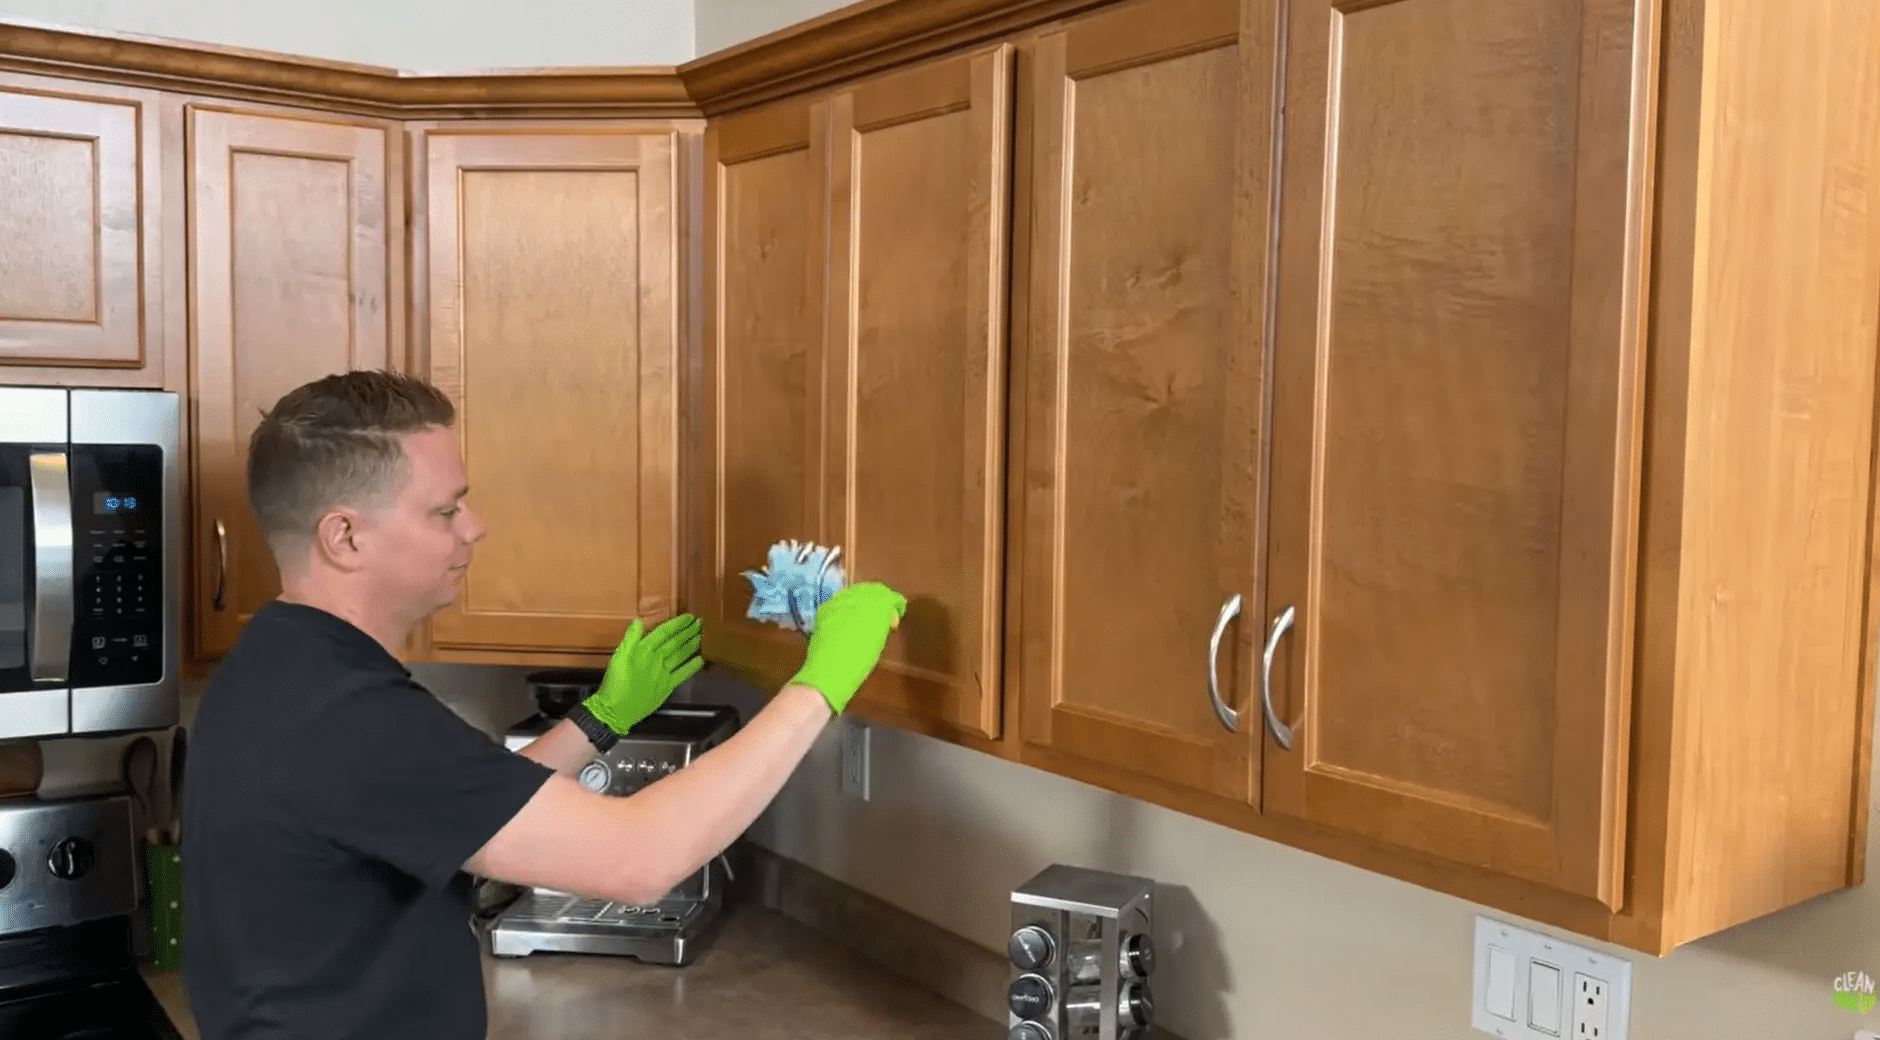
Start dry. Work from the top of each cabinet down so loose debris, pet hair, and kitchen dust fall toward the floor rather than landing on areas you’ve just cleaned. A Swiffer duster handles flat cabinet fronts well.
For grooves, ledges, and recessed detail trim, a vacuum with a soft brush attachment does a cleaner job than any cloth. Skip this step and any dry debris turns to a muddy film once your wet cloth hits it, harder to clean, not easier.
Step 2: Mix Your Cleaning Solution
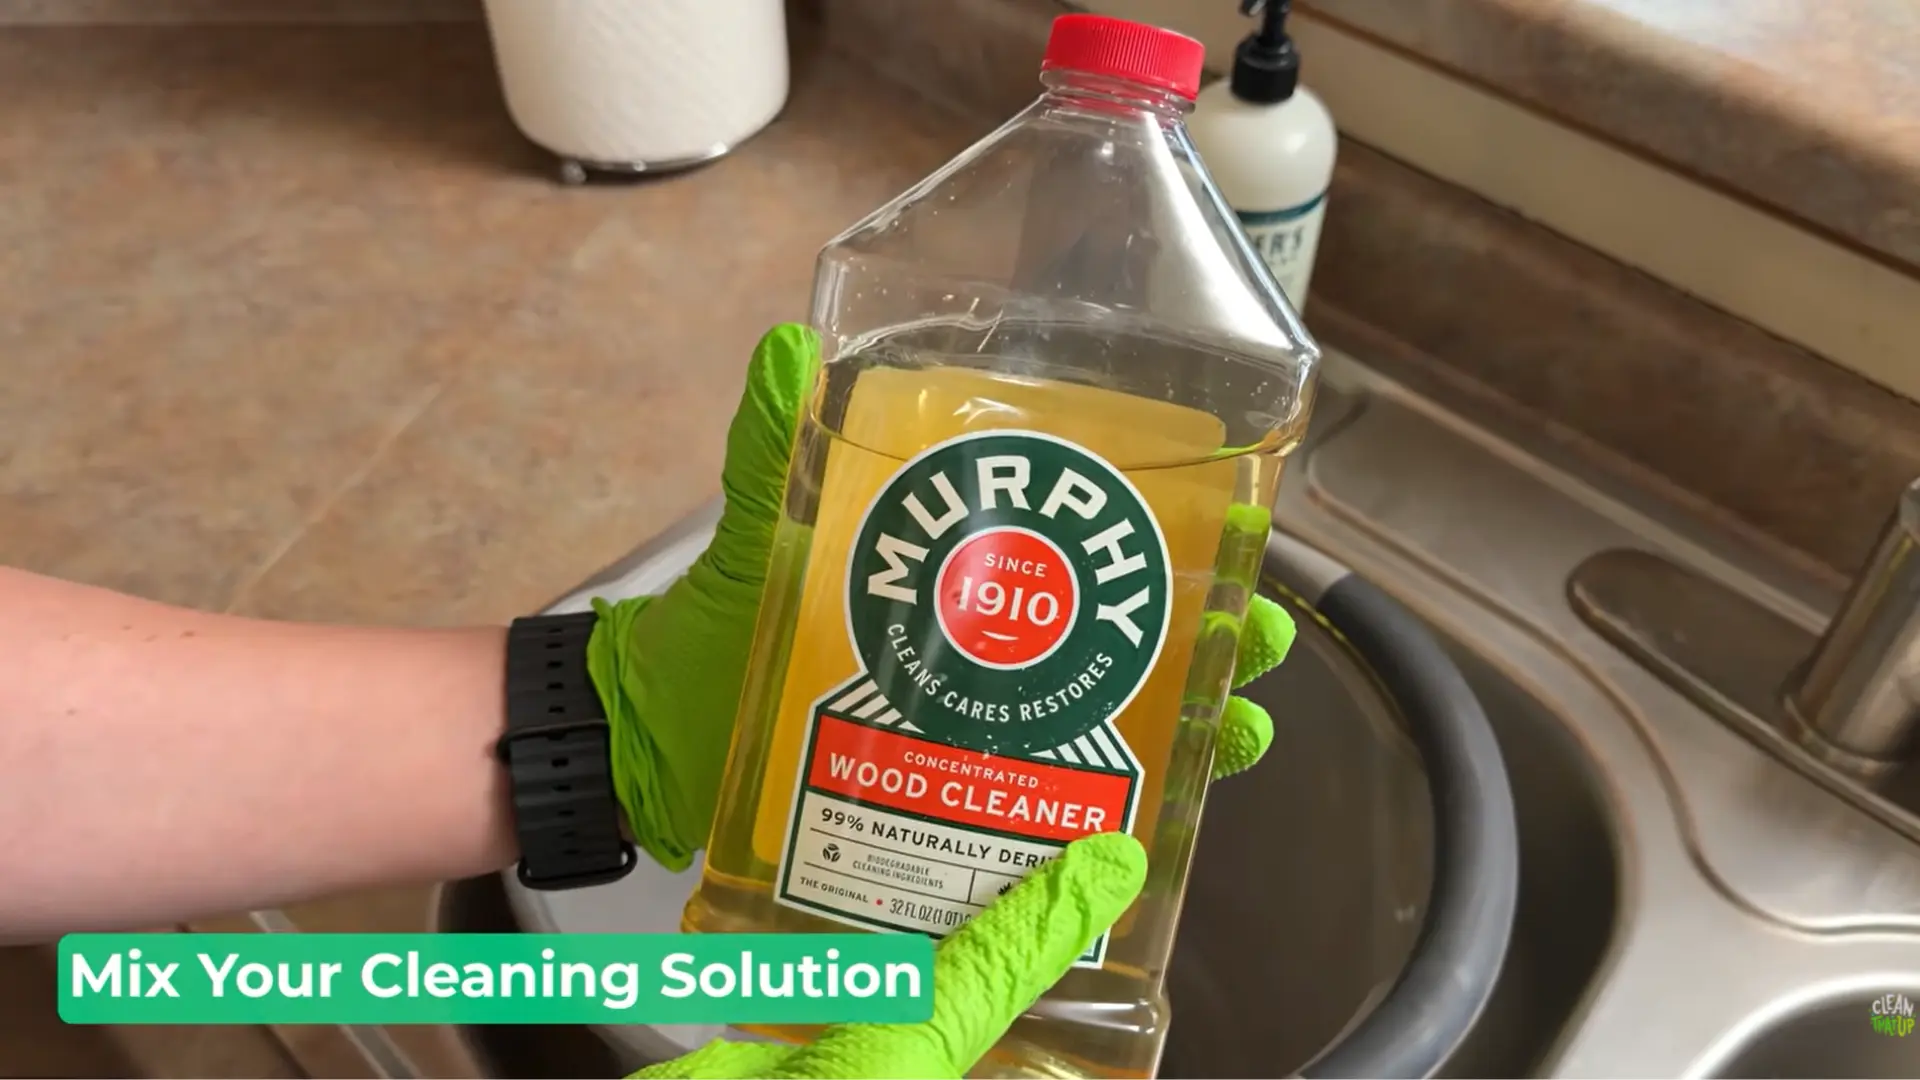
Fill one bucket with warm water and add one capful of Murphy Oil Soap. That’s it. Murphy Oil Soap is concentrated, more product doesn’t mean better cleaning. It means stickier residue that attracts dust after the cabinets dry.
In the second bucket, put clean warm water with nothing added. That’s your rinse water, and it stays clean for the entire job.
Step 3: Use Three Cloths, Not One
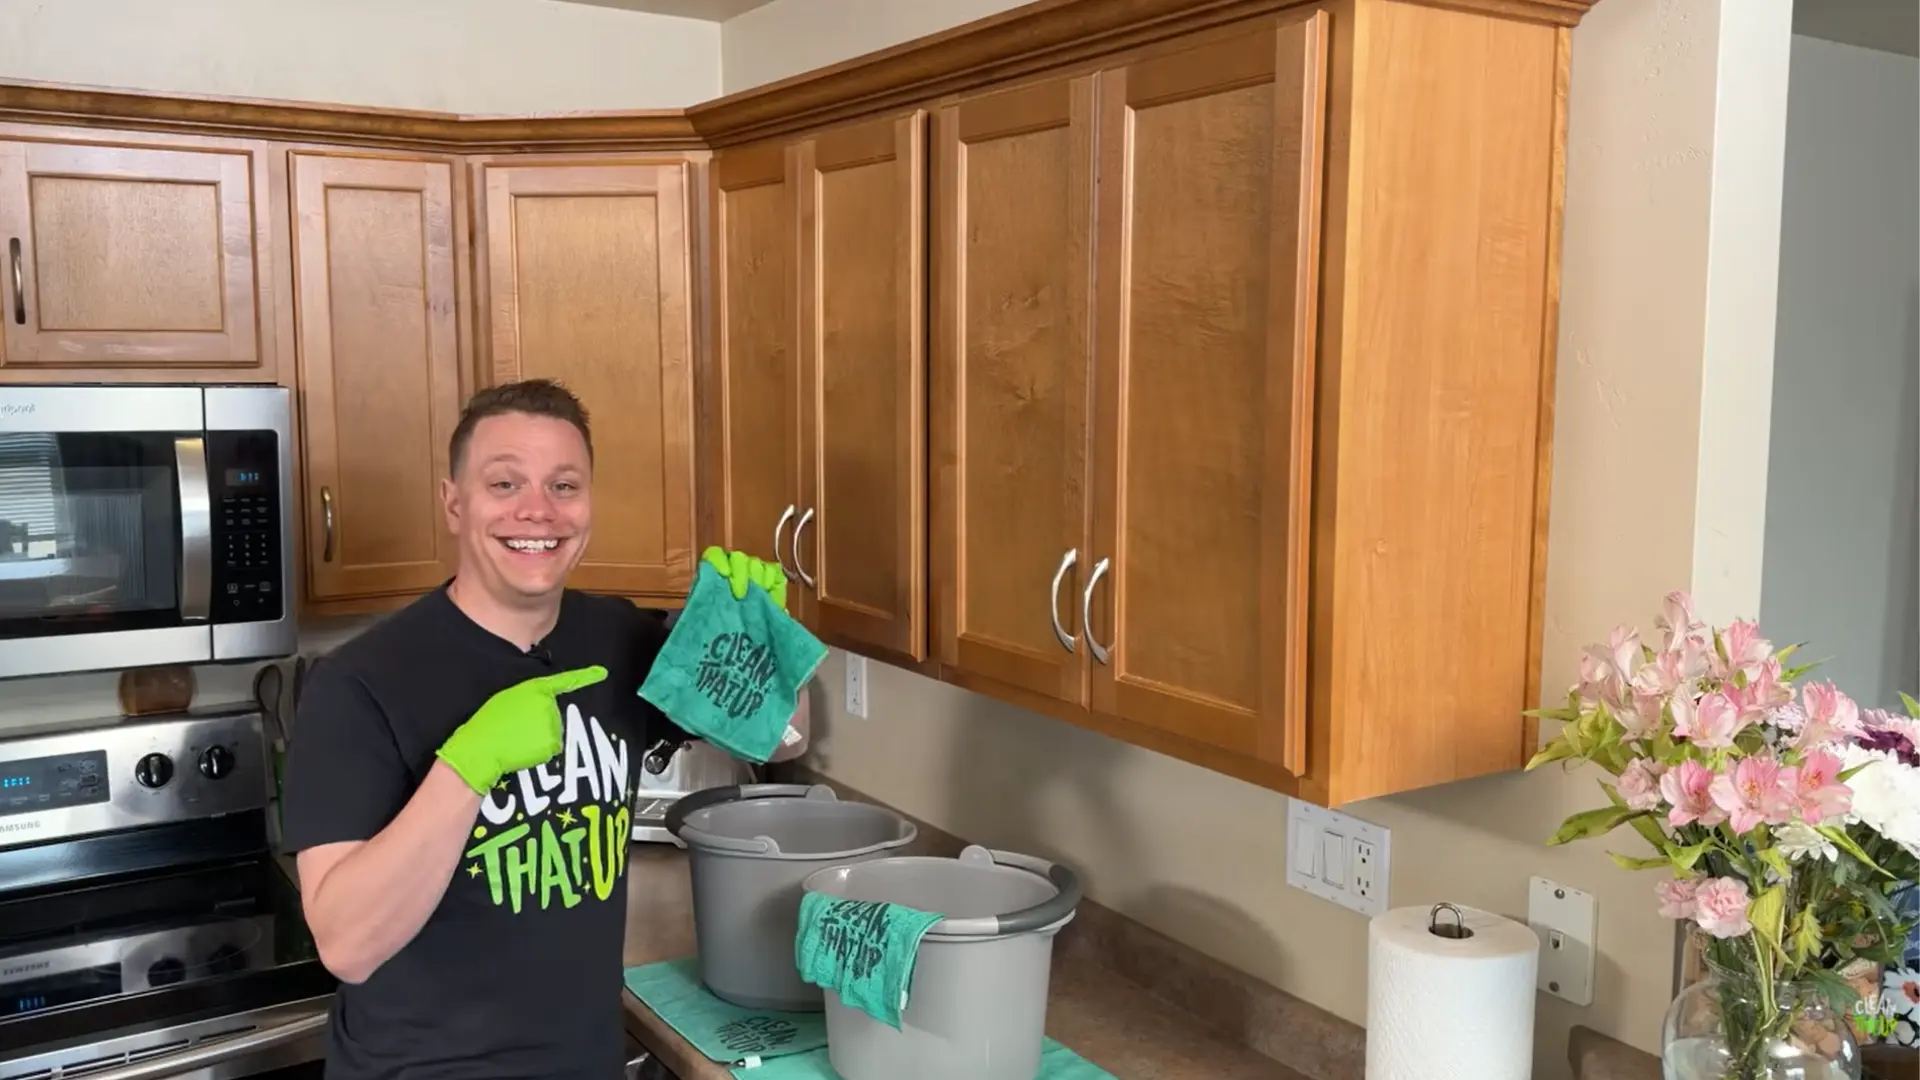
Dip cloth one into the cleaning solution. Wring it out firmly, it should feel damp, not wet. Wipe one cabinet at a time, top to bottom. Then take cloth two, dip it in clean rinse water, wring it out, and wipe the same surface to remove any soap residue.
Finish with cloth three, dry, buffing the surface immediately. This sequence prevents watermarks, residue buildup, and the moisture seeping into seams that causes wood to swell or finishes to peel.
Step 4: Handle Tough Buildup Gently
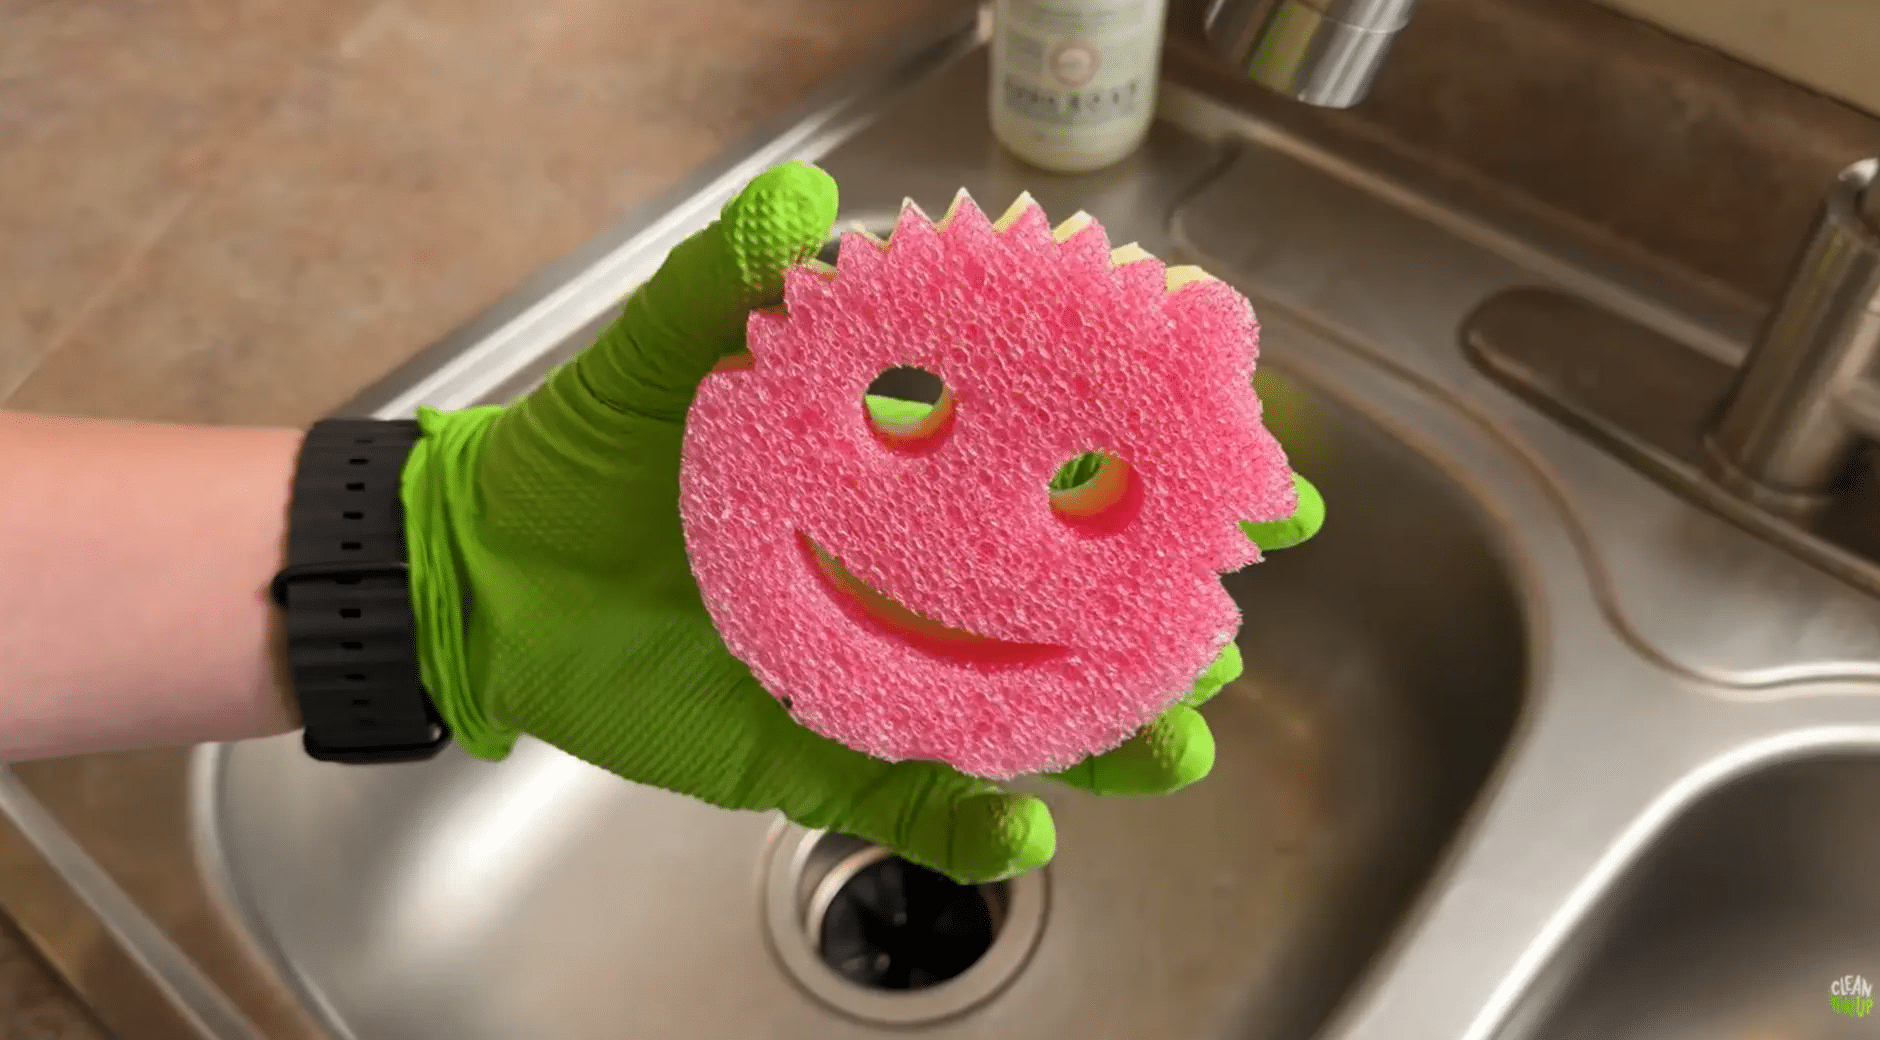
For buildup in corners, around hinges, or along groove detail, use a soft toothbrush dipped in the cleaning solution. Gentle pressure. The goal is to loosen the grime and let the cleaner do the work, not to scrub through it.
A dampened Scrub Mommy, warmed under hot water first so it’s soft rather than stiff, works well for larger sticky sections. If your cloths are turning brown mid-job, replace them. Cleaning with a saturated cloth just redistributes old grease back onto the wood.
Step 5: Use Dawn for Stove-Area Grease
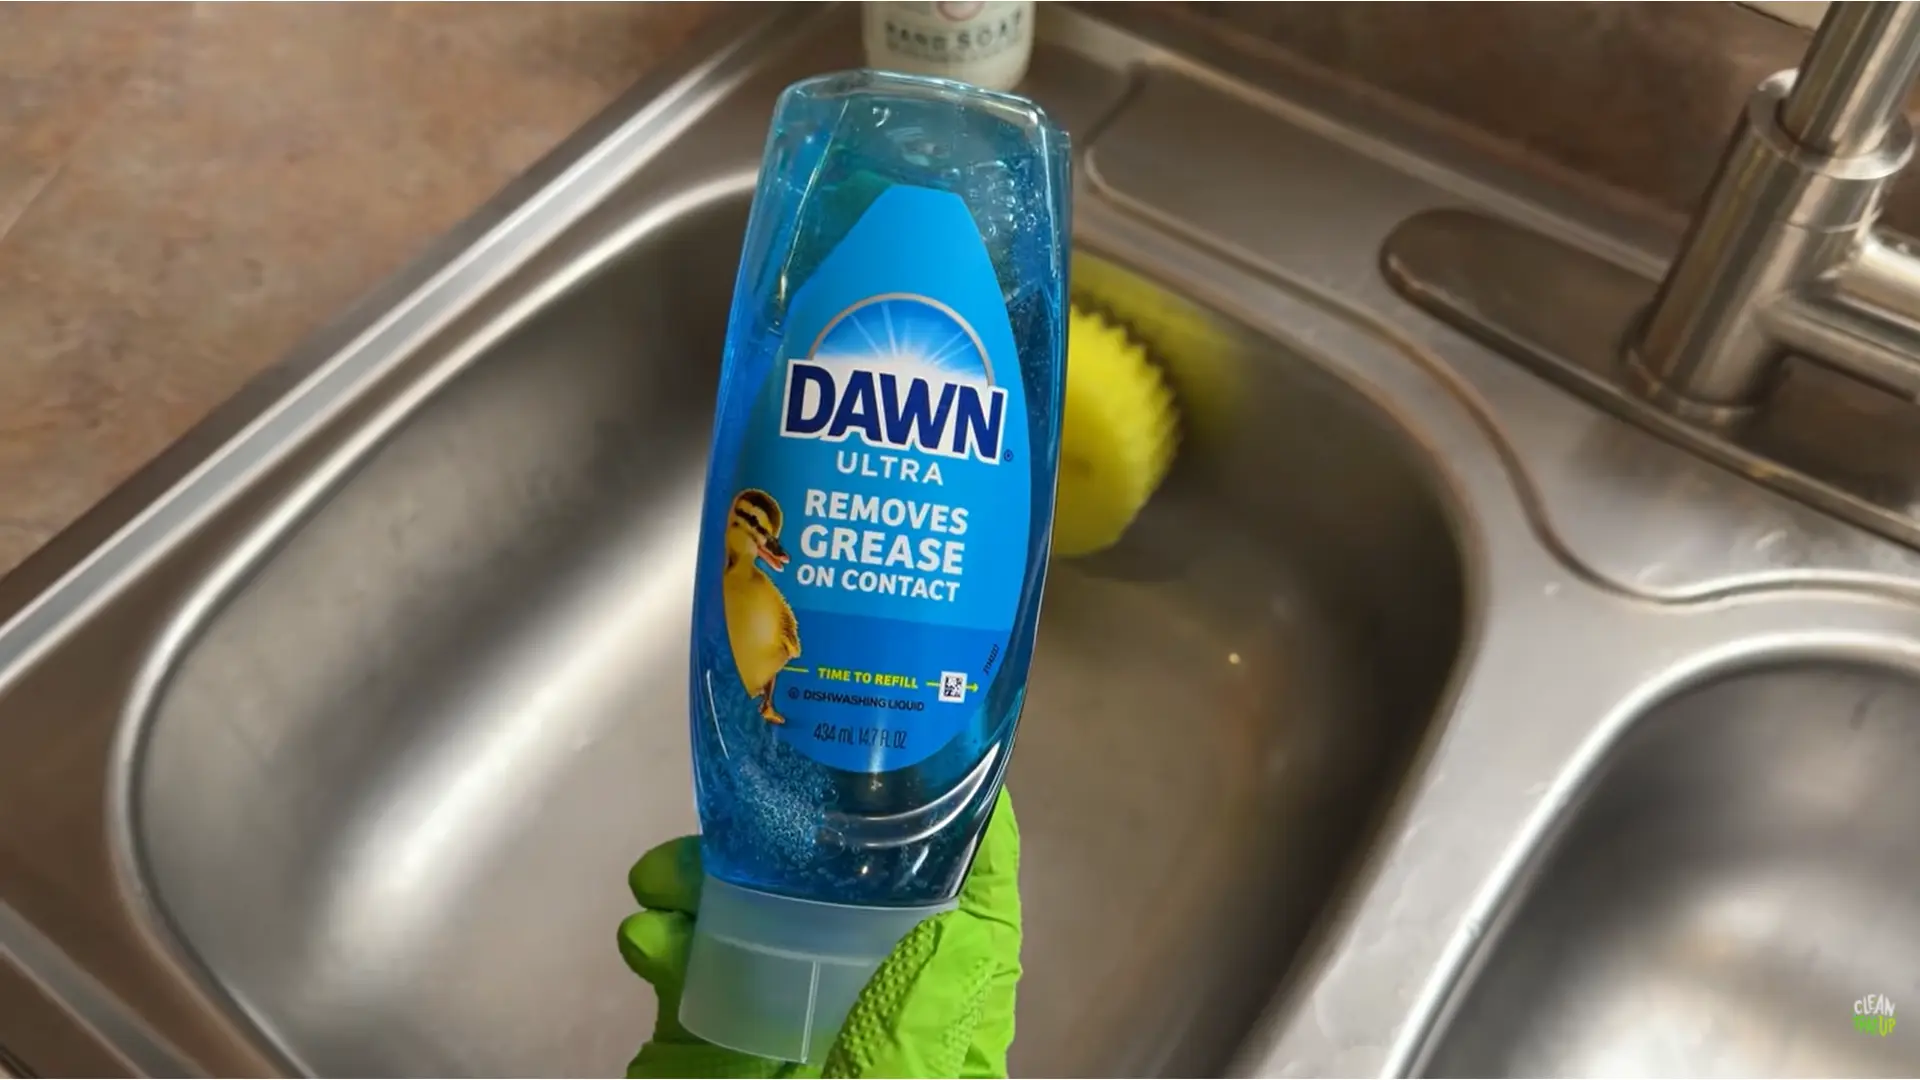
Cabinets directly above the oven or range hood collect a different kind of buildup, grease that has been aerosolized by heat and then settled and cooled into a sticky film. Murphy Oil Soap handles general kitchen grime, but this type of grease needs a degreaser. Blue Dawn dish soap is the one I reach for.
Apply a small amount to a soft sponge, work in sections, let the soap sit for about 30 seconds to break down the fat, then wipe away. Rinse with clean water and dry immediately. Use Dawn only on grease-heavy areas — it’s effective, but repeated use on the rest of the cabinet surface can dry out the finish over time.
Step 6: Clean Inside Cabinets One at a Time
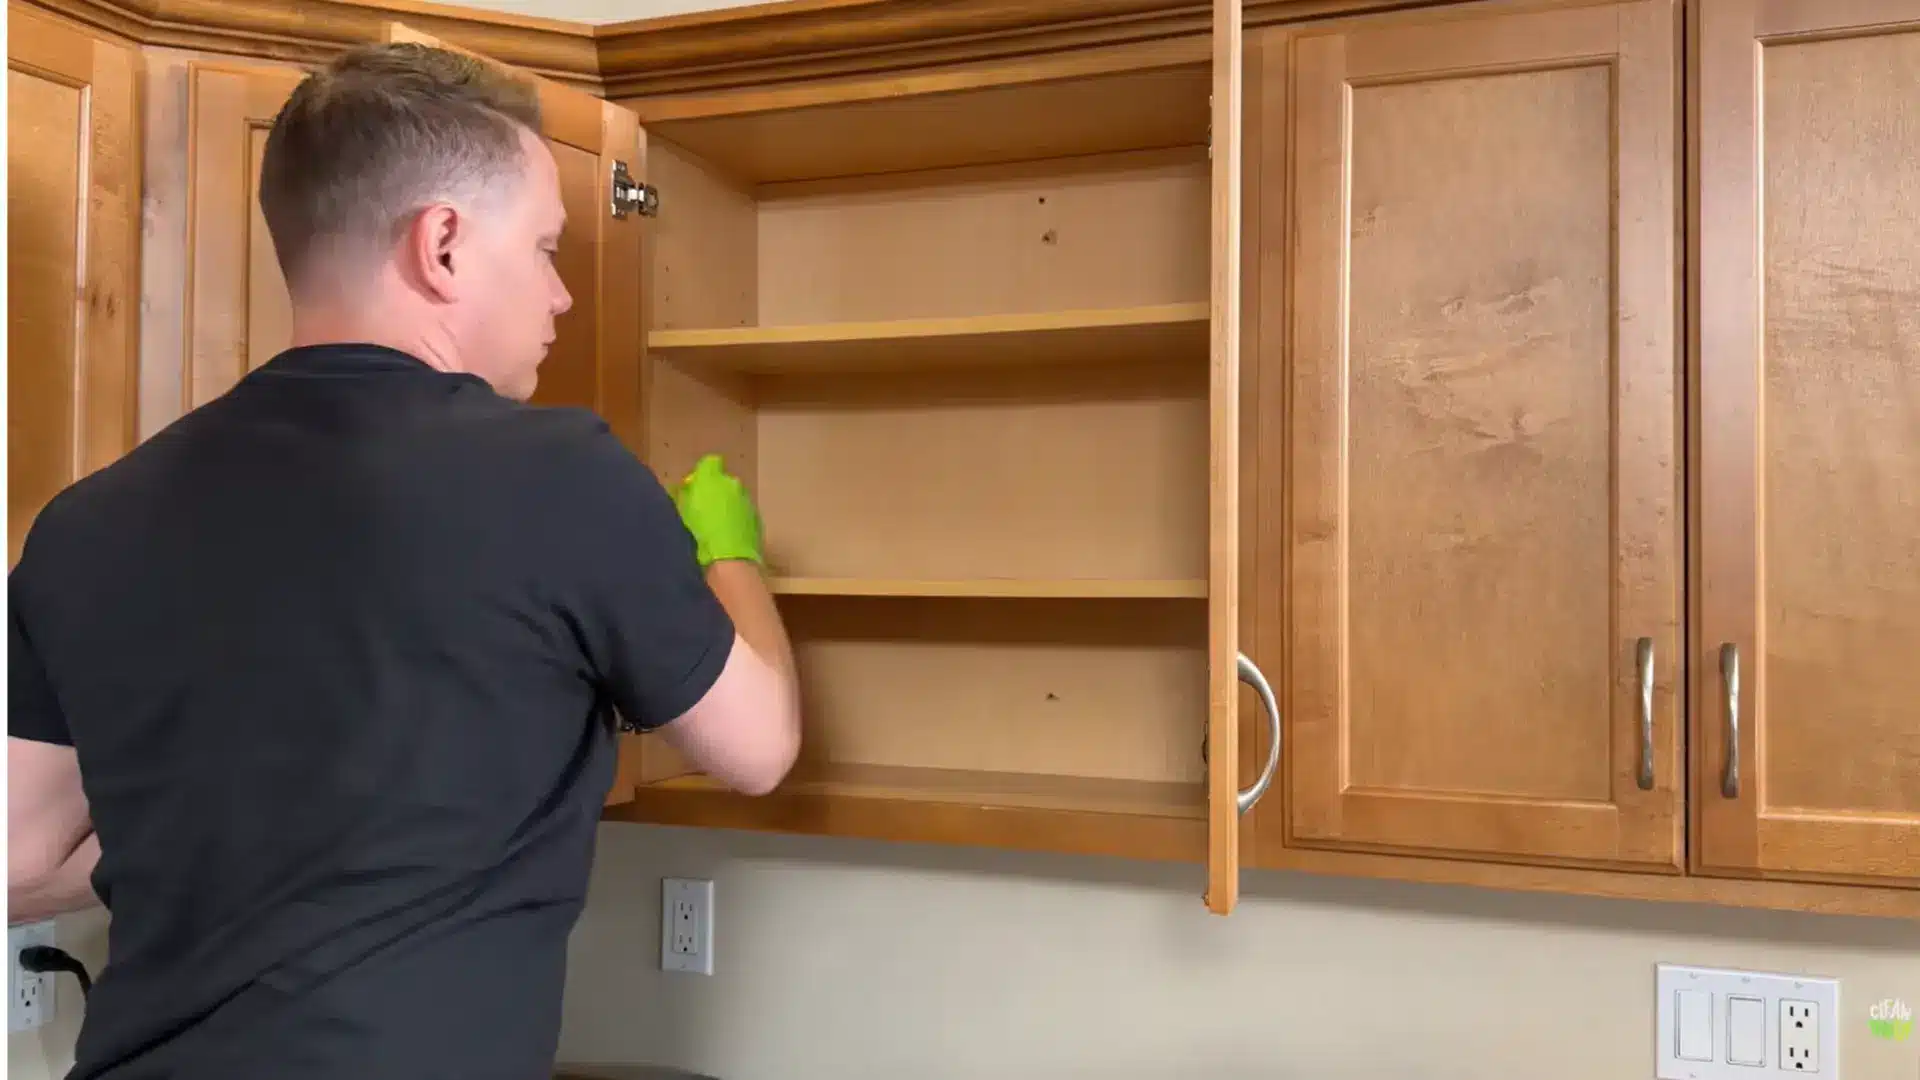
Empty one cabinet at a time into a plastic tote. Don’t unload the whole kitchen at once, the clutter will overwhelm the counter space and stall the job.
Vacuum the interior first, then run the same three-cloth sequence: clean, rinse, dry. While the cabinet is empty, it’s worth checking what goes back in. Expired items, rarely used equipment, and anything that belongs in a different cabinet slow down the next cleaning session too.
Step 7: Vacuum Drawers Before Wiping
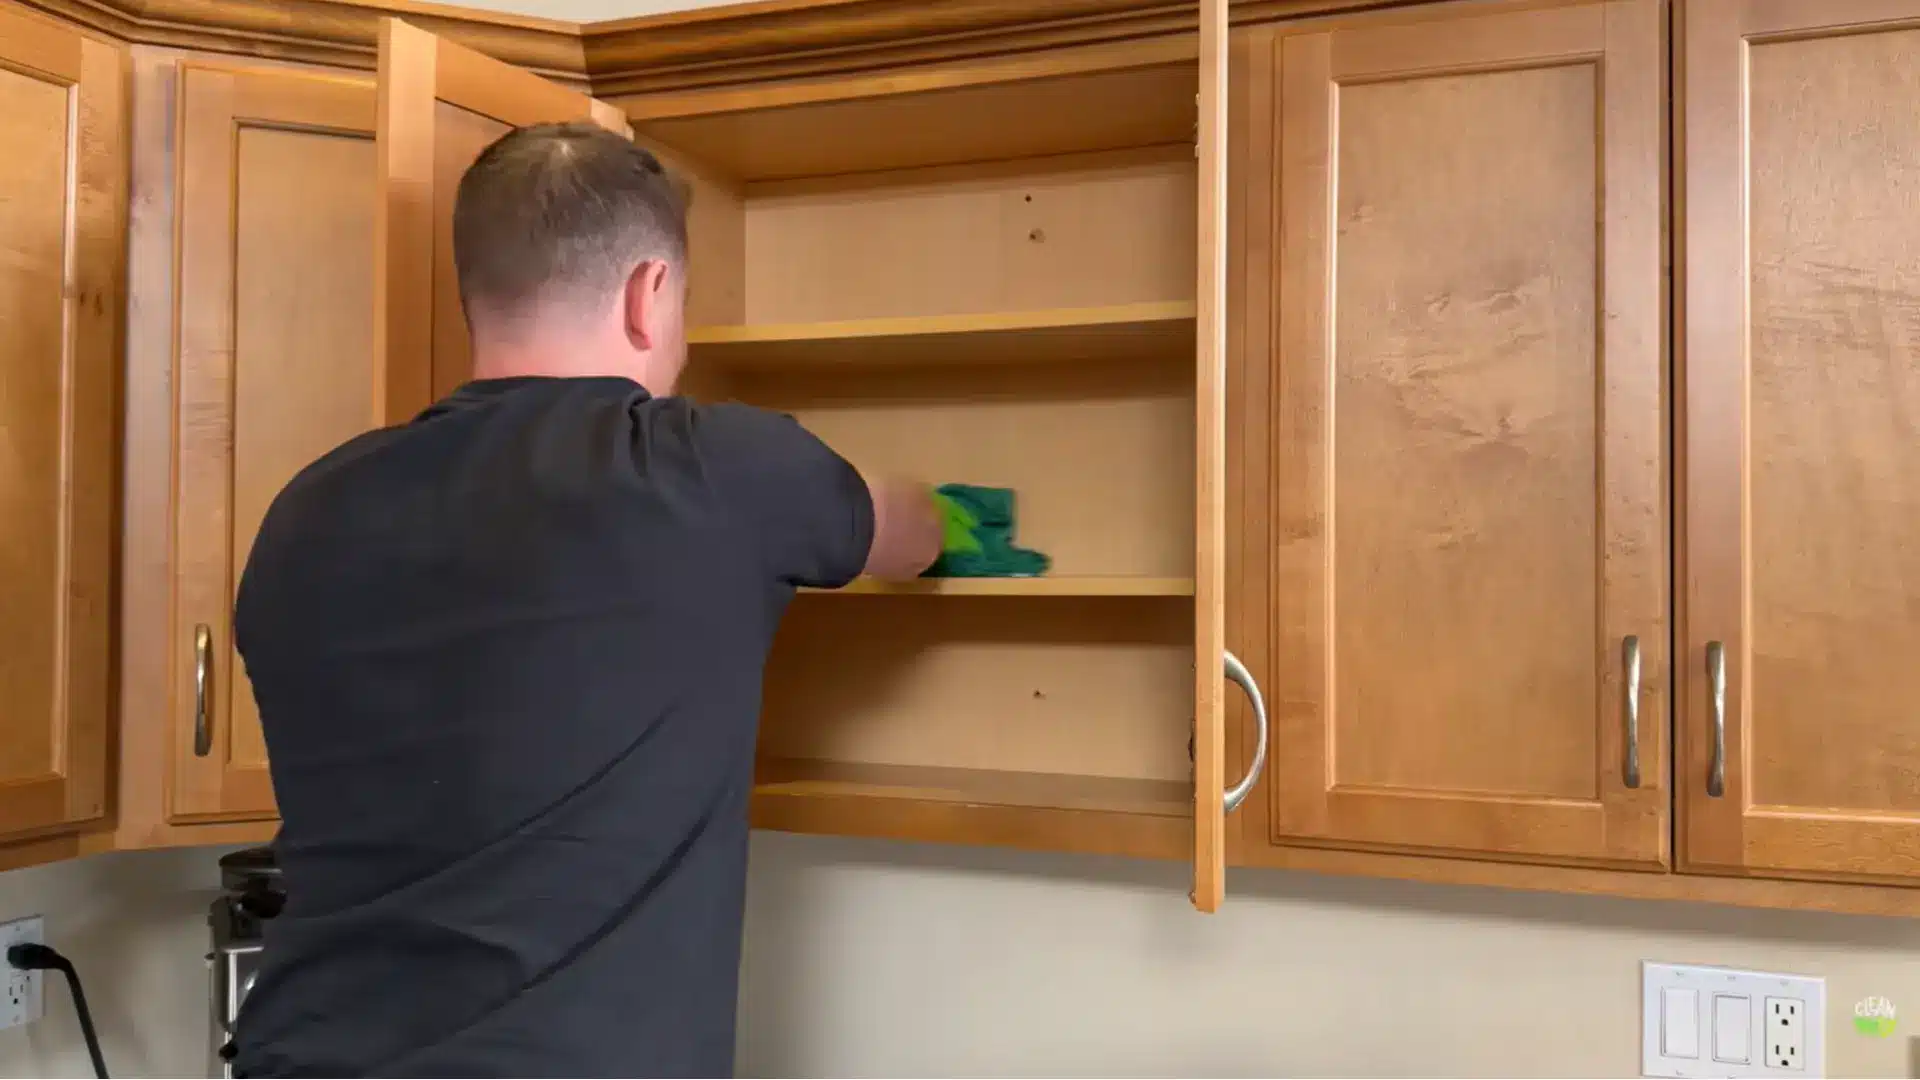
Drawers collect crumbs and fine debris that a cloth will push around rather than remove. Always vacuum drawers first with a soft brush attachment before introducing any moisture.
Empty each drawer into the plastic tote, vacuum the inside thoroughly, especially corners and back edges, then clean, rinse, and dry with the three-cloth method. Only return items you actively use.
Step 8: Clean Cabinet Tops and Add a Liner
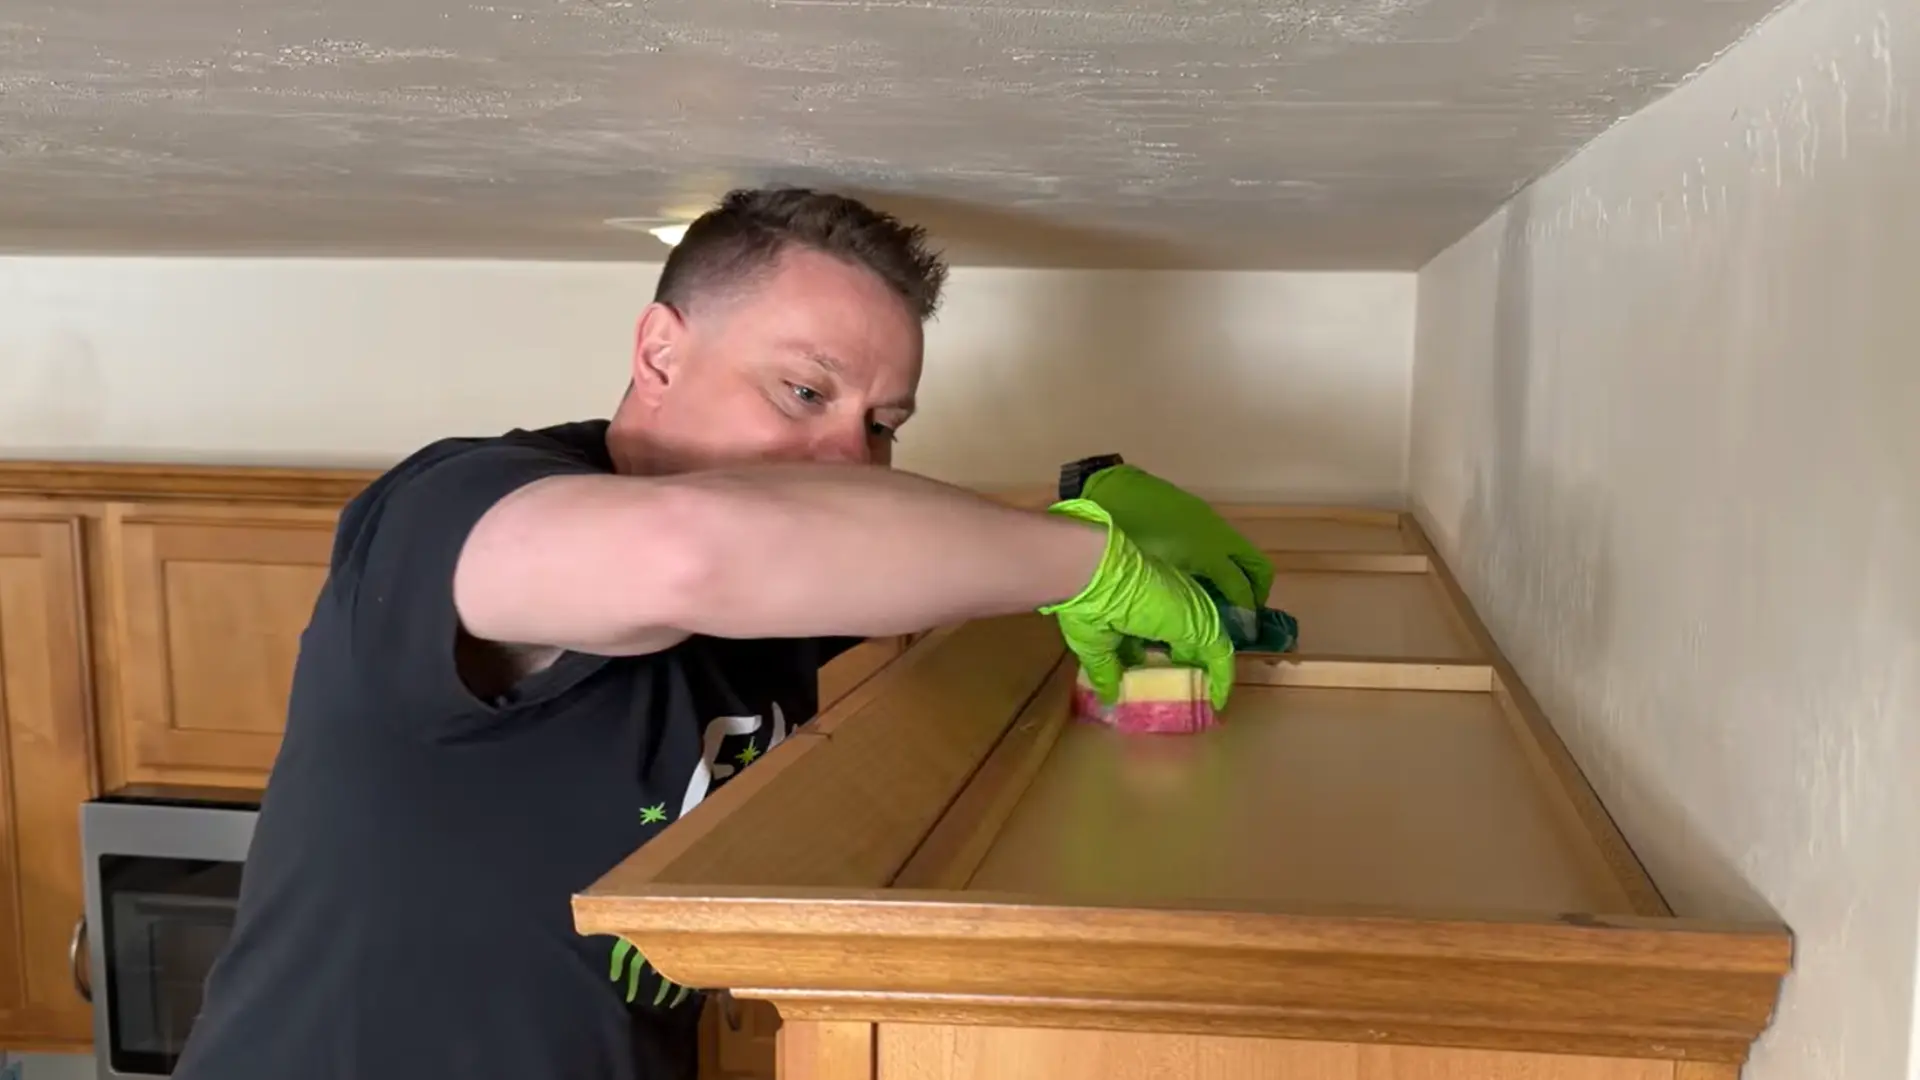
Cabinet tops near the stove are some of the most neglected surfaces in a kitchen and often the most contaminated. The buildup is a combination of kitchen grease and settled dust, it has a tacky, dark texture that a cloth alone won’t cut.
Dust first, then use your cleaning solution with a softened Scrub Mommy for any sections with heavy accumulation. Clean, rinse, dry. Once the surface is dry, lay parchment paper or paper towels across the top. Next time, you pull off the liner instead of scrubbing old grease again.
Best Products for Cleaning Wood Cabinets
The right product depends on what you’re dealing with. Routine grime needs a different approach than thick grease buildup, and stained wood that’s gone dull after cleaning needs something different again. Here’s how the product options stack up across those scenarios.
| Product | Best For | Why It Works | Use Carefully |
|---|---|---|---|
| Mild dish soap | Everyday cleaning and light grease | Gentle, affordable, safe for most finished wood | Keep cloth damp, not wet |
| Dawn dish soap | Greasy doors near the stove | Cuts kitchen grease better than regular soap | Rinse thoroughly and dry right away |
| Murphy Oil Soap spray | Heavier buildup on finished wood | Penetrates grime without stripping finish | Spray onto cloth, never directly on wood |
| Diluted vinegar and water | Light residue, natural cleaning | Dissolves mild grease and old residue | Never full strength — high acidity damages finish |
| Baking soda paste | Small sticky spots | Lifts stubborn grime when used gently | Small areas only — avoid hard scrubbing |
| Microfiber cloths | Wiping cabinet doors and frames | Lifts dust, fingerprints, and grease without scratching | Wash often — dirty cloths spread grime |
| Soft toothbrush | Corners, grooves, and hardware recesses | Gets where cloths can’t reach | Light pressure only |
| Cabinet-safe polish | Dull stained wood after cleaning | Adds light protective sheen | Use sparingly — overuse collects dust |
| Wood conditioner | Dry-looking stained wood | Restores depth and richness to flat-looking grain | Test first, follow label directions |
| Paste wax | Protective sheen on suitable stained wood | Adds thin protective layer when used lightly | Avoid overuse — wax collects dust over time |
| Glass cleaner on a cloth | Glass cabinet panels only | Removes smudges without wetting the wood frame | Keep glass cleaner off surrounding wood finish |
Start with mild dish soap and water for weekly maintenance. Move to Dawn or Murphy Oil Soap only when grease needs more than routine cleaning can handle. Polish, conditioner, or paste wax belong at the end of a deep clean, not as a substitute for it.
How to Remove Grease from Wood Cabinets
Grease is the main reason cabinets feel sticky even after a wipe-down. The stove, oven, range hood, and high-touch handles are the primary collection points. How you remove it depends on how long it’s been building up.
Light Grease: Mild Dish Soap and Warm Water
For recent, light grease, a few drops of mild dish soap in warm water is enough. Dip a microfiber cloth, wring it out well, and wipe the greasy area. Pay attention to handles, lower door edges, and the corners where people grab without thinking. After cleaning, wipe with a second clean-water cloth to remove soap residue, then dry immediately with a third cloth.
Stove-Area Grease: Dawn or Murphy Oil Soap
Cabinets near the stove accumulate a different kind of grease — aerosolized cooking fat that settles and hardens into a sticky film. Dawn dish soap or Murphy Oil Soap spray handles this better than regular dish soap. Apply to the cloth, not directly to the wood. Work in small sections. If grease remains after one pass, hold the damp cloth on the spot for 30 seconds before wiping again — let the product break down the fat rather than scrubbing through it.
Stubborn Sticky Buildup: Baking Soda Paste
For spots that survive both of the above methods, mix baking soda with just enough water to form a soft paste. Apply it to the problem area with a cloth, rub gently, and let it work for about a minute. The mild abrasion lifts embedded grime without harsh chemicals. The critical word here is gently — baking soda is abrasive enough to dull or scratch a finish if you apply pressure. After the spot clears, wipe away the paste with a clean damp cloth and dry the surface fully.
How to Clean Different Cabinet Finishes
The finish on your cabinets matters more than the wood species underneath. The same cleaning method that works on stained oak can damage painted maple or thermofoil. Here’s how to match the approach to the surface.
1. Stained Wood Cabinets
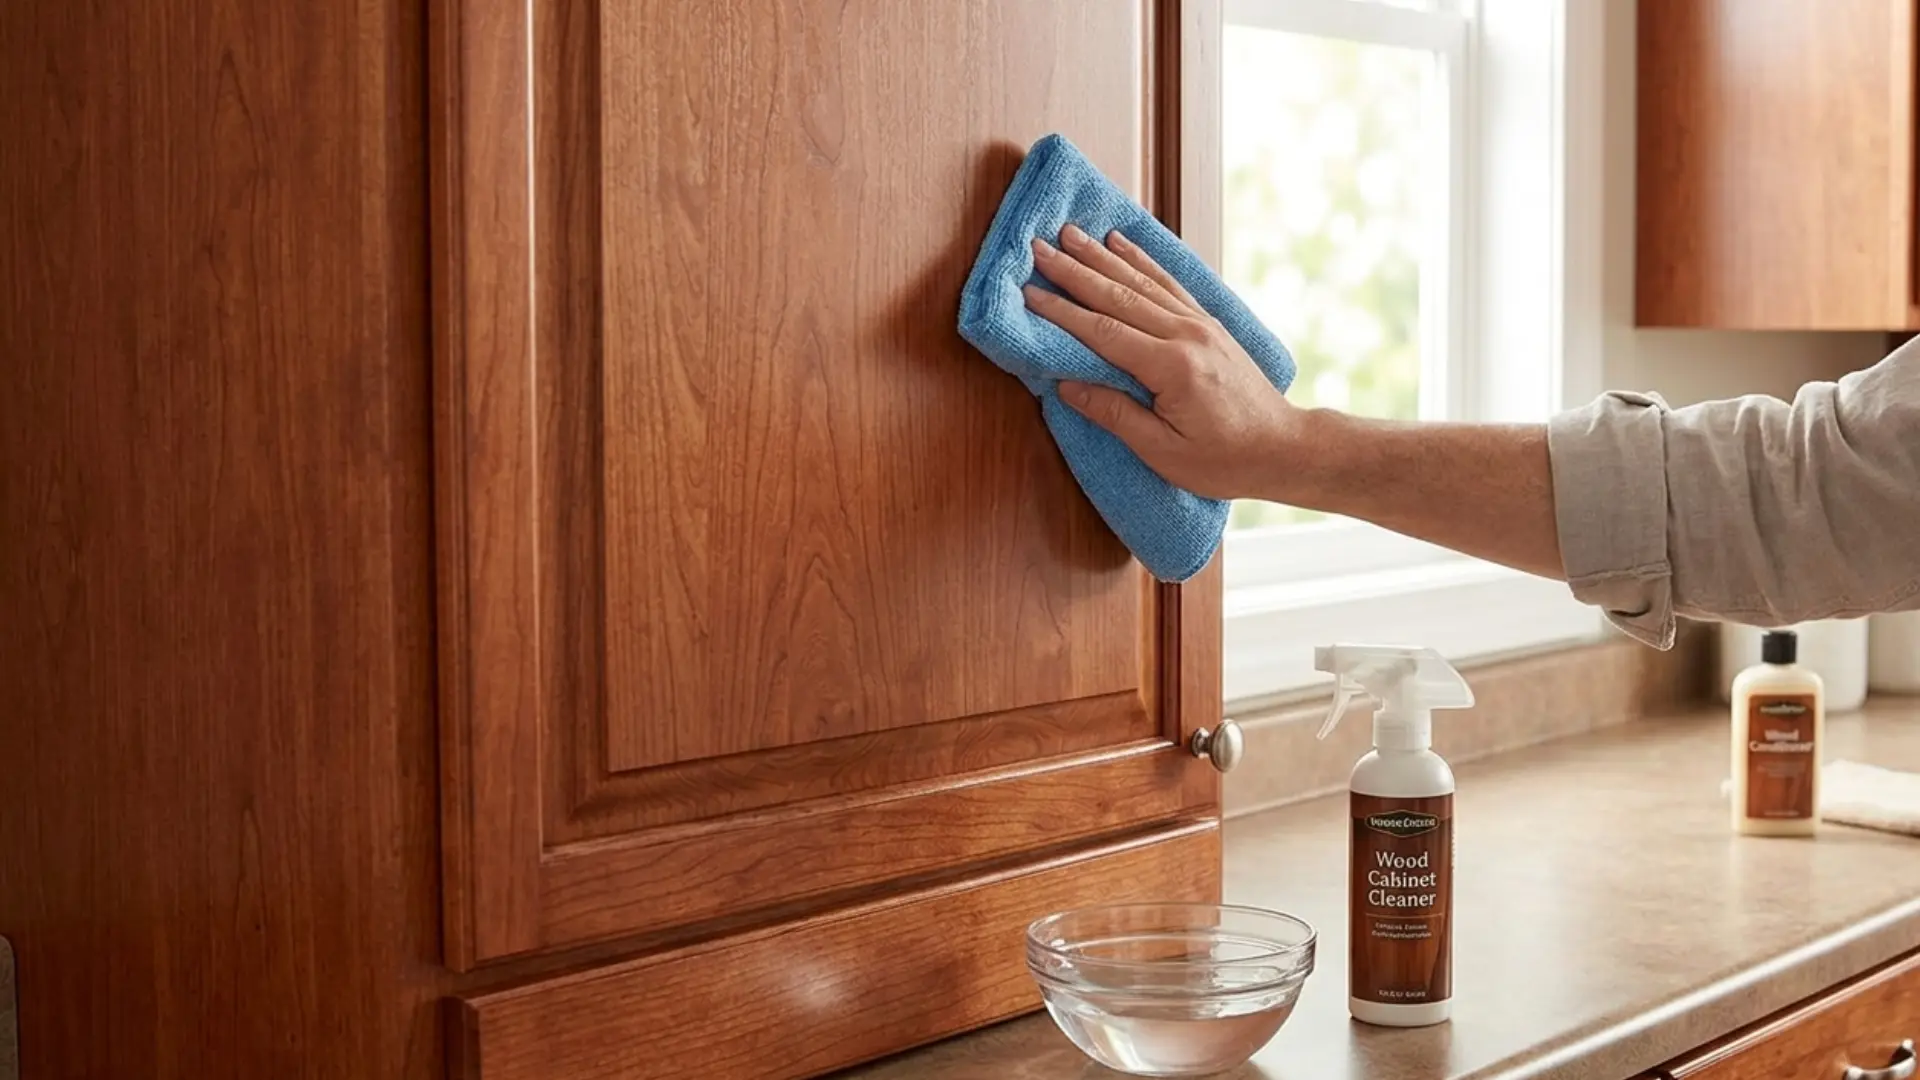
Stained wood shows the grain, which makes it look better than painted wood but also makes moisture damage more visible. Clean with mild dish soap, warm water, and a well-wrung microfiber cloth. Always wipe with the grain direction — across the grain leaves micro-scratches that catch light badly over time.
Dry immediately after rinsing. If the surface looks flat or dull after cleaning, a light application of cabinet-safe conditioner or paste wax restores depth — and if you’re thinking about changing the color entirely, it helps to know what’s involved in painting over stained wood before committing.
2. Painted Wood Cabinets
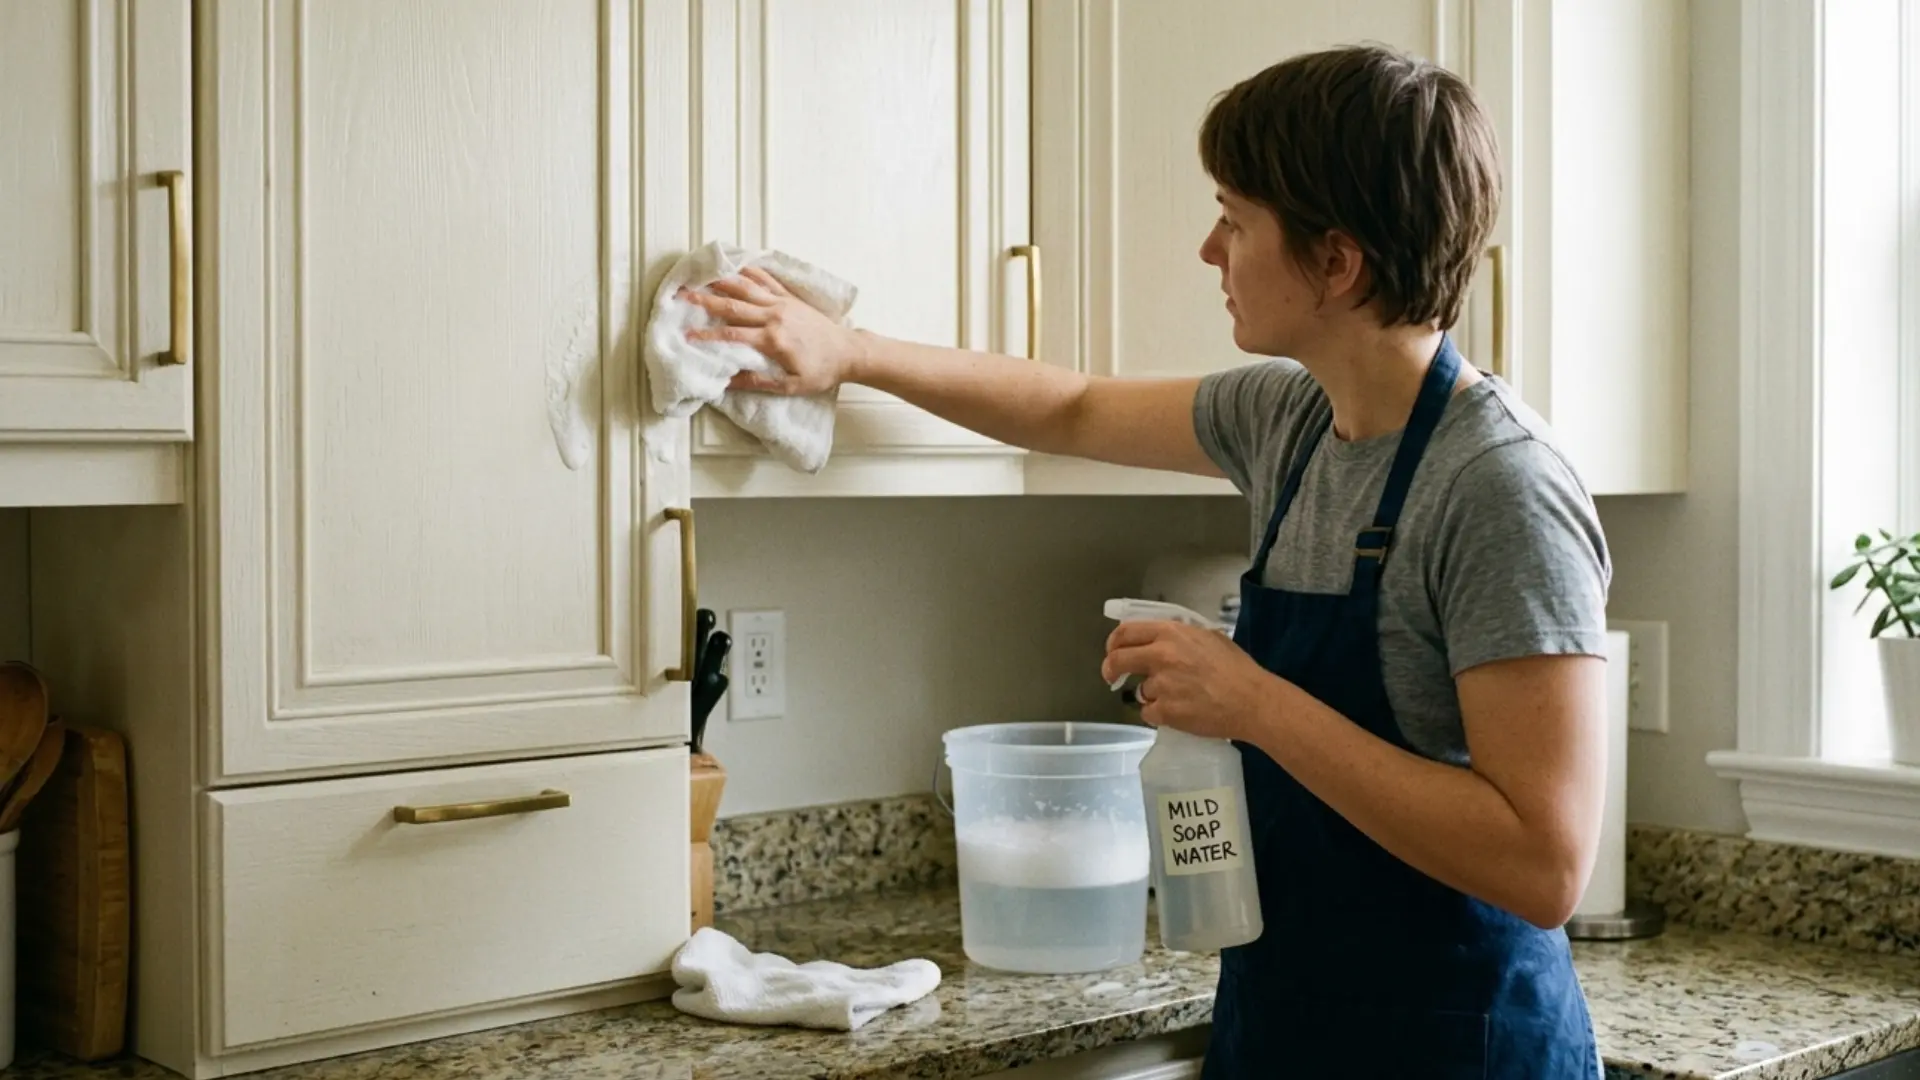
Paint finishes are more fragile than most people expect. Bleach discolors them. Ammonia-based cleaners lift the sheen. Abrasive pads leave dull scratches that don’t polish out. Mild dish soap and water with a soft microfiber cloth is the only method I’d use regularly on painted cabinets.
For stubborn spots, wet the area and let it soak for 30 to 60 seconds before wiping, mechanical scrubbing is more likely to damage the surface than more dwell time with a gentle cleaner.
3. Cabinets with Glass Panels
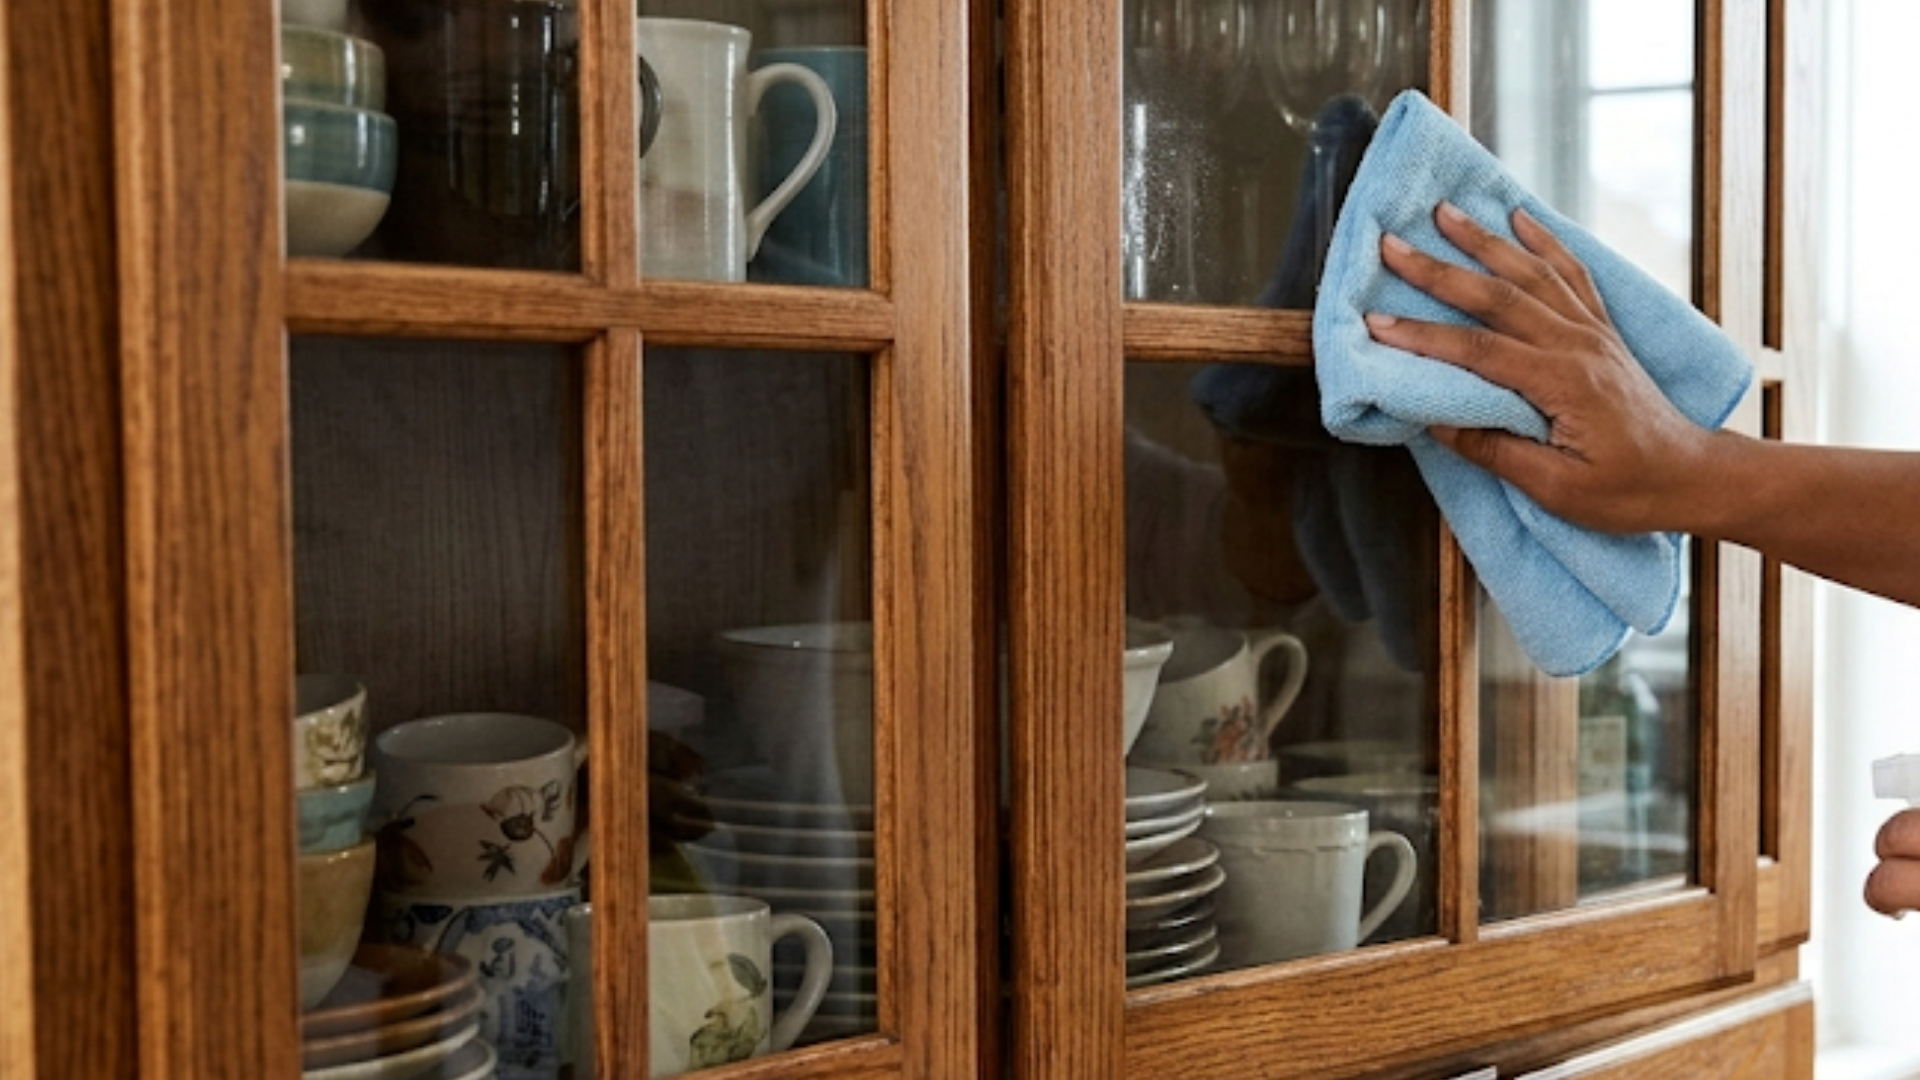
Glass panels need separate treatment from the surrounding wood frame. Many glass cleaners contain ammonia, which causes wood finishes to go cloudy or peel near the seams.
Spray the glass cleaner onto your cloth first, then wipe the glass only. Clean the wood frame separately with the soap-and-water method. Dry the entire assembly, glass and frame, before moving to the next cabinet.
How to Clean Cherry Wood Cabinets
Cherry wood darkens with age and light exposure. That patina is one of the things that makes it worth the price. It’s also exactly what tells you when you’ve used the wrong cleaner, bleached patches, cloudy spots, or uneven darkening are permanent on cherry.
The method is the same as stained wood, but executed with more care at every step. Use mild dish soap and warm water with a well-wrung microfiber cloth. Wipe with the grain. Remove every trace of soap residue with a second clean-water cloth before drying.
For greasy areas, a small amount of Dawn or Murphy Oil Soap on the cloth, never sprayed or poured onto the surface. Dry immediately and completely, especially around edges, hinges, and panel seams where moisture accumulates. Avoid bleach, ammonia, rough scrubbers, and straight vinegar entirely on cherry.
What Not to Use on Wood Cabinets
The products below come up regularly in cleaning forums and general household guides. None of them belong on finished wood cabinets. Some cause damage on first use. Others degrade the finish gradually until you notice one day that a section looks different from the rest.
| Avoid | Why It Damages Wood Cabinets |
|---|---|
| Bleach | Discolors wood and degrades the protective finish. Damage is permanent. |
| Ammonia-based cleaners | Strips finish and leaves wood looking dull and flat. Common in all-purpose sprays. |
| Abrasive scrub pads | Scratches the surface and removes protective coatings, even on the first use. |
| Steel wool | Leaves fine scratches and risks rust staining on light wood finishes. |
| Undiluted vinegar | High acidity gradually wears down finish. Diluted 50/50 is the safe limit. |
| Excess water | Seeps into seams, causes swelling, warping, and finish separation over time. |
| Wax buildup products used too often | Residue accumulates and becomes tacky, attracting dust and grime. |
| Strong solvents | Dissolve or soften cabinet finishes. Often found in spray-and-wipe general cleaners. |
Check the ingredient list on any “all-purpose” or “kitchen” cleaner before using it near cabinet surfaces. Ammonia appears under several names including ammonium hydroxide. The absence of “wood-safe” or “safe for finished wood” on the label is a reason to test on a hidden area first, or to skip it entirely.
How to Protect Wood Cabinets After Cleaning
Cleaning removes what’s already built up. Protecting the cabinet means changing the conditions that let the buildup happen in the first place. Three habits make a noticeable difference over six months.
Install knobs or pulls on every cabinet door and drawer if they’re not already there. Most grease and fingerprint buildup happens at the edges where hands grab. Hardware redirects that contact away from the wood finish entirely. It’s the single highest-return change you can make to a cabinet that keeps getting grimy.
Keep wet dish towels off cabinet fronts. A damp towel hung over a lower cabinet door for an hour is enough to cause moisture damage along the bottom edge — peeling, swelling, or a watermark that doesn’t buff out. Use a towel bar or drying rack positioned away from cabinet surfaces.
Wipe spills immediately. Grease, sauce, coffee, and food splatter are easy to remove when fresh and require serious effort once they dry and bond to the finish. A quick pass with a damp microfiber cloth right after cooking saves a much harder cleaning session later.
DIY vs. Commercial Cleaners: Which Is Better for Wood Cabinets
Both work, depending on what you’re trying to accomplish. The real difference isn’t cleaning power — it’s convenience and control.
| Factor | DIY (dish soap + water) | Commercial (Murphy Oil Soap, dedicated cabinet cleaners) |
|---|---|---|
| Cost | Pennies per use | Higher upfront, but ready to use |
| Convenience | Requires mixing and two buckets | Spray and wipe — faster for spot cleaning |
| Cleaning strength | Handles light dirt and routine maintenance well | Better for grease and heavier buildup |
| Safety for finishes | Excellent when properly diluted and used with damp (not wet) cloth | Generally safe as labelled, but still test on hidden area first |
| Ingredient control | You know exactly what’s in it | May contain fragrance, solvents, or other agents |
| Long-term care | Effective for keeping up, not for restoring | Some products include conditioners for added protection |
For weekly maintenance, DIY soap and water is the better choice — lower cost, no residue risk, full control. For a quarterly deep clean or stove-area grease that resists lighter cleaners, Murphy Oil Soap spray or a purpose-made cabinet cleaner is worth the convenience.
Common Mistakes That Damage Wood Cabinets
Most cabinet finish damage doesn’t come from one catastrophic cleaning session. It accumulates from small repeated errors — usually the same four or five mistakes.
- Too much water on cloth damages cabinets by soaking seams and causing swelling. Always use a barely damp cloth and dry surfaces immediately after wiping.
- Scrubbing instead of soaking can scratch finishes. Let cleaner sit briefly to loosen grime, then wipe gently instead of forceful scrubbing.
- Skipping spot testing is risky because finishes react differently. Always test cleaners on a hidden area before full use.
- Spraying directly on wood leads to drips and moisture in gaps. Spray onto the cloth first for better control.
- Ignoring drying leaves watermarks and damage. Always finish with a dry cloth to protect the surface.
Frequently Asked Questions About Cleaning Wood Cabinets
These are the questions I hear most often after people have already read the basic method and run into something the general guide doesn’t cover.
What is the best cleaner for greasy wood cabinets?
For light grease, mild dish soap in warm water handles it well. For stove-area buildup, Dawn dish soap or Murphy Oil Soap spray cuts grease more effectively. Use a damp cloth — never a wet one — and dry the surface immediately after rinsing.
Can you use Dawn dish soap on wood cabinets?
Yes, on finished wood. Dilute it in warm water, apply with a damp microfiber cloth, rinse with a second clean-water cloth, and dry right away. Use it only on grease-heavy areas, not as the routine cleaner across all surfaces — repeated use can dry out the finish.
How do I clean sticky wood cabinets?
Start with warm water and mild dish soap. If residue remains, try Murphy Oil Soap spray on a cloth. For persistent stickiness, a baking soda paste applied gently to the spot, rinsed and dried fully, handles what soap alone won’t.
How often should wood cabinets be cleaned?
High-touch areas and handles need a quick wipe weekly. Stove-adjacent cabinets need attention after heavy cooking sessions. A full inside-and-outside deep clean twice a year is enough if you maintain the weekly wipe-down routine.
How do I make dull wood cabinets shine again?
Clean the surface first to remove grease and residue, polish over grime doesn’t restore shine, it just seals it in. Once clean and fully dry, apply a thin coat of cabinet-safe conditioner or paste wax and buff with a soft microfiber cloth.
Is vinegar safe on wood cabinets?
Diluted vinegar (50/50 with water) is safe for most finished wood cabinets in small quantities. Undiluted vinegar is acidic enough to degrade finishes with repeated use. Don’t let it sit on the surface, wipe and dry quickly. Test on a hidden area before using it broadly.
Can Murphy Oil Soap damage wood cabinets?
Not when used correctly. One capful per gallon of water is enough, more product creates a residue that attracts grime after drying. Spray onto the cloth, not the cabinet, and dry the surface fully after rinsing.
How do I clean wood cabinets without removing the finish?
Use mild dish soap or Murphy Oil Soap with a damp (not wet) microfiber cloth. Avoid bleach, ammonia, abrasive pads, steel wool, and straight vinegar. Dry the surface immediately after every cleaning step.
Final Verdict
The three-cloth method, clean, rinse, dry, is what separates a cleaning session that protects the finish from one that gradually degrades it. Mild dish soap handles most of what kitchens produce.
Dawn or Murphy Oil Soap handles stove-area grease when regular soap isn’t enough. Baking soda paste handles what neither of those will shift. Everything beyond that, bleach, ammonia, abrasive pads, excess water, direct spraying, removes more than the grime.
If your wood cabinets are already looking flat or dull, clean them first, let them dry completely, then apply a light coat of cabinet-safe conditioner. That’s the order. Clean before you condition. Dry before you polish. And test any new product on a hidden surface before you commit to the rest of the cabinet. Get those three sequences right and wood cabinets hold up for a long time.
Sources:
Murphy Oil Soap, “How to Clean Wood Cabinets.” murphyoilsoap.com
Lowe’s Editorial Team, “How to Clean Wood Cabinets.” February 2025. lowes.com/n/how-to/how-to-clean-wood-cabinets





