

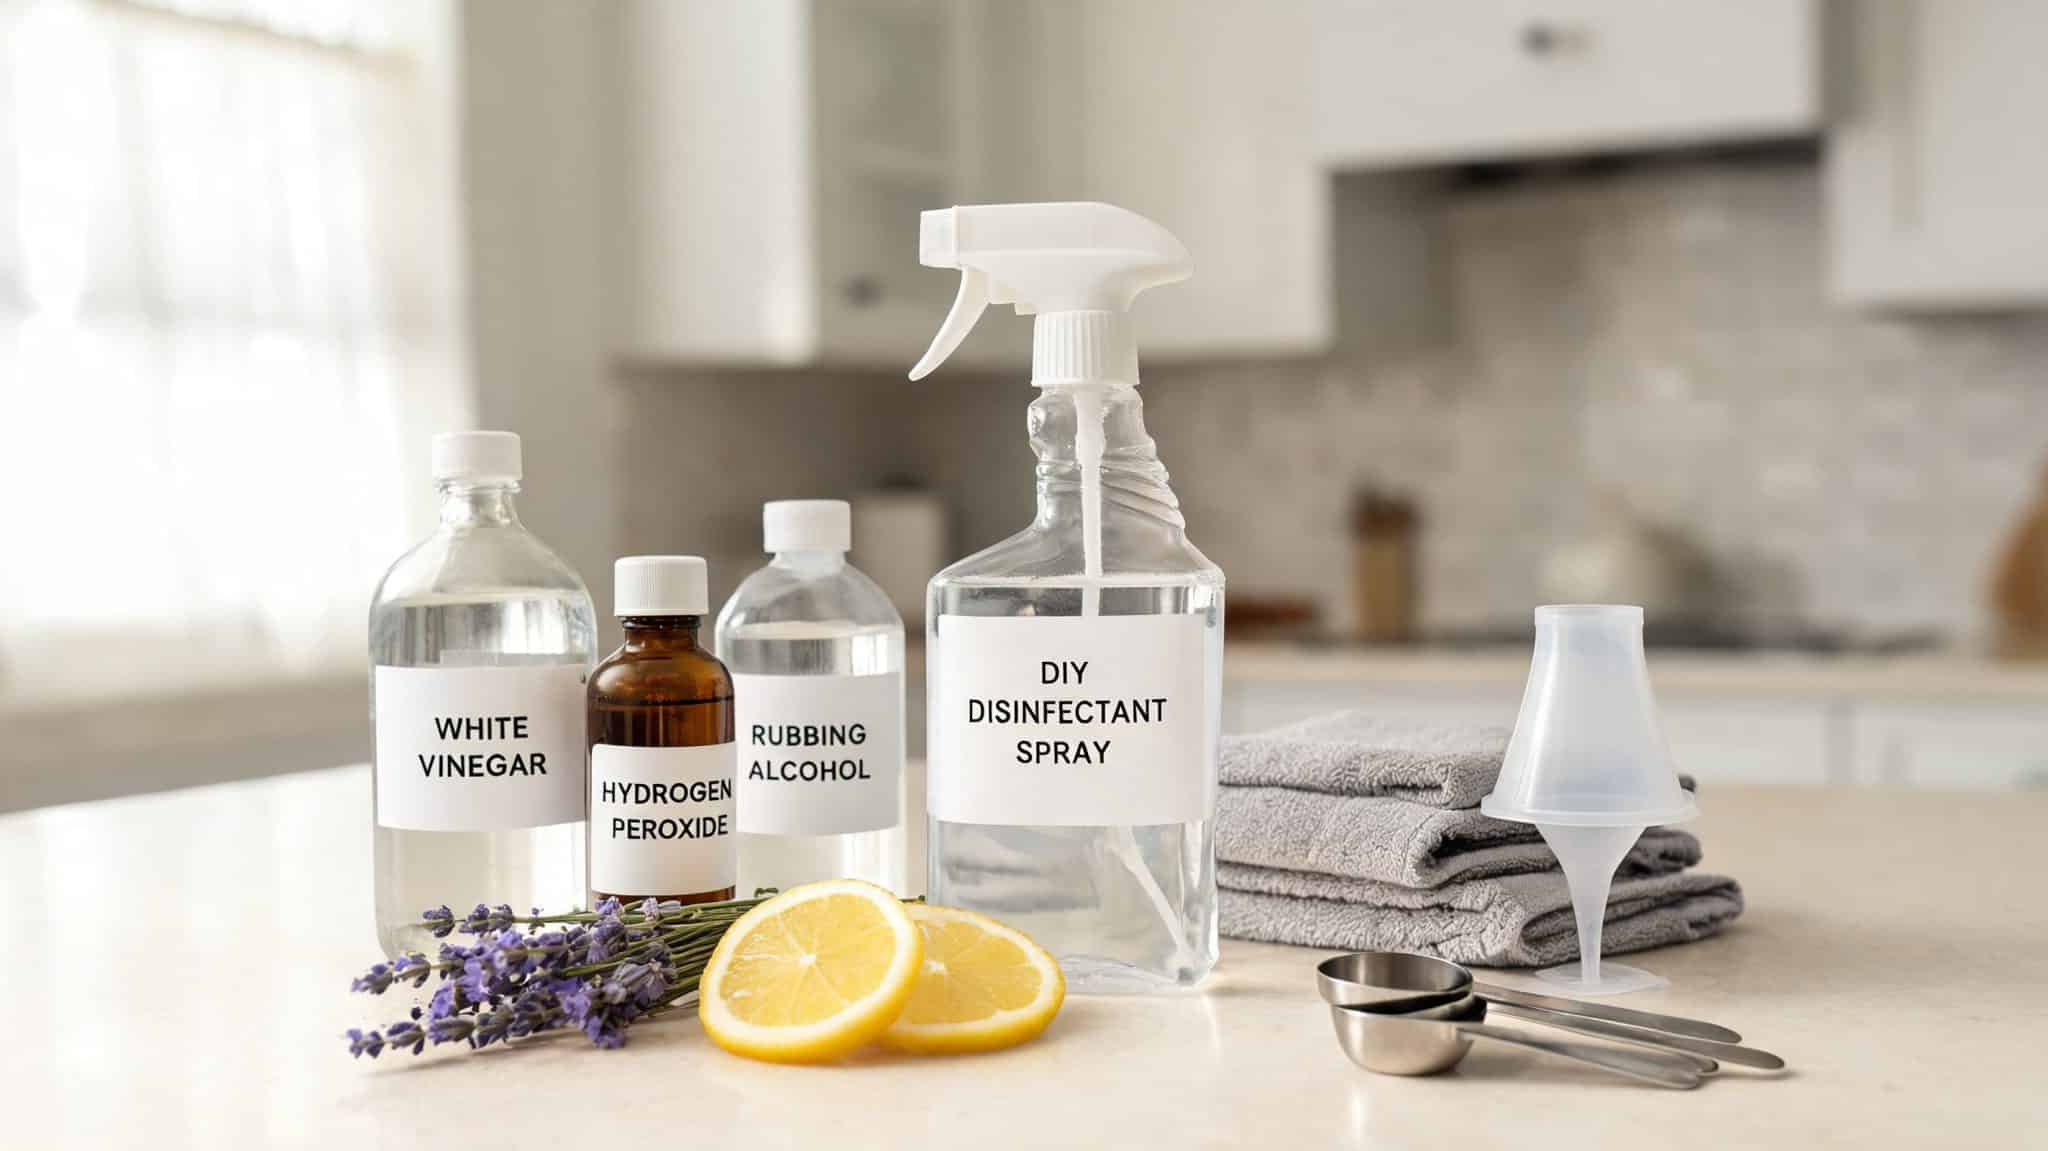


A DIY disinfectant spray takes about 5 minutes to mix, costs under $5 per bottle using ingredients you likely already have, and lands at a difficulty of 1 out of 5.
The harder part is knowing which recipe fits which surface; pick the wrong one, and you’ll either damage the finish or end up with something that barely cleans at all.
| Difficulty | 1 out of 5, measuring and mixing only |
| Time | 5 minutes per bottle |
| Cost | $2–$5 per bottle, depending on recipe |
| Tools Needed | Glass spray bottle, funnel, measuring cup, measuring spoon, waterproof label, marker, microfiber cloths |
| Skill Required | Beginner, no prior experience needed, but label every bottle |
The most common mistake I made the first time was using the same spray everywhere. I used my vinegar mix on a granite countertop, and the acid slowly dulled the polish.
The second time, I matched each recipe to its surface and kept a label on every bottle so there was no guessing mid-clean.
Why Switch to a Natural Disinfectant Spray?
Store-bought disinfectants can work well, but some come with strong smells, harsh ingredients, and labels that feel hard to trust. Ingredients like chlorine bleach, quaternary ammonium compounds, and synthetic fragrance may irritate the skin, lungs, or eyes, especially in homes with kids, pets, or people with asthma.
A homemade spray gives you more control. You can choose the ingredients, adjust the scent, and make small batches when needed. It can also help reduce single-use plastic bottles and save money when basic ingredients are bought in larger amounts.
The key is using the right recipe for the right surface, so the spray stays useful, simple, and safer for daily cleaning.
Cleaning vs Sanitizing vs Disinfecting
These three words sound similar, but each one has a different job. Knowing the difference helps you choose the right spray and use it safely.
| Term | What It Means | When It Helps Most |
|---|---|---|
| Cleaning | Removes dirt, crumbs, grease, dust, and many germs from a surface. Soap, water, scrubbing, and a clean cloth can do a lot. | Best for daily home care, counters, tables, sinks, and surfaces with visible mess. |
| Sanitizing | Reduces germs to a safer level based on public health standards. It does not always kill every germ. | Useful for food areas, schools, shared spaces, and surfaces that need a lower germ level. |
| Disinfecting | Kills many germs left behind after cleaning. It works best on a clean surface. | Best when someone is sick, a risky spill happens, or a surface needs stronger germ control. |
Spraying a dirty surface and wiping it right away is not enough. Clean first, then use the right spray for the surface and situation.
What Can Go Wrong First?
Before you mix anything, there are a few failure points worth knowing. The first is surface damage. Vinegar and hydrogen peroxide are both acidic; they will dull granite, marble, and some sealed stone if you use them repeatedly.
Alcohol can strip the finish on some painted surfaces and certain lacquered wood. Spot test in a hidden area on any new surface before committing to a full wipe-down.
The second failure is dangerous mixing. Some ingredient combinations produce harmful vapors, bleach and vinegar, bleach and ammonia, hydrogen peroxide and vinegar in one bottle.
None of the recipes below use bleach, but it’s worth naming clearly: do not combine these, even if you think it will make the spray stronger.
The third is pet and baby safety. Essential oils, particularly tea tree, eucalyptus, and peppermint, can be toxic to cats and dogs even at low concentrations. Recipe 6 below skips oils entirely for that reason. If pets or babies are in the space, use that one.
Equipment You’ll Need Before You Start
You only need a few basic tools to make a homemade disinfectant spray safely. A clean setup helps the recipe work better and lowers the chance of mistakes.
You’ll need:
- Clean spray bottle
- Funnel
- Measuring cup
- Measuring spoon
- Waterproof label
- Marker
- Microfiber cloths
- Gloves, if your skin gets irritated easily
With the right tools ready, making your spray becomes quicker, safer, and much easier to manage.
DIY Disinfectant Spray Recipes for Different Home Needs
Each recipe below is built for a specific surface or use case. The mistake I made early on was treating one spray as an all-rounder. Pick the one that matches your surface, and keep a separate labeled bottle for each area.
Recipe 1: Classic All-Purpose Cleaning Spray
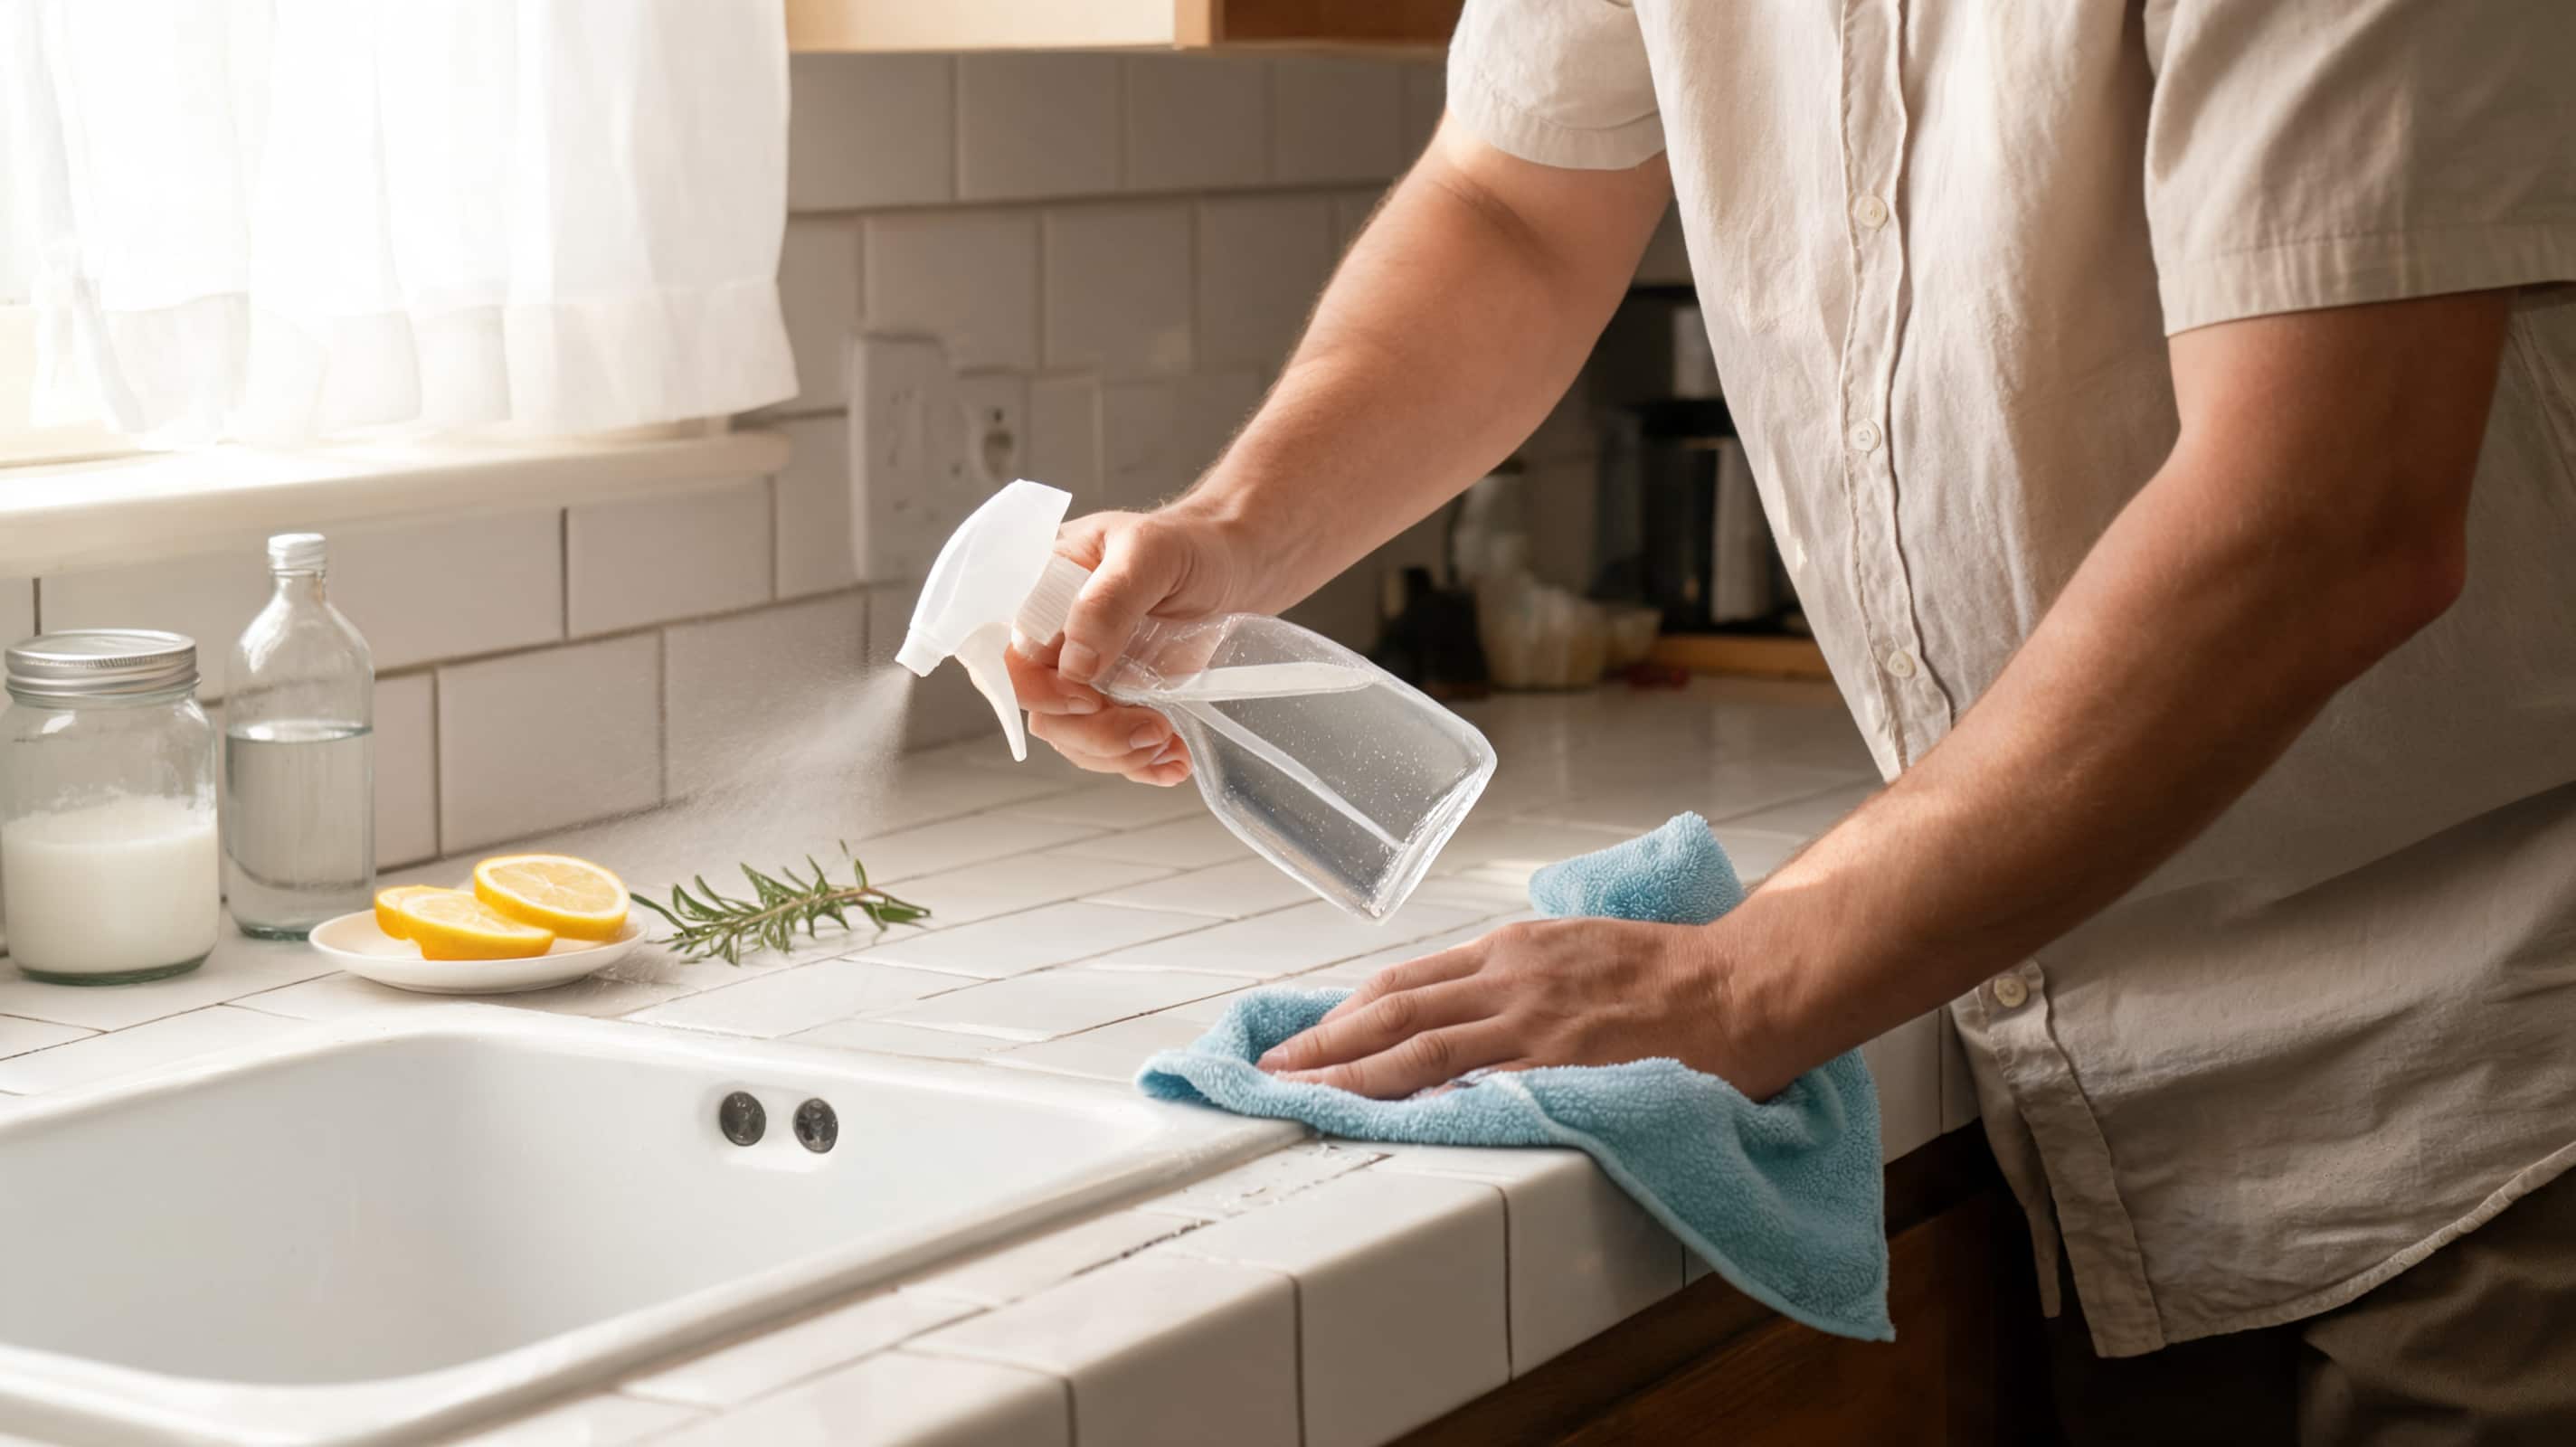
This vinegar-based mix works well for sinks, tile, appliance fronts, and toilet exteriors. It handles light grime and odors well. It is better for routine daily cleaning than for serious disinfecting in high-traffic areas.
Ingredients: 1 cup distilled water; 1 cup white vinegar; 2 tablespoons 70% isopropyl alcohol; 20 drops lemon essential oil; 20 drops tea tree essential oil
Instructions:
- Add all ingredients to a glass spray bottle using a funnel.
- Close the bottle and shake well.
- Shake again before each use; oils separate between uses.
- Spray, wait 60 seconds, then wipe with a microfiber cloth.
| Pro Tip: Use this as a daily cleaning spray. It is not the strongest disinfecting option; for higher-risk surfaces, move to the alcohol or peroxide recipes below. |
Recipe 2: Alcohol-Based Disinfectant Spray
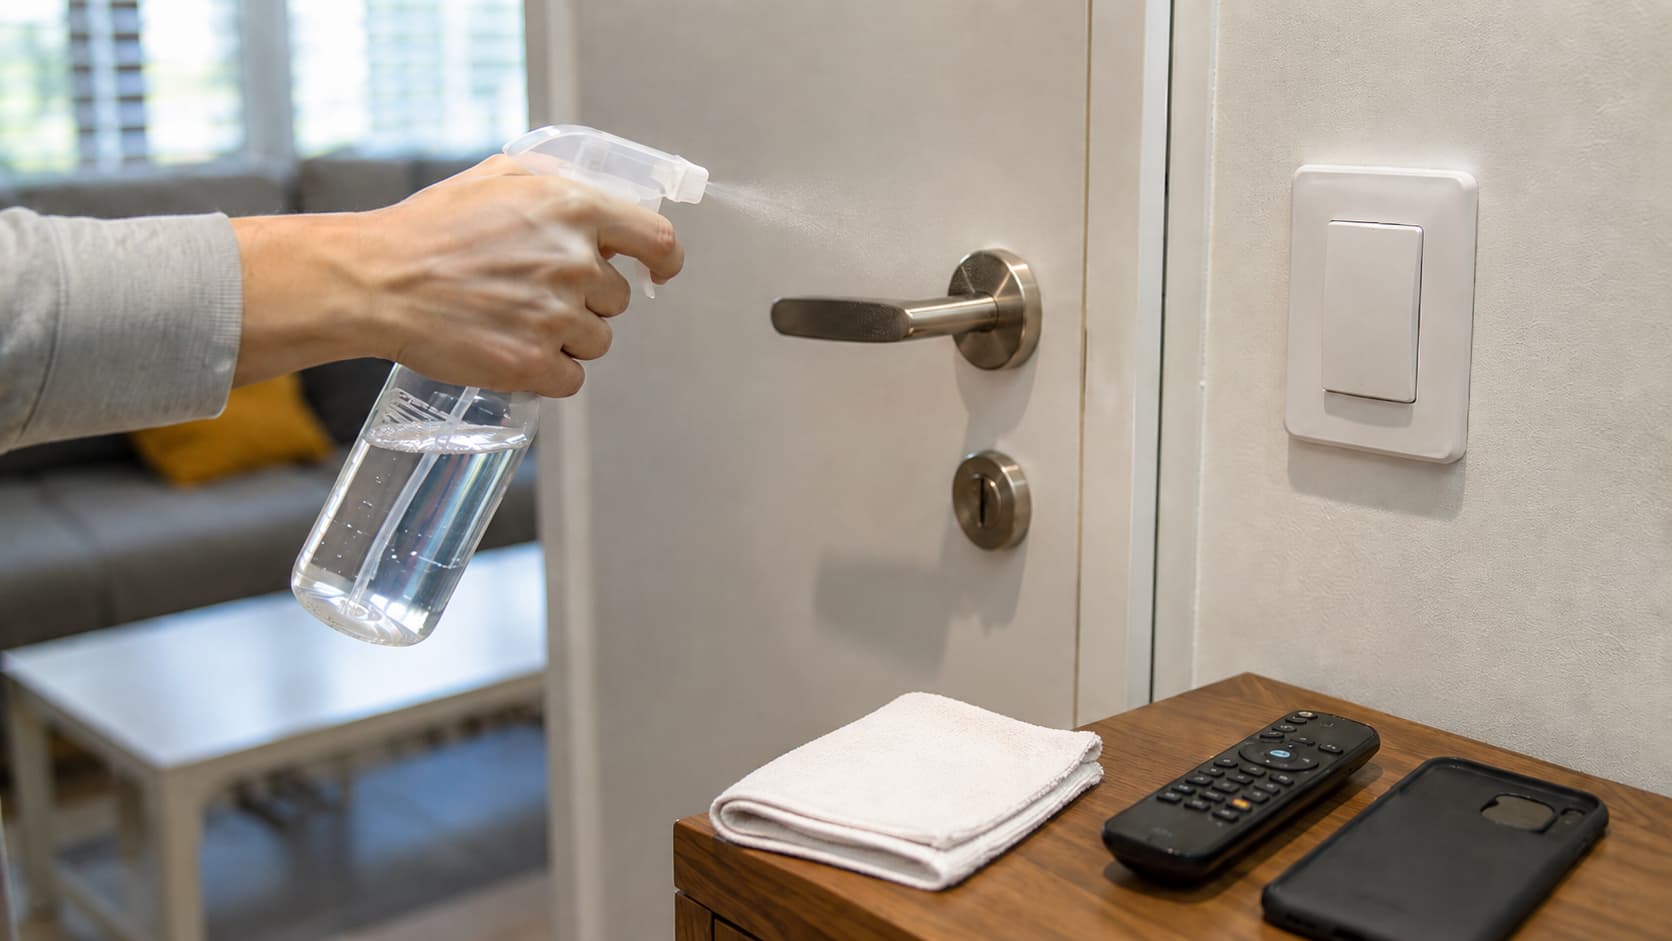
High-touch spots, doorknobs, light switches, cabinet handles, phone cases, remotes, toilet flush handles, need a faster-drying option. The alcohol base makes this the most effective homemade disinfectant spray for hard surfaces that can handle it. Keep it away from heat sources and open flames.
Ingredients: 1½ cups 70% isopropyl alcohol; ½ cup distilled water; 10 drops lavender essential oil (optional)
Instructions:
- Pour alcohol and distilled water into a glass spray bottle.
- Add lavender oil only if safe for your household.
- Close and shake gently.
- Spray, let air dry, or wait 30 seconds before wiping.
| Pro Tip: For electronics, spray the cloth first, then wipe gently. Never spray directly onto screens or ports. |
Recipe 3: Natural Lysol-Style Spray
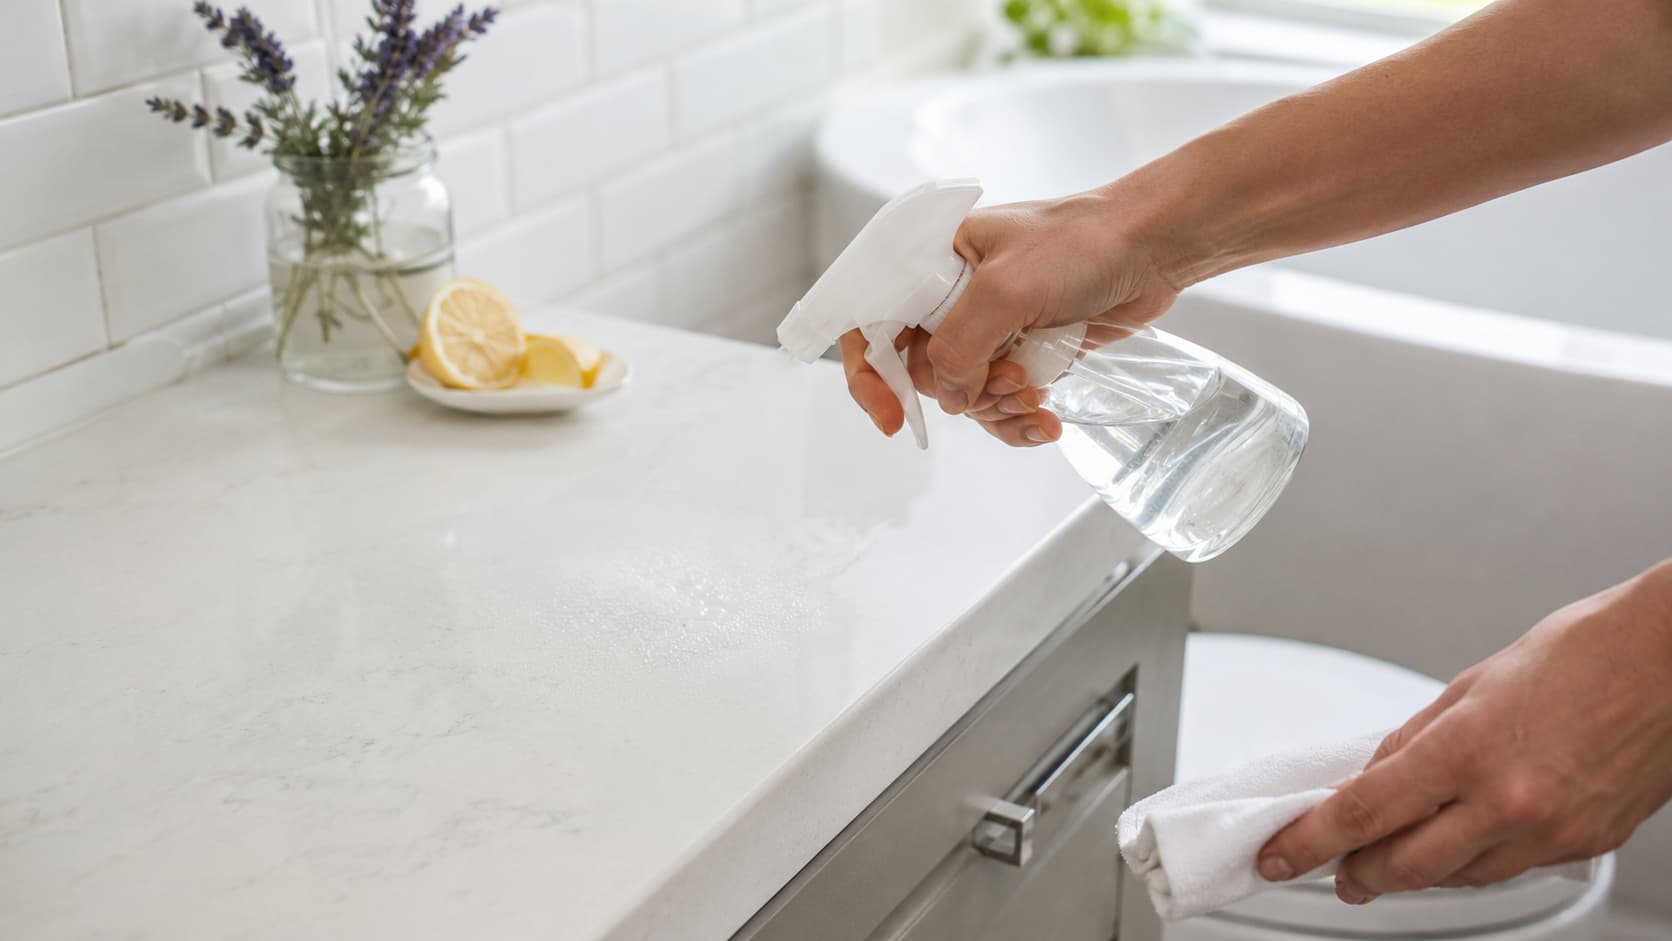
Bathroom counters, toilet seats, bathtub edges, and door handles often need something stronger than a vinegar spray. The higher alcohol concentration makes this recipe more effective for hard bathroom surfaces. This is the one I reach for after someone in the house has been sick.
Ingredients: 1½ cups 70% isopropyl alcohol; ¾ cup distilled water; 15 drops lavender essential oil; 15 drops lemon essential oil
Instructions:
- Add all ingredients to a glass or metal spray bottle.
- Close and shake well.
- Spray on a pre-cleaned hard surface.
- Let it sit for 1 to 2 minutes, then wipe.
| Pro Tip: Skip essential oils if pets or babies use the bathroom regularly. The alcohol base still works without them. |
Recipe 4: Citrus Kitchen Cleaning Spray
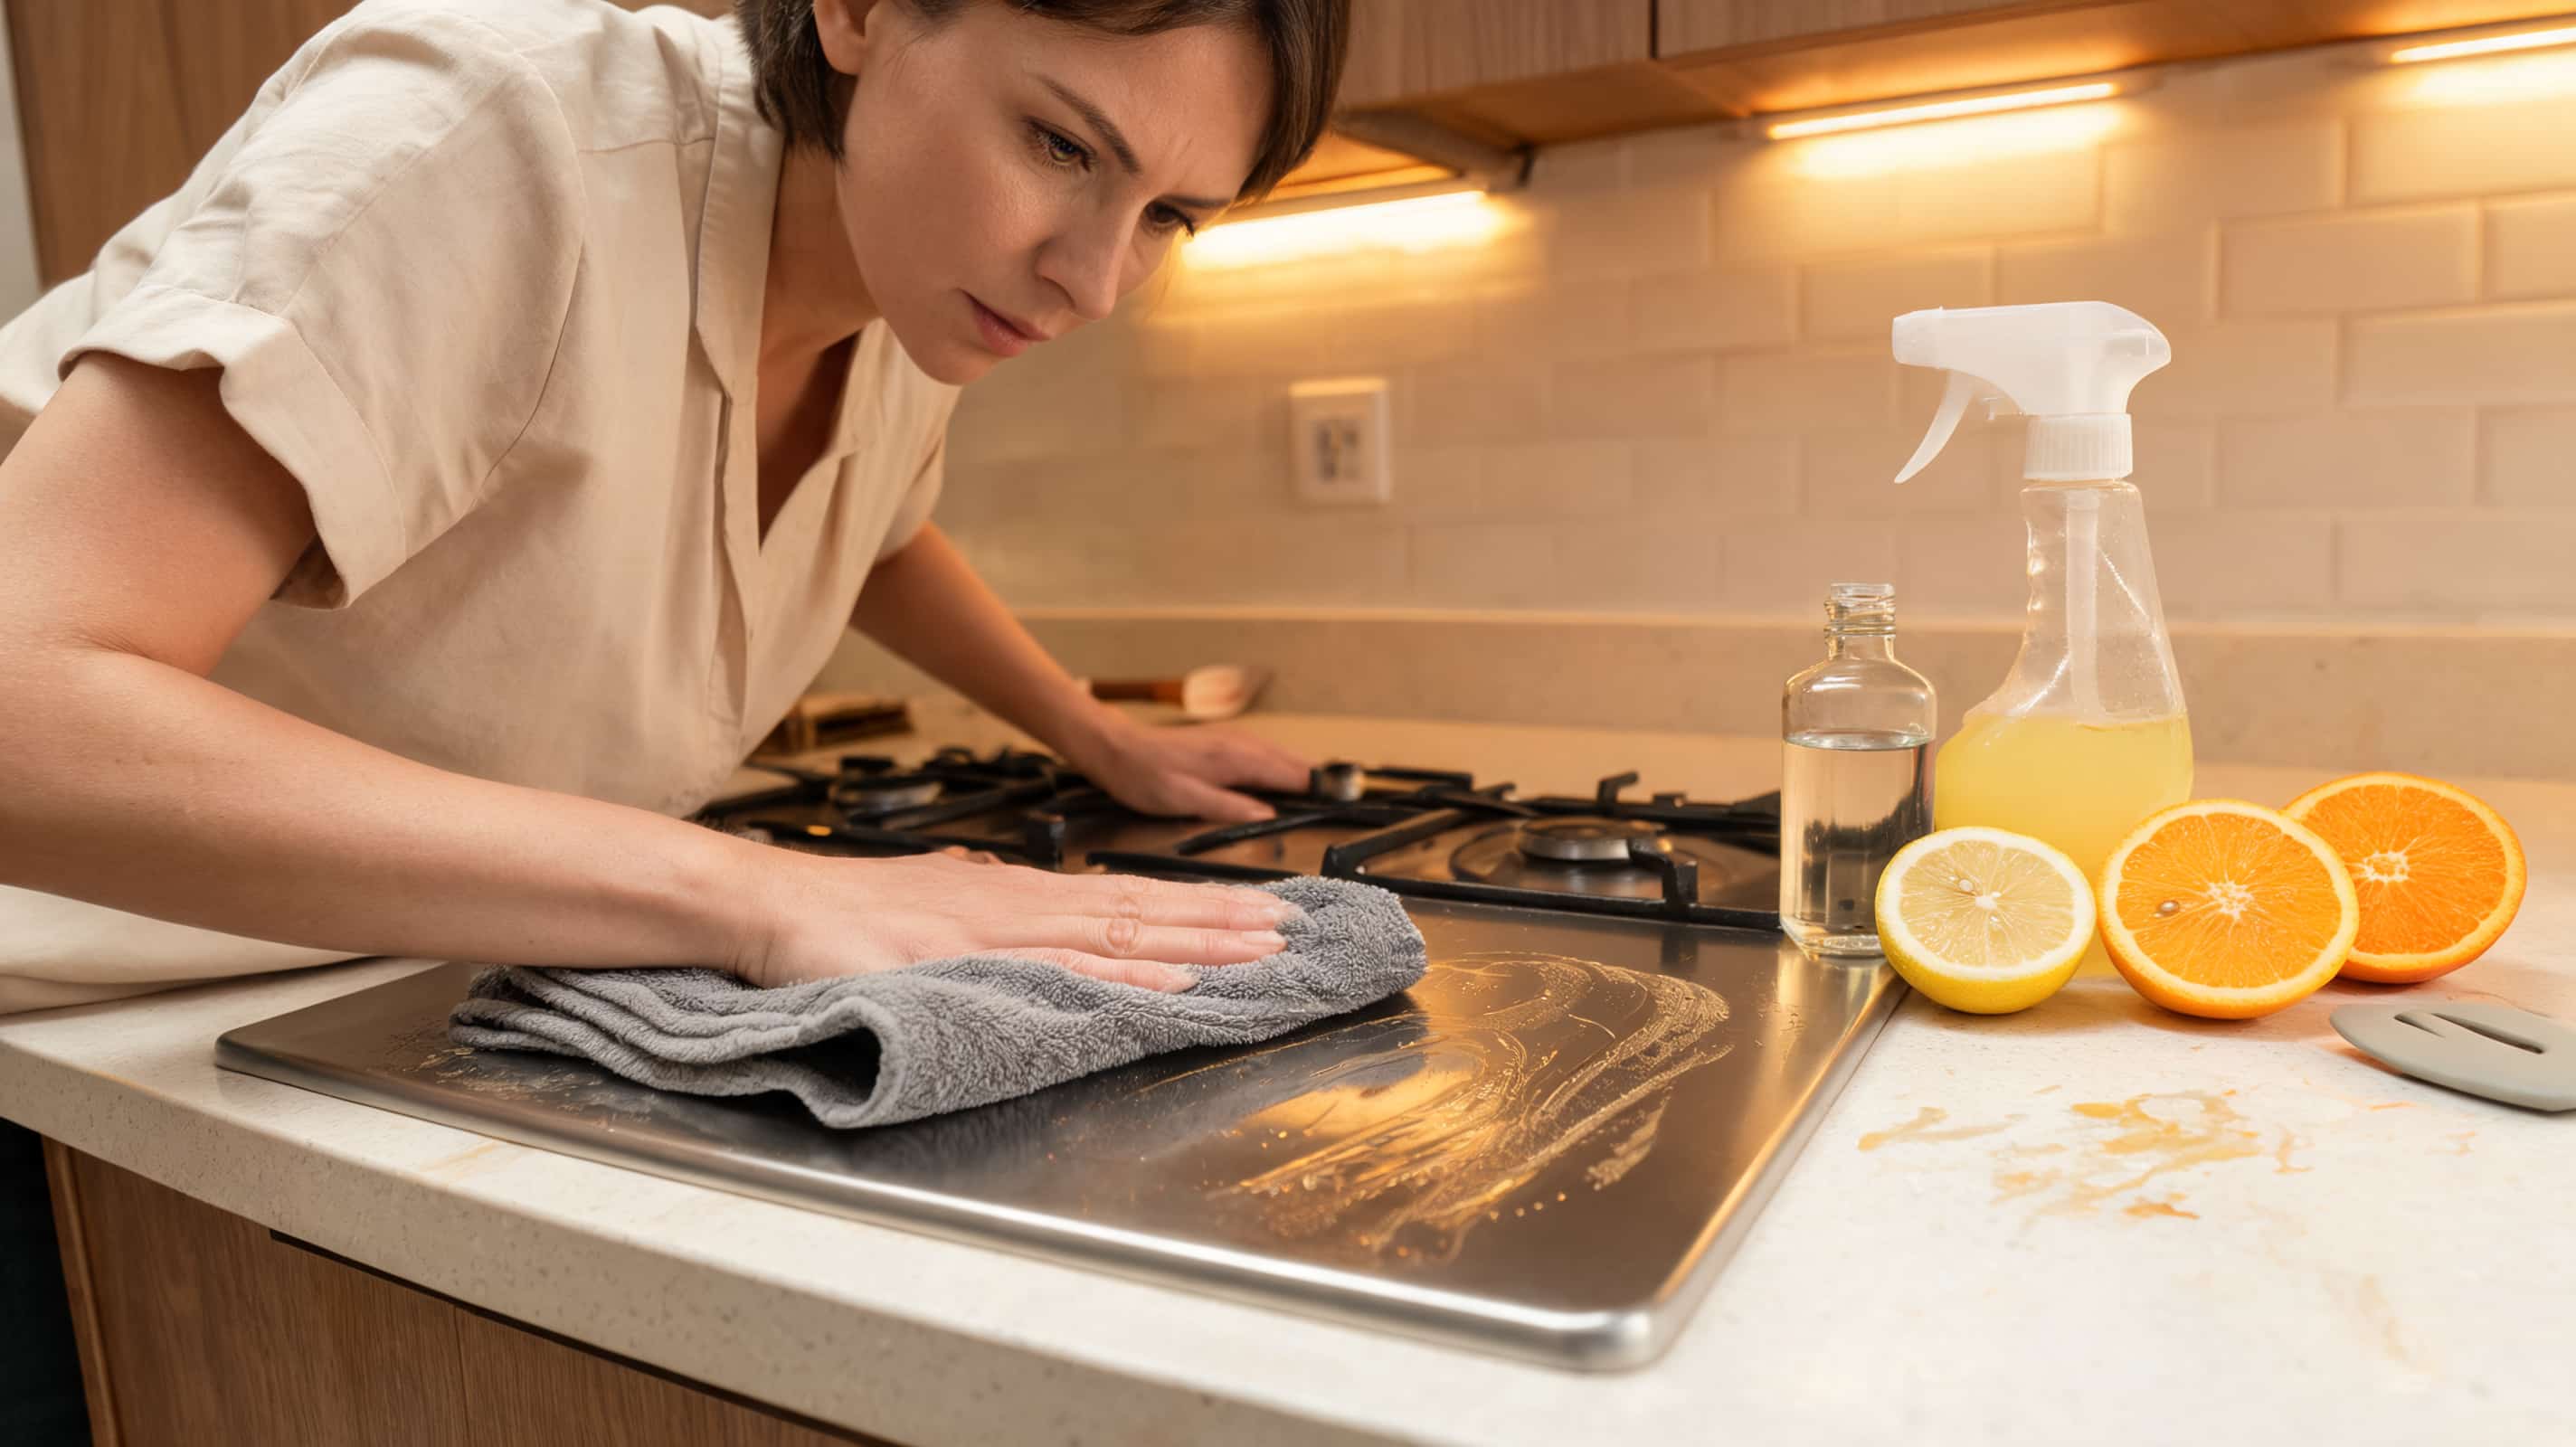
Kitchen sinks, stovetops, appliance exteriors, trash can lids, and washable non-stone counters collect grease and odor fast. This citrus mix handles everyday kitchen messes when the surface is vinegar-safe. Skip it on granite and marble; the acid in vinegar etches the finish over time.
If you’re dealing with painted cabinet doors and need something gentler, the cleaning of painted cabinets without damaging the finish walks through surface-specific approaches in more detail.
Ingredients: 1 cup distilled water; ½ cup white vinegar; ¼ cup 70% isopropyl alcohol; 20 drops lemon essential oil; 10 drops orange essential oil; 10 drops grapefruit essential oil
Instructions:
- Add all ingredients to a glass spray bottle.
- Close and shake well.
- Shake again before each use.
- Spray, wait 60 seconds, then wipe with a clean cloth.
| Pro Tip: Skip fresh citrus peel if the spray will sit for more than a few days; it molds in the bottle. Stick to essential oils for shelf stability. |
Recipe 5: Hydrogen Peroxide Disinfectant Spray
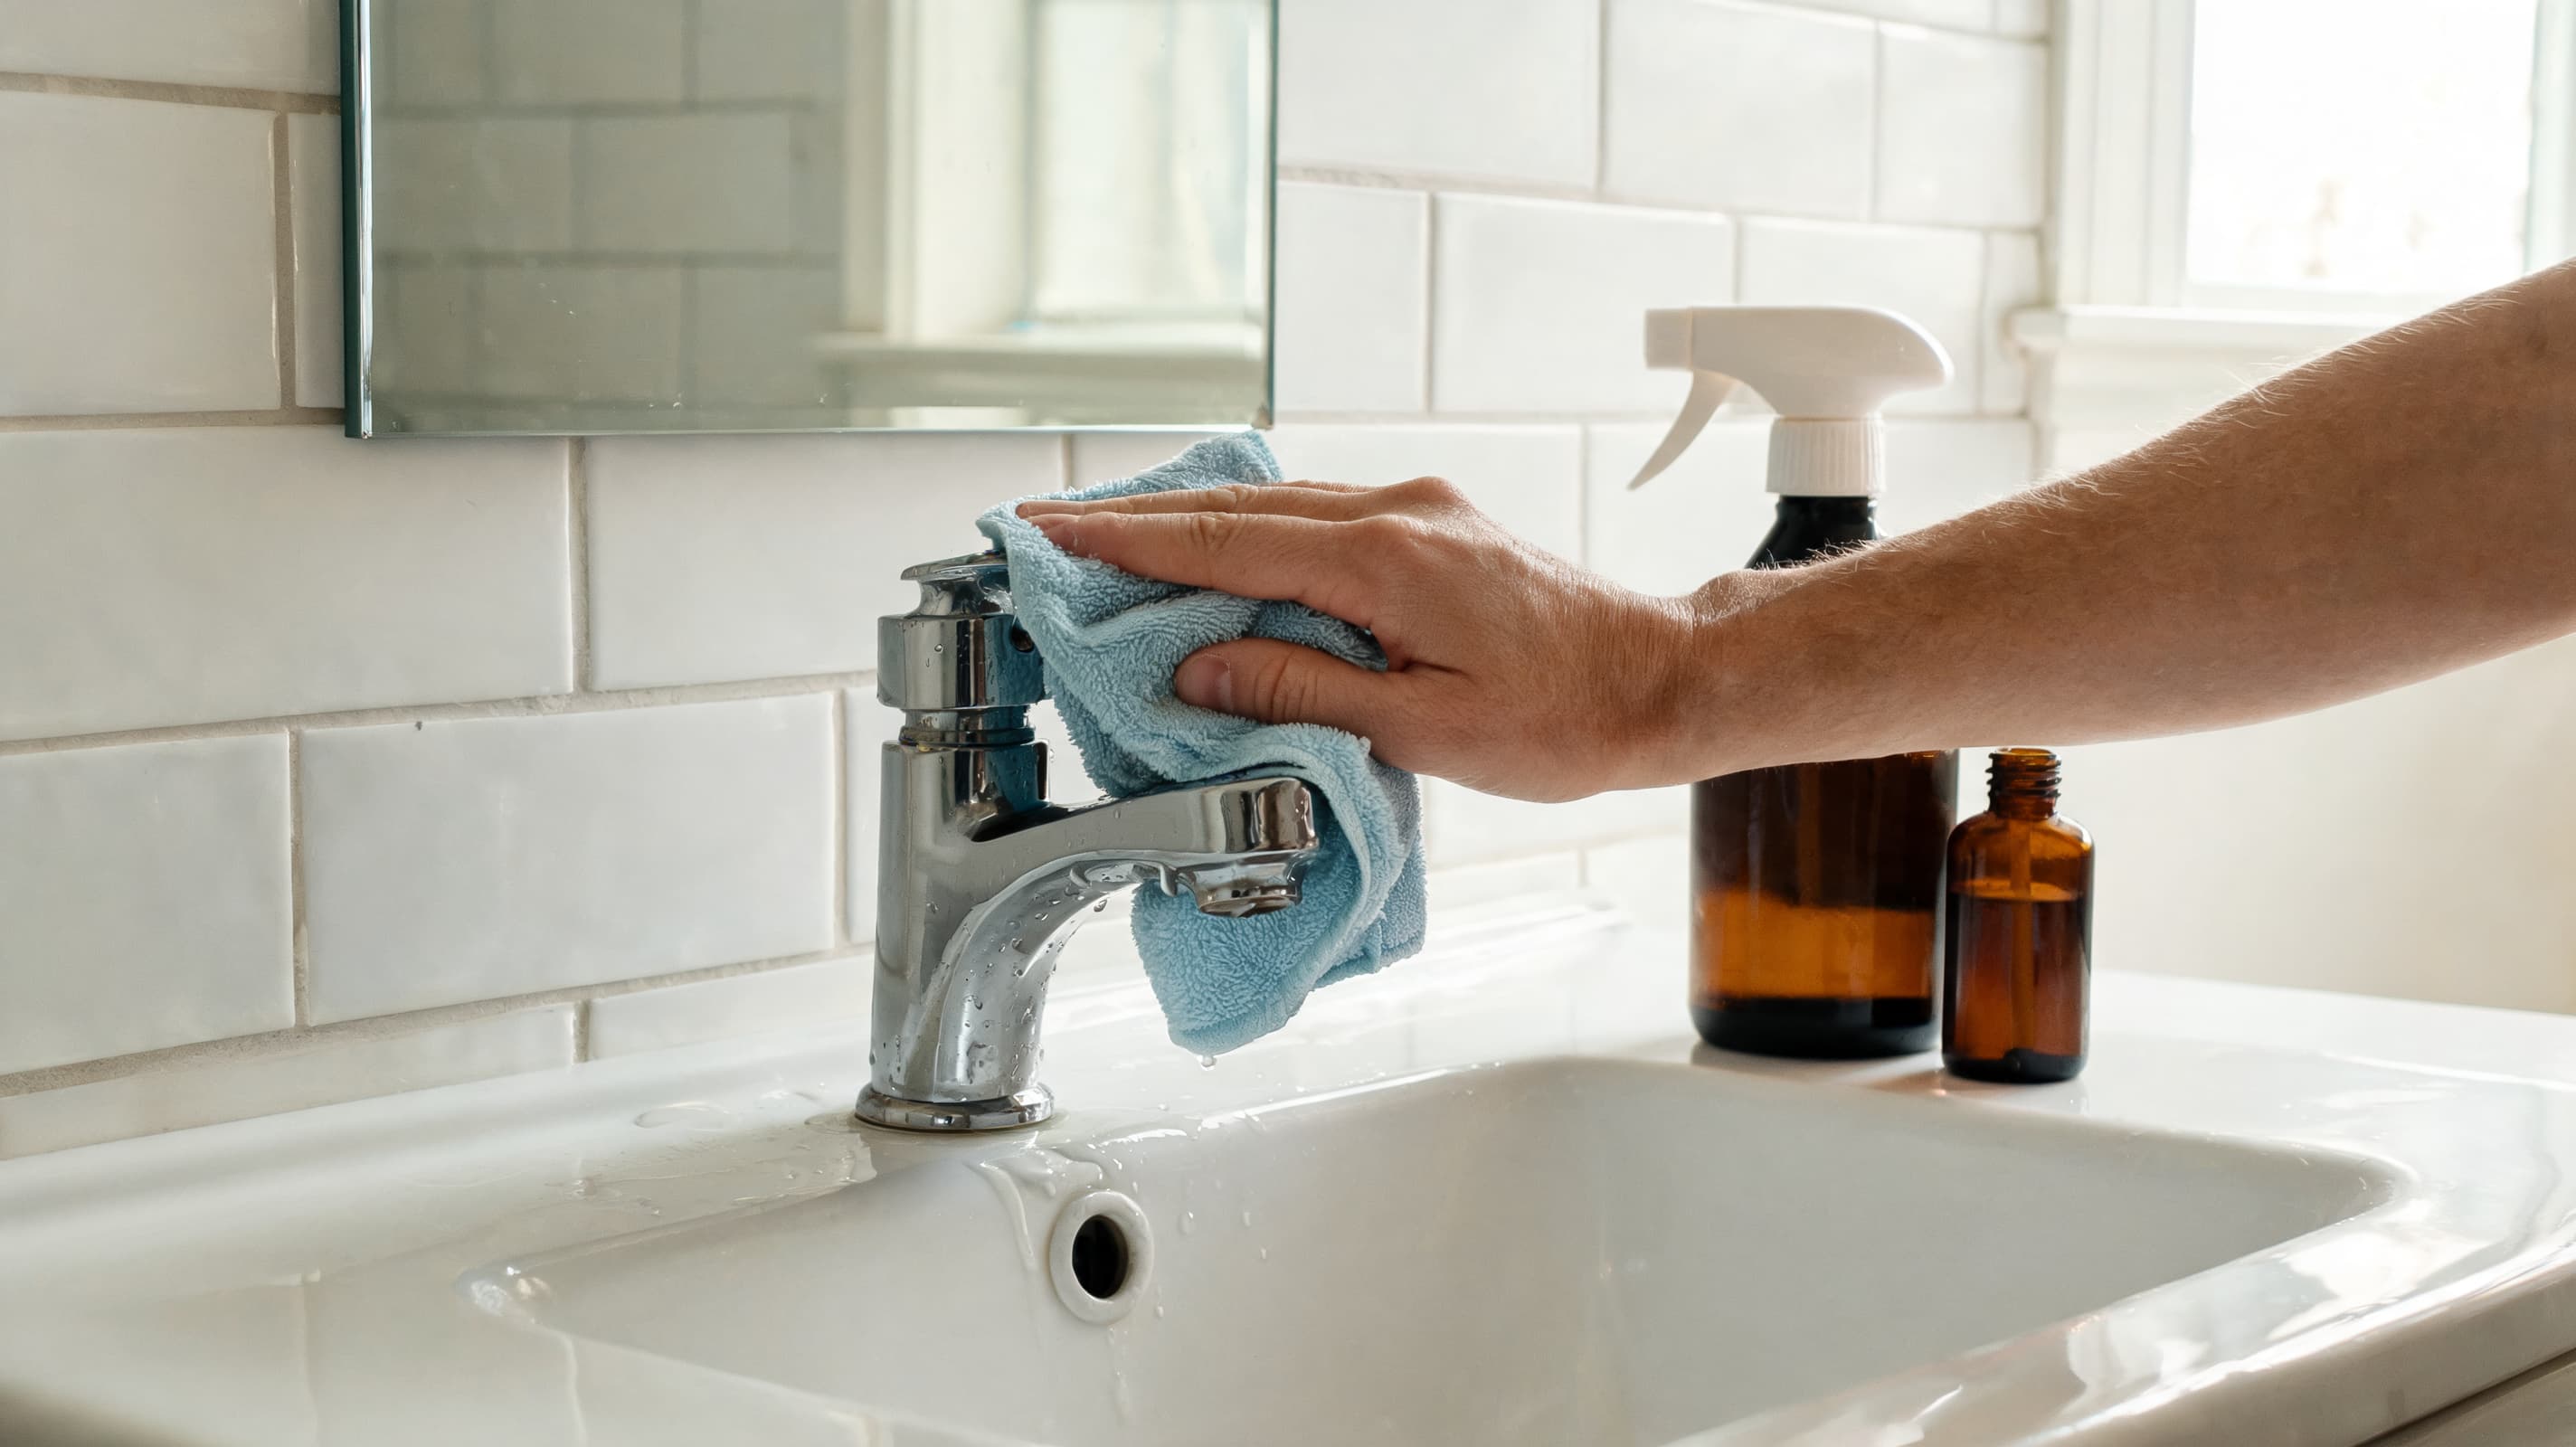
Hydrogen peroxide is the right tool for shower tiles, grout lines, toilet areas, cutting boards, and mildew-prone spots. It works best after visible dirt has been cleaned off first, and the bottle must be stored away from light, or it loses potency fast.
If you’re thinking about refreshing the tiles themselves rather than just cleaning them, the painting shower tile covers when a surface refresh makes more sense than deep cleaning alone.
Ingredients: 1 cup 3% hydrogen peroxide; 1 cup distilled water; 15 drops tea tree essential oil (optional)
Instructions:
- Pour hydrogen peroxide and distilled water into a dark amber glass bottle.
- Add tea tree oil only if safe for your household.
- Close and shake gently.
- Spray, wait 2 to 3 minutes, then wipe clean.
| Pro Tip: For grout buildup, let the spray sit a little longer and scrub with an old toothbrush before wiping. This pairs well with the regular cleaning routine you’d do before painting a bathroom tile floor; a clean, dry surface makes all the difference. |
Recipe 6: Pet and Baby Area Cleaning Spray
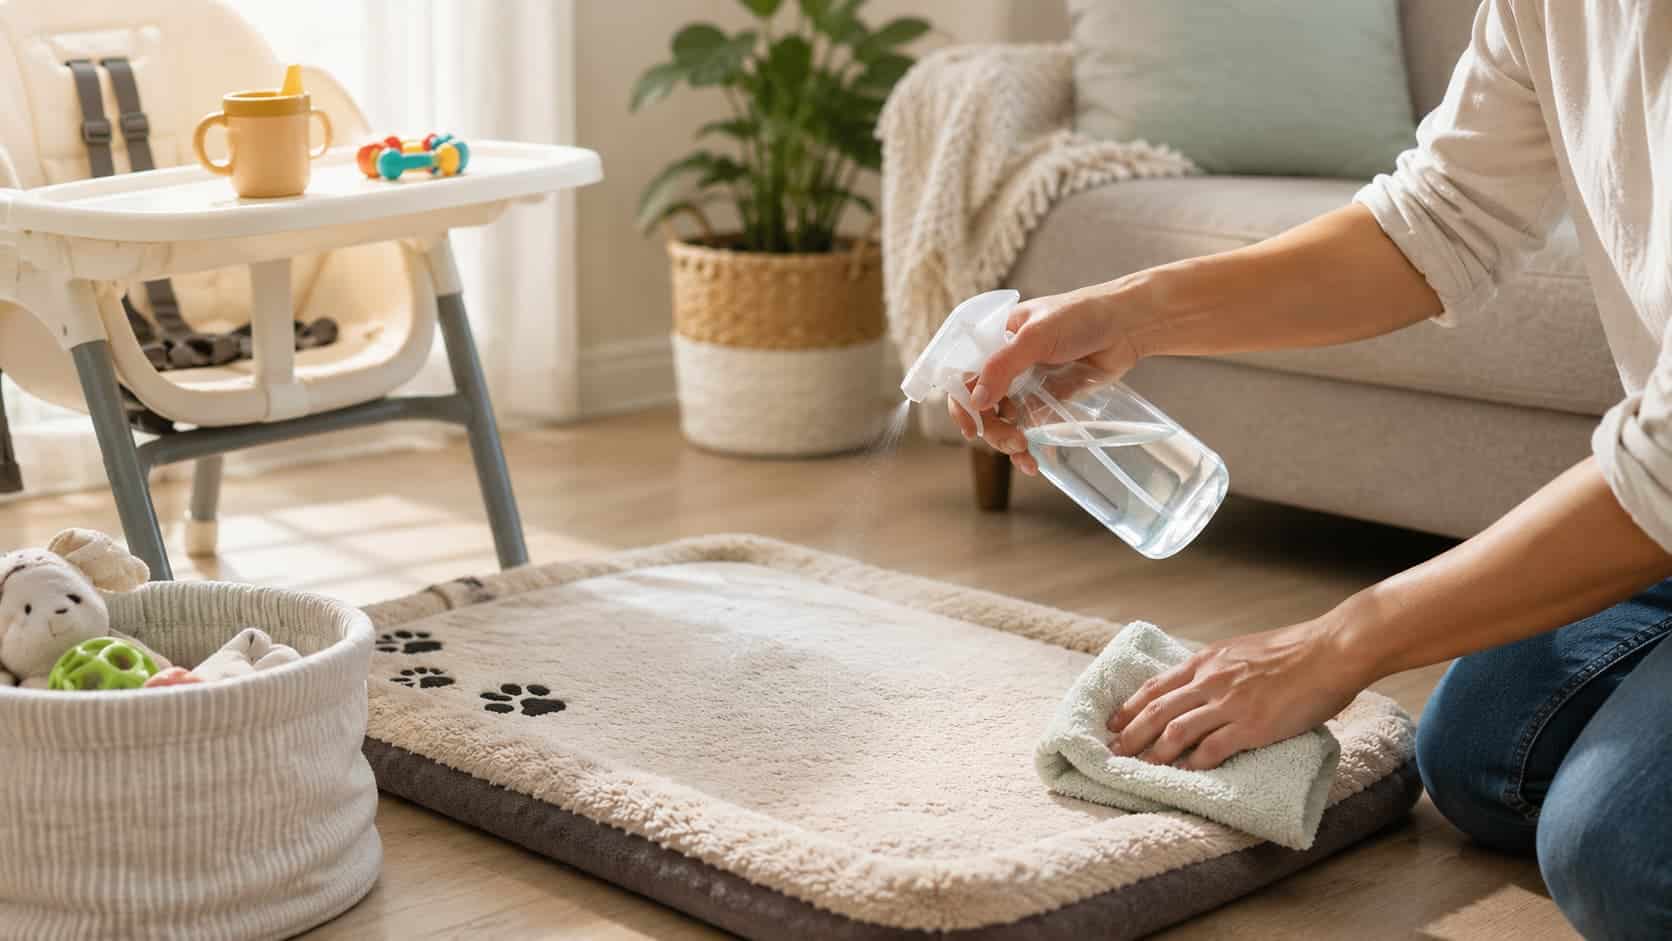
Pet and baby areas need the simplest recipe with the fewest ingredients. This vinegar-and-water spray works for high chairs, hard baby toys, changing tables, pet mats, play mats, and washable nursery surfaces. No essential oils, many are unsafe for pets, even at trace amounts.
Ingredients: 2 cups distilled white vinegar; 2 cups distilled water
Instructions:
- Add vinegar and distilled water to a clean spray bottle.
- Close and shake gently.
- Spray the surface and wipe thoroughly.
- Rinse any mouth-contact surfaces with clean water, then let them dry fully before use.
| Safety Note: Do not add essential oils to this recipe. Tea tree, eucalyptus, and peppermint oils can be toxic to cats and dogs, even in small amounts. The vinegar-water base is effective and safe without them. |
Recipe 7: Vodka-Based Fabric Spray
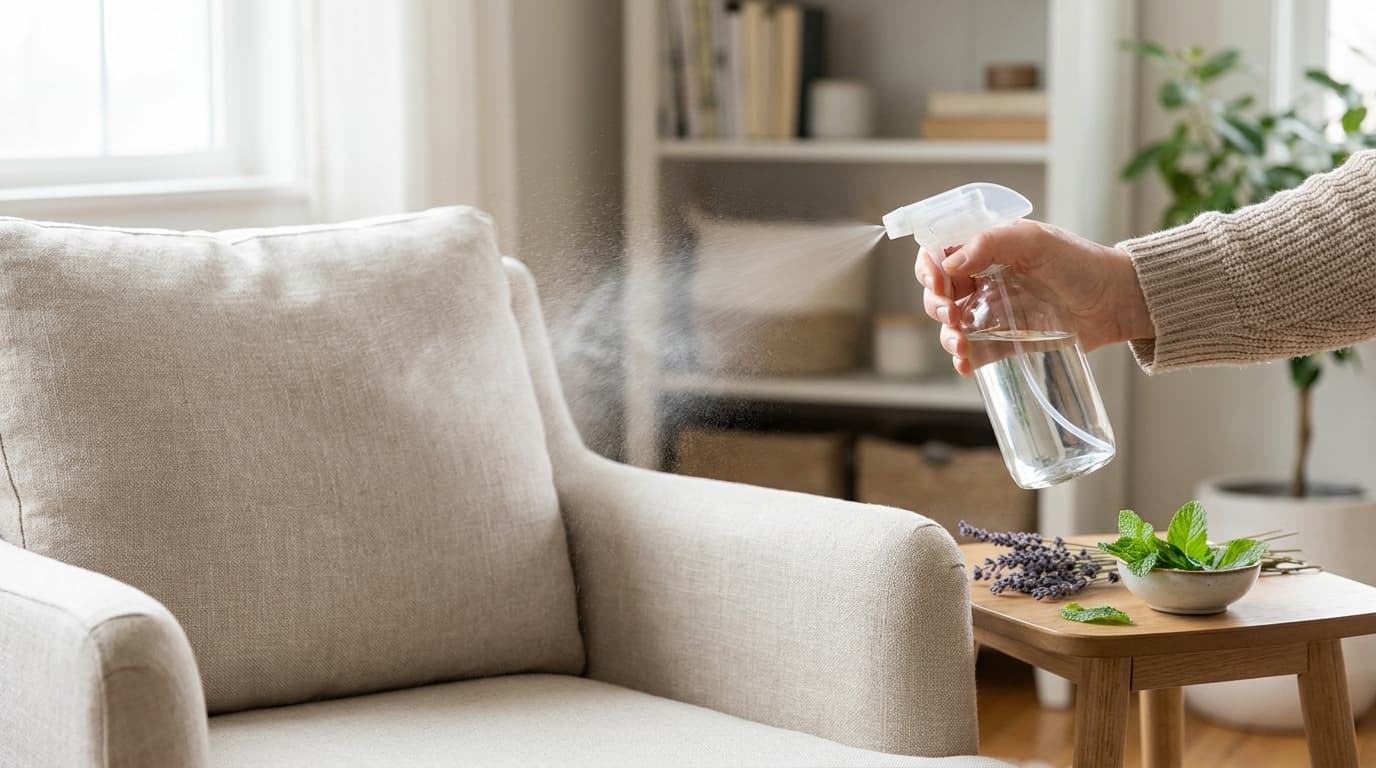
Soft items, such as sofas, curtains, mattresses, gym bags, and car interiors, need light misting rather than heavy spraying.
High-proof vodka freshens fabric without leaving a vinegar smell behind. The key word is “lightly”, over-saturating fabric causes moisture to get trapped in padding, which leads to mildew.
Ingredients: 1 cup high-proof vodka or Everclear (at least 60% alcohol); ½ cup distilled water; 15 drops lavender essential oil; 10 drops peppermint essential oil
Instructions:
- Add all ingredients to a glass spray bottle.
- Close and shake well.
- Lightly mist fabric from about 12 inches away.
- Let the fabric air dry fully before use.
| Pro Tip: Test in a hidden spot first; some fabrics, particularly dark upholstery, can lighten with repeated alcohol contact. |
Quick Reference: All Recipes at a Glance
Use this table to match the spray to the surface without having to re-read each recipe each time.
| Recipe | Main Ingredient | Works Well On | Main Caution |
|---|---|---|---|
| Classic all-purpose | Vinegar, water, alcohol | Sinks, tile, appliance fronts | Avoid stone and unsealed wood |
| Alcohol-based | 70% isopropyl alcohol | Handles, switches, remotes | Keep away from heat and flames |
| Natural Lysol-style | 70% alcohol, lavender, lemon | Bathroom hard surfaces | Skip oils near pets or babies |
| Citrus kitchen | Vinegar, alcohol, citrus oils | Sinks, stovetops, trash lids | Avoid granite and marble |
| Hydrogen peroxide | 3% hydrogen peroxide | Grout, shower tiles, cutting boards | Store in a dark bottle |
| Pet and baby | Vinegar and water | High chairs, pet mats, hard toys | Rinse mouth-contact surfaces |
| Vodka fabric | High-proof vodka | Sofas, curtains, gym bags | Test fabric first, mist lightly |
Each recipe has a clear lane. Crossing them, using the citrus kitchen spray on bathroom grout, or the peroxide spray on a painted wall, is where surface damage usually starts.
How to Use a Homemade Disinfectant Spray the Right Way
The recipe is only half of it. The other half is the order of operations.
- Clear and clean first: Remove visible dirt, crumbs, and grease using soap and water or a damp cloth. A disinfectant spray applied to a dirty surface is blocked by the debris, it cannot reach the surface properly.
- Pick the right spray for the surface: Use the quick reference table above rather than defaulting to one bottle for everything.
- Spray and wait: Mist lightly and let the spray sit before wiping. For vinegar sprays, 60 seconds. For alcohol, 30 seconds or air dry. For peroxide, 2 to 3 minutes. Do not soak the surface.
- Use a clean microfiber cloth: A dirty cloth moves grime around instead of removing it. Keep a separate cloth per area if possible.
- Rinse when needed: Food prep areas, cutting boards, high chairs, pet mats, and anything that goes near a mouth should be rinsed with clean water after spraying and wiped dry.
What Not to Mix
Keeping recipes simple protects you from ingredient combinations that create harmful vapors. These are the ones worth knowing.
- Bleach and vinegar release chlorine gas that irritates the eyes, throat, and lungs.
- Bleach and ammonia create toxic fumes. Ammonia appears in some glass and bathroom cleaners.
- Bleach and rubbing alcohol produce unsafe vapors and should never be combined.
- Hydrogen peroxide and vinegar in the same bottle create peracetic acid, which can irritate skin, eyes, and lungs. You can use them on the same surface sequentially, just not mixed together in one spray bottle.
- Different store-bought cleaners combined can create fumes, residue, or surface damage, even when neither seems particularly harsh on its own.
A safe DIY disinfectant spray does not need many ingredients. One recipe at a time, rinsed when needed, clearly labeled.
Common Mistakes to Avoid
| Common Mistake | Why It Matters |
|---|---|
| Using the wrong spray on the wrong surface | Alcohol, vinegar, and peroxide can damage stone, unsealed wood, fabric, and painted finishes. |
| Adding too many ingredients | More ingredients add complexity without improving cleaning, and increase the risk of surface reactions. |
| Ignoring pet and baby safety | Essential oils and strong sprays can irritate or harm pets and young children. |
| Storing peroxide in clear bottles | Light degrades hydrogen peroxide within days, making it ineffective. |
| Skipping the spot test | A 60-second test in a hidden spot can prevent permanent staining or finish damage on a new surface. |
Most of these mistakes happen in the first few uses, before you know how your surfaces respond. The spot test habit alone prevents the majority of finish damage.
Storage Best Practices For DIY Disinfectant Spray
Homemade sprays stay effective longer when stored with a little care.
- Label every bottle with the recipe name, ingredients, and date made.
- Use glass for essential oil blends and dark amber or cobalt glass for peroxide recipes.
- Keep caps tightly closed; loose caps let alcohol evaporate and reduce effectiveness.
- Store away from heat and sunlight, under the sink or in a cabinet, away from stoves and windows.
- Keep every bottle out of reach of children and pets.
Most vinegar and alcohol sprays stay effective for 2 to 3 months. Hydrogen peroxide starts breaking down sooner, so make smaller batches and use them within 30 days.
The Faster Way the Second Time
The biggest time sink when I first started was making a new batch every time I ran out. The shortcut I figured out: pre-measure each recipe into a small glass jar labeled with the ratio (not the volume), so you can scale up or down without re-reading the recipe each time.
I also set up a small “cleaning kit” shelf under the bathroom sink, one bottle per area, already labeled, all ready to refill. Mixing a new batch went from 10 minutes of hunting for measurements to 2 minutes of pouring.
The same discipline that goes into labeling and organizing your cleaning sprays applies to keeping surfaces clean before you spray them.
A well-organized cleaning routine, similar to what you’d build around any other DIY project in the home, means fewer frantic deep-clean sessions and less cleaner used overall.
If you’ve recently started tackling other DIY projects around the house, building a painted bookshelf is a beginner-friendly weekend project worth looking at next.
Frequently Asked Questions
Does a DIY disinfectant spray actually kill germs?
Alcohol-based sprays made with at least 60–70% isopropyl alcohol are effective against many bacteria and viruses on hard, clean surfaces. Vinegar-only sprays clean and deodorize, but do not meet the germ-kill threshold for disinfection.
Hydrogen peroxide at 3% concentration has proven disinfecting action on hard surfaces when given adequate contact time (2–3 minutes).
Is white vinegar a disinfectant?
White vinegar is a mild acid that cleans and deodorizes well, but the CDC does not classify it as a registered disinfectant. It reduces some bacteria but does not consistently kill pathogens at the concentrations used in homemade cleaners. For actual disinfection, use the alcohol or peroxide recipes.
Can I use a homemade disinfectant spray on all surfaces?
No. Vinegar and peroxide can etch granite, marble, and some stone finishes. Alcohol can strip certain lacquered wood, painted surfaces, and some plastics. Match the recipe to the surface and test in a hidden area first.
The pet-and-baby spray is the gentlest option for surfaces where damage is a concern.
How long does a DIY disinfectant spray last?
Vinegar and alcohol sprays stay effective for 2–3 months when kept sealed and away from heat. Hydrogen peroxide degrades faster, make small batches, and use within 30 days. Essential oils do not go bad quickly, but they can separate; shake before each use.
Is hydrogen peroxide or alcohol better for disinfecting?
Both work well on hard, clean surfaces. Alcohol (70% isopropyl) dries faster and is better for electronics and high-touch items. Hydrogen peroxide (3%) works better on grout, porous surfaces, and mildew-prone areas. They should not be combined into one bottle; use them separately based on the surface.
What essential oils are safe to use around pets?
Most essential oils carry some risk for cats and dogs. Tea tree, eucalyptus, clove, cinnamon, and citrus oils are among the most commonly flagged. If pets use the space, skip oils entirely and use the vinegar-and-water recipe (Recipe 6) instead. When in doubt, consult your vet before introducing any new scent into a shared space.
Can I make a homemade carpet cleaner with similar ingredients?
Yes, vinegar, baking soda, and dish soap handle most common carpet stains well. The process and ratios are different from surface sprays, and using too much dish soap is the most common mistake. The homemade carpet cleaning solutions cover the right ratios and stain-specific approaches in detail.
Final Thoughts
Making your own cleaner is less about using every natural ingredient and more about choosing the right mix for the job. I’d keep it simple: clean the dirt first, match the spray to the surface, let it sit long enough, and rinse areas that come into contact with food, pets, or babies.
You also need to avoid risky mixes, label each bottle, store peroxide away from light, and skip strong scents when they are not safe. A diy disinfectant spray can make daily cleaning feel easier, cheaper, and less harsh when you use it with care.
You get more control without turning every wipe-down into guesswork. Try the tips in your next clean, then share in the comments what worked for you.





