
Emerald Green Arborvitae spacing is the one decision that determines whether a privacy row holds up or turns into a patchy, overcrowded mess five years from now. Get it wrong at planting, and you’re either pruning constantly or filling gaps with expensive replacement trees. Get it right, and these things run themselves.
The short answer: 2 to 3 feet apart for a tight privacy hedge, 3 to 4 feet for a balanced screen, and 5 to 6 feet for individual specimens. But the right number depends on your yard size, the goal of the planting, and how much airflow the row needs in the long term. What follows covers each scenario specifically.
| Botanical Name | Thuja occidentalis ‘Smaragd’ |
| Mature Height | 10 to 15 feet |
| Mature Width | 3 to 4 feet |
| Growth Rate | 6 to 9 inches per year (slow to moderate) |
| USDA Hardiness Zones | Zones 3 to 7 |
| Soil pH | 6.0 to 8.0, well-drained |
| Sunlight | Full sun to partial shade (6+ hours direct sun preferred) |
| Hedge Spacing | 2 to 3 feet center-to-center |
| Screen/Windbreak Spacing | 3 to 5 feet center-to-center |
| Individual Specimen | 5 to 6 feet from other plants or structures |
What Is Emerald Green Arborvitae?
Emerald Green Arborvitae is a narrow, upright evergreen, with the botanical name Thuja occidentalis ‘Smaragd, native to eastern North America in its parent species form and reliably cold-hardy through USDA Zone 3. That cold tolerance is part of why it shows up on so many property lines across the upper Midwest and Northeast. It handles hard winters without the dieback you’d see from something like Leyland cypress in a zone-4 climate.
At maturity, it reaches 10 to 15 feet tall and 3 to 4 feet wide with a consistent pyramidal form. That narrow footprint is what makes it useful for tight situations.
A 4-foot-wide tree planted 3 feet from a fence gives you a screen without eating up the whole yard. Growth rate runs 6 to 9 inches per year in good conditions. It’s not fast, which means spacing mistakes compound slowly, but they still compound.
Why Emerald Green Arborvitae Spacing Is the First Decision
Before the first hole is dug, Spacing affects three practical things: how quickly the row fills in, how much air moves through the hedge, and whether each tree has enough room to keep its lower branches or start declining from the inside out.
Tight spacing gets you coverage faster. It also puts root systems in direct competition and cuts airflow down the center of the hedge where moisture sits longest.
- Even fill-in requires consistent spacing: Trees planted at uneven intervals don’t meet the same way. Some sections close fast, others stay open for years. Measure center-to-center, not branch tip to branch tip.
- Airflow prevents inner browning: Dense Thuja foliage holds moisture. Without airflow, the inner canopy browns out. This isn’t cosmetic; once the inner branches die back, they don’t recover.
- Root competition slows the row: At tighter spacing, expect more pruning and closer watering attention. The trees that lose that competition thin out. You end up with an uneven row that needs replacement trees mid-hedge.
- Structure integrity over time: Emerald Green holds its pyramidal shape without heavy pruning when given the right spacing. Crowd it, and you spend every spring cutting it back to keep the form.
| Note: Year one after planting, expect minimal height gain. These trees put energy into root development first. If yours aren’t growing much upward in the first 12 months, that’s normal — not a spacing or soil failure. By year two, with consistent watering and good drainage, height gain becomes visible. |
How Far Apart to Plant Emerald Green Arborvitae by Use Case
The right spacing changes based on what the planting is supposed to do. A privacy hedge and an open windbreak have different requirements, and treating them the same is the most common mistake I see.
1. Privacy Hedge: 2 to 3 Feet Apart
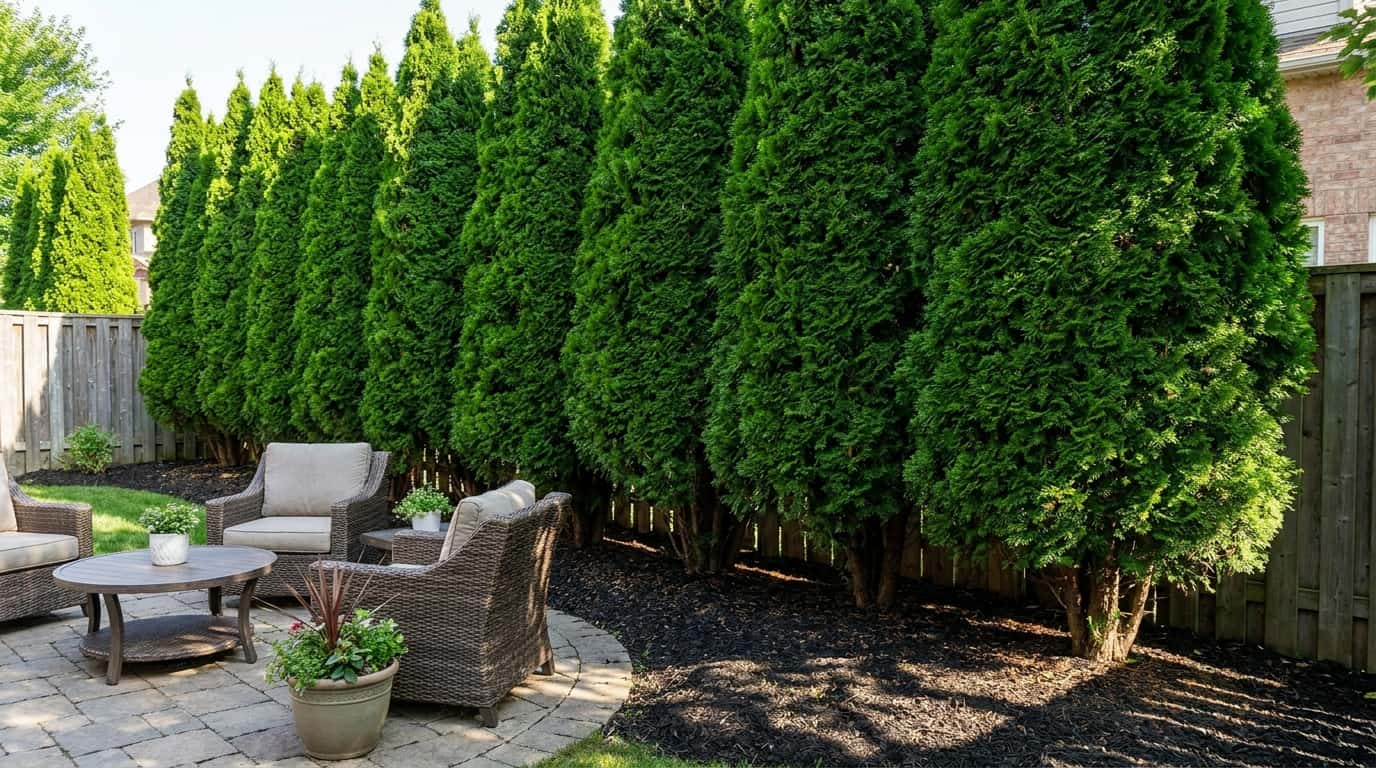
For a solid privacy screen, plant center-to-center at 2 to 3 feet. At that spacing, branches meet within 3 to 4 years, and the row closes into a continuous wall. I’d use 3 feet as the default, close enough to get coverage without pushing the trees into each other’s root zones.
Go tighter than 2 feet, and you’re asking for pruning problems and inner dieback as the hedge matures. At close spacing, plan to trim once a year to keep the hedge tight and maintain airflow.
2. Windbreak or Open Screen: 4 to 5 Feet Apart

A windbreak doesn’t need to be a wall. At 4 to 5 feet apart, each tree has room to develop a full canopy without fighting its neighbors.
Coverage takes longer, figure 5 to 7 years before the row reads as a solid screen, but the trees will be healthier and need less maintenance once established. This spacing also works along long property lines where cost per tree matters; you’re using fewer trees to cover the same run.
3. Standalone Specimen: 5 to 6 Feet From Other Plants or Structures
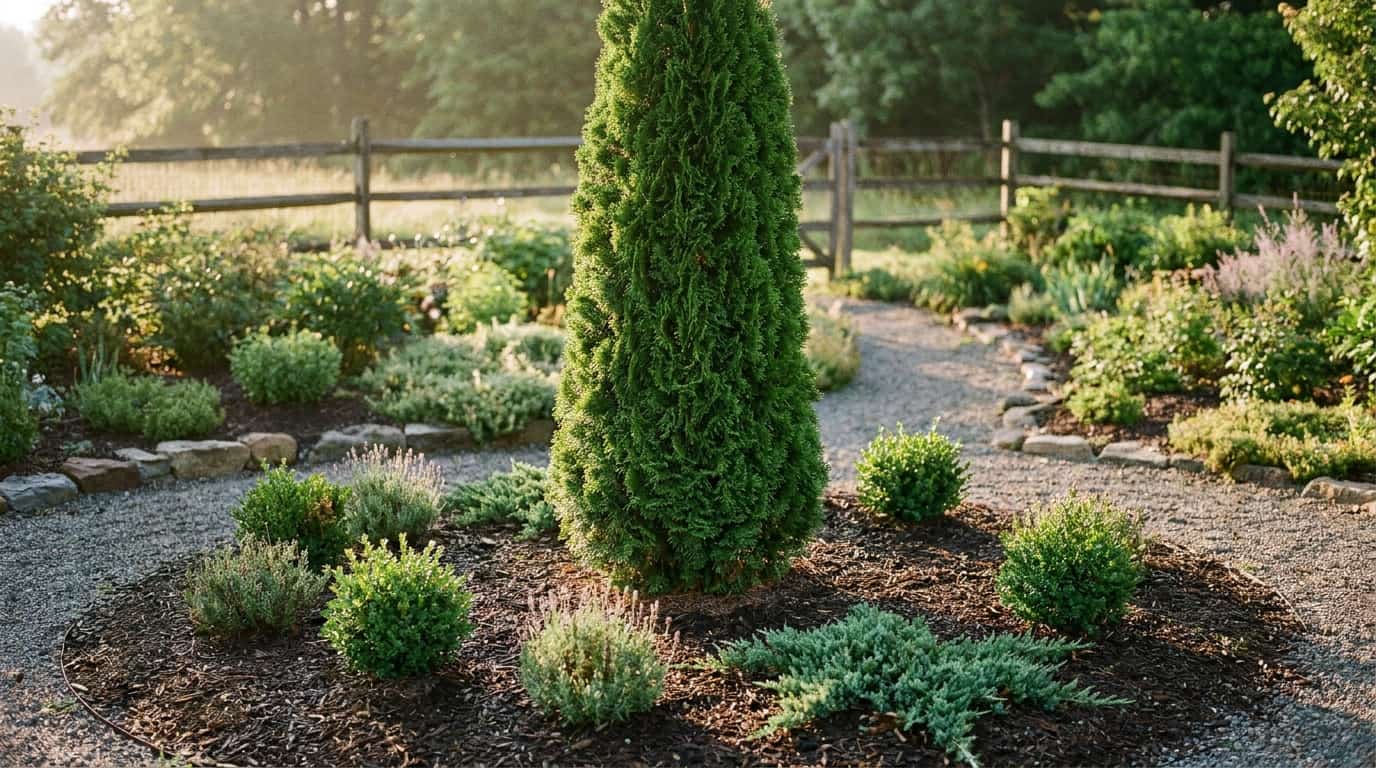
As an individual specimen, 5 to 6 feet of clearance from neighboring plants, fences, and walls gives the tree room to hold its natural pyramidal shape without trimming.
Crowd a standalone specimen, and it starts growing asymmetrically toward the light; the side pressed against a fence or structure stays thin while the open side fills out. That’s hard to correct without heavy pruning, which usually makes it worse.
4. Foundation Planting: At Least 3 Feet From Walls
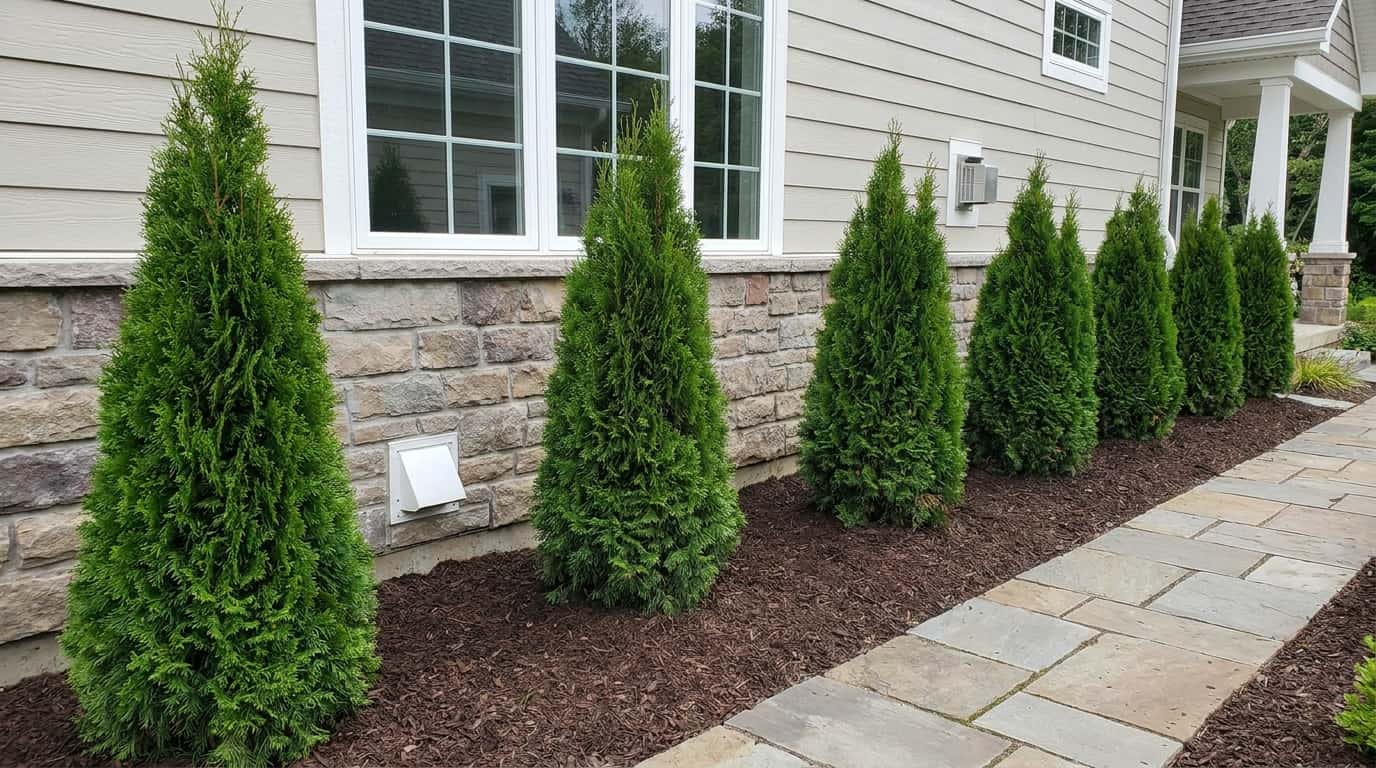
The minimum clearance from a wall or foundation is 3 feet, and that’s tight. A mature Emerald Green runs 3 to 4 feet wide, which means at 3 feet from the house, the outer branches are just clearing the siding when the tree is fully grown.
More clearance is better if the access corridor allows it. Also check for utility vents, AC units, and basement windows. Planting too close creates structural moisture problems over time, the same kind that drives up foundation repair costs years down the line.
Blocking airflow to those areas causes maintenance issues unrelated to the tree itself.
Matching spacing to the intended use of the planting removes most of the guesswork. The spacing numbers above are starting points; the next section refines them by yard type.
Emerald Green Arborvitae Spacing by Yard Size
Yard dimensions add another variable. A 4-foot spacing that works perfectly along a 200-foot property line is too generous for a 20-foot side yard. Here’s how to adjust.
1. Small Backyard: 3 Feet Apart
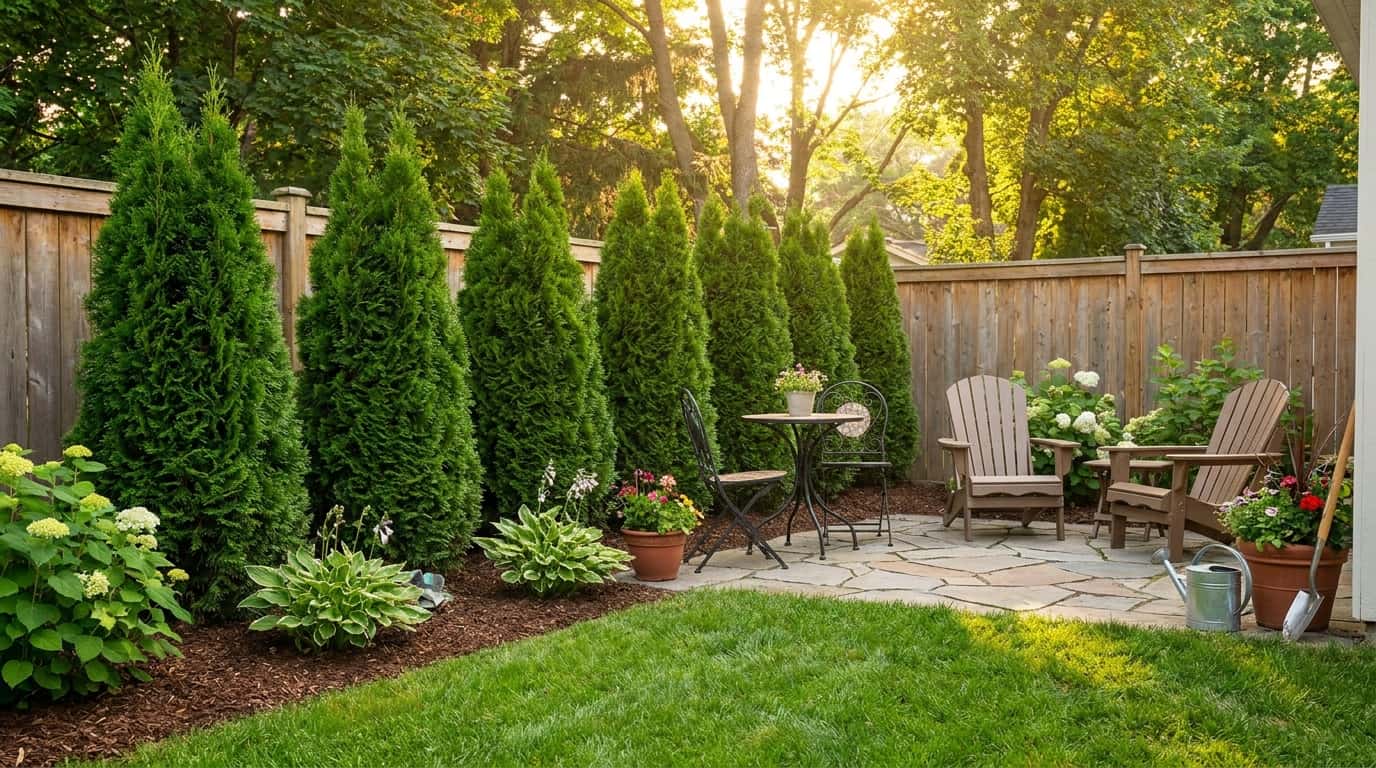
In a small backyard, 3 feet center-to-center balances privacy and airflow without the row taking over the space. It fills in well near patios and seating areas within 3 to 5 years. Don’t go tighter than this in confined spaces — the trees won’t have enough root room and the inner canopy will suffer.
2. Narrow Side Yard: 2 to 3 Feet Apart
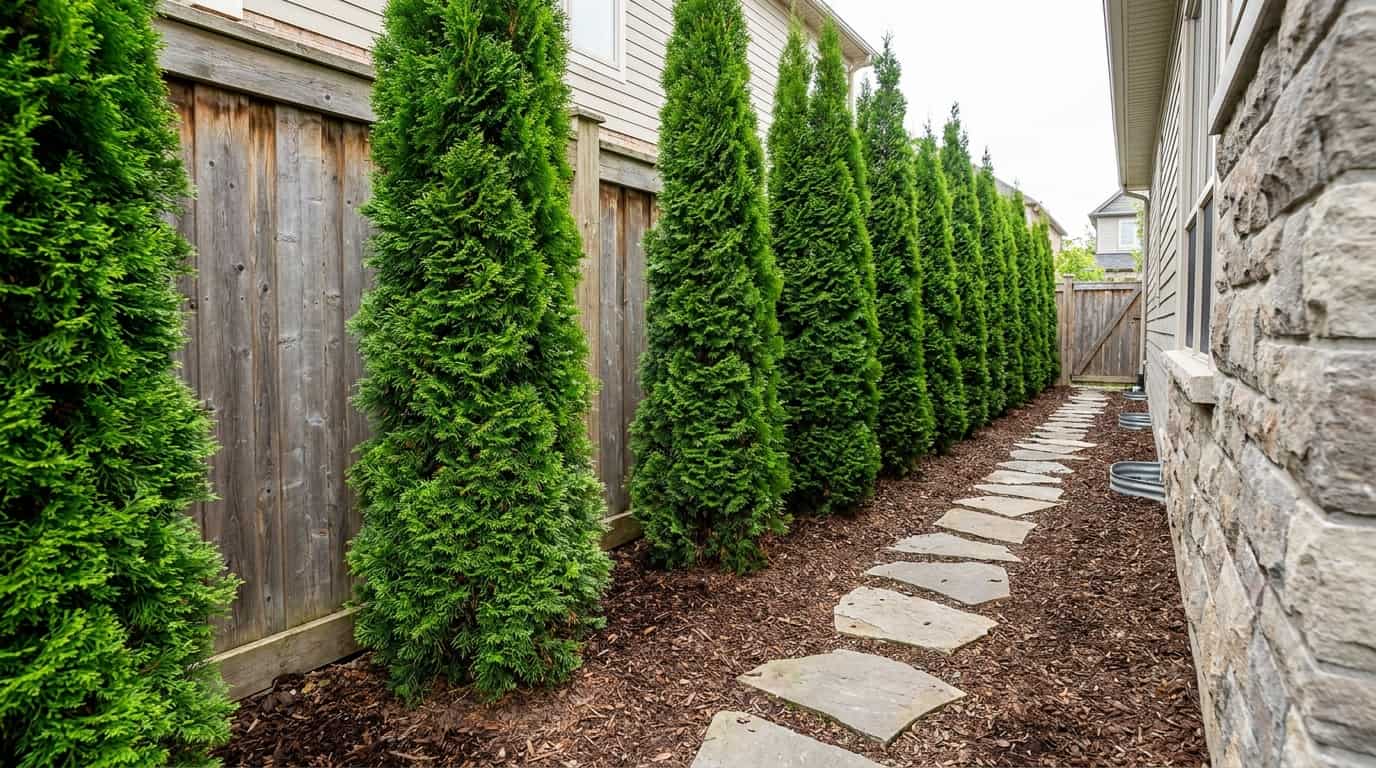
Side yards make this tree earn its keep. At 2 to 3 feet apart, a row fits into corridors where most plants can’t function as a screen. Use 3 feet where the run is long enough to allow it.
At 2 feet, expect to trim once a year minimum; the hedge needs management to stay healthy at that density. Also keep the row pulled away from both the fence and the house wall by at least 18 inches so you can walk the corridor when you need to.
3. Medium Backyard: 3 to 4 Feet Apart
Three to 4 feet is the most balanced range for a mid-sized yard. It gives enough density for a real privacy screen while keeping the row healthy over time. Trees at this spacing need less regular trimming than a tight 2-foot hedge and fill in fully within 5 to 7 years.
For yards where the hedge sits behind a patio and deck ideas layout, this is typically the spacing that lets the seating area breathe while still delivering solid coverage.
4. Large Yard or Open Property: 4 to 5 Feet Apart

On large properties, 4 to 5 feet gives each tree enough space to develop fully without competing. The row reads as a softer, more natural screen rather than a clipped hedge. Along long runs, this spacing also reduces cost — you’re buying fewer trees to cover the same footage while getting a healthier result long-term.
5. Front Yard or Accent Areas: 5 to 6 Feet Apart
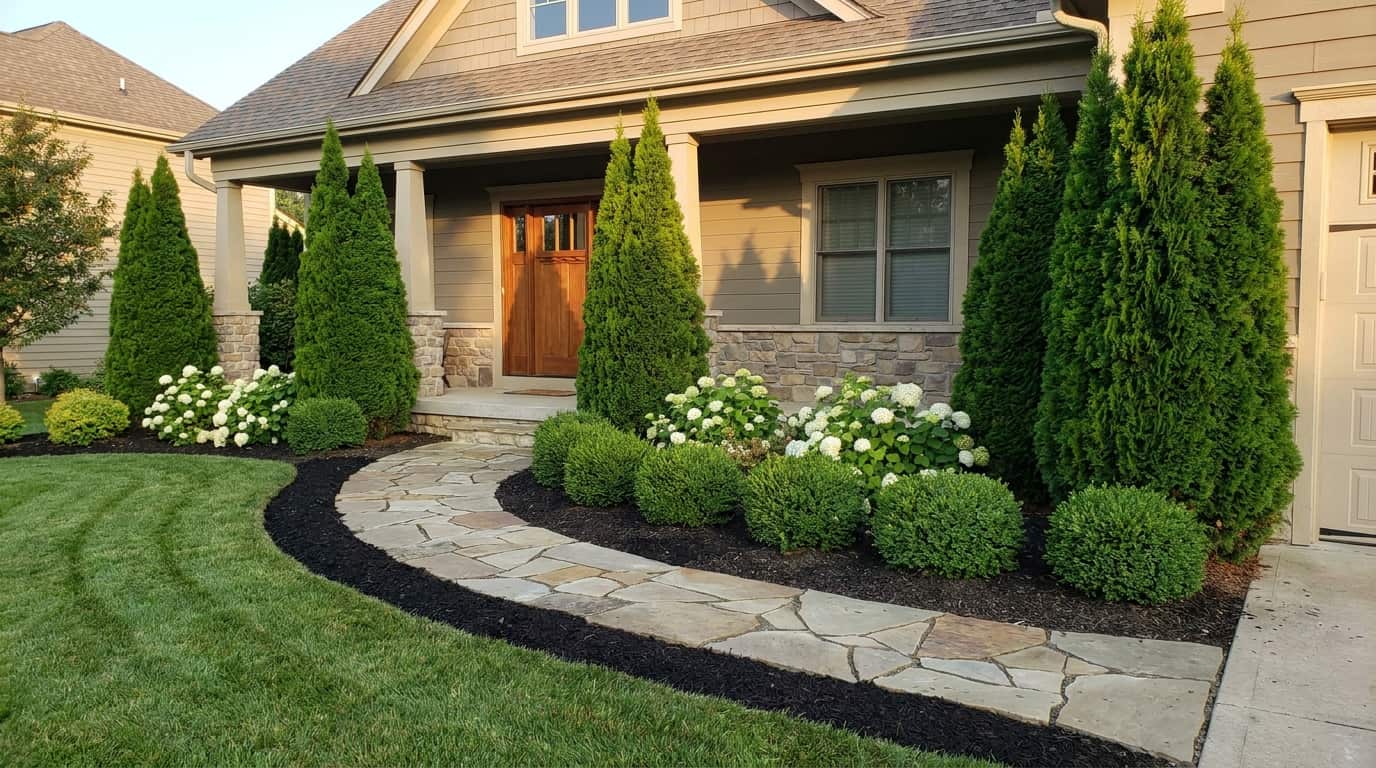
In front yards or accent plantings where the tree is part of the visual design rather than a privacy barrier, give each one 5 to 6 feet of clearance. At this spacing, each tree holds its distinct pyramidal shape and contributes to the composition as an individual specimen rather than disappearing into a hedgerow.
Single Row vs. Staggered Row: Which Layout Delivers Better Coverage
Most residential privacy hedges use a single row. Staggered rows are better when you have the yard depth and need to close gaps faster without pushing the trees closer together.
| Layout | Recommended Spacing | Best For | What to Expect |
| Single row | 2 to 3 ft apart | Tight privacy hedge | Fuller screen faster; requires annual trimming |
| Single row | 3 to 4 ft apart | Balanced privacy screen | Healthy spacing; fills in over 5 to 7 years |
| Single row | 4 to 5 ft apart | Open screen or windbreak | Natural look; minimal trimming needed |
| Staggered (2 rows) | 3 to 4 ft in each row | Maximum gap coverage | Layered screen; closes sight lines faster than single row |
| Staggered (2 rows) | 3 to 4 ft between rows | Wider planting footprint | Needs 6 to 8 ft of total planting depth |
A staggered row offsets the gaps in the front row with trees in the back row. The result is faster visual coverage without requiring the tight spacing that causes inner dieback. The trade-off is planting depth: you need at least 6 to 8 feet of available yard space to run two rows without crowding the fence or wall behind them.
Growth Rate by Year: What to Expect as the Hedge Establishes
Slow growth in years one and two is normal. These trees front-load their energy into root development, which means the visible gains come later — but they come steadily once the root system is established.
| Year After Planting | Approx. Height | Approx. Width | What to Expect |
| At planting | 2 to 5 ft | 1 to 2 ft | Young, narrow; not yet filled out |
| Year 1 | 2.5 to 5.5 ft | 1 to 2 ft | Root establishment phase; minimal height gain |
| Year 2 | 3 to 6 ft | 1.5 to 2.5 ft | Starts filling out with consistent watering |
| Year 3 | 3.5 to 7 ft | 2 to 3 ft | Begins forming a visible screen |
| Year 5 | 5 to 8.5 ft | 2.5 to 3.5 ft | Dense; reads as an established hedge |
| Year 10 | 8 to 12 ft | 3 to 4 ft | Full privacy screen at proper spacing |
| Mature | 10 to 15 ft | 3 to 4 ft | Upright, dense, evergreen year-round |
The jump from year 3 to year 5 is usually when spacing decisions become visible. Trees planted too close start competing visibly at this stage — inner branches thin out, the base of the hedge opens up. Trees with adequate spacing continue filling in evenly from base to top.
Emerald Green vs. Green Giant and Techny: Choosing the Right Tree
Not every privacy hedge calls for Emerald Green. If you have the yard space and want faster coverage, other arborvitae varieties outperform it. The comparison below covers what each option actually delivers at maturity.
| Variety | Mature Size | Growth Rate | Spacing Need | When to Choose It |
| Emerald Green | 10–15 ft tall, 3–4 ft wide | 6–9 in/year | 2–4 ft for hedges | Limited yard space; formal, narrow hedge; zones 3–7 |
| Green Giant | 30–50 ft tall, wider footprint | 3–5 ft/year | 6–8 ft minimum | Large property; fast coverage needed; zones 5–8 |
| Techny | 15–20 ft tall, wider than Emerald | Moderate | 4–6 ft | Cold climates; denser hedges; more horizontal space available |
Emerald Green is the right call when space is tight and the hedge needs to stay manageable without constant trimming. Green Giant covers ground faster but eventually outgrows residential yards unless it’s kept pruned — and at 30 to 50 feet mature height, that becomes a real maintenance commitment. Techny splits the difference for cold-climate plantings where you need something hardier and denser but can give the row more lateral room.
How to Lay Out and Plant the Row Correctly
Layout is where spacing decisions either hold or fall apart. A marked row that looks straight on paper can still end up uneven if the center-to-center measurements drift. Here’s how to do it correctly from first stake to final mulch.
- Decide spacing before buying trees: Know whether this is a 2-foot hedge or a 4-foot screen before purchasing. Buying trees and then figuring out placement leads to compromised spacing to make the count work.
- Mark center-to-center, not tip-to-tip: Young trees vary in branch spread. Measure trunk center to trunk center — that measurement stays consistent regardless of how full the nursery stock is.
- Set the first and last stake, then fill in: Anchor both ends of the row, run a string line between them, then place intermediate stakes at the correct interval. Pull the line tight — it’s the only way to keep the row straight.
- Check clearance from structures before digging: Walk the marked line and confirm distance from fences, walls, sidewalks, driveways, and property lines. Adjusting stakes costs nothing. Moving a planted tree is expensive and stressful to the root system.
- Review from multiple angles: Walk away from the marked row and look at it from the patio, from the neighbor’s side, and from the house. Spacing errors that don’t show up from one angle are obvious from another.
- Dig wide, not just deep: The hole should be twice as wide as the root ball but no deeper than it — the top of the root ball should sit level with the surrounding ground. Setting it too deep is the single most common planting mistake and leads to slow decline over 2 to 3 years.
- Water immediately and deeply: Fill the hole, then water until the soil is saturated around the full root zone. For the first 48 hours after planting, these trees need consistent moisture at the root level to begin establishment. Don’t rely on rain for that first watering.
- Mulch correctly: Two to 3 inches of mulch over the root zone keeps moisture in and soil temperature stable. Keep it a few inches away from the trunk — mulch piled against the bark traps moisture and invites rot and pest damage.
| Pro Tip: For a staggered double row, set the back row first, then place the front row stakes in the gaps. It’s much easier to adjust the front row position relative to established back stakes than to try to offset both rows simultaneously from a center line. |
Planting and Care After the Row Is in the Ground
Spacing gets the hedge off to the right start. What happens in the first two growing seasons determines whether it actually thrives.
- Sunlight requirement: Full sun means 6 or more hours of direct light daily. Partial shade works, but hedges in full sun grow denser and hold that deep emerald color better through winter. A row planted along a north-facing fence that never sees direct afternoon light will be thin by comparison.
- Soil pH and drainage: These trees want soil pH between 6.0 and 8.0 — they’re not picky, but they won’t tolerate standing water. If the planting area drains poorly, amend with coarse material or regrade before the trees go in. Planting into wet soil and hoping it drains is how you end up with root rot two years later.
- Watering schedule: Deep, infrequent watering beats frequent shallow watering every time. Soak the root zone thoroughly, then let the top few inches dry before watering again. During the first growing season, that typically means once or twice a week in dry weather.
- Pruning frequency: At 2 to 3 foot spacing, plan for one annual trim in early spring to keep the hedge tight and maintain airflow. At 3 to 5 foot spacing, light trimming every 2 to 3 years is usually enough to maintain the pyramidal shape.
- Winter prep: Water deeply in late fall before the ground freezes. Dry roots heading into winter is the most common cause of winter burn — the foliage desiccates because the frozen root zone can’t move water to the canopy.
- Heavy snow: Brush accumulation off branches before the weight bends them. A limb that stays bent under snow for a week rarely springs fully back.
Warning Signs to Watch, and What They Actually Mean
Most problems with Emerald Green Arborvitae come back to one of three causes: water, airflow, or spacing. Here’s what each warning sign is telling you.
| Problem | Signs | Likely Cause | Fix |
| Browning foliage | Brown tips or patches | Dry soil or winter burn | Water deeply; water before first freeze |
| Yellowing foliage | Pale or yellow growth | Overwatering or poor drainage | Let soil dry; improve drainage |
| Thin inner canopy | Sparse inside branches | Too-close spacing, reduced airflow | Prune lightly; consider removing one tree from the row if chronic |
| Bagworms | Small hanging bags on branches | Pest infestation | Hand-remove bags in fall/winter; treat in late spring when larvae are young |
| Spider mites | Fine webbing, dusty or dull foliage | Hot, dry weather | Spray foliage with strong stream of water; inspect weekly in dry spells |
| Root rot | Wilting; slow, ongoing decline | Saturated soil, too-deep planting | Improve drainage; avoid overwatering |
| Winter burn | Brown outer foliage in spring | Cold wind, dry roots before freeze | Late fall deep watering; windbreak protection for exposed rows |
| Snow damage | Bent or split branches | Heavy wet snow accumulation | Brush off snow gently with a broom before it sets |
The one on that list that spacing directly controls is thin inner canopy. If the inner branches on your established hedge are dying back, it’s an airflow problem. You can prune to open the canopy, but if the spacing is too tight, that’s a band-aid. The long-term fix is giving the row more room — which in an established planting sometimes means removing every third tree and accepting a temporary gap that fills in over 2 to 3 years.
Common Planting Mistakes and How They Play Out Over Time
The mistakes below aren’t immediately obvious — they show up 3 to 7 years after planting, which is why they keep getting made.
- Planting too close based on nursery size, not mature width: A 3-foot-wide nursery tree planted 2 feet from its neighbor looks fine at installation. At year 5, when both trees are 3.5 feet wide, the root zones are in full competition and the inner canopy is dying.
- Measuring branch tip to branch tip: Young trees come in varying sizes from the nursery. Measuring tips means the spacing varies with the size of individual trees rather than staying consistent. Trunk center to trunk center is the only reliable measurement.
- Planting flush against a structure: A tree 12 inches from a fence looks natural as a 2-foot sapling. At maturity, it can’t develop evenly and needs constant trimming to keep it from growing into the fence.
- Poor drainage and hoping for the best: These trees look fine in the first year in wet soil. Root rot takes 2 to 3 years to manifest, and by then the tree is usually too far gone to save. Address drainage before planting.
- Inconsistent watering in year one: The establishment period is when these trees are most vulnerable. Letting the soil dry out completely during the first summer — even once — can set back establishment by a full season.
- Mulch against the trunk: A mulch volcano looks tidy. It’s slowly killing the root collar. Keep mulch 3 to 4 inches away from the bark.
Landscaping Ideas That Put the Spacing to Work
Emerald Green Arborvitae does more than one job in a yard, and the spacing approach changes slightly depending on which role you’re asking it to play.
1. Living Privacy Wall Behind a Patio
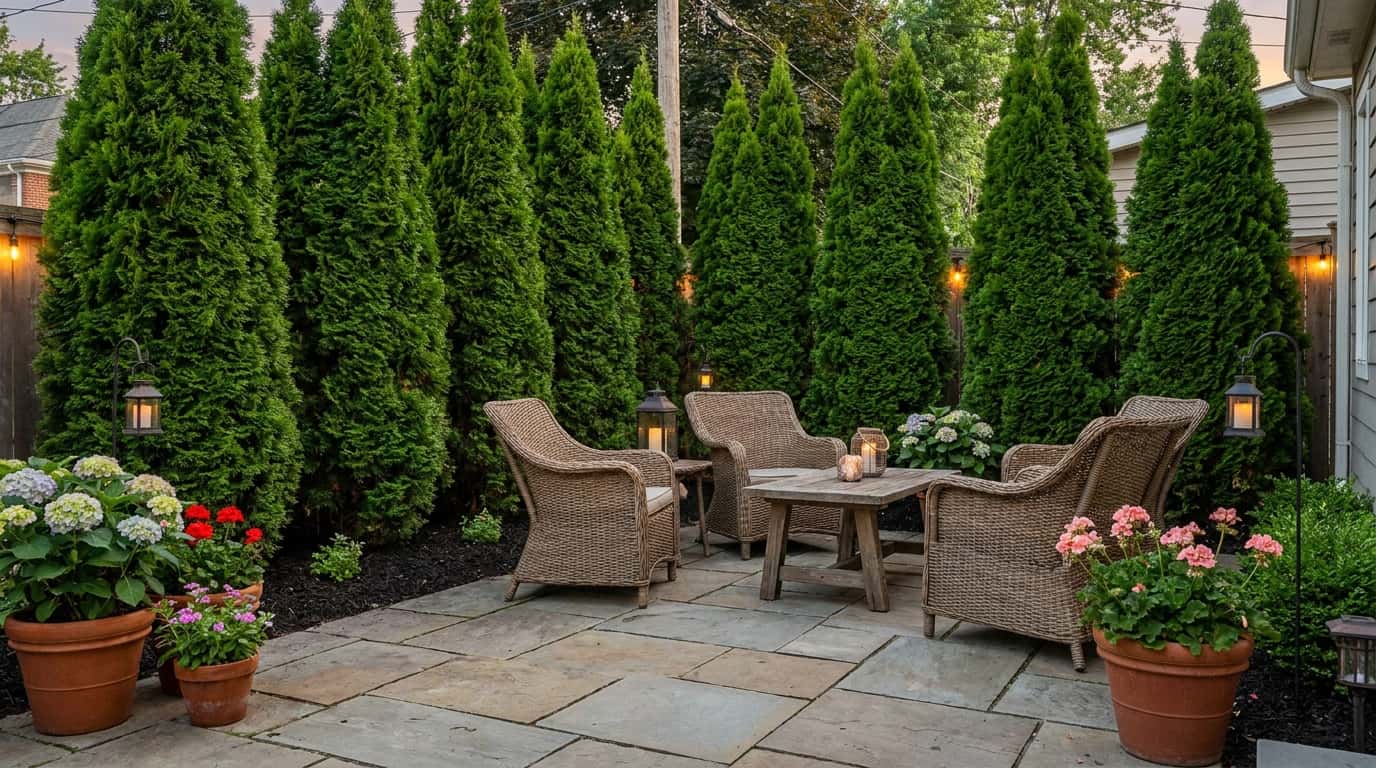
Behind a patio, space these trees at 2.5 to 3 feet for a full screen within 3 to 4 years. Keep the row back at least 4 feet from seating areas so the branches don’t encroach into the usable space as the hedge matures. If the surface underneath is still undecided, the stamped concrete vs pavers comparison is worth reading before you lay anything permanent.
2. Entry Framing Along a Walkway or Gate
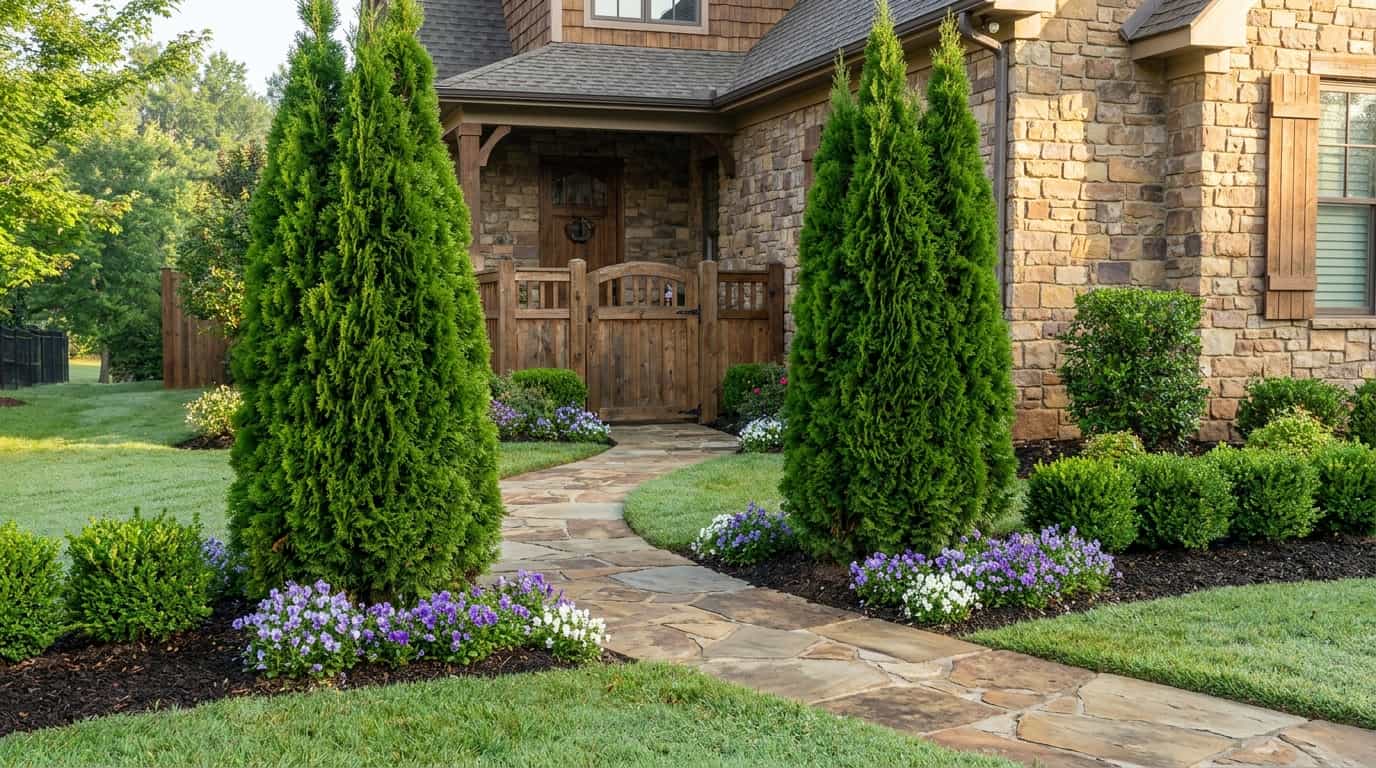
One tree on each side of an entry or gate works best with matching specimens from the same nursery lot — size variation between the two flanking trees becomes more obvious as they mature. Position them so their eventual 3- to 4-foot width doesn’t crowd the walkway clearance.
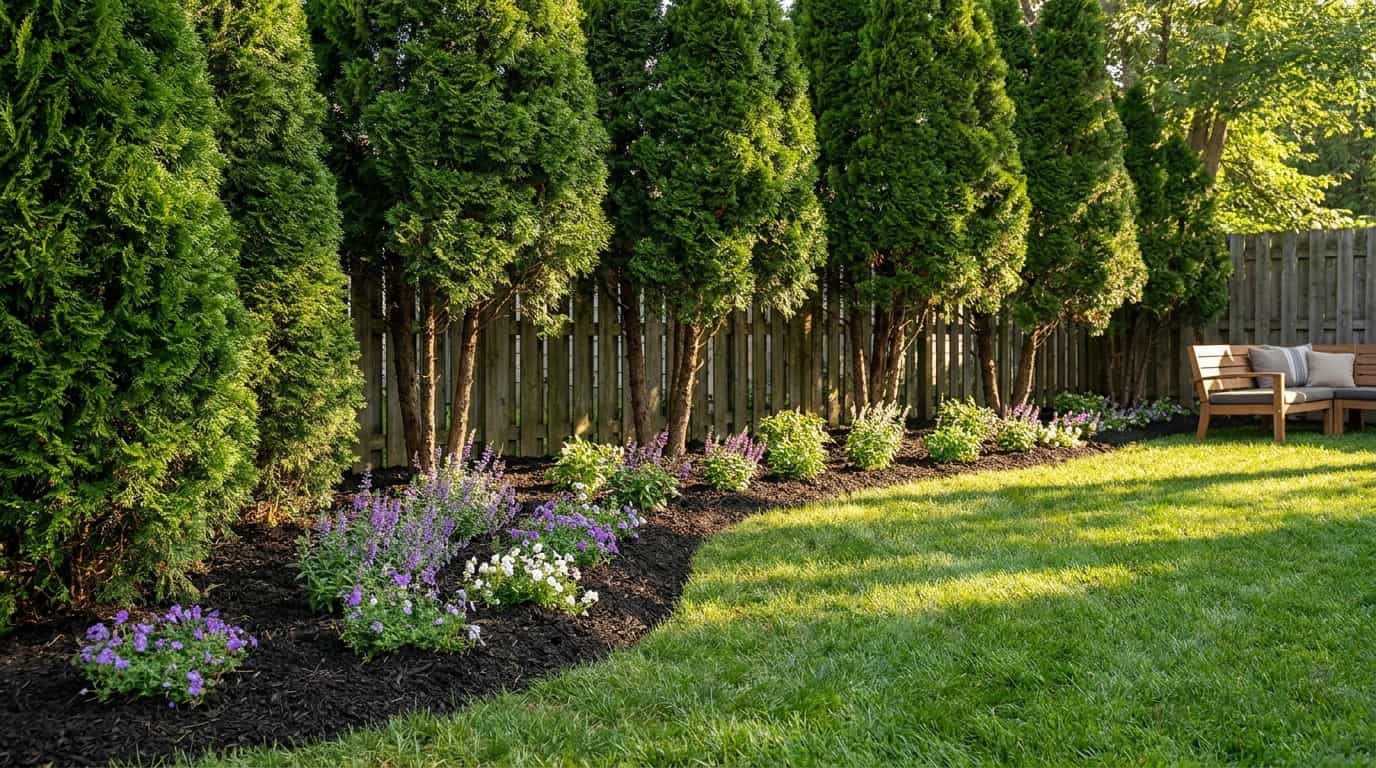
4. Green Backdrop for a Perennial Bed
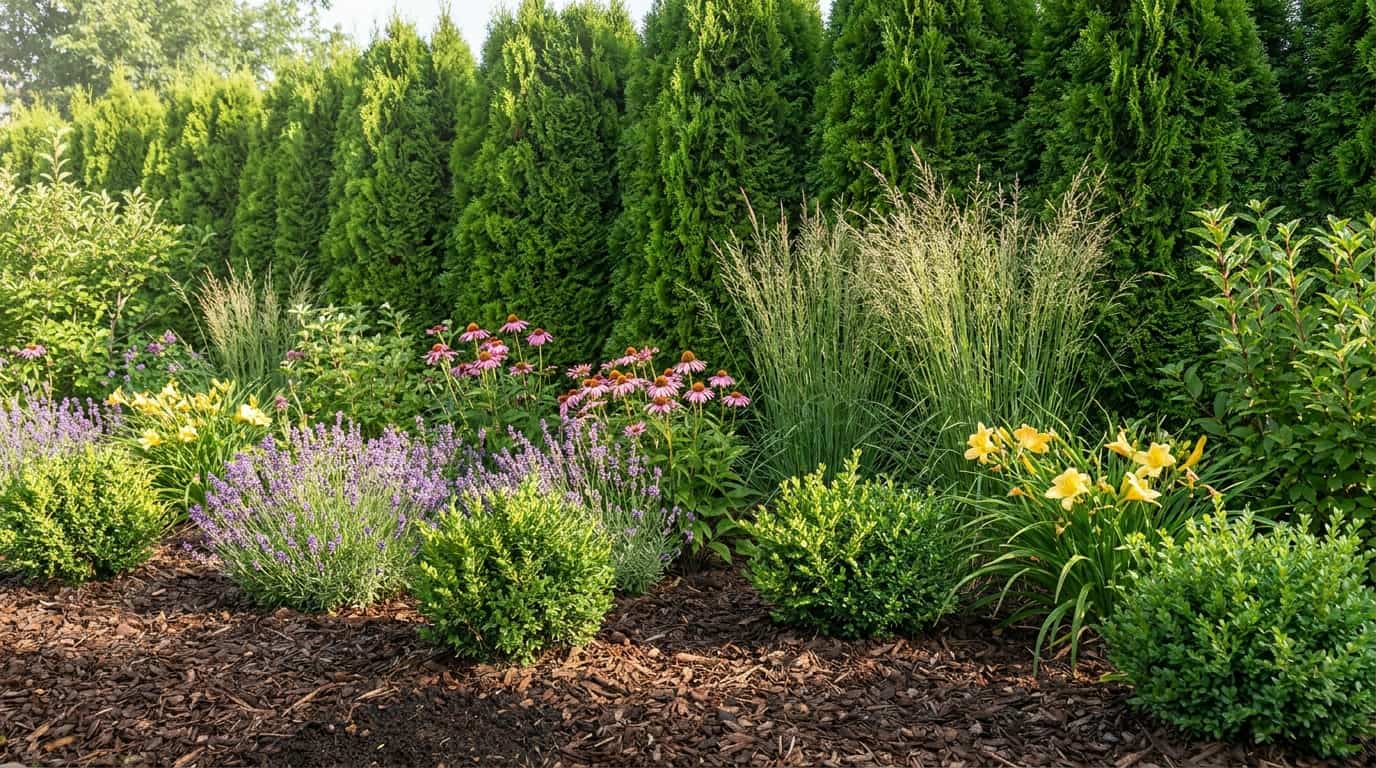
At the back of a perennial bed, 3 to 4 feet apart gives enough density for a solid backdrop without overwhelming the plantings in front. The year-round green structure keeps the bed from looking bare in winter when the perennials are dormant.
5. Corner Softening in a Small Backyard
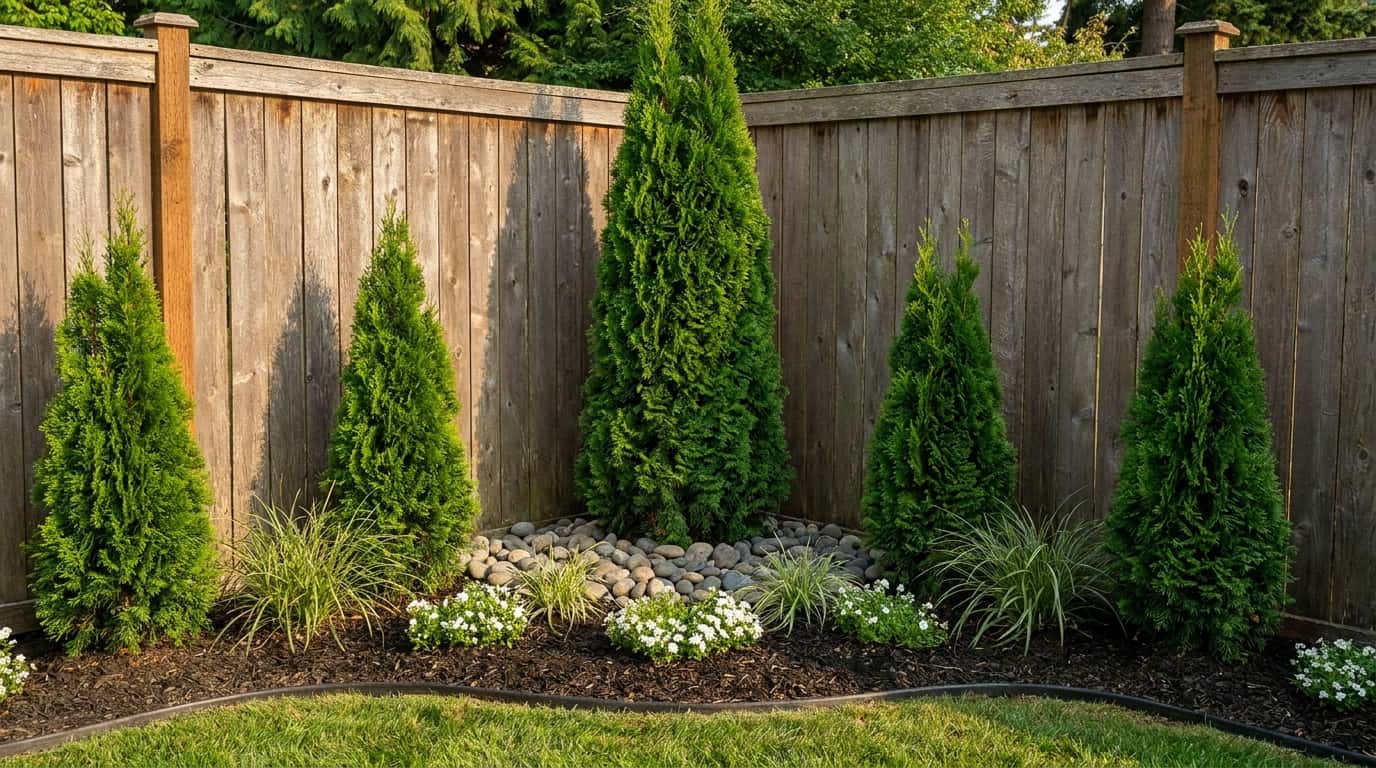
A group of three in a corner, planted in a loose triangle with 4 to 5 feet between them, softens the hard geometry of a fence corner without becoming a full hedge. This works in smaller yards where a full row isn’t needed, but the corner needs vertical interest.
6. Driveway Border
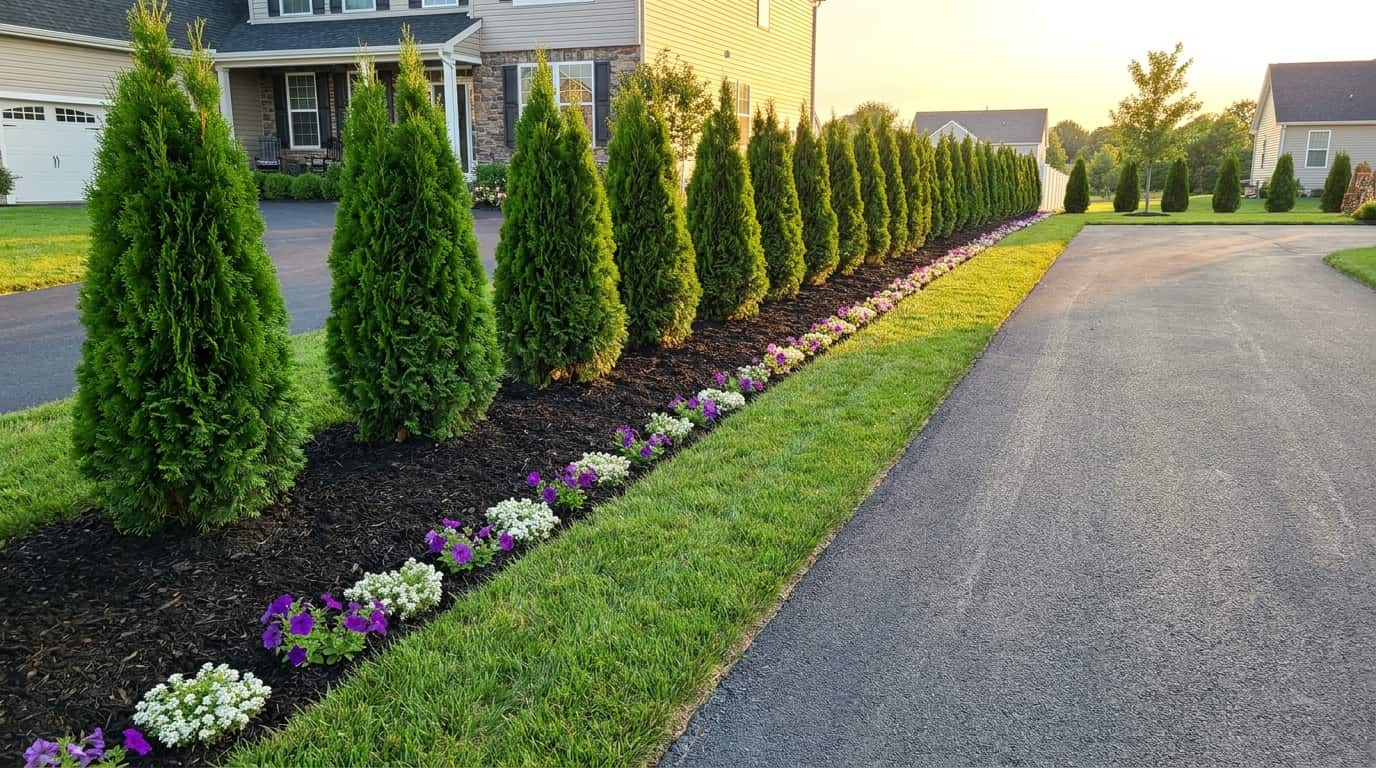
Along a driveway, keep the row at least 4 feet from the pavement edge. Car doors open 2 to 3 feet and drivers need clearance to step out. A tree planted 18 inches from the concrete is a problem within 3 years.
The modern driveway ideas guide covers how surface material and border plantings work together, which is worth considering if the driveway itself is also part of the project.
Frequently Asked Questions
These are the questions that come up most often once someone is standing in the yard with a row staked out and a flat of trees waiting to go in.
How far apart should I plant emerald green arborvitae for privacy?
Two to 3 feet center-to-center for a solid privacy hedge. At 2 feet, the row closes fastest but needs annual trimming. At 3 feet, it takes a bit longer but stays healthier with less maintenance long-term.
How many emerald green arborvitae do I need for 100 feet?
At 3-foot spacing, plan for 34 trees. At 4-foot spacing, 26 trees. At 5-foot spacing, 21 trees. Always add 10% to account for nursery variability and any trees that don’t establish.
Do emerald green arborvitae grow better with closer or wider spacing?
Wider spacing produces healthier individual trees with better airflow and root development. Closer spacing produces faster privacy but requires more maintenance and risks inner dieback as the hedge matures.
Can emerald green arborvitae be planted 2 feet apart?
Yes, but expect to trim once a year minimum. At 2 feet, the hedge fills in fast, but the inner canopy needs airflow management to stay healthy. It’s the right call for tight side yards where faster coverage matters more than long-term ease.
How close to a fence can I plant emerald green arborvitae?
Keep at least 2 to 3 feet between the trunk and the fence. At maturity, the 3- to 4-foot canopy width needs somewhere to go. A tree pushed against a fence grows asymmetrically and becomes difficult to maintain without heavy pruning.
How long does it take for emerald green arborvitae to fill in?
At 2 to 3 foot spacing, a privacy screen reads as solid around year 3 to 4. At 4 to 5 foot spacing, expect 5 to 7 years. Full maturity at either spacing is a 10-year picture.
Can emerald green arborvitae be planted in clay soil?
Not without amendment. Clay holds water, and these trees need drainage. Amend with coarse material and organic matter before planting, or build a slightly raised planting bed. Planting into heavy clay without addressing drainage leads to root rot within a few years.
Are emerald green arborvitae deer resistant?
No. Deer browse Thuja heavily in winter when other food is scarce. Young trees under 4 feet are most vulnerable. Use deer fencing or a repellent spray from November through March if deer pressure is high in your area.
Final Verdict
If the planting area is tight, the yard is a standard residential lot, and the goal is a hedge that stays manageable without turning into a maintenance project, Emerald Green Arborvitae spacing at 3 feet center-to-center is the most reliable starting point.
It delivers solid privacy coverage, keeps root competition at a reasonable level, and produces a hedge that doesn’t require annual trimming to prevent it from overrunning the space.
For yards with more room and less urgency around coverage speed, push to 4 feet and let these trees develop at their own pace.
The single most important step before anything goes in the ground: set your stakes, measure center-to-center, and walk the line from a distance before you dig. Adjusting a stake takes 30 seconds. Moving a planted tree takes a full day and sets the root system back by a season.